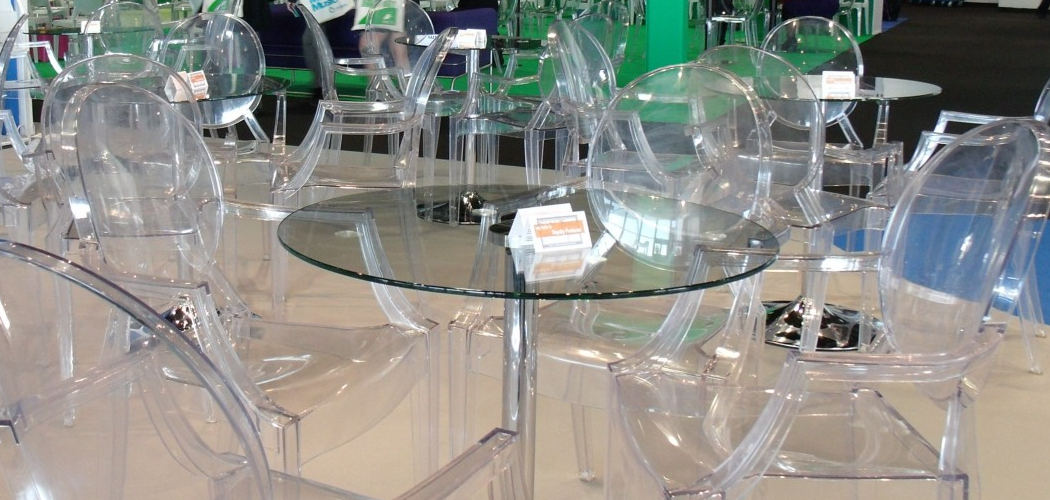
In recent years, acrylic furniture has become a staple in contemporary interior design, prized for its modern and sleek aesthetic. Its clear, glass-like appearance adds a touch of sophistication while seamlessly blending with various decor styles. One of the major appeals of acrylic is its inherent durability; it resists shattering and can withstand the demands of everyday use.

Furthermore, the lightweight nature of acrylic makes it easy to rearrange, perfect for fluid and dynamic living spaces. Another advantage is its transparency, which allows natural light to pass through, making rooms appear larger and brighter. This article will delve into “how to make acrylic table,” providing readers with all the information needed to create a stunning piece of furniture.
This guide aims to provide a comprehensive, step-by-step approach to help readers craft their own acrylic table. Every aspect of the process will be covered from selecting the right materials to the final assembly. Additionally, we will offer valuable tips and best practices to ensure your DIY project is both seamless and successful. Whether you are a seasoned craftsman or a novice, this article will equip you with the knowledge and confidence to produce a beautiful acrylic table that enhances your living space.
Materials and Tools Needed
Before you begin creating your acrylic table, you must gather all the necessary materials and tools to ensure a smooth and successful project. Here’s a detailed list to help you get started.
Materials:
- Acrylic Sheets (thickness recommended: 3/8 inch or 1/2 inch): These will form the tabletop and legs of the table. Opt for high-quality, clear acrylic to achieve a polished, glass-like appearance.
- Acrylic Adhesive (solvent-based, such as Weld-On 4): This glue is specifically designed to bond acrylic effectively, ensuring a strong and durable connection.
- Acrylic Polish and Cleaning Solution: Polish and cleaning solutions are vital for maintaining the pristine condition of your acrylic surfaces.
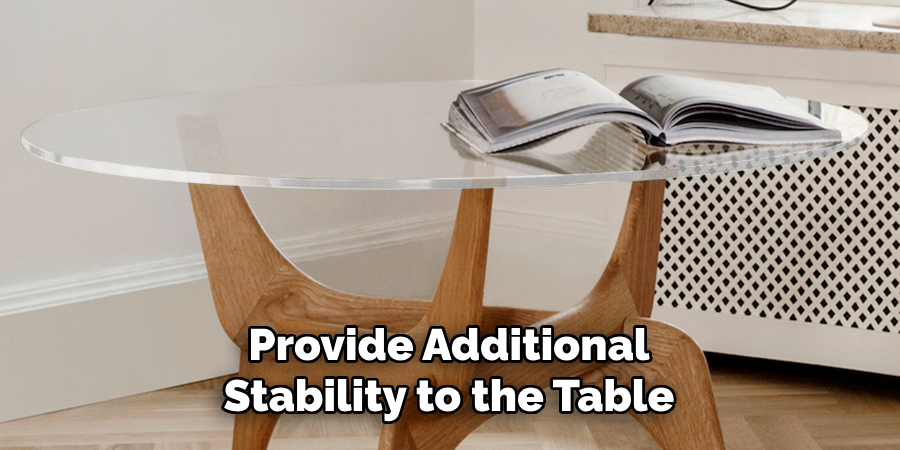
- Felt Pads (optional, for the bottom of the legs): These pads can help protect your flooring and provide additional stability to the table.
Tools:
- Circular Saw or Table Saw With a Fine-toothed Blade (for cutting acrylic): A fine-toothed blade is essential to produce clean, smooth cuts without chipping the acrylic.
- Sandpaper (various grits, up to 600): Sandpaper will be necessary for smoothing the edges after cutting the acrylic sheets.
- Clamps (plastic or those with plastic protectors to avoid scratching): Clamps are crucial for holding the acrylic pieces together while the adhesive sets.
- Measuring Tape: Precision is key, so a measuring tape will help ensure all your pieces are cut to the correct dimensions.
- Straight Edge or Ruler: Necessary for marking and guiding your cuts accurately.
- Marker or Pencil: Used for making precise marks on the acrylic sheets before cutting.
- Soft Cloths or Microfiber Towels: To clean and polish the acrylic without scratching the surface.
- Safety Gear (gloves, safety glasses, dust mask): Wear safety gear to protect yourself from acrylic dust and sharp edges while working on your project.
By having these materials and tools ready, you’ll be well-prepared to start crafting your beautiful acrylic table.
How to Make Acrylic Table: Planning and Designing the Table
Choosing the Design:
Deciding on the style and dimensions of your table is the first critical step in the planning process. Consider the function of your acrylic table—is it a side table, coffee table, or dining table? Each type of table serves different purposes and requires different dimensions.
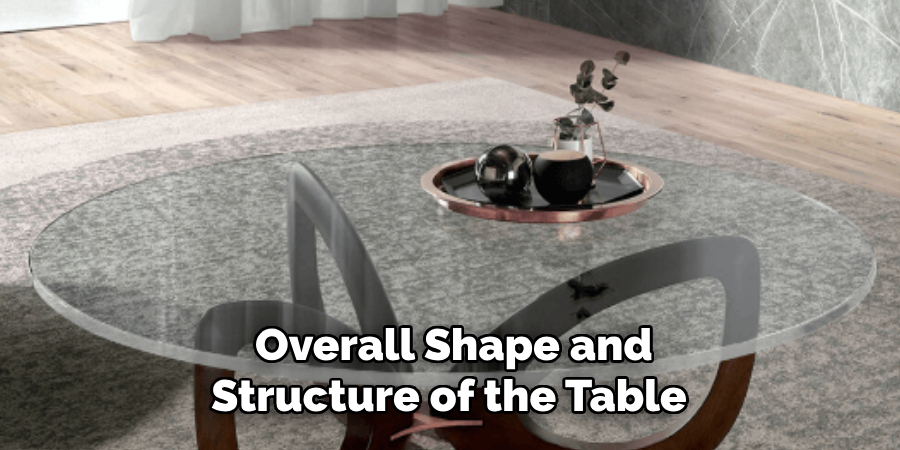
For instance, a coffee table typically has a lower height and broader top, while a side table might be taller and more compact. Once you have decided on the table type, sketch a rough design to visualize the final product. This drawing will help you lay out the overall shape and structure of the table and determine the dimensions of each piece needed.
Measuring and Marking:
Precision is key when working with acrylic. Begin by measuring your acrylic sheets according to the specifications outlined in your design. Use a straight edge and a marker or pencil to make accurate and straight lines on the sheets. These markings will guide your cuts and ensure each piece fits together perfectly.
Double-check your measurements to avoid mistakes, as inaccuracies can lead to gaps or misaligned joints in the final assembly. With careful measuring and marking, you will set a solid foundation for the rest of your DIY acrylic table project.
How to Make Acrylic Table: Cutting the Acrylic Sheets
Setting Up the Saw:
- Install a Fine-toothed Blade: Begin by installing a fine-toothed blade on your circular or table saw. This type of blade is specifically designed for cutting acrylic or plastic and will produce clean, smooth cuts without chipping.
- Adjust the Saw Blade Height: Set the height of the saw blade so that it slightly exceeds the thickness of your acrylic sheet. This adjustment will ensure efficient cutting and reduce the risk of damaging the material.
Cutting the Acrylic:
- Secure the Acrylic Sheet: Place the acrylic sheet on a stable work surface and secure it using clamps. Make sure the clamps have plastic protectors or use plastic clamps to avoid scratching the acrylic surface.
- Wear Safety Gear: Safety is paramount when cutting acrylic. Wear gloves, safety glasses, and a dust mask to protect yourself from acrylic dust and debris that may be generated during the cutting process.
- Guide the Acrylic Sheet Through the Saw: Carefully and slowly guide the acrylic sheet through the saw, meticulously following your marked lines. Maintaining a slow and steady pace is crucial to prevent chipping or cracking the acrylic. Ensure your hands are a safe distance from the blade and stay focused on the cut.
- Curved or Intricate Cuts: If your design includes curved or intricate cuts, use a jigsaw equipped with a fine-toothed blade. This tool will allow for more precise cuts and is easier to maneuver for complex shapes.
Sanding the Edges:
- Smooth the Cut Ddges: After cutting, smooth the edges of the acrylic sheets using sandpaper. Begin with a lower grit sandpaper to remove larger imperfections and gradually work up to a higher grit (up to 600) for a polished edge.
- Ensure All Edges Are Smooth: Carefully check that all edges are smooth and free of sharp areas. This step is essential not only for preventing injuries but also for improving the overall aesthetic quality of your acrylic table. Properly finished edges will enhance the table’s appearance, ensuring it is both safe and visually pleasing.
Assembling the Table
Dry Fitting the Pieces:
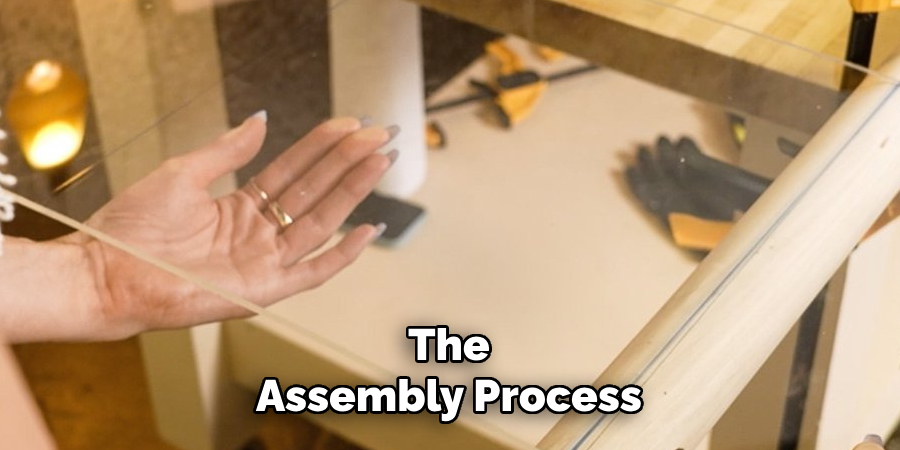
Before applying any adhesive, it’s crucial to dry-fit the cut acrylic pieces. Arrange the pieces in the desired configuration to ensure they fit together correctly. This step allows you to visualize the final structure and make any necessary adjustments for a perfect fit. Double-check each joint and edge alignment to avoid issues later in the assembly process.
Applying the Adhesive:
Once you’re satisfied with the dry fit, it’s time to bond the pieces together using acrylic adhesive. Solvent-based adhesives, such as Weld-On 4, work by slightly melting the acrylic, creating a strong and seamless bond as it hardens. Apply the adhesive sparingly along the edges to be joined. For precise application, use a syringe or applicator bottle.
Press the pieces together immediately after applying the adhesive, ensuring proper alignment. The adhesive sets quickly, so confirm that each joint is accurately positioned before the bond solidifies.
Clamping and Curing:
After applying the adhesive, use plastic clamps or clamps with plastic protectors to hold the pieces together while the adhesive cures. Proper clamping ensures that the pieces remain in place during the bonding process, resulting in a sturdy and secure table. Follow the adhesive manufacturer’s instructions for curing time, which typically ranges from a few hours to overnight. Avoid disturbing the table during this period to allow the adhesive to fully set.
Reinforcing Joints (Optional):
For added stability, especially for larger tables, consider reinforcing the joints with additional acrylic strips bonded along the seams. Cut narrow strips of acrylic and apply adhesive along one edge before pressing them into place over the joints. This extra step enhances the structural integrity of the table, ensuring it is both robust and durable. Repeat these reinforcing strips’ clamping and curing process to ensure they bond correctly.
By following these steps meticulously, you will successfully assemble your DIY acrylic table, resulting in a piece that is both functional and aesthetically pleasing.

Conclusion
Creating your own acrylic table involves several important steps that ensure a sturdy and visually appealing final product. First, planning your design and visualizing the final product is crucial in determining the dimensions and shape. Next, measuring and marking the acrylic sheets precisely sets a solid foundation for the construction process.
Cutting the acrylic sheets with a fine-toothed blade and sanding the edges guarantees smooth and clean pieces that fit together perfectly. Finally, assembling the table, including dry fitting, applying adhesive, clamping, and curing, brings your design to life.
Taking your time and following each step carefully can make the project enjoyable and successful. Customization possibilities are endless, allowing you to create a table that is uniquely suited to your taste and space. Consider seeking professional assistance for more complex designs or if any part of the process feels too challenging.
A sleek and modern acrylic table is not only a functional piece of furniture but also a stylish addition to any home. By mastering how to make acrylic table, you can achieve a personalized and rewarding DIY project that showcases your creativity and craftsmanship.