
Creating your own swivel chair can be a rewarding DIY project that combines functionality with personal craftsmanship. Whether you’re seeking a custom piece to complement your home office or a unique gift for a loved one, building a swivel chair allows you to tailor the design to your preferences.
This guide on how to make a swivel chair will walk you through the essential steps, from selecting the right materials to assembling the components, ensuring you end up with a comfortable and stylish chair that swivels effortlessly. Let’s dive into the basics and get started on your DIY swivel chair journey.
What is a Swivel Chair?
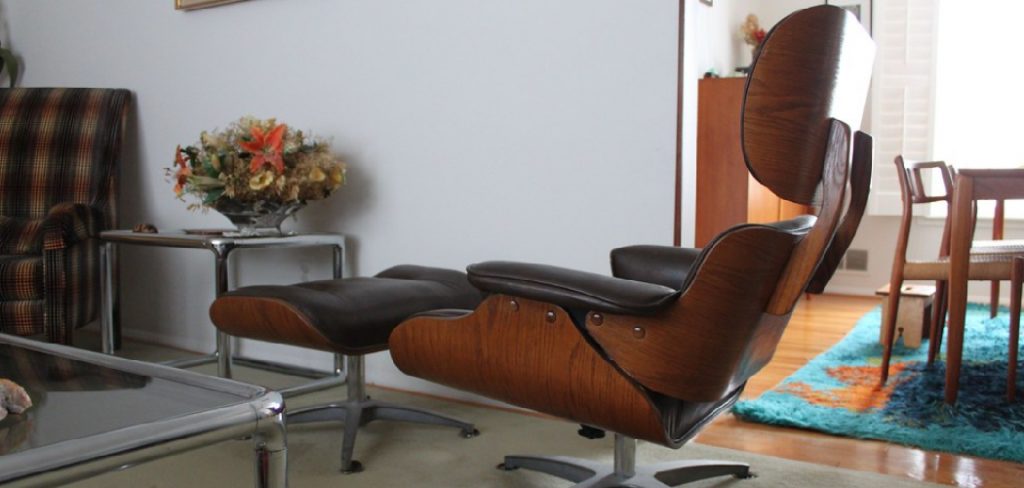
A swivel chair is a type of seating furniture that can rotate in a full circle on its base. It usually has four or five legs with wheels, allowing for easy movement and rotation. Swivel chairs are commonly used in offices, but they can also serve as stylish additions to living rooms, bedrooms, and other spaces.
You can make a swivel chair in various designs, from modern and sleek to more traditional and ornate. Additionally, you can choose between different materials such as wood, metal, or even plastic. Regardless of the style and material, the key feature of any swivel chair is its ability to rotate 360 degrees.
Why Make a Swivel Chair?
Aside from the sense of accomplishment that comes with building something yourself, making your own swivel chair has several benefits. Firstly, you have complete control over the design and materials used, allowing you to create a unique piece that reflects your personal style. Secondly, it can be more cost-effective than buying a pre-made swivel chair, especially if you already have some of the necessary tools and materials.
Lastly, making your own swivel chair allows you to ensure that the chair is comfortable and suits your needs perfectly. You can customize the dimensions, cushioning, and other features to fit your body and preferences. Plus, you can take pride in knowing that you built a functional piece of furniture with your own two hands.
Materials You Will Need
Before starting your project, gather the necessary materials and tools. Here’s a list of items you’ll need:
Wooden Boards (for Frame):
Choose sturdy, high-quality wood that can support the weight of a person. Softwoods like pine or fir are affordable options, while hardwoods such as oak or maple provide durability and a polished look.

Wood Screws:
These will be used to secure the wooden boards together.
Drill:
A power drill is recommended for efficiency, but you can also use a hand drill if preferred.
Saw:
You’ll need saw to cut the wooden boards to size.
Wheels/Casters:
Choose sturdy wheels or casters with a locking feature for added stability when using the chair.
Swivel Mechanism:
This is the essential component that allows the chair to rotate. You can find a variety of swivel mechanisms online or at hardware stores.
Upholstery Fabric:
Choose a durable and comfortable fabric for the seat and backrest cushioning.
9 Easy Step-by-step Guides on How to Make a Swivel Chair
Now that you have all the materials let’s dive into the steps involved in making a swivel chair.
Step 1: Measure and Cut Wooden Boards
Using your saw, cut the wooden boards into pieces according to your desired dimensions for the seat, backrest, and legs. Make sure to take into account the thickness of the boards when measuring. Otherwise your chair may end up being too small or unstable. It’s always best to measure twice and cut once. The number of boards you’ll need will depend on the design and size of your chair.
Step 2: Drill Pocket Holes
Take the wooden boards that you have just cut and use your drill to create pocket holes at the points where the boards will be joined together. Pocket holes allow for stronger joints and a cleaner finish, as the screws are hidden from view. To drill the pocket holes, use a pocket hole jig set to the appropriate thickness of your boards. Position the jig at the edge of each board and drill the holes at a 15-degree angle. This step is crucial for ensuring the stability and durability of your swivel chair, so be precise and consistent with your drilling. Once all pocket holes are drilled, you’re ready to move on to assembling the frame.
Step 3: Assemble the Frame
Using your wood screws, attach the wooden boards together to form the frame of your chair. Start by connecting the seat and backrest pieces, then add the legs at each corner. Make sure to tighten the screws securely for added stability. If you wish to add armrests or a footrest, this is also the step where you would attach those components. It’s always a good idea to test the stability of your frame by sitting on it or applying pressure in different directions. If it feels wobbly, reinforce the joints with additional screws.

Step 4: Attach the Swivel Mechanism
Follow the manufacturer’s instructions to attach the swivel mechanism to the bottom of your chair frame. This will typically involve drilling holes and using bolts or screws to secure it in place. Make sure the mechanism is centered and level to ensure smooth rotation. You can also reinforce the attachment with additional screws for added stability. The swivel mechanism is the heart of your swivel chair, so take your time to make sure it’s installed correctly and securely. You can also test the rotation at this point to ensure it moves smoothly.
Step 5: Add Wheels or Casters
Attach the wheels or casters to the bottom of each leg, following the manufacturer’s instructions. Make sure they are evenly spaced and facing the right direction for easy movement and rotation. It’s also a good idea to add locking wheels or casters on at least two of the legs for added stability when using the chair. But if you prefer a stationary chair, you can skip this step.
Step 6: Cut and Sew the Upholstery Fabric
Measure and cut your upholstery fabric according to the dimensions of your seat and backrest. Leave an extra inch or two on each side for seam allowance. Once cut, fold over the edges of the fabric and sew them to create neat seams. You can also add cushioning material like foam or batting between layers of fabric for added comfort.
Step 7: Attach Upholstery
Using a staple gun, carefully attach the upholstered pieces to the wooden frame. Start by securing one side of the fabric to the frame, then pull it taut and staple the opposite side. Continue this process until all sides are securely fastened. Trim any excess fabric if necessary. You can also add decorative elements like piping or buttons to enhance the look of your swivel chair. The upholstery not only adds comfort but also gives your chair a polished and professional look.
Step 8: Assemble the Swivel Chair
Carefully lift the wooden frame with the attached swivel mechanism and place it on top of the wheels or casters. Make sure the wheels/casters are aligned with the legs for smooth movement. You can also add additional screws to secure the frame onto the wheels if desired. You now have a fully functional swivel chair!

Step 9: Add Finishing Touches
You can choose to leave your chair as is, or you can add some finishing touches like sanding and painting or staining the wooden frame to match your personal style. You can also add cushions for added comfort on the seat and backrest.
Following these easy steps on how to make a swivel chair, you can now enjoy your very own swivel chair for work or relaxation. The beauty of DIY projects is that you can customize and make adjustments according to your preferences, so don’t be afraid to experiment and add your personal touch to the final product. Happy building!
Additional Tips and Ideas
- Experiment With Different Types of Wood and Fabrics to Create a Unique Look for Your Swivel Chair.
- Add Armrests and a Footrest for Extra Comfort and Support.
- Paint or Stain the Wooden Frame in Bold Colors or Patterns for Added Personality.
- Use Different Sized and Shaped Wheels/casters for a More Modern Look.
- Consider Adding an Adjustable Height Mechanism to Your Swivel Chair for Added Versatility.
- Have Fun With It and Don’t Be Afraid to Make Mistakes; that’s Part of the Diy Process! Keep Exploring New Techniques and Designs to Create Your Own One-of-a-kind Swivel Chair. The Possibilities Are Endless!
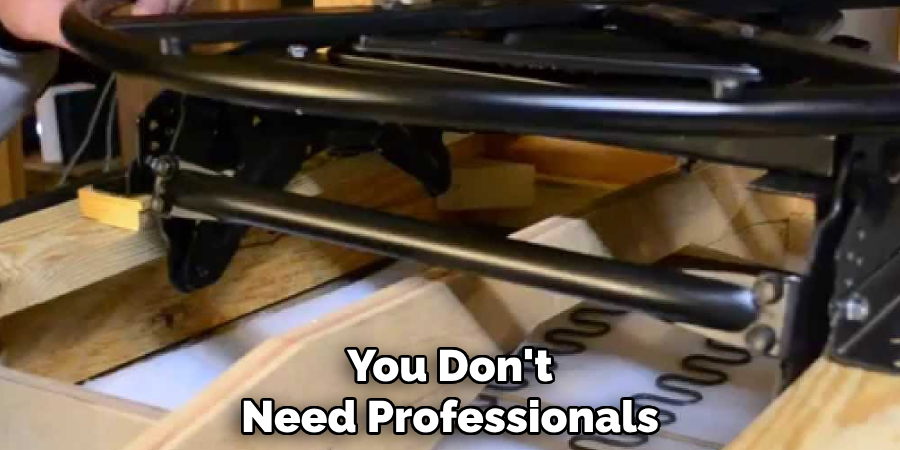
Do You Need to Use Professionals?
No, you don’t need to use professionals for this project. With the right tools and materials, you can easily make a swivel chair at home. However, it’s always a good idea to have someone assist you with assembling and moving the chair, as some steps may require more than one person. Additionally, if you are not comfortable using power tools or drilling pocket holes, seek help from someone who is experienced in these areas. Safety always comes first!
Overall, making your own swivel chair can be a fun and fulfilling DIY project that adds an element of personalization to your living space or office. So gather your materials and get ready to enjoy the comfort and convenience of your very own custom-made swivel chair! Happy building!
Frequently Asked Questions
Q1: Is It Necessary to Use a Swivel Mechanism for a Swivel Chair?
A1: Yes, the swivel mechanism is an essential component of a swivel chair as it allows for smooth rotation and movement. However, you can also use a fixed base if you prefer a stationary chair.
Q2: Can I Use Any Type of Wood for the Frame?
A2: Yes, you can use any type of wood that is sturdy enough to support weight and withstand pressure. Popular options include pine, oak, and birch.

Conclusion:
In conclusion, building your own swivel chair is not only a cost-effective and rewarding project but also allows you to customize a piece of furniture to fit your exact needs and style preferences. By following the steps outlined in this guide on how to make a swivel chair, you can create a functional and stylish swivel chair that adds both comfort and personality to your space.
Whether you prefer a minimalistic design with clean lines or a more elaborate piece with bold colors and intricate details, the possibilities are endless. Remember, the key to success is taking your time, paying attention to detail, and not being afraid to experiment and make mistakes along the way. With effort and creativity, you can enjoy a beautiful and functional swivel chair that you crafted with your own hands. Happy building!