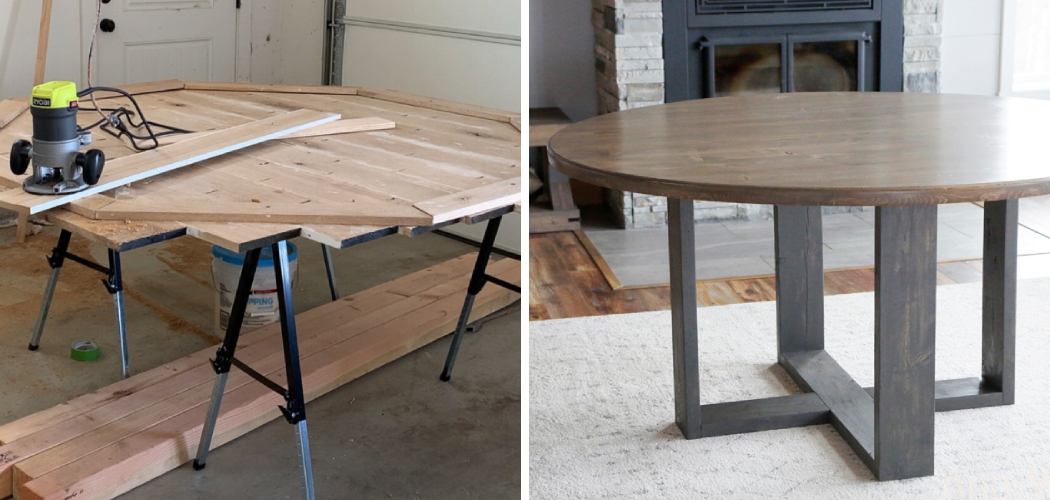
Are you tired of your old square table top? Are you looking for a unique and beautiful centerpiece for your dining room? Look no further! In this tutorial, we will teach you how to make a round table top.
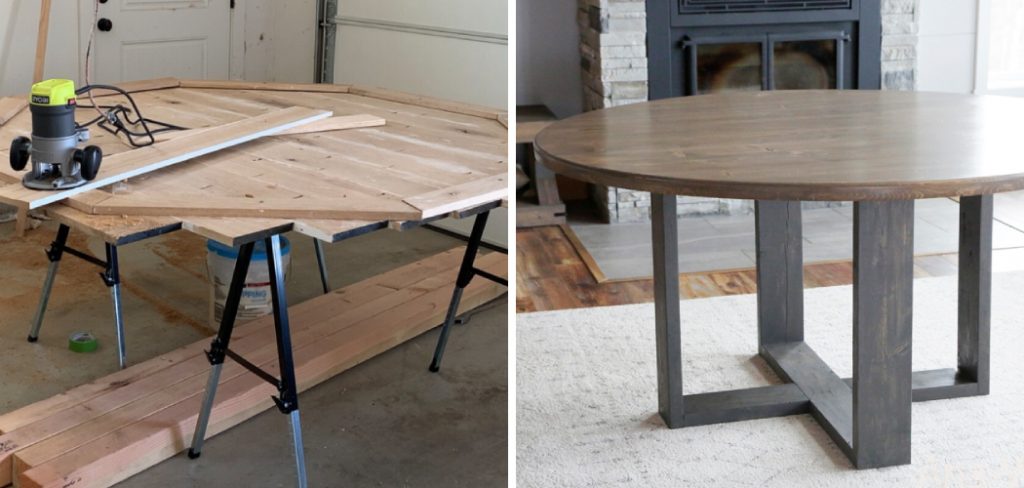
Creating your own round table top can be a rewarding and enjoyable woodworking project. Whether you’re a seasoned woodworker or a DIY enthusiast, making a round table top allows you to customize the size, design, and finish to perfectly suit your space and style. This guide will walk you through the essential steps, from selecting the right materials to finishing the final product.
By following these instructions, you’ll be able to craft a beautiful and functional piece of furniture that you can be proud of. Let’s begin your journey to making a stunning round tabletop!
What Will You Need?
Before you begin, gathering all the necessary materials and tools is important. Here is a list of items that you will need for this project:
- Wood (preferably hardwood such as oak, maple or cherry)
- Table saw
- Jigsaw
- Sandpaper (in various grits)
- Drill and drill bits
- Circular template or compass
- Wood glue
- Clamps
- Finishing materials (stain, paint, varnish or wax)
It’s important to note that the type of wood you choose will greatly impact your round table top’s final appearance and durability.
10 Easy Steps on How to Make a Round Table Top
Step 1: Measure and Cut the Wood
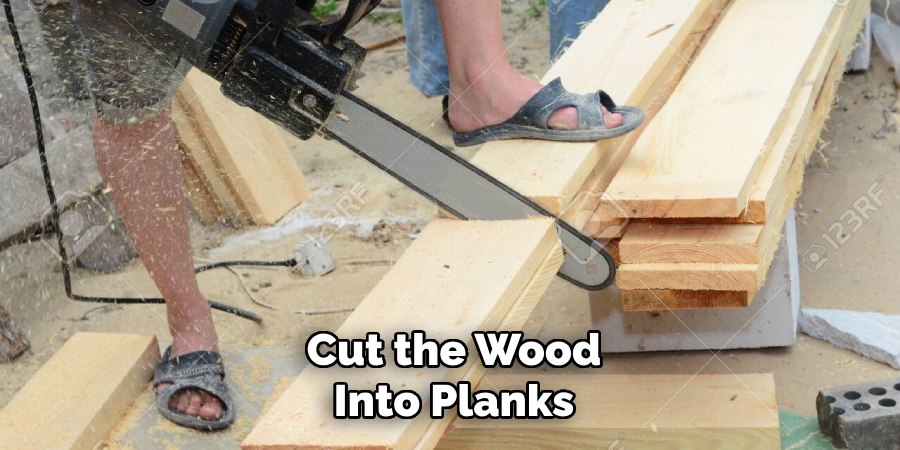
Start by measuring and cutting your pieces of wood to the desired size. Ensure you have enough wood to accommodate the final diameter of your round table top. Using a table saw, cut the wood into planks that will be glued together to create the tabletop. Make sure the edges are straight and the surfaces are smooth.
Step 2: Arrange and Glue the Planks
Lay out the planks on a flat surface, arranging them side by side. Apply wood glue to the edges of each plank and press them together to form a solid sheet of wood. Use clamps to hold the planks in place while the glue dries. Depending on the manufacturer’s recommendations, this may take several hours.
Step 3: Draw the Circle
Once the glue has dried and the planks are securely bonded, use a circular template or compass to draw a perfect circle on the surface of your wood sheet. The diameter of the circle should match your desired tabletop size. If using a compass, ensure the pivot point is secured at the center of the wood sheet.
Step 4: Cut Out the Circle
With your circle drawn, it’s time to cut out the tabletop. Use a jigsaw to carefully follow the line of your circle. For best results, make sure to use a fine-toothed blade suitable for cutting hardwood. Start slowly and maintain a steady pace to ensure a clean cut. With access to a bandsaw, this tool may make it easier to achieve a smooth and accurate cut. After completing the cut, you might notice some rough edges or small irregularities. Don’t worry; these can be smoothed out in the next steps.
Step 5: Sand the Edges
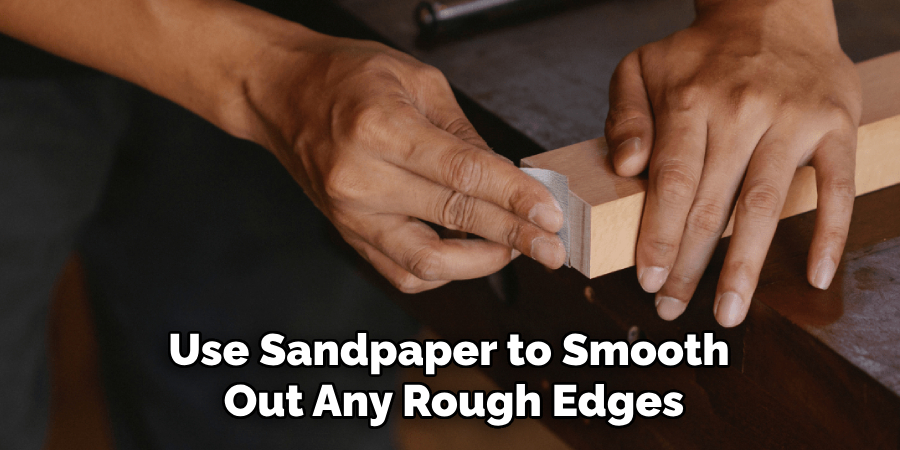
Now that you have your rough circle cut out, it’s time to refine it. Start with coarse-grit sandpaper to smooth out any rough edges and irregularities. Gradually work your way to finer grits to achieve a smooth, rounded edge. An orbital sander can make this process faster and more efficient, but hand sanding will give you better control over the final shape. Pay special attention to maintaining a consistent curved edge all the way around the tabletop.
Step 6: Drill Pocket Holes (Optional)
If you plan to attach the tabletop to a base, now is a good time to drill pocket holes or other joinery options in the bottom of your tabletop. Drill evenly spaced holes around the perimeter using a pocket hole jig, ensuring they are deep enough to secure the top to the base but not so deep that they go through the surface. This step can be skipped if you prefer a different type of joinery.
Step 7: Fill Gaps and Imperfections
Inspect the surface of your tabletop for any gaps or imperfections between the wood planks. Fill these gaps with wood filler, matching the color as closely as possible to your chosen wood. Allow the filler to dry completely, according to the manufacturer’s instructions. Once dry, sand the entire surface with fine-grit sandpaper to ensure a smooth and even finish.
Step 8: Apply Wood Finish
Before applying any finishing materials, ensure the table top is free of dust and debris. Apply your chosen wood finish (e.g., stain, varnish, paint, or wax) according to the manufacturer’s instructions. If staining, multiple coats may be necessary to achieve the desired color. Allow each coat to dry thoroughly before applying the next, and sand lightly with fine-grit sandpaper between coats for a smooth finish.
Step 9: Seal the Table Top
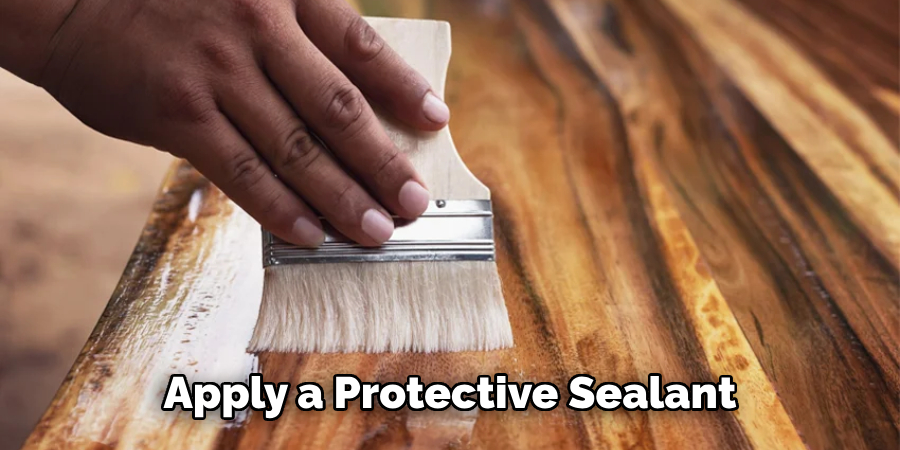
Once you’ve achieved the desired color and finish, apply a protective sealant to safeguard your tabletop from moisture, spills, and wear. Options such as polyurethane, varnish, or clear wax can provide a durable protective layer. Apply in thin, even coats, allowing each coat to dry before applying the next. Lightly sand between coats for a smooth, professional finish.
Step 10: Attach the Table Top to the Base
Finally, align your completed table top with the base and attach it using screws through the pocket holes drilled earlier or other appropriate fasteners. Ensure the top is securely fixed and the assembly is level and stable. Your custom-made round table top is now ready to be enjoyed! Remember to periodically clean and maintain your tabletop to ensure it remains in top condition for years to come.
By following these 10 easy steps, you can create a beautiful and functional round table top that will enhance any space.
5 Additional Tips and Tricks
- Choose the Right Material: Select high-quality wood, such as oak or maple, for durability and aesthetics. Ensure the wood is properly dried and free from defects.
- Use a Trammel for Precision: A trammel is a tool that allows you to draw perfect circles. Attach your pencil or cutting tool to one end and set the radius accurately to achieve a flawless round shape.
- Clamp Securely: When cutting or sanding the table top, use strong clamps to keep the wood securely in place. This prevents shifting and ensures a smooth, even surface.
- Smooth the Edges: After cutting, use a router with a round-over bit to smooth the edges of the table top. This improves the appearance and removes sharp edges, making the table safer.
- Apply a High-Quality Finish: To protect the wood and enhance its natural beauty, apply a finish such as polyurethane, varnish, or tung oil—sand between coats for a smooth, professional-looking result.
With these additional tips and tricks, you can take your DIY table to the next level. Keep practicing and honing your skills, and soon, you’ll be able to create custom furniture pieces for every room in your home.
5 Things You Should Avoid
- Using Low-Quality Wood: Avoid using softwoods or low-grade lumber, as they may not provide the necessary durability and can warp or crack over time. Stick to hardwoods like oak, maple, or walnut for longevity and strength.
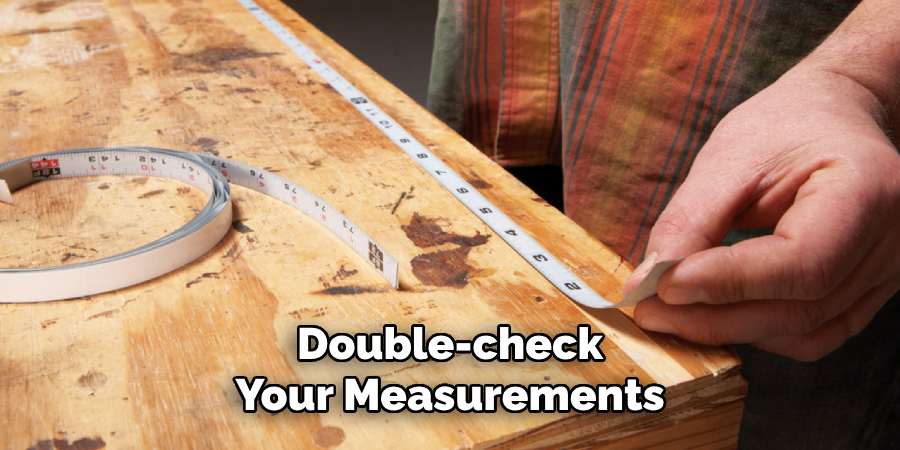
- Skipping the Measurement Step: Failing to measure precisely can lead to a lopsided table top. Always double-check your measurements and use reliable tools to ensure accuracy when drawing and cutting your circle.
- Ignoring Clamp Use: Neglecting to clamp your materials securely can result in shifting during cutting or sanding, leading to uneven surfaces. Always use strong clamps to hold the wood in place and maintain stability.
- Overlooking Edge Finishing: Do not bypass the step of smoothing the edges with a router or sandpaper. Rough edges can be unsightly and pose a risk of injury. Make sure to round over or bevel the edges for a refined finish.
- Applying an Inadequate Finish: Avoid rushing through the finishing process. Skipping steps like sanding between coats or using low-quality finishes can compromise the table’s appearance and protection. Opt for high-quality finishes and take your time to apply them correctly for a professional look and feel.
By steering clear of these common pitfalls, you can ensure a smoother process and a high-quality end product when making your round table top.
Conclusion
How to make a round table top is a rewarding DIY project that combines creativity, precision, and craftsmanship.
Choosing the right materials and tools sets a solid foundation for your work. Attention to detail through every step—from measuring and cutting to clamping and finishing—ensures a professional and attractive final product. Avoiding common mistakes, such as using low-quality wood or skipping critical steps, can significantly enhance the durability and aesthetic of your table.
Remember, practice makes perfect; with these detailed tips and tricks, you are well on your way to mastering the art of making round table tops. Every piece you create will testify to your skill and dedication, ready to add a personal touch to any room in your home.
