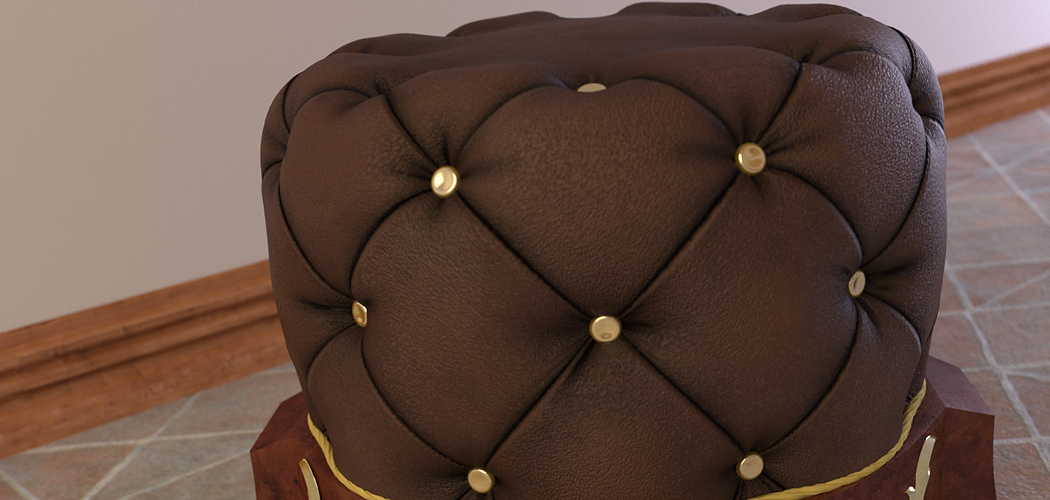
Creating a round ottoman is a fulfilling DIY project that can add a touch of elegance and functionality to any living space. Whether you are a seasoned crafter or a beginner looking to hone your skills, this guide on how to make a round ottoman will walk you through each step of the process.
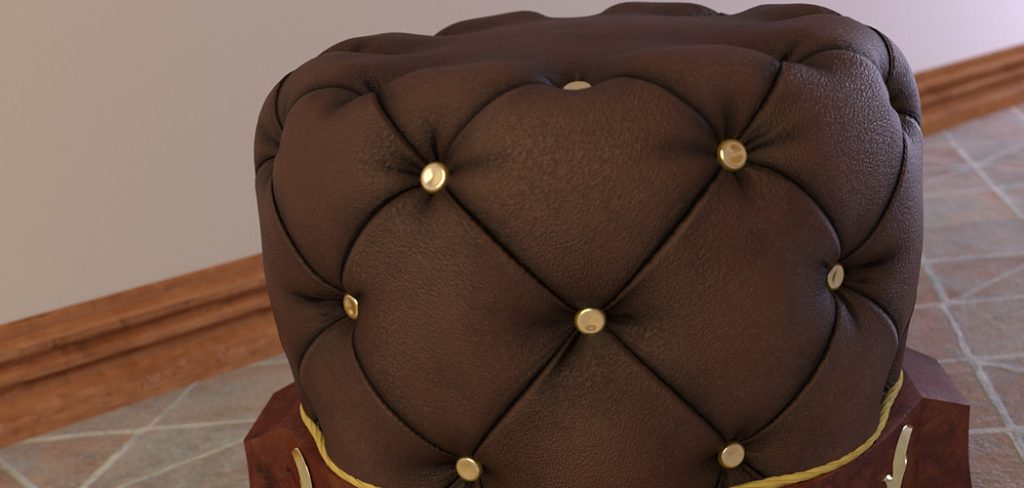
With the right materials, tools, and a bit of patience, you’ll be able to make a beautiful and comfortable ottoman that complements your home’s decor. Let’s get started on this creative journey and transform simple materials into a stylish piece of furniture.
What is an Ottoman?
Before we dive into the tutorial, let’s briefly discuss what exactly is an ottoman. An ottoman, also known as a footstool or pouf, is a piece of furniture that usually has a padded top and serves as a comfortable footrest. It can also be used as additional seating, storage space, or even a decorative accent in a room.
You can find ottomans in various shapes, sizes, and styles, but making a round one allows for versatility in placement and adds an interesting visual element to your home decor. Now that we have a better understanding of what an ottoman is, let’s move on to the materials you will need for this project.
Materials Needed
To make your own round ottoman, you will need the following materials:
1.Plywood:
You will need a circular piece of plywood to serve as the base of your ottoman. The diameter can vary depending on how big you’d like your ottoman to be, but a standard size is around 18-20 inches.
2.Foam:
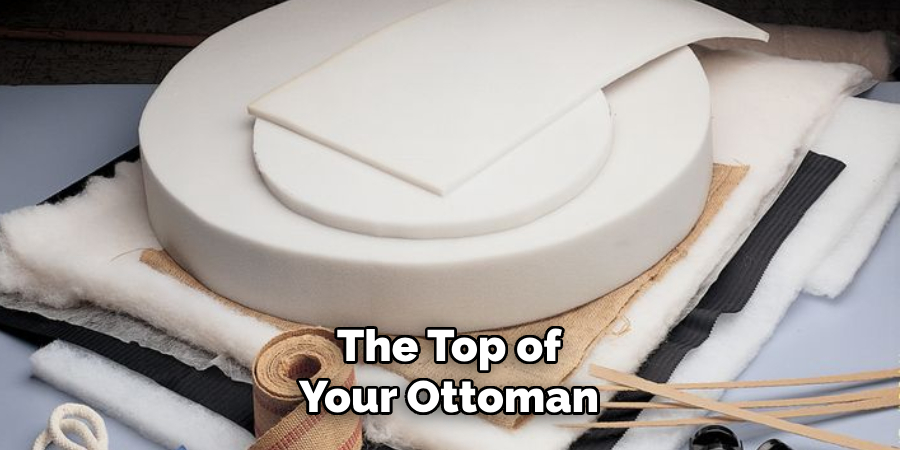
Next, you will need foam to provide comfort and cushioning for your ottoman. You can use any thickness of foam, but a 2-inch or 3-inch foam works well for this project.
3.Batting:
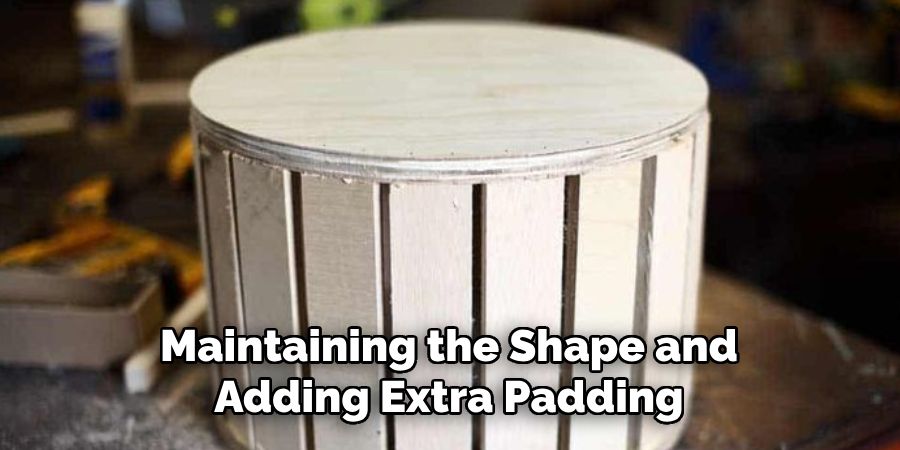
Batting is used to provide a smooth and soft surface for the top of the ottoman. It also helps in maintaining the shape and adding extra padding.
4.Fabric:
Choose a fabric that complements your home’s decor and is durable enough to withstand daily use. You will need enough fabric to cover the top and sides of the ottoman, along with some excess for tucking.
5.Staple Gun and Staples:
A staple gun is essential for attaching the foam, batting, and fabric to the plywood base. Make sure you have enough staples as they tend to run out quickly.
6.Scissors:
You will need scissors to cut foam, batting, and fabric.
7.Measuring Tape:
To ensure accurate measurements for cutting materials, a measuring tape is a must-have.
8.Sewing Machine and Thread (Optional):
If you plan to add piping or any embellishments to your ottoman, a sewing machine and coordinating thread will be needed.
Now that we have all the necessary materials, let’s move on to the step-by-step process of making a round ottoman.
11 Step-by-step Guidelines on How to Make a Round Ottoman
Step 1: Cutting the Plywood Base
Using a jigsaw, cut the plywood into a circle with your desired diameter. Make sure the edges are smooth and even. It’s recommended to use a compass or circular object to help you draw the perfect circle before cutting. But if you don’t have one, you can also trace a large bowl or plate to use as a guide.
Step 2: Cutting the Foam
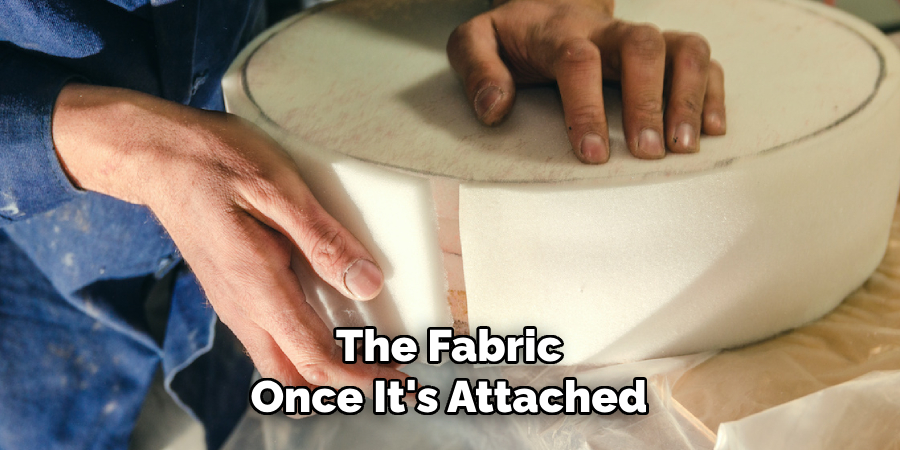
Using the plywood circle as a template, cut the foam into a circular shape. Make sure the edges are smooth and even. You can use a serrated knife or an electric carving knife for this step. It’s important to ensure that the foam is slightly smaller than the plywood circle to allow for a snug fit. This will also prevent the foam from sticking out from under the fabric once it’s attached.
Step 3: Attaching the Foam to the Plywood Base
Place the foam on top of the plywood base and secure it with spray adhesive. You can also use hot glue for this step, but make sure to work quickly before it dries. But if you prefer a longer-lasting option, you can also use a strong adhesive like E6000. You can also add additional layers of foam for extra cushioning, depending on your preference.
Step 4: Adding Batting
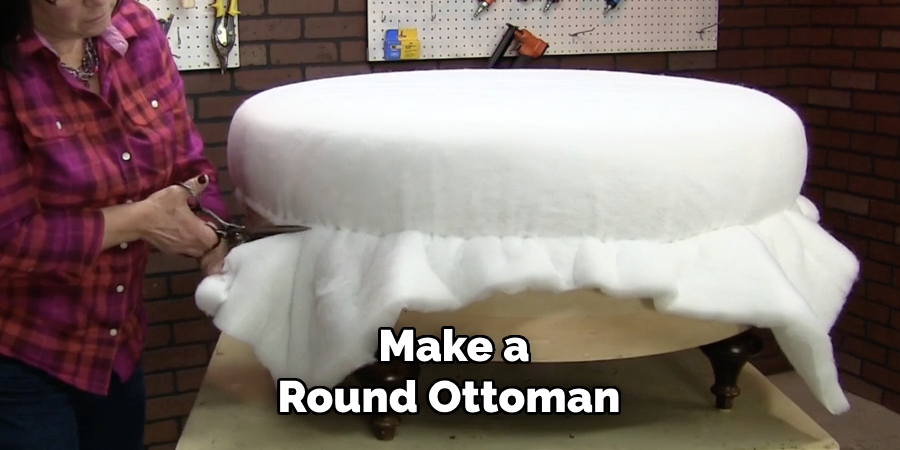
Cut batting slightly larger than your foam circle and place it over the foam. Pull it taut and staple it to the underside of your plywood base using a staple gun. This will give the top of your ottoman a soft and smooth appearance. It’s recommended to add at least two layers of batting for a plusher look. You can also use cotton or wool batting for a more eco-friendly option.
Step 5: Cutting Fabric
Using the plywood circle as a template, cut your fabric into a circular shape. Make sure to leave enough excess fabric for tucking and stapling. The fabric should be large enough to cover the top and sides of your ottoman. It’s also a good idea to iron your fabric before cutting to ensure a smooth and wrinkle-free finish.
Step 6: Adding Piping (Optional)
If you want to add piping or trim to your ottoman, now is the time to do it. Sew the piping along the edges of your fabric circle using coordinating thread. You can also use hot glue for this step, but sewing will ensure a sturdier and more professional finish. It’s also a great way to incorporate additional colors and patterns into your design.
Step 7: Attaching Fabric to Ottoman Top
Place the fabric on top of the batting-covered foam and smooth out any wrinkles. Pull the excess fabric taut and staple it to the underside of your plywood base. But make sure to leave an opening to add the foam and batting layers inside. It’s recommended to start stapling from the center and work your way outwards, pulling the fabric taut as you go. This will help prevent any puckering or wrinkles on the top of your ottoman.
Step 8: Covering the Sides of the Ottoman
Cut strips of fabric wide enough to wrap around the sides of your ottoman and long enough to tuck into the bottom. Lay out the fabric strips on a flat surface and place the ottoman on top, aligning it with one edge of the fabric strip. You can choose to leave the edge of the fabric raw or fold it under for a neater finish.
Step 9: Stapling Fabric to Sides
Pull the fabric strip taut and staple it to the plywood base. Repeat this process until all sides are covered, making sure to pull and smooth out any wrinkles as you go. It’s important to staple the fabric tightly to prevent any sagging or loose areas. But make sure not to staple over the opening left to add foam and batting.
Step 10: Finishing Touches
Trim off any excess fabric or batting that may be hanging from the edges of your ottoman. You can also add non-slip pads or furniture feet to the bottom of your ottoman for added stability. It’s also a good idea to give your ottoman a final once over, securing any loose fabric or staples. You can also add any additional embellishments like buttons or tufting at this stage.
Step 11: Enjoy Your New Round Ottoman
Your round ottoman is now complete, and it’s time to enjoy your creation. Place it in your living room, bedroom, or anywhere you need a stylish and functional piece of furniture. It’s also a great idea to make multiple ottomans in different sizes and colors for a cohesive and versatile look. With these easy steps on how to make a round ottoman, you can now confidently create your own round ottoman that will be the envy of all your friends and family. Happy crafting!
Additional Tips
1.Choosing the Right Fabric
When selecting fabric for your ottoman, consider using upholstery-grade fabric, as it is more durable and built to withstand wear and tear. Additionally, opting for a fabric with some stretch can make it easier to work with, helping to achieve a smooth and polished look.
2.Measuring Twice
A common phrase in DIY projects is “measure twice, cut once.” This ensures that your materials are cut to the correct dimensions, preventing waste and ensuring a professional-looking finished product.
3.Safety First
Always prioritize safety when using tools such as staple guns, jigsaws, and sewing machines. Wear protective gear like safety goggles and gloves to prevent accidents. Follow the manufacturer’s instructions for each tool to ensure proper and safe usage.
4.Adding Personal Touches
Don’t be afraid to personalize your ottoman with unique touches. You can add buttons for a tufted look, use contrasting fabrics for a two-tone design, or even paint the plywood base before adding foam and fabric to create a bespoke piece that reflects your style.
5.Maintenance
To keep your ottoman looking fresh and clean, consider using fabric protector sprays that guard against stains and spills. Regular vacuuming can also help to maintain the fabric’s appearance. If your fabric is removable, follow the care instructions for washing and cleaning.
With these additional tips, you’ll be well-equipped to create a beautiful and durable round ottoman that you can take pride in, knowing it’s a true reflection of your creativity and craftsmanship.
Frequently Asked Questions
Q: Can I Use a Pre-made Round Wooden Base Instead of Cutting Plywood?
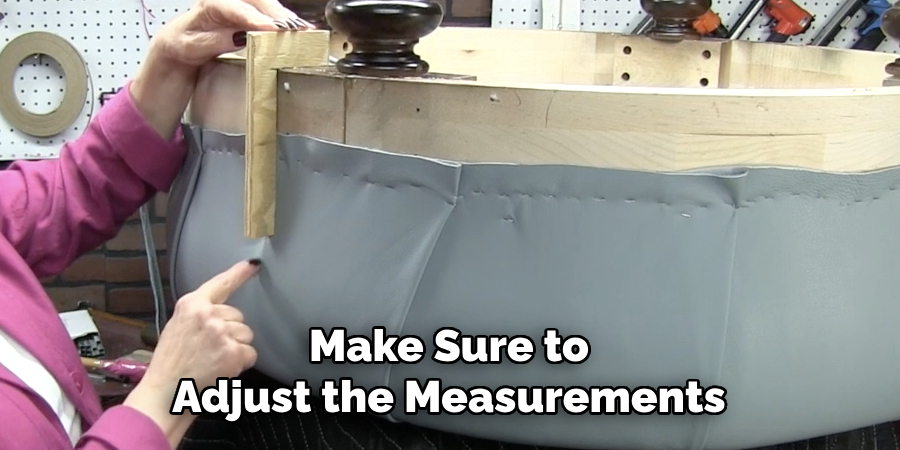
A: Yes, you can use a pre-made round wooden base as long as it is the same size and shape as your desired ottoman. Just make sure to adjust the measurements for the foam, batting, and fabric accordingly.
Q: Can I Use Different Shapes Instead of a Circle?
A: Yes, you can use any shape you like for your ottoman base. However, keep in mind that it may require different cutting and stapling techniques for the fabric covering.
Q: How Long Does It Take to Make a Round Ottoman?
A: The time it takes to make a round ottoman will vary depending on your skill level and the complexity of your design. On average, it can take anywhere from 1-2 hours to complete.
Q: What Tools Do I Need If I Don’t Have a Staple Gun?
A: If you don’t have a staple gun, you can also use a heavy-duty adhesive and clamps to secure the fabric to the base. Just make sure to allow enough time for the adhesive to dry completely before moving on to the next steps.
Conclusion
Making a round ottoman may seem like a daunting task at first, but with the right materials and following these step-by-step guidelines on how to make a round ottoman, you’ll be able to create a beautiful and functional piece of furniture that adds personality to your home decor. Have fun with different fabrics and designs to make an ottoman that truly reflects your style.
