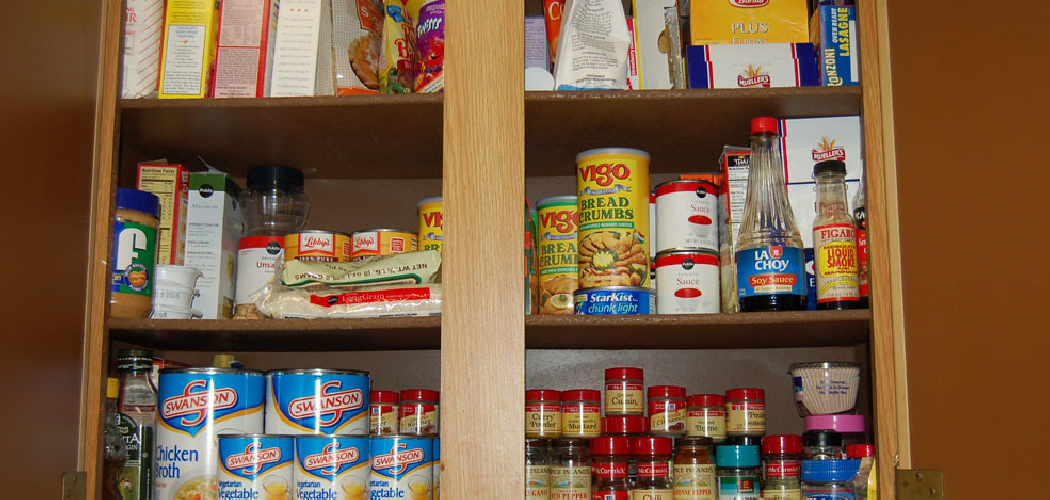
Are you tired of a messy pantry? Are you constantly searching for ingredients but can’t seem to find them because they are hidden behind other items? A pantry cabinet is the perfect solution for organizing your kitchen and maximizing storage space.
How to make a pantry cabinet can be a rewarding DIY project that adds both functionality and style to your kitchen. Whether you’re looking to optimize storage space or create a dedicated area for your food and kitchen supplies, building your pantry cabinet allows you to customize the design to fit your needs and kitchen dimensions.

This guide will walk you through the process step-by-step, from planning and gathering materials to assembly and finishing touches. By the end, you’ll have a beautiful, practical pantry cabinet that perfectly complements your home.
What Will You Need?
Before starting your pantry cabinet project, gathering all the necessary materials and tools is important. Here are some items you’ll need:
- Measuring tape and level
- Circular saw or jigsaw
- Drill and drill bits
- Screws and wood glue
- Wood sheets for shelves, sides, and backing
- Cabinet handle or knob
- Paint or stain (optional)
It’s also a good idea to wear gloves, safety goggles, and a dust mask for protection. Additionally, make sure to have enough workspace in a well-lit area for cutting and assembling the cabinet.
10 Easy Steps on How to Make a Pantry Cabinet
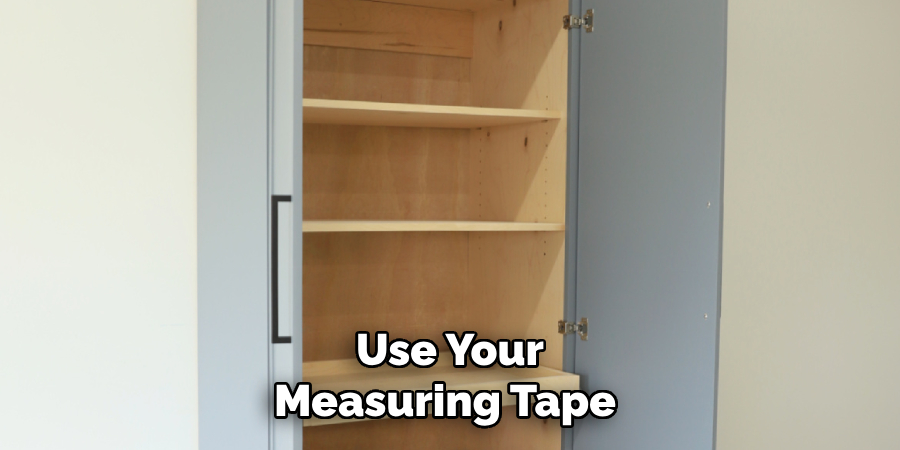
Step 1: Plan and Measure
The first step in creating your pantry cabinet is thorough planning and precise measurement. Begin by assessing the space where you intend to place your pantry cabinet. Use your measuring tape to determine the available area’s height, width, and depth to ensure your cabinet fits perfectly. Consider the amount of storage you need and the types of items you plan to store, as this will impact the number of shelves and the overall design.
Sketch a rough blueprint of your desired cabinet layout, including the number of shelves and the placement of doors or drawers, if applicable. Ensure to leave some room for potential adjustments and modifications. Planning meticulously at this stage will help prevent errors and ensure that your finished cabinet meets your storage needs efficiently.
Step 2: Gather Your Materials
With your plan in place, the next step is to gather all the materials listed in the “What Will You Need?” section. Having everything ready before you start will streamline the process and prevent interruptions. Double-check that you have enough wood sheets according to your measurements and design. If you’ve opted for paint or stain, pick colors that match your kitchen’s décor. Organize your tools and materials in your workspace so everything is easily accessible. Preparing well at this stage will make the assembly process smoother and more enjoyable.
Step 3: Cut the Wood Sheets
With your materials ready, it’s time to cut the wood sheets according to your measurements and design plan. Begin by marking the wood sheets with a pencil to outline the dimensions of your cabinet, including the shelves, sides, and backing. Use a circular saw or jigsaw to cut along the marked lines carefully. Ensure each piece is cut precisely to ensure a snug fit during assembly.
Remember to wear safety goggles and a dust mask to protect yourself from wood particles. Check each piece against your initial plan to confirm that all parts are of the correct size and shape. Accurate cutting is crucial for the stability and overall appearance of your pantry cabinet.
Step 4: Assemble the Frame
With all your wood pieces cut to size, you can start assembling the frame of your pantry cabinet. Begin by positioning the side panels upright and attaching the top and bottom pieces using wood glue and screws. Use a level tool to ensure the joints are flush and the structure is level. Secure the shelves within the frame according to your design, making sure they are evenly spaced. Use additional support brackets if necessary to enhance the stability of each shelf.
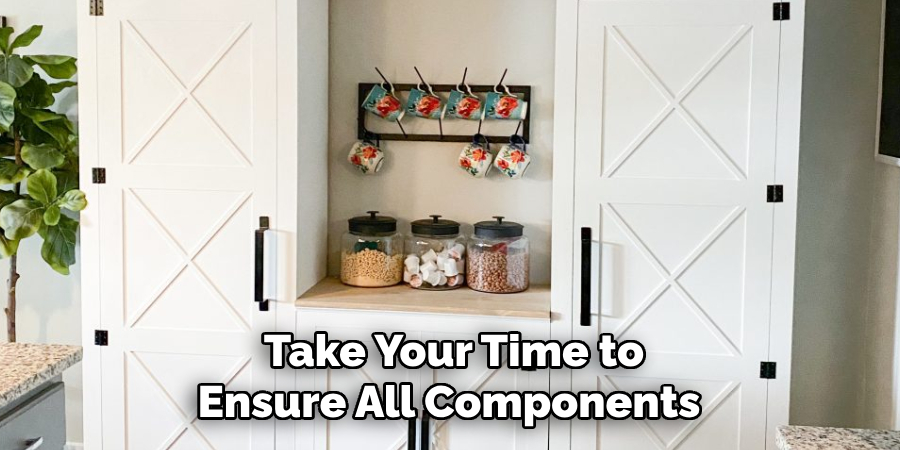
This step requires patience and precision, so take your time to ensure all components are securely attached and aligned perfectly. A well-assembled frame forms the backbone of a sturdy and long-lasting pantry cabinet.
Step 5: Attach the Back Panel
Once the frame of your pantry cabinet is securely assembled, it’s time to attach the back panel. Lay the frame face down and position the backing wood sheet over the open back. Ensure it aligns perfectly with the edges of the frame. Use screws or nails to fasten the back panel to the structure, securing it along the perimeter and at intervals across the middle for added stability. This step solidifies the cabinet’s structure and keeps your stored items from falling out the back. Ensuring the back panel is firmly attached is essential for the overall strength and durability of your pantry cabinet.
Step 6: Install the Doors
With the back panel securely in place, the next step is to install the doors to your pantry cabinet. Depending on your design, position the cabinet doors at the front by aligning them with the frame. Measure and mark the placements for the hinges on both the door and the frame to ensure accurate alignment. Secure the hinges with screws, starting with attaching them to the door first and then to the frame. Check that the doors swing open and close smoothly, making any necessary adjustments for proper alignment.
If desired, attach the cabinet handle or knob to the door, ensuring it is centered and level. Correct installation of the doors enhances the functionality of your pantry cabinet and adds a polished look to the overall design.
Step 7: Finish and Paint or Stain
Now that your pantry cabinet has been fully assembled, it’s time to add the finishing touches. Start by sanding down any rough edges or surfaces to ensure a smooth and polished finish. Use fine-grit sandpaper to prevent damaging the wood. Once sanding is complete, wipe down the entire cabinet with a clean, damp cloth to remove dust particles. If you have chosen to paint or stain your cabinet, now is the time to apply your desired finish.
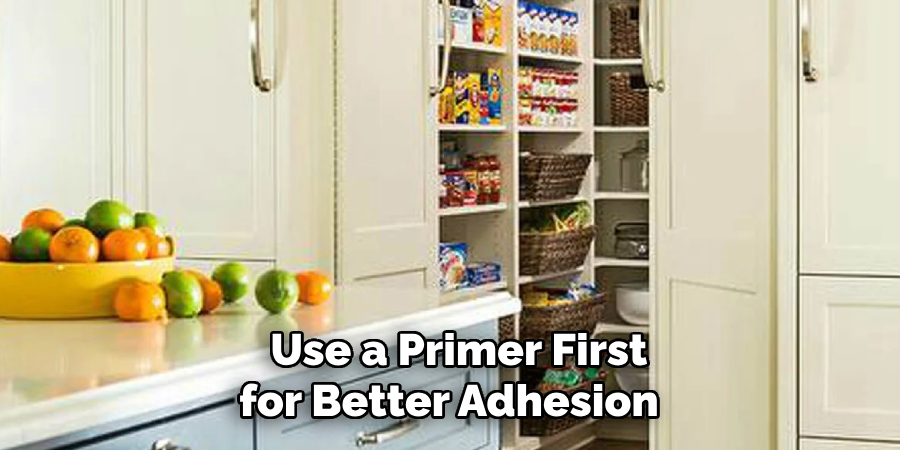
For paint, use a primer first for better adhesion and a smoother finish. Apply your paint or stain evenly using a brush or roller, following the grain of the wood. Allow sufficient drying time between coats, and apply additional coats as needed for an even and vibrant appearance. Finishing your cabinet not only enhances its visual appeal but also provides protection against wear and tear, ensuring its longevity in your home.
Step 8: Install Shelf Brackets and Hardware
With the cabinet’s finish applied and dried, it’s time to install the shelf brackets and any additional hardware. Depending on your design, measure and mark the positions where you will secure the shelf brackets inside the cabinet. Make sure they are level and evenly spaced to support the weight of the items you plan to store. Use screws to attach the brackets to the interior sides, ensuring they are firmly in place. If your design includes additional hardware, such as pull-out trays or specialized organizers, now is the time to attach those components. Pay attention to the manufacturer’s instructions for installation to ensure a secure fit.
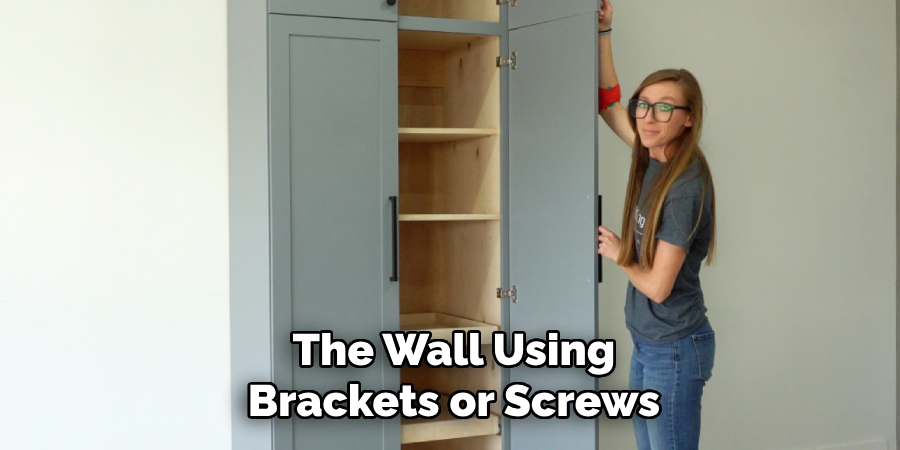
Step 9: Install the Cabinet in Your Kitchen
With the pantry cabinet fully assembled and all components securely in place, the final step is to install it in your kitchen. Begin by selecting a location that offers easy access to your kitchen essentials while ensuring it complements the existing layout. Carefully transport the cabinet to the designated spot, being mindful of any flooring or doorway clearances. Once in position, check that the cabinet is level using a level tool, and make any necessary adjustments with shims to ensure stability. If desired, anchor the cabinet to the wall using brackets or screws for added security, especially if the cabinet will hold heavy items.
Step 10: Organize Your Pantry Cabinet
Now that your pantry cabinet is installed, it’s time to organize it efficiently to maximize its potential. Start by categorizing your items into canned goods, dry ingredients, spices, and baking supplies. Use clear containers or baskets to keep similar items together, which keeps the pantry tidy and makes it easier to see what you have at a glance. Consider using labels for each container or shelf to maintain organization over time. Prioritize accessibility by placing frequently used items at eye level or within easy reach, while less commonly used items can be stored on higher or lower shelves. Organizing your pantry cabinet thoughtfully ensures that you make the most of your storage space, enhancing your kitchen’s functionality and convenience.
By following these ten steps, you can confidently build and install a pantry cabinet that meets your specific needs and adds value to your kitchen.
Conclusion
How to make a pantry cabinet can be a rewarding endeavor that enhances the overall functionality and aesthetic appeal of your kitchen.
By carefully following each of the ten outlined steps, you will create a customized storage solution that perfectly fits your needs and personal style. From designing the cabinet and gathering materials to precise assembly and finishing touches, each stage is crucial to ensure the final product is both durable and visually pleasing. Emphasizing details such as proper alignment, secure attachments, and thoughtful organization will guarantee a sturdy and efficient pantry that stands the test of time.
With dedication and attention to detail, you will achieve a custom pantry cabinet that complements your kitchen environment and adds significant value to your home.