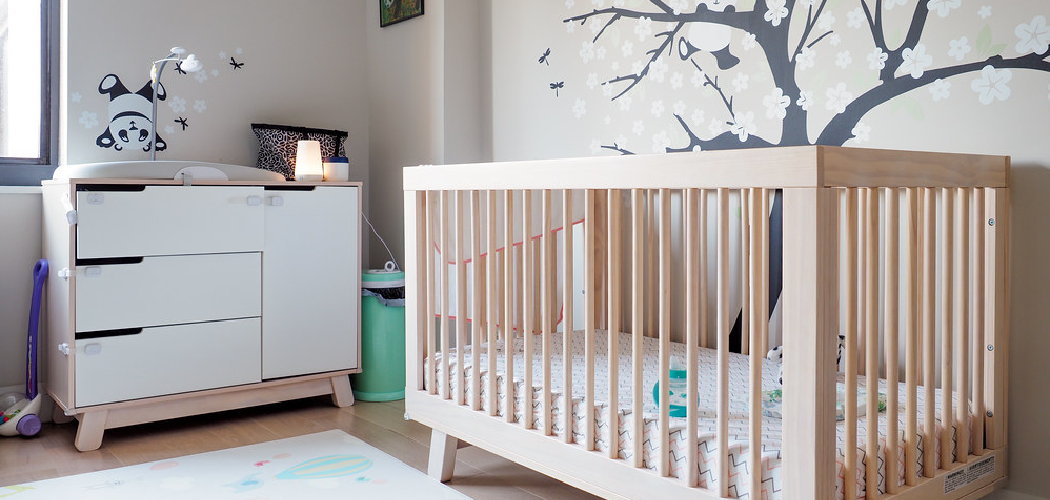
Are you expecting a baby or want to create an adorable crib for your little one? Making a DIY crib can be a fun and rewarding project that will save you money and allow you to customize the design and materials to fit your specific needs.
With patience and the right tools, crafting a crib involves selecting appropriate materials, ensuring safety standards are met, and assembling the components with precision. This guide on how to make a crib, will walk you through each step of the process, from sourcing quality wood and hardware to finishing the final product with care.
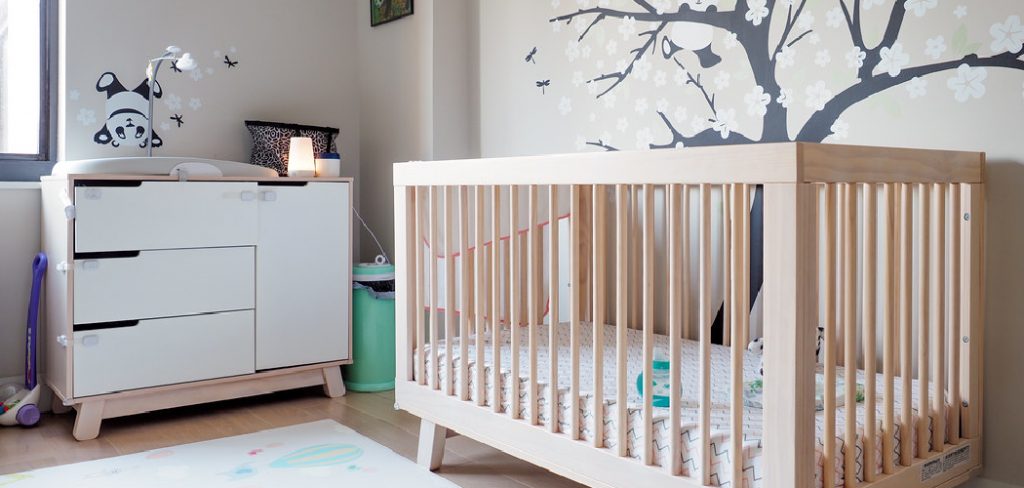
Whether you’re a seasoned woodworker or a beginner taking on your first project, constructing a crib can create a safe and comfortable space for your little one to sleep and grow.
What Will You Need?
Before you begin the process of constructing a crib, it’s essential to gather all the necessary materials and tools. The following is a list of items you will need to complete this project:
- Quality wood such as maple, oak, or cherry
- Measuring tape
- Safety goggles
- Sandpaper (various grits)
- Circular saw or table saw
- Drill with drill bits and screwdriver attachments
- Screws and washers
- Wood glue
For safety reasons, use good quality materials free from defects or damage. It’s also essential to choose hardware that meets safety standards for cribs. You can find this information by checking the product labels
10 Easy Steps on How to Make a Crib
Step 1: Plan Your Design
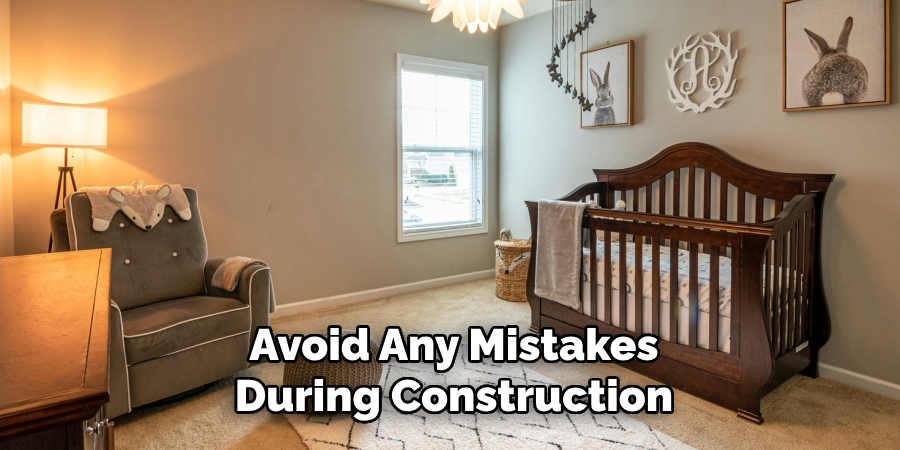
Begin by planning your crib design. Consider the size and style that will best fit your space and needs. Decide on the type of wood you want to use, considering durability and aesthetic appeal. Sketch out your design, noting the dimensions for the base, sides, and slats. Ensure your plan includes features that are compliant with modern safety standards, such as the correct spacing between slats and the height of the crib sides to prevent climbing or entrapment hazards. Having a detailed plan will serve as a blueprint for the rest of your project and help you avoid any mistakes during construction.
Step 2: Cut the Wood Pieces
Once your design plan is finalized, it’s time to cut the wood to the required dimensions. Use your circular saw or table saw to make precise cuts according to your design measurements. Start with larger sections like the crib sides, headboard, and footboard. Ensure that each piece is accurately cut to maintain the structural integrity of the crib. Pay close attention to the width and length of each slat, as these need to fit securely between the crib sides. Always wear safety goggles while cutting and carefully handle the saw to prevent accidents. After cutting, use sandpaper to smooth the edges of each piece to avoid any rough surfaces that could be harmful to your baby.
Step 3: Assemble the Crib Frame
With all wood pieces cut to size, the next step is assembling the crib frame. Begin by taking the cut pieces for the sides, headboard, and footboard and align them according to your design plan. Use wood glue to join the edges where the frame pieces meet, and then reinforce the joints by drilling in screws. Ensure that each connection is secure to provide stability to the crib.
Double-check the alignment and measurements as you assemble to confirm everything matches your blueprint. This ensures the crib’s frame is sturdy and safe for use. Allow the glue to dry completely before proceeding to the next step, adhering to the manufacturer’s drying time for best results.
Step 4: Install the Slats
With the frame securely assembled and the glue dried, install the slats on the crib sides. Properly spaced slats are crucial for safety; therefore, measure the distance between each slat to ensure they comply with safety standards, typically less than 2 3/8 inches apart. Start by marking where each slat will be placed on the crib’s sides. Apply wood glue to the ends of each slat and fit them into the marked positions. Once in place, use screws to attach the slats securely to the crib sides for added stability.

Step 5: Attach the Mattress Support
Now that the slats are securely in place, it’s time to install the mattress support. Depending on the design, you may have a metal frame, wooden slats, or a solid board as mattress support. Position the mattress support at the desired height, ensuring it is level and provides adequate space for your baby to sleep comfortably and safely. Use screws to firmly attach the support to the crib’s side panels, making sure it’s securely fastened and stable.
Adjustable mattress support is often a good feature, as it allows you to lower the mattress height as your child grows and becomes more mobile, enhancing the crib’s safety. Double-check the manufacturer’s recommendations for fastening the mattress support and ensure everything is secure before moving forward.
Step 6: Secure the Crib Base
With the mattress support in place, the next step is to secure the crib base. The crib base typically consists of the lower panel that connects the headboard and footboard, providing overall stability to the structure. Begin by positioning the crib base in line with the integrated frame and ensuring that it sits flush against all adjoining components. Use wood glue along the connecting edges, and reinforce each joint by driving screws through pre-drilled holes to secure the base firmly in place.
It is essential to confirm that the entire assembly is balanced and level; this prevents any wobbling, which could compromise safety. Allow the adhesive to cure fully according to the manufacturer’s instructions to ensure a strong and safe assembly before moving on to the final touches.
Step 7: Finishing Touches
With the crib structure now securely assembled, it’s time for the final touches to enhance both appearance and safety. Begin by inspecting the entire crib for any exposed screws, rough edges, or surfaces that may require additional sanding. Once you’re sure all surfaces are smooth and safe, apply a finish or sealant that is non-toxic and safe for use around children. This adds an aesthetic appeal and protects the wood from moisture and wear over time.
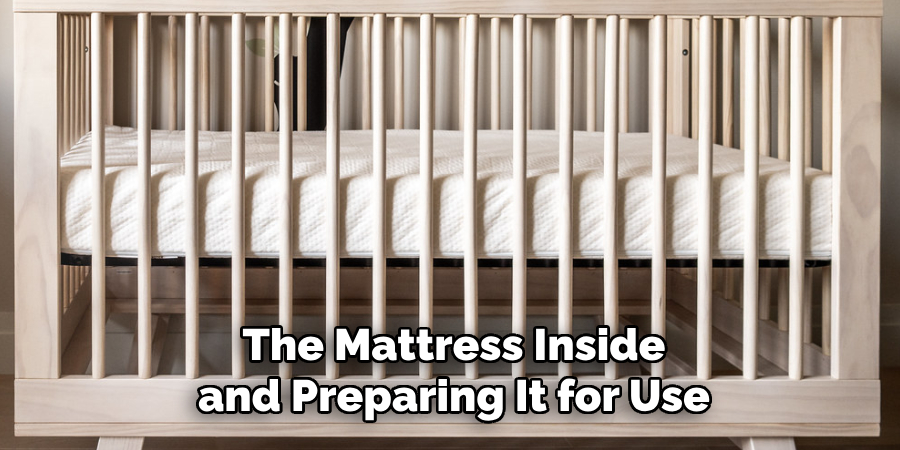
Ensure the finish is arid and free of any lingering fumes, and follow all safety guidelines for ventilation during application. Consider adding protective pads or bumpers to the corners if desired, ensuring they are securely attached and do not pose choking hazards. Conduct a final thorough check to confirm the stability and safety of the crib before placing the mattress inside and preparing it for use.
Step 8: Test the Crib’s Stability
After all components are assembled and finished, testing the crib’s stability is essential to ensure it’s safe for your baby. Gently push and shake the crib from different angles to check for any wobbling or weak points that need reinforcement. Walk around the crib and check that it sits evenly on the floor without rocking. Adjust the crib’s position or add additional supports if needed to maintain overall stability. Testing the crib ensures peace of mind, knowing the structure is solid and ready to provide a safe sleeping environment. Once confident in the crib’s stability, place the mattress securely inside and add any desired bedding following safety standards.
Step 9: Regular Maintenance and Safety Checks
Perform regular maintenance and safety checks to ensure the crib remains a safe and comfortable environment for your baby. Inspect the crib weekly for any loose screws, cracked wood, or hardware that may need tightening or replacement. Check the mattress support to ensure it remains securely attached and at an appropriate height for your child’s development. Periodically verify that slats and other structural elements have not shifted and are still firmly in place. Moreover, confirm that all finishes or sealants remain intact and do not show signs of wear or flaking, which could pose a hazard.
Step 10: Transitioning to a Toddler Bed
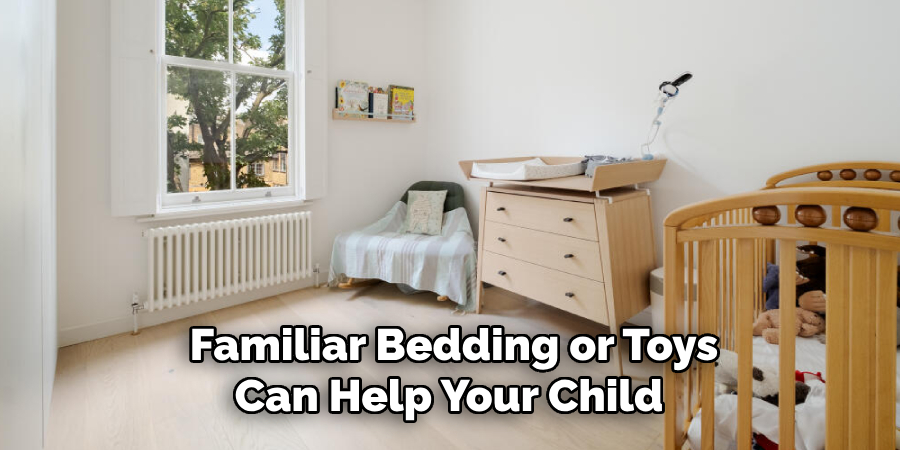
As your child grows, transitioning from a crib to a toddler bed is an important milestone. Many cribs are designed to convert into toddler beds, offering a seamless transition. To convert the crib, remove one side of the crib to create an open space for your child to climb in and out safely. Refer to the manufacturer’s guidelines, which usually provide the necessary parts and instructions for this conversion. Ensure that all newly assembled components are tightly secured and stable. Consider installing a guardrail if the bed is elevated, which can prevent your child from rolling out during sleep. Familiar bedding or toys can help your child adjust to the new setup more comfortably.
By following these steps and recommendations, you can successfully build a safe and sturdy crib for your baby.
Conclusion
How to make a crib from start to finish is a rewarding endeavor that involves a blend of careful planning, precise assembly, and thorough safety checks.
By following each step meticulously, from assembling the slats to transitioning the crib into a toddler bed, you ensure your child has a secure and comfortable space to sleep. Attention to detail during assembly, such as smoothing rough edges and securing all components firmly, is crucial to prevent accidents and provide peace of mind. Regular maintenance, including checks for stability and wear, helps maintain the crib’s longevity and safety standards.
Building a crib is not just about constructing furniture; it’s about crafting a nurturing environment where your baby can grow, dream, and explore safely.
