Are you tired of sitting on your uncomfortable wooden chairs? Do you want to add some comfort and style to your seating arrangement? Then, making a chair pillow is the perfect solution for you!
How to make a chair pillow is a rewarding and straightforward project that can add a personal touch to your home decor. Not only does a homemade chair pillow provide comfort and support, but it also allows you to customize the design to perfectly match your style and needs. Whether you’re new to sewing or looking for a quick DIY project, making a chair pillow can be an enjoyable experience that results in a unique and functional accessory for any room.

This guide will walk you through the essential steps, from selecting the right materials to adding the finishing touches, ensuring you end up with a beautiful and comfortable chair pillow.
What Will You Need?
Before you get started, make sure you have all the necessary materials on hand. Here’s what you’ll need:
- Fabric: Choose a durable and comfortable fabric that fits your style and color scheme. For example, try using cotton or linen for a more casual look or velvet for a touch of luxury.
- Pillow Insert: Based on the size of your chair and personal preference, decide on the size and shape of your pillow insert. You can purchase pillow inserts from a craft store or use an old pillow that needs a new cover.
- Measuring Tape: Accurate measurements are crucial for creating a well-fitted pillow cover, so make sure you have a measuring tape on hand.
- Scissors: You’ll need sharp fabric scissors to cut your fabric and trim any excess threads.
- Pins: Pins will help you keep your fabric in place while sewing, ensuring a neat and professional finish.
- Sewing Machine (optional): While it’s possible to hand-sew a chair pillow, using a sewing machine can save time and provide more precise stitches.
9 Easy Steps on How to Make a Chair Pillow
Step 1: Measure Your Chair
Before diving into the actual sewing, taking accurate measurements is essential to ensure that your chair pillow fits perfectly. Begin by measuring the width, depth, and height of the chair seat where the pillow will be placed. Use your measuring tape to record these dimensions carefully. Make sure to add an extra inch to each measurement to allow for seams and any adjustment you may need during the sewing process.
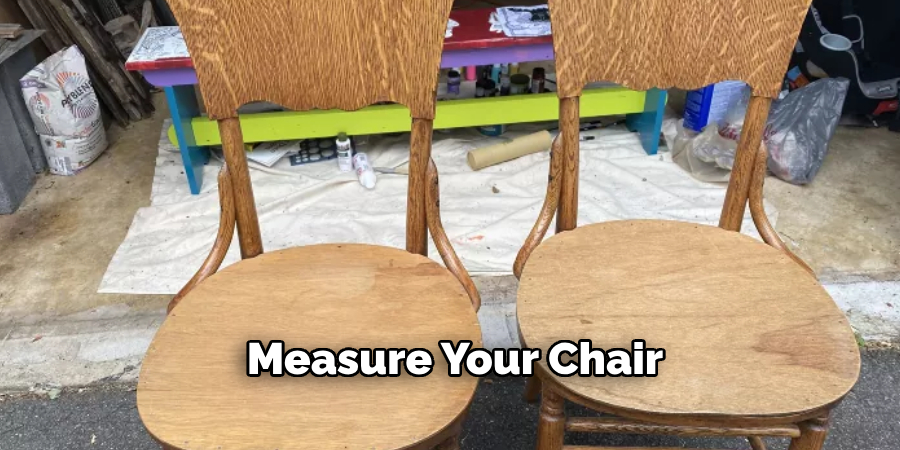
If your chair has a curved or uniquely shaped seat, use pattern paper to create a template of the seat’s shape. This template will serve as a guide when cutting your fabric, ensuring that your pillow cover conforms precisely to the chair’s contours. Once you have your measurements or template, write them down and keep them handy, as you’ll need them when cutting your fabric.
Step 2: Select and Cut Your Fabric
Now that you have your measurements and template ready, it’s time to choose your fabric and cut it to the appropriate size. Lay your fabric flat on a clean, large surface. If you’re using a fabric with a pattern, ensure that the pattern aligns as desired. Place your template or use your measurements to mark the fabric with a fabric chalk or pencil.
Cut two pieces of fabric: one for the front and one for the back of the pillow cover. Be sure to add an extra inch to each side for seam allowances. If you plan to include a zipper or buttons, consider adding additional fabric according to the required specifications for those closures.
Step 3: Pin the Fabric Pieces Together
With your fabric pieces cut to size, it’s time to pin them together in preparation for sewing. Lay the two pieces of fabric with the right sides facing each other, ensuring that the edges align neatly. Use straight pins to secure the fabric pieces together, placing the pins perpendicular to the edges and about half an inch from the sides. This will help keep the fabric in place and ensure that your seams are straight and even.
Step 4: Sew the Fabric Pieces Together
Now that your fabric pieces are pinned together, it’s time to sew them. Using a sewing machine or a needle and thread, start sewing from one corner, ensuring you leave an opening if you’re planning to add a zipper or buttons later. Sew along the edges with a straight stitch, keeping about half an inch from the edge to allow for seam allowances. If you are using a sewing machine, remember to backstitch at the beginning and end of each seam to secure the stitches.
Step 5: Install the Closure
If you’ve chosen to add a zipper or buttons to your pillow cover, now is the time to install them. For a zipper, position it along the open edge with the teeth facing the inside of the fabric. Use a zipper foot on your sewing machine to sew the zipper in place, stitching as close to the zipper teeth as possible. Make sure to sew both sides of the zipper, ensuring it’s securely attached to the fabric. Once installed, test the zipper to ensure it opens and closes smoothly.
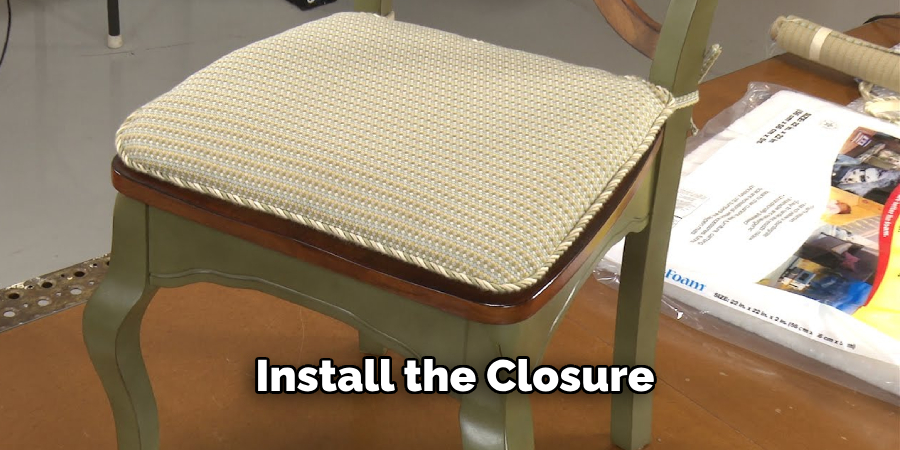
For buttons, mark where you want to place them along the open edge of your pillow cover. Sew the buttons onto one side of the fabric, ensuring they are evenly spaced. On the opposite side, create buttonholes that correspond to the position of each button. You can sew buttonholes by hand or use the buttonhole function on your sewing machine.
Step 6: Trim and Finish Seams
After sewing the fabric pieces together and installing your closure, it’s time to trim any excess fabric from the seams. Use a pair of fabric scissors to carefully trim close to the seams, leaving about a quarter-inch to prevent fraying. If you have a serger, you can use it to finish the edges for a more professional look.
Step 7: Turn Your Pillow Cover Right Side Out
With all the sewing and trimming done, it’s time to turn your pillow cover right side out. Gently pull the fabric through the opening or zipper until the entire pillow cover is turned inside out. Use a blunt tool, such as a chopstick or knitting needle, to push out any corners for a crisp finish.
Step 8: Stuff Your Pillow
Once your pillow cover is right side out, it’s time to stuff it with filling. You can use any type of filling you prefer, such as foam, cotton stuffing, or a pre-made pillow insert. Make sure to fluff the filling and evenly distribute it throughout the pillow for a comfortable and plush result. Once you’re satisfied with the amount of filling, use a slip stitch or ladder stitch to close the opening securely.
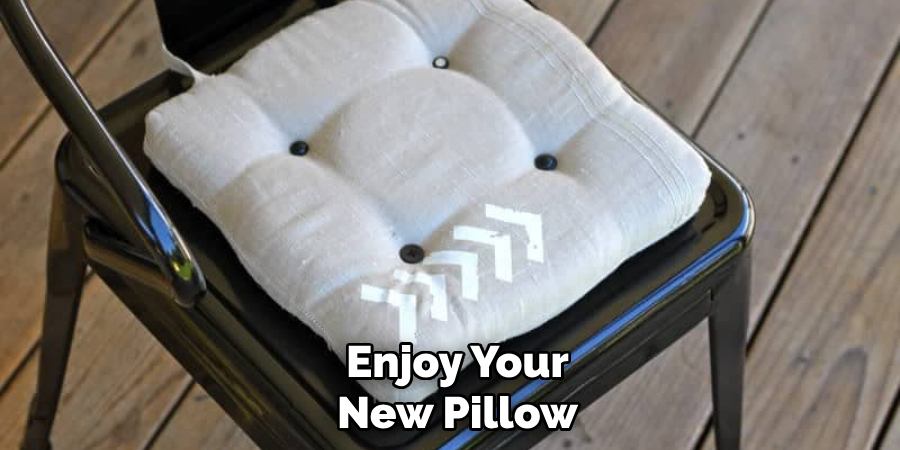
Step 9: Enjoy Your New Custom Pillow
Congratulations, you have successfully made your own custom pillow cover! Place it on your chair and admire how it adds a touch of personalization and comfort to your space. With these simple steps, you can easily create multiple pillow covers in various sizes and patterns to switch up your home decor whenever you want.
By following these steps, you can save money and have the satisfaction of creating something with your own hands.
5 Things You Should Avoid
- Using Unsuitable Fabric: Avoid selecting fabric that isn’t durable or appropriate for the intended use of your chair pillow. Fabrics that are too thin, fray easily, or aren’t comfortable to sit on can result in a pillow that wears out quickly or doesn’t provide the comfort you need.
- Skipping Measuring or Creating a Template: Never skip the step of accurately measuring your chair or creating a template. Incorrect measurements can lead to a poorly fitting pillow cover that looks sloppy and doesn’t stay in place.
- Ignoring Seam Allowances: Failing to include adequate seam allowances can result in a pillow cover that’s too small and doesn’t fit properly. Always remember to add at least an extra inch to each side when cutting your fabric for seam allowances, especially if you’ll be including zippers or other closures.
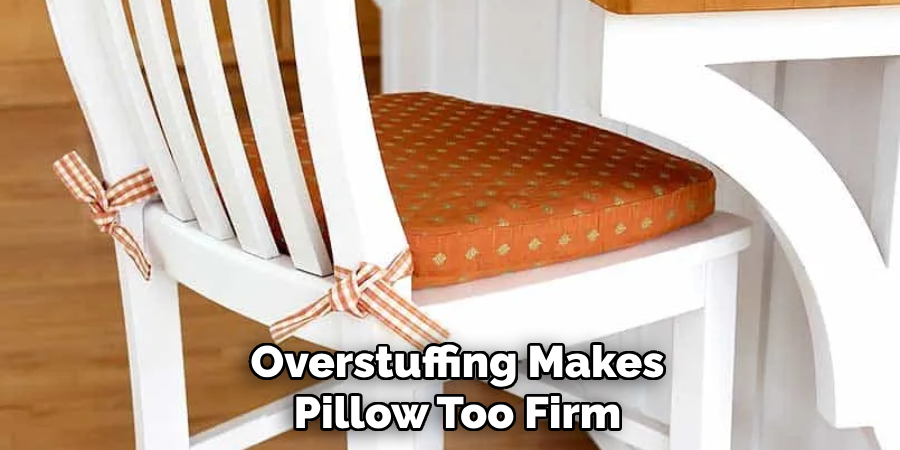
- Overstuffing or Understuffing: Both overstuffing and understuffing your pillow can detract from its comfort and appearance. Overstuffing can make the pillow too firm and strain the seams while understuffing can leave the pillow looking flat and unimpressive.
- Neglecting Finishing Touches: Skipping the final steps of trimming and finishing seams can lead to frayed edges and a less professional look. Ensure you trim any excess fabric and consider using a serger to finish the edges for added durability and a polished finish.
By avoiding these mistakes and following the steps outlined above, you can easily create your own custom pillow covers to add a personal touch to your home decor.
Conclusion
How to make a chair pillow can be a fulfilling and rewarding project, enhancing both your crafting skills and home décor.
By carefully selecting the right fabric, accurately measuring your chair, and following a step-by-step approach, you can create a customized pillow that perfectly fits your needs and style. Remember to pay attention to the details, such as installing closures properly and evenly distributing the stuffing to ensure a comfortable and visually appealing result. Avoid common pitfalls like using unsuitable fabric or neglecting seam allowances to achieve a professional finish.
With a bit of patience and creativity, you’ll not only save money but also enjoy the satisfaction that comes from crafting a unique, handmade addition to your living space.
