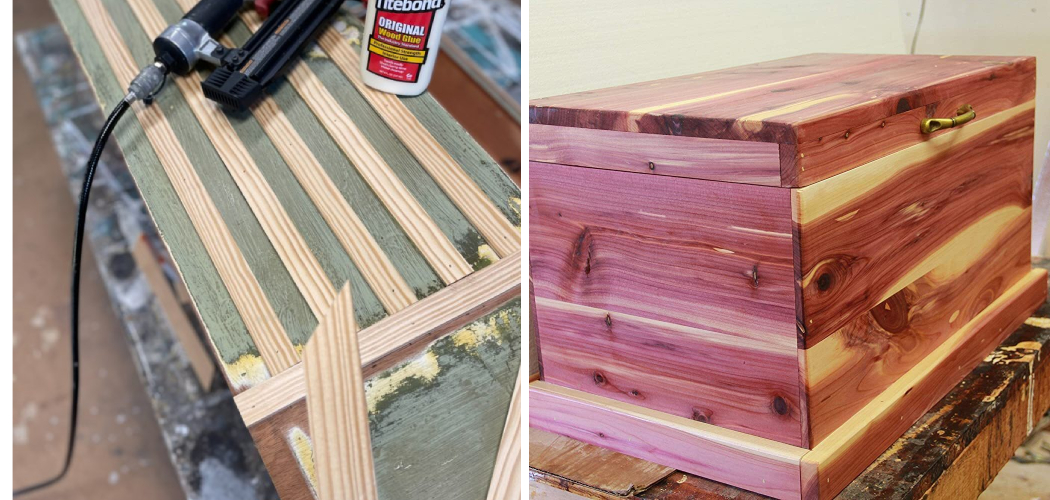
Are you looking to add some rustic charm to your home? A cedar chest is a beautiful and functional piece of furniture that provides storage for blankets, linens, or any other items you want to keep safe.
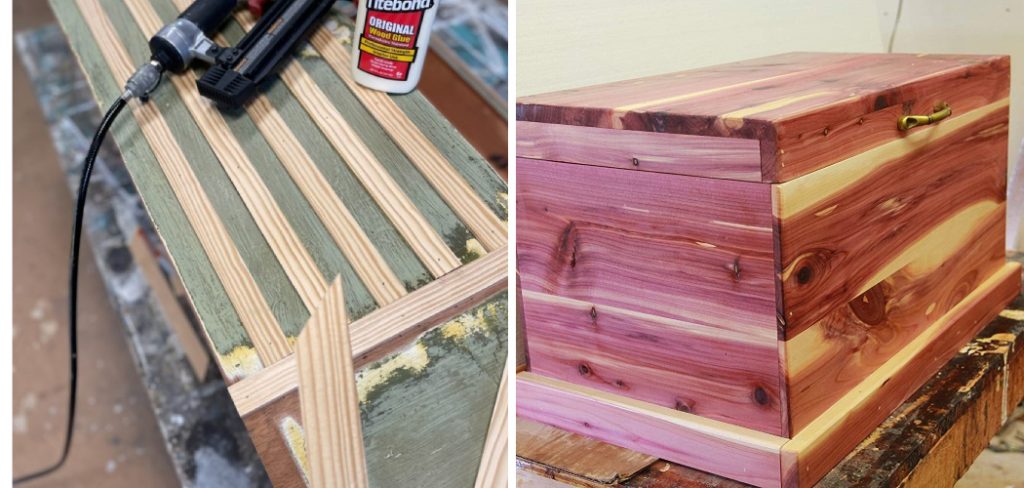
Making a cedar chest is a rewarding woodworking project that results in a beautiful and functional piece of furniture perfect for storing blankets, linens, or keepsakes. Cedar wood is renowned for its pleasant aroma and natural resistance to pests, making it an ideal choice for a storage chest.
This guide will walk you through the process of how to make a cedar chest, from selecting the right wood and tools to the finishing touches. Whether you’re a seasoned woodworker or a novice looking for a project to hone your skills, creating a cedar chest is a satisfying endeavor that combines craftsmanship and creativity.
What Will You Need?
Before you begin, gather all the necessary materials and tools. Here’s a basic list to get you started:
- Cedarwood boards
- Table saw or circular saw
- Power drill with various drill bits
- Hammer and nails/screws
- Wood glue
- Measuring tape and pencil
- Sandpaper in different grits
- Finishing oil or stain
Having clamps, a chisel, and a level on hand is also helpful. You may need additional tools depending on your skill level and design plan.
10 Easy Steps on How to Make a Cedar Chest
Step 1: Select and Cut Your Wood
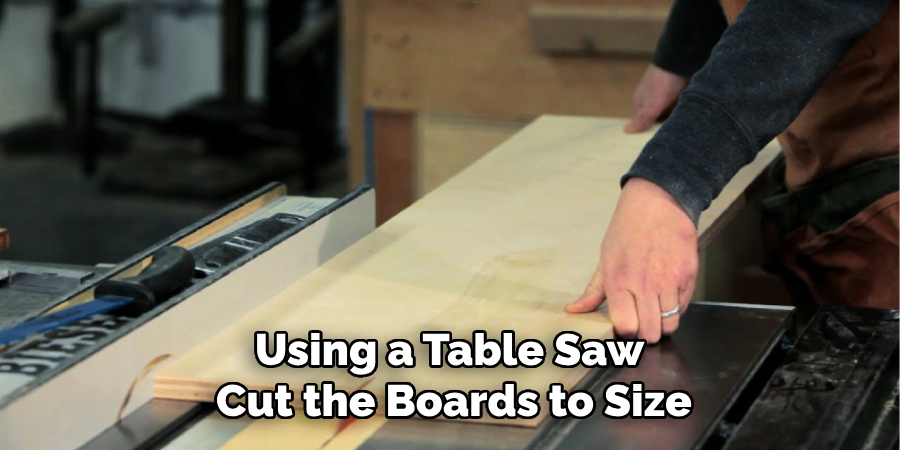
Start by selecting high-quality cedar wood boards. Cedar is preferred for its durability, aroma, and resistance to pests. Measure and mark your boards according to the dimensions you desire for your chest. Using a table saw or circular saw carefully cut the boards to size. Ensure all cuts are straight and precise to facilitate easier assembly. Don’t forget to sand the edges smoothly to avoid splinters and achieve a cleaner look.
Step 2: Assemble the Bottom and Sides
Begin by assembling the bottom panel of the chest. Lay out the cut cedar boards for the bottom and use wood glue along the edges where they meet. Clamp them together to dry completely. Once the glue has set, reinforce the bottom panel by screwing or nailing the boards together for added stability.
Next, attach the side panels to the bottom. Place the side panels perpendicular to the bottom, applying wood glue to the edges where they join. Hold the sides in place with clamps, ensuring they are square and level. Once the glue has dried, secure the sides with nails or screws for durability. Repeat this process for both the front and back panels.
Step 3: Build the Lid
To construct the lid, measure and cut a piece of cedar wood that matches the dimensions of the top opening of your chest. Adding a slight overhang to the lid is best for easy opening. Sand the edges of the lid to ensure they are smooth. You can create a more decorative lid by adding trim or carving details into the edges. Once the lid is prepared, you can attach it to your chest using sturdy hinges. Carefully align the hinges on the back panel and the lid, marking the spots where you will drill pilot holes for the screws. After drilling, screw the hinges into place, ensuring the lid opens and closes smoothly.
Step 4: Install the Interior Supports
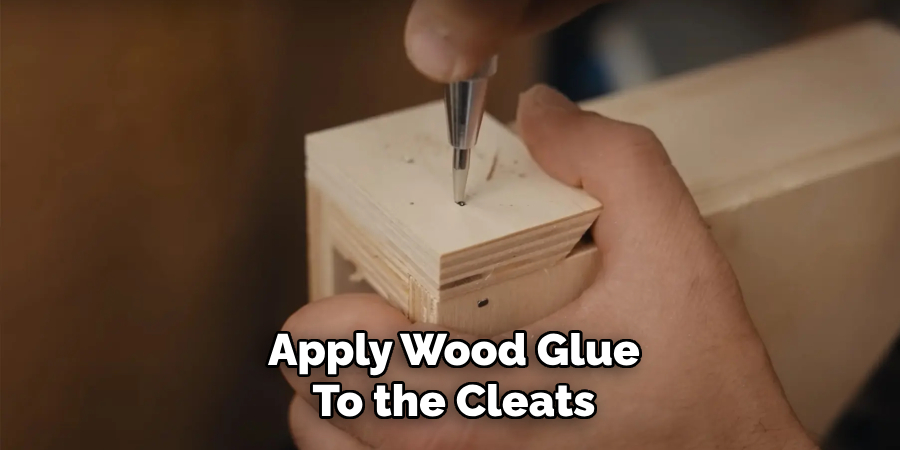
With the basic structure of your chest now complete, it’s time to add interior support to ensure the chest can handle weight without bowing. Begin by measuring the interior dimensions of your chest. Cut support cleats from cedar wood to fit the length and width of the inside bottom. Apply wood glue to the cleats and position them along the edges of the bottom panel, securing them with screws or nails. The cleats will help distribute the load and stabilize the chest base. If your design includes a shelf or additional compartments inside the chest, now is the time to install those supports as well.
Step 5: Add the Front Trim
To enhance the aesthetic appeal of your cedar chest, you can add trim around the front and sides. Start by measuring the length and height of the front panel. Cut pieces of cedar wood to these dimensions, ensuring they match the thickness of your main panels. Sand the edges to smooth out any rough areas. Apply wood glue along the back of the trim pieces and position them carefully on the front panel, using clamps to hold them in place until the glue dries. For added security, you can also nail or screw the trim to the front panel. Repeat this process for the side panels. The trim adds a decorative touch and reinforces the structure of the chest.
Step 6: Install the Back Panel
With the sides and front trim in place, it’s time to attach the back panel of the chest. Measure and cut the back panel to fit perfectly between the assembled side panels and trim. As always, sand the edges for a smooth finish. Apply wood glue to the edges where the back panel joins the side and bottom panels. Position the back panel in place, ensuring it aligns properly with the structure. Use clamps to hold it steady while the glue dries. Once the glue has been set, secure the back panel with screws or nails for enhanced durability. This step completes the main body of your cedar chest, providing a sturdy and enclosed storage space.
Step 7: Sand the Entire Chest
Now that the main structure of your cedar chest is assembled, it’s time to sand the entire piece to achieve a smooth, splinter-free surface. Start with coarse-grit sandpaper to remove rough spots, then gradually move to finer grits for a polished finish. Pay extra attention to joints and edges, ensuring they are even and smooth. Sanding not only enhances the appearance of the wood but also prepares it for staining or finishing.
Step 8: Apply the Finish
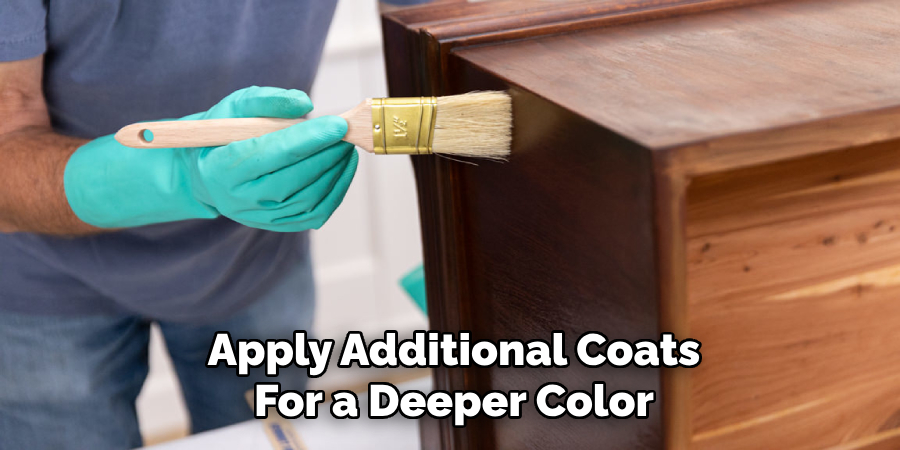
Applying a finish to your cedar chest protects the wood and highlights its natural beauty. Depending on your preference, you can choose between a natural oil finish or a stain. If using oil, apply it with a clean cloth, rubbing it into the wood in a circular motion. Allow it to soak in before wiping off any excess. For staining, use a brush or cloth to evenly apply the stain, following the manufacturer’s instructions for drying times. After the first coat has dried, you can apply additional coats for a deeper color. To ensure durability, finish with a clear varnish or polyurethane for added protection.
Step 9: Attach the Hardware
Adding hardware to your cedar chest will make it both functional and stylish. Choose hinges, handles, and latches that complement the design of your chest. Start by aligning the hinges on the back panel and lid, positioning them symmetrically. Mark the spots for the screws, drill pilot holes, and then attach the hinges securely. Repeat this process to attach handles to the sides or front for easy lifting. If you wish to add a latch, choose a spot on the front panel and ensure it aligns with the lid. Drill appropriate holes and attach the latch with screws.
Step 10: Final Touches
With your cedar chest now assembled and finished, the final touches will give it a perfect, polished look. Inspect the chest for any areas that may need an additional touch of sanding or a final coat of finish. Ensure all hardware is securely fastened and operates smoothly. If desired, you can line the interior with felt or fabric for a more refined look and to protect stored items. Stand back and admire your work—your cedar chest is now complete and ready for use!
By following these steps, you can create a beautiful and durable cedar chest that will not only add storage space but also enhance the aesthetics of your home.
5 Things You Should Avoid
- Using Inferior Quality Wood: Always use high-quality cedar wood for your chest. Using inferior wood can result in a weak structure that may not stand the test of time and could warp or splinter easily.
- Ignoring Safety Precautions: Always follow proper safety guidelines when working with wood and tools. Wear appropriate protective gear, such as safety glasses and gloves, and ensure your workspace is well-ventilated and free of obstacles.
- Skipping the Sanding Process: Sanding is crucial for a smooth finish and to prevent splinters. Skipping this step can result in a rough, unattractive surface that may not hold the finish properly.
- Rushing the Finishing Process: Applying a finish requires patience and precision. Rushing through this process can lead to uneven coverage and a less durable final product. Allow each coat to dry fully before applying the next.
- Misaligning Hinges and Hardware: Proper alignment of hinges, handles, and latches is vital for the functionality of your chest. Misaligned hardware can cause the lid to close improperly or make the chest difficult to open, compromising its overall usability.

By avoiding these common mistakes, you can ensure that your cedar chest is not only visually appealing but also functional and long-lasting.
Conclusion
How to make a cedar chest is a rewarding woodworking project that combines functionality with aesthetic appeal.
Following the outlined steps—from selecting high-quality cedar wood to meticulously finishing the chest—can create a durable and attractive storage solution. Attention to detail such as proper sanding, precise hardware alignment, and thorough finishing ensures that your cedar chest will be cherished for years to come. Avoiding common pitfalls like using inferior materials and rushing the process is essential for achieving the best results.
When completed, your cedar chest will provide practical storage and serve as a testament to your craftsmanship and dedication.
