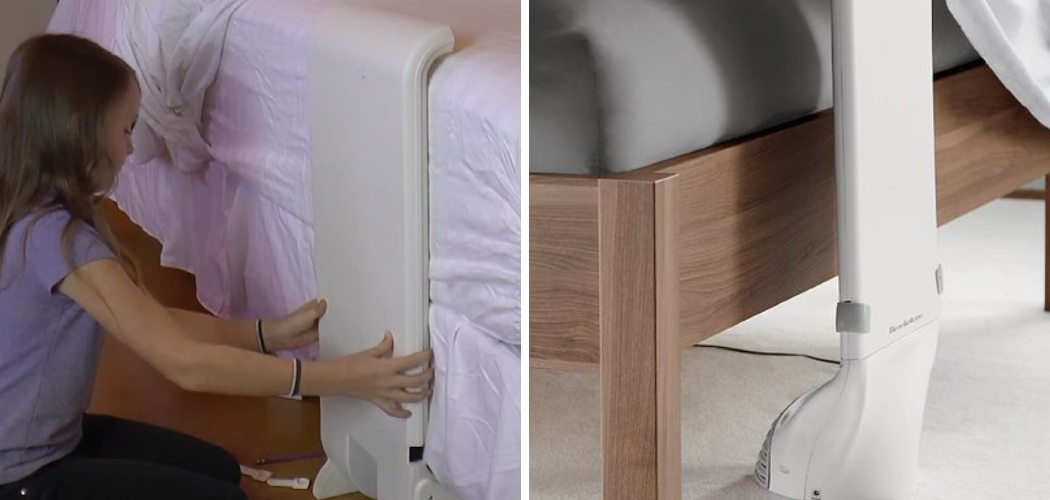
A bed fan is a fantastic addition to your bedroom, especially during those hot summer nights. It helps to keep you cool and comfortable without the need for costly air conditioning. Not only can a bed fan improve your sleep quality by regulating your body temperature, but it can also save on energy bills and promote a more eco-friendly lifestyle.
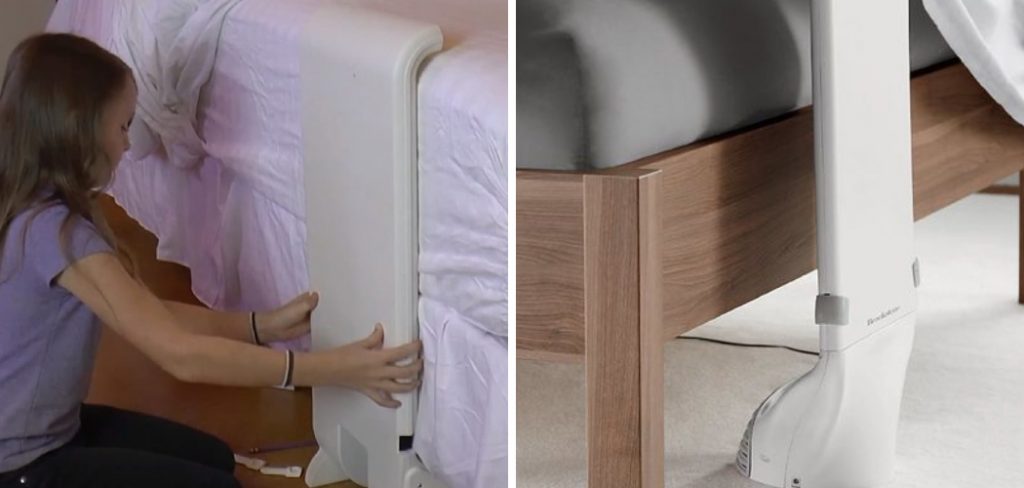
In this guide on how to make a bed fan, we will walk you through the steps to create your very own bed fan using readily available materials. Whether you’re a DIY enthusiast or simply looking to enhance your sleeping environment, this project is both fun and practical.
What is a Bed Fan?
A bed fan is a device that circulates air around your bed, providing a constant flow of cool air and reducing the stuffiness caused by stagnant air in the bedroom. It works by directing the airflow toward your body, creating a cooling effect without chilling the entire room. This makes it an ideal solution for those who are sensitive to cold temperatures or those who live in hot and humid climates.
You can purchase a bed fan from the market, but it can be quite expensive and may not fit your budget. Making your own bed fan allows you to customize it according to your needs and preferences while also saving money.
Materials Needed
To make a bed fan, you will need the following materials:
A Small Fan (Preferably Battery-powered):
A small fan is the heart of your bed fan and will provide the necessary airflow. You can choose a battery-powered fan for convenience, but a regular plug-in fan also works fine.
Flexible Hose:
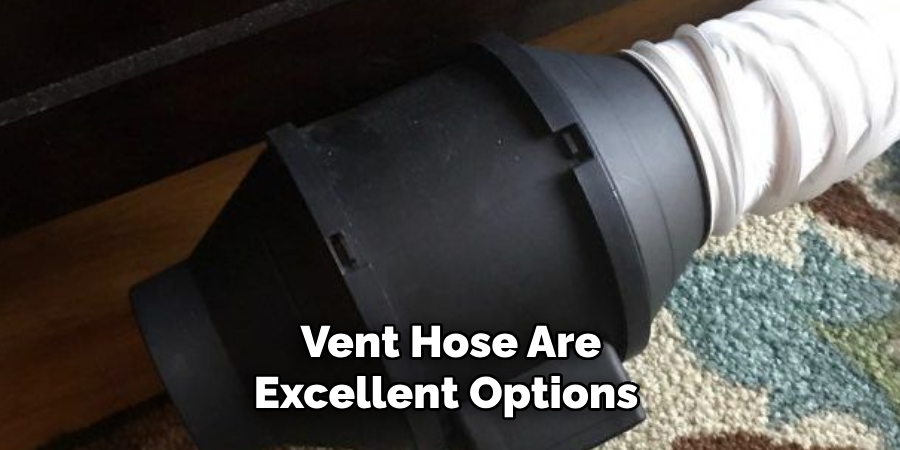
You will need a flexible hose to direct the airflow towards your body. A vacuum cleaner hose or a dryer vent hose are excellent options as they are easily available and affordable.
Zip Ties or Duct Tape:
To secure the hose in place, you will need zip ties or duct tape. These help to keep the hose attached to both the fan and your bed frame.
8 Step-by-step Guides on How to Make a Bed Fan
Step 1: Measure the Hose
Start by measuring the length of the flexible hose. You’ll want the hose to be long enough to reach from the small fan to your bed and have sufficient length to direct the air to where you prefer it. Ideally, the hose should extend from the fan placed under or beside your bed to your torso or feet.
Use a tape measure to get an accurate measurement, and ensure there is a bit of extra length to allow for adjustments and flexibility. Once measured, cut the hose to the desired length using a pair of scissors or a utility knife.
Step 2: Attach the Hose to the Fan
Take one end of the hose and attach it to the fan’s nozzle or grill using zip ties or duct tape. Make sure it is attached securely so there are no air leaks. It’s best to use multiple zip ties or wrap the duct tape around several times for a tight seal. You can also use a hot glue gun to secure the hose to the fan for a more permanent solution.
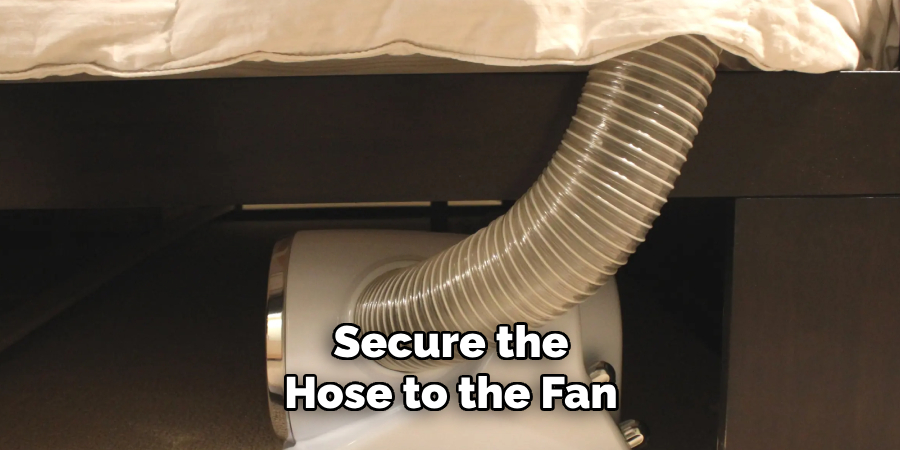
But if you’re using a battery-powered fan, it’s essential to leave the battery compartment accessible for easy replacements.
Step 3: Place the Fan Under or Beside Your Bed
Place the fan under or beside your bed, depending on what works best for you. Ensure that it is close enough to reach the desired body part and that there is an outlet nearby if it’s a plug-in fan. The fan should also be stable and securely positioned to avoid any accidents.
You can also elevate the fan by placing it on a small box or platform to increase the air’s angle and improve circulation.
Step 4: Attach the Hose to Your Bed Frame
Secure the hose to your bed frame using zip ties or duct tape. The hose should be positioned in a way that directs the airflow to the desired part of your body, such as your torso or feet. If you prefer a more permanent solution, you can use brackets or hooks to attach the hose to your bed frame.
Ensure that the hose is not crimped or bent at sharp angles, as this will reduce the airflow effectiveness. The hose should have a smooth, unhindered path from the fan to your bed. Additionally, make sure that the hose is positioned securely so that it doesn’t move around during the night, which could disrupt the air circulation. With the hose firmly in place, you’re now ready to move on to the next step and test your setup.
Step 5: Test the Bed Fan
Turn on the fan and test the airflow. Adjust the hose’s position if needed to direct it towards your body and find the most comfortable angle. You can also adjust the fan’s speed or direction, depending on your preferences.
But be careful not to place the fan too close to your face, as it can cause discomfort and may even dry out your eyes.
Step 6: Make Necessary Adjustments
Once you’ve tested the bed fan, make any necessary adjustments to the hose’s position or the fan’s speed and direction. You may also want to experiment with different types of fans or hoses to find what works best for you.

The beauty of making your own bed fan is that you can customize it to suit your needs and preferences. The possibilities are endless, and it’s all about finding the right combination that provides you with the perfect sleeping environment.
Step 7: Add Optional Features
If you want to enhance your bed fan further, you can add optional features such as a timer or a thermostat. A timer will allow you to set specific times for the fan to turn on and off, while a thermostat will automatically adjust the fan speed depending on the room temperature.
You can also add a filter to the fan to reduce dust and allergens in the air, making it a great option for those with allergies or respiratory issues.
Step 8: Enjoy Your Customized Bed Fan
Congratulations! You now have your very own customized bed fan. Enjoy the benefits of improved airflow and better sleep. You can also experiment with different fan and hose combinations or add more features to enhance its functionality.
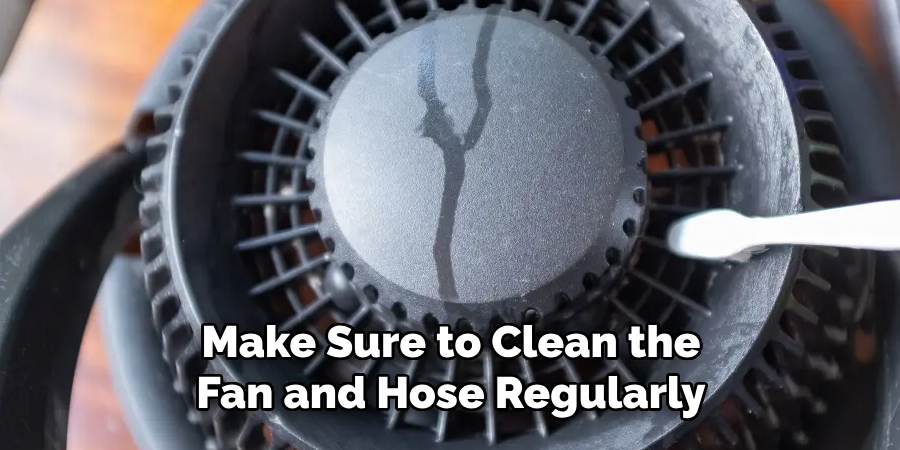
It’s important to note that a bed fan may not be suitable for everyone, and it’s always recommended to consult with your doctor before making any changes to your sleeping environment. Additionally, make sure to clean the fan and hose regularly to maintain their effectiveness and prevent dust accumulation.
Following these steps on how to make a bed fan and using the necessary materials, you can create a bed fan that meets your specific needs while also saving money. Sweet dreams! The possibilities are endless, and it’s all about finding the right combination that provides you with the perfect sleeping environment. So get creative and enjoy your customized bed fan!
Frequently Asked Questions
Q: Can I Use Any Fan for a Bed Fan?
A: Yes, you can use any small fan that has adjustable speed settings. However, it’s best to choose a quiet and energy-efficient fan for optimal sleep quality. You can also use a battery-operated fan for convenience, but make sure to keep the battery compartment accessible.
Q: Is It Safe to Have a Fan Blowing All Night?
A: Yes, it is generally safe to have a fan blowing all night. However, make sure that the fan is not too close to your face or body, and keep the room well-ventilated. Additionally, regularly clean the fan and its components to prevent dust accumulation.
Q: Can I Make Adjustments While Sleeping?
A: It’s best not to make adjustments while sleeping as it can disrupt your sleep cycle. Instead, try to find the most comfortable position before going to bed, and if needed, you can adjust the settings before falling asleep. Additionally, make sure to clean the fan and hose regularly to maintain their effectiveness and prevent dust accumulation. Sweet dreams!
Conclusion
Creating your own bed fan is an innovative and cost-effective way to enhance your sleeping environment. By following these simple steps on how to make a bed fan, you can tailor your bed fan to suit your specific needs and preferences, ensuring a more comfortable and restful night’s sleep.
With the flexibility to adjust airflow direction, speed, and additional features like timers and thermostats, a customized bed fan provides a bespoke solution to managing your sleeping temperature. Remember to consult with a healthcare professional if you have any concerns about making changes to your sleep setup and maintain your fan regularly to keep it running efficiently. Sweet dreams and happy sleeping!
