Achieving a level surface is a crucial step in the successful installation of vinyl plank flooring, ensuring not only an aesthetically pleasing result but also the longevity of the floor.

Whether you’re dealing with uneven subfloors, dips, or bumps, the process of leveling is a fundamental skill for any DIY enthusiast or homeowner looking to embark on a flooring project. In this comprehensive guide, we explore the essential techniques and considerations on how to level floor for vinyl plank.
From assessing the subfloor condition to selecting the right leveling materials and tools, each step of the process is crucial for creating a smooth and stable foundation for your vinyl plank flooring. Join us as we navigate through the intricacies of floor leveling, providing valuable insights to empower you in achieving a flawless and professional finish for your vinyl plank flooring project.
Importance of a Level Subfloor for Vinyl Plank Installation
One of the key elements for a successful vinyl plank installation is ensuring that your subfloor is level. A level subfloor provides a solid foundation for the vinyl planks to be installed on, preventing any potential issues like bubbling or warping. It also helps to create a smooth and seamless look to your flooring, enhancing the overall aesthetic of your space.
But why is a level subfloor specifically important for vinyl plank installation? The answer lies in the composition and characteristics of vinyl planks.
Vinyl planks are made up of multiple layers, including a top wear layer, a design layer, a core layer, and sometimes an attached underlayment. These layers work together to create a durable and waterproof flooring option. However, if the subfloor is not level, the planks may not adhere properly, causing them to shift and potentially affecting the integrity of the flooring.
Additionally, unlike other types of flooring such as laminate or hardwood, vinyl planks are more flexible and can conform to uneven surfaces. This means that any imperfections in the subfloor will be visible on the surface of the floor once installed. Not only can this affect the appearance of your flooring, but it can also lead to gaps or unevenness between planks.

Moreover, a level subfloor promotes stability and reduces the risk of movement or shifting over time. This is particularly important for areas with heavy foot traffic, as any unevenness in the subfloor can cause wear and tear on the vinyl planks.
10 Methods How to Level Floor for Vinyl Plank
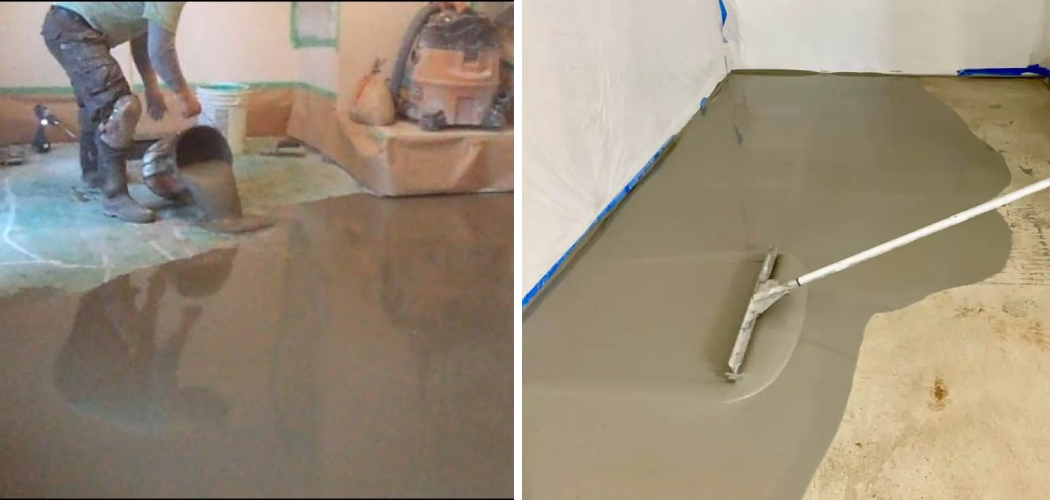
1. Use a Self-Leveling Compound
Self-leveling compound is a popular method for leveling floors before installing vinyl plank. This product is designed to fill in any low spots or uneven areas on the floor, creating a smooth and level surface.
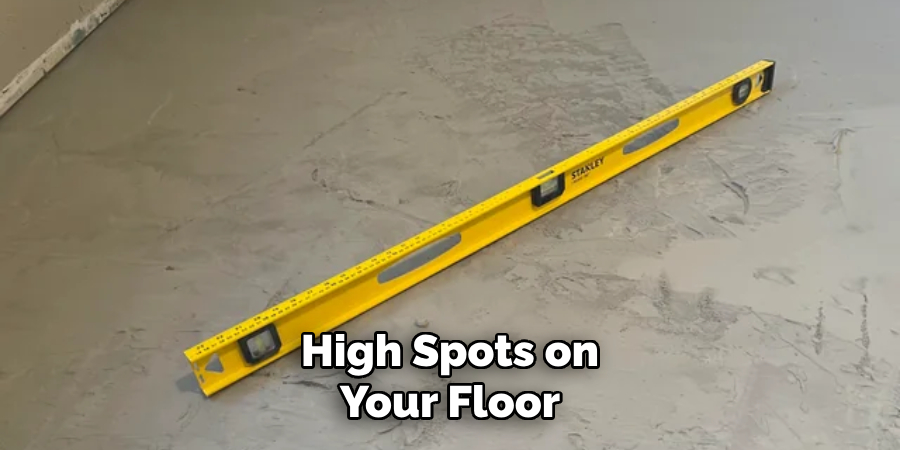
2. Sand Down High Spots
If you have high spots on your floor, sanding them down can help to create a more even surface. Use an electric sander or hand sandpaper to carefully sand down any raised areas until they are level with the rest of the floor.
3. Fill in Low Spots with Floor Patch
For low spots on your floor, using a floor patch can help to even out the surface. This product is similar to self-leveling compound but is thicker and better suited for filling in larger gaps or holes in the floor.
4. Install Plywood Subflooring
If your existing subfloor is not level enough for vinyl plank installation, you may need to install an additional layer of plywood subflooring. This will provide a flat and stable base for your flooring.
5. Level with Shims
Shims are thin pieces of wood that can be used to level out uneven areas on the floor. Place them under the subfloor or between joists to raise up low spots and create a more even surface.
6. Grind Down High Spots
Similar to sanding, grinding down high spots on your floor can help to create a more level surface. Use an angle grinder or concrete grinder with a diamond wheel attachment for best results.
7. Check for Moisture Issues
Before leveling your floor, it’s important to check for any moisture issues that could affect the installation of vinyl plank flooring. If there are any leaks or excess moisture, address these problems first before proceeding with leveling.
8. Use Floor Leveling Compound Underlayment
Floor leveling compound underlayment is specifically designed for use under vinyl plank flooring and can help to create a smooth and level surface. This product is easy to apply and can help to fill in any gaps or uneven areas on the floor.
9. Install a Floating Subfloor System
A floating subfloor system is another option for leveling your floor before installing vinyl plank. This method involves laying down a layer of plywood or OSB on top of the existing subfloor, creating a flat and stable base for your flooring.
10. Hire a Professional
If you are unsure about how to properly level your floor for vinyl plank installation, it’s best to hire a professional contractor. They will have the expertise and tools necessary to ensure that your floor is perfectly level for your new flooring.
Things to Consider When Leveling Your Floor
When installing vinyl plank flooring, it is crucial to have a level floor. An uneven floor can cause the planks to shift and create gaps or bulges in your new flooring. To ensure a successful installation, here are some things to consider when leveling your floor for vinyl plank.
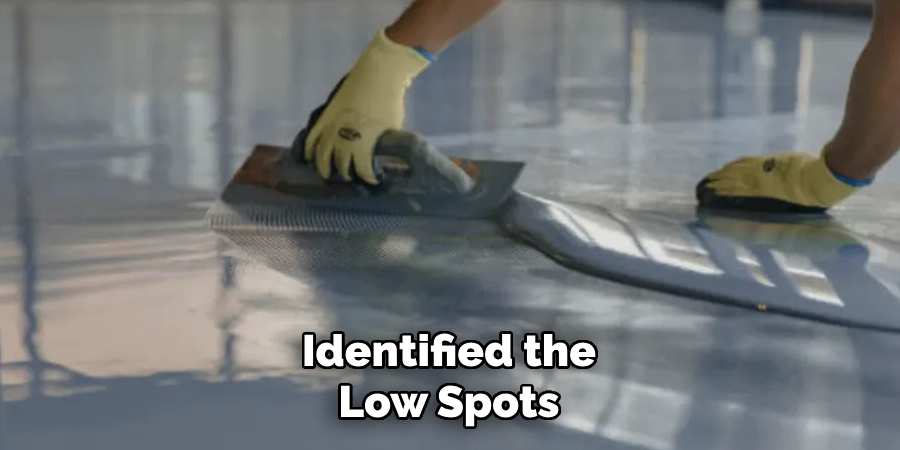
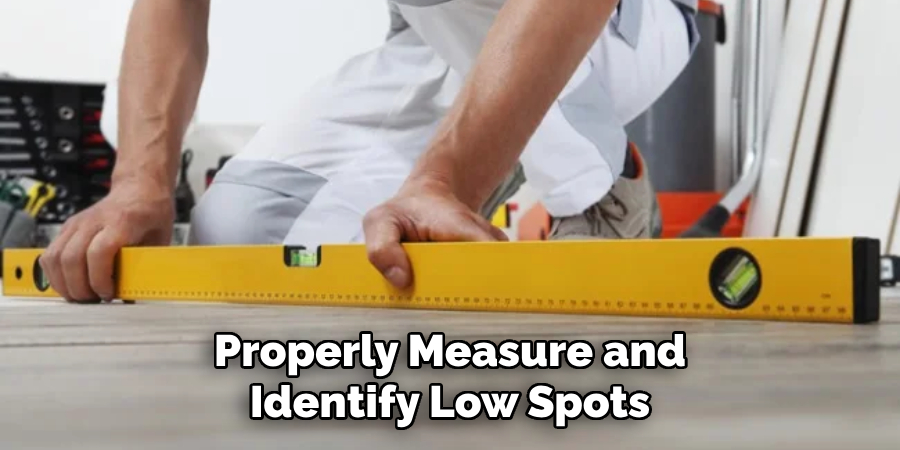
Identify the Low Spots
Before starting any leveling process, you need to identify the low spots on your floor. These are areas that will require extra attention and possibly additional materials to level out.
To find these low spots, use a long level or straight edge and place it in different areas of the room. Look for gaps between the level and the floor; these indicate where the floor is lower than it should be.
Determine the Cause of Unevenness
Once you have identified the low spots, it is essential to determine the cause of the unevenness. It could be due to an old or improperly installed subfloor, settling of the foundation, or even water damage.
It is crucial to address and fix any underlying issues before attempting to level your floor. Otherwise, the problem will continue to occur and potentially cause damage to your new flooring.
Gather the Necessary Materials
The materials you will need for leveling your floor will depend on the severity of the unevenness. For minor low spots, you may only need self-leveling compound or floor patching compound. However, for larger areas, you may also need plywood or cement board to create a level base. Be sure to also have the appropriate tools on hand, such as a trowel, level, and measuring tape.
Follow Proper Installation Techniques
When using self-leveling or patching compounds, it is crucial to follow the manufacturer’s instructions carefully. This includes mixing the compound correctly and allowing for proper drying time before installing your vinyl plank flooring.
If you are using additional materials, such as plywood or cement board, make sure to secure them properly to the subfloor to prevent movement and ensure a level surface.
Consider Professional Help
Leveling a floor can be a daunting task for inexperienced individuals. If you are unsure of the process or the severity of your uneven floor, it may be best to consult with a professional flooring installer. They will have the expertise and equipment to properly level your floor, ensuring a successful vinyl plank flooring installation.
In conclusion, having a level floor is crucial for a successful vinyl plank flooring installation. By identifying low spots, determining the cause of unevenness, gathering necessary materials, and following proper techniques or seeking professional help, you can achieve a level surface and enjoy beautiful new flooring in your home.
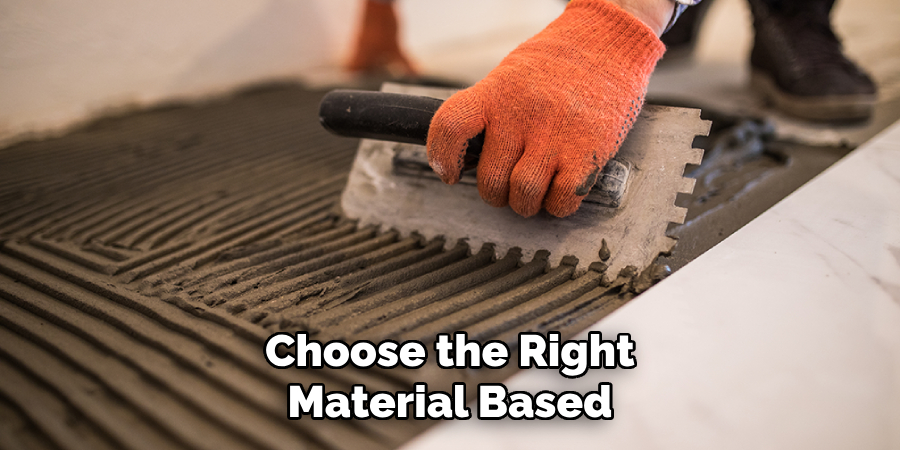
Identifying Appropriate Leveling Materials
When it comes to leveling a floor for vinyl plank installation, there are certain materials that work better than others. The key is to choose the right material based on your specific needs and the condition of your subfloor.
One common material used for leveling floors is self-leveling compound. This is a cement-based product that is mixed with water and applied as a liquid. It will flow and level itself out, filling in any dips or uneven areas on the floor. However, self-leveling compound can be a bit difficult to work with, so it’s important to follow the manufacturer’s instructions carefully.
Another option is floor patching compound, which is typically made with vinyl or latex. This material is thicker than self-leveling compound and can be used to fill in larger gaps or imperfections. It’s also easier to work with and dries quickly, making it a popular choice for DIY projects.
For smaller imperfections, you can use a floor patching mixture that comes in powder form. This type of compound is typically mixed with water and applied directly to the problem areas. It can be sanded down once dry to create a smooth, level surface.
In some cases, you may need to use a combination of these materials to achieve the desired levelness for your floor. It’s always a good idea to do a test patch first before applying any leveling material on the entire floor.
Common Mistakes to Avoid
When leveling a floor, there are several common mistakes that can lead to an unsuccessful installation. These include not properly identifying and addressing low spots, using the wrong materials or techniques, and rushing the process.
It’s also important to note that self-leveling compound is only effective for minor unevenness. If your floor has significant dips or high spots, you may need to use a different approach or seek professional help.
Identifying and Addressing Low Spots
Before beginning the leveling process, it’s crucial to thoroughly inspect the floor for any low spots. These are areas that dip below the desired level and need to be filled in with a self-leveling compound.
One common mistake is assuming that all areas of the floor are level and not taking the time to properly measure and identify low spots. This can result in an uneven surface once the vinyl planks are laid.
To avoid this, use a long level or straight edge to check for any dips in the floor. If any are found, mark them with a pencil so they can be addressed during the leveling process.
Conclusion
So go ahead and get started on leveling your floor for vinyl plank today! You’ll be one step closer to enjoying beautiful and durable flooring that not only adds value to your home but also creates a comfortable and inviting living space for you and your loved ones.
Hopefully, this article gave you some helpful tips about how to level floor for vinyl plank successfully, so now that you have the proper knowledge on how to get the job done, why not give it a try today?