Installing a wall mount faucet can add both functionality and style to your kitchen or bathroom.
However, the process may seem daunting if you’re unfamiliar with plumbing tasks. Fear not! With the right tools, materials, and step-by-step guidance, installing a wall mount faucet can be a manageable DIY project.
In this article, we’ll walk you through the process of how to install wall mount faucet, covering everything from preparation and assembly to mounting and connecting the plumbing.
Whether you’re upgrading an existing faucet or installing one for the first time, our comprehensive guide will provide you with the knowledge and confidence to tackle this project with ease. Get ready to elevate the look and functionality of your space with a sleek and convenient wall mount faucet installation.
Importance of Proper Installation for Functionality and Aesthetics
Proper installation of a wall mount faucet is crucial for both functionality and aesthetics.
When installed correctly, a wall mount faucet not only enhances the visual appeal of your space but also ensures long-term reliability and performance. Incorrect installation can lead to a host of issues, such as leaks, improper water flow, and even damage to the wall or plumbing system.
Furthermore, an uneven or misaligned faucet can detract from the overall look of your kitchen or bathroom, making the space appear unprofessional and unfinished.
By taking the time to follow the correct installation procedures, you will ensure that your faucet works efficiently and looks perfectly integrated into your design, providing a seamless blend of form and function.
Key Considerations Before Starting the Installation
Before you begin the installation of your wall mount faucet, there are several key considerations to keep in mind to ensure a smooth and successful project. Firstly, verify the type of wall you will be working with; some walls may require additional support or reinforcement to handle the weight of the faucet and ensure a stable installation.
Secondly, make sure you have all the necessary tools and materials handy, including a drill, pipe wrench, plumber’s tape, and mounting hardware, to avoid interruptions once you start the process. It’s also crucial to check the type and size of your plumbing connections, as mismatched fittings can complicate the installation.
Additionally, shut off the water supply and drain any excess water from the pipes to prevent leaks during installation.
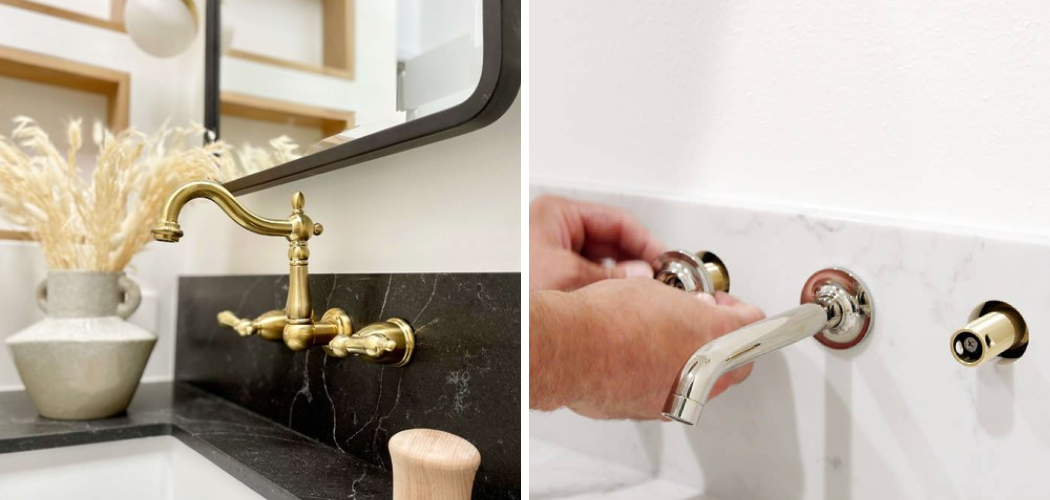
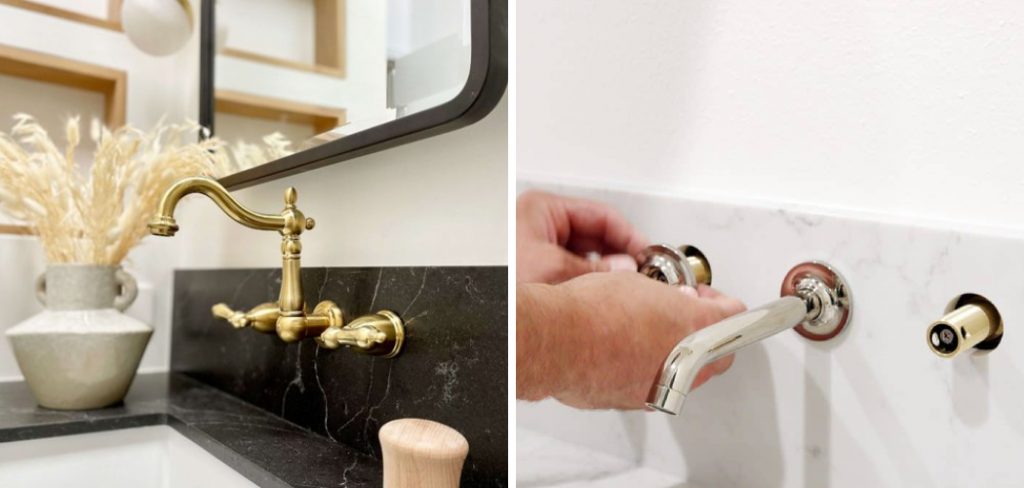
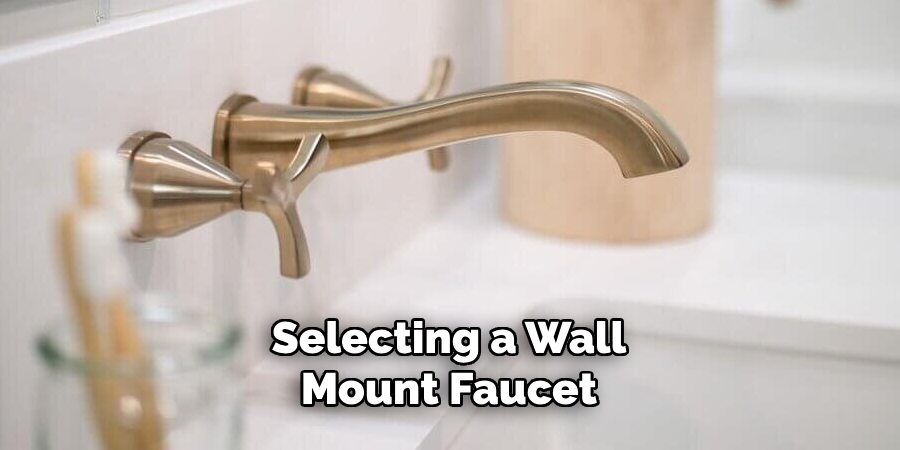
Types of Wall-Mount Faucets
When it comes to wall-mount faucets, there are several types available, each with its unique design and functionality to suit different needs and preferences.
- Single Handle Faucets: These faucets feature a single lever that controls both the temperature and flow of water. They are known for their sleek and minimalist design, making them an excellent choice for modern kitchens and bathrooms. The single handle design also makes them easy to use with one hand.
- Dual Handle Faucets: Offering more precise control over hot and cold water, dual handle faucets have separate handles for each temperature. This type is ideal for those who prefer traditional aesthetics and greater control over water temperature. They often come in various styles, ranging from classic to contemporary.
- Bridge Faucets: Combining vintage charm with modern convenience, bridge faucets have an exposed, elevated pipe connecting the hot and cold water supplies, creating a “bridge.” These faucets are a great option for those looking to add an element of classic elegance to their space.
- Pot Fillers: Specifically designed for the kitchen, pot fillers are extendable faucets mounted near the stove. They make it convenient to fill large pots without having to carry them from the sink to the cooktop, reducing strain and potential spills. Pot fillers can be swung out of the way when not in use, offering flexibility and maximizing kitchen space.
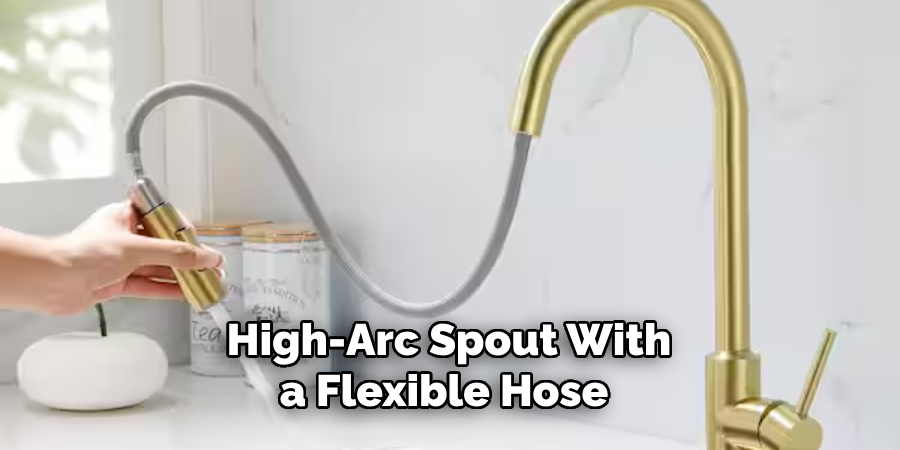
- Commercial Style Faucets: These faucets are inspired by professional kitchens and feature a high-arc spout with a flexible hose and spray head. They provide versatility and powerful water flow, making them highly functional for heavy-duty kitchen tasks. They are perfect for anyone who loves to cook and needs a robust, practical faucet.
Different Styles and Designs Available
Wall-mount faucets come in a variety of styles and designs to complement any decor, ranging from minimalist and modern to ornate and traditional. Understanding the different styles can help you select a faucet that will seamlessly blend with your space’s overall aesthetic.
- Modern/Contemporary: These faucets focus on clean lines, geometric shapes, and a sleek, polished finish. Materials like chrome and stainless steel are commonly used to emphasize the modern look. They often feature a minimalist design with single handle controls for a streamlined appearance.
- Traditional/Classical: Characterized by intricate detailing and elegant curves, traditional wall-mount faucets often feature dual handles and are inspired by time-honoured designs. Antique brass, bronze, and copper finishes are typical of this style, adding a touch of historical charm to any kitchen or bathroom.
- Transitional: Blending elements of both modern and traditional styles, transitional faucets offer a versatile look that works well in a variety of settings. These designs combine the clean lines of contemporary styles with the subtle detailing found in traditional faucets, providing a balanced and refined option.
- Industrial: Emphasizing functionality and rugged aesthetics, industrial-style faucets often feature exposed hardware, robust materials, and a utilitarian design. Matte black and brushed nickel finishes are popular choices, giving these faucets a distinctive, edgy look that pairs well with loft-style interiors and modern kitchens.
- Vintage/Retro: For those who prefer a nostalgic touch, vintage or retro wall-mount faucets are the perfect choice. These designs often incorporate elements from the early to mid-20th century, such as cross handles and porcelain accents. The finishes, including polished brass and oil-rubbed bronze, add an authentic retro feel.
- Eco-Friendly: With increased emphasis on sustainability, eco-friendly faucets are designed to conserve water without compromising performance. These faucets often come with features such as low-flow aerators and sensors to control water usage, making them an excellent choice for environmentally-conscious homeowners.
Selecting a wall-mount faucet that suits your specific style and design preferences can enhance the look and functionality of your space, ensuring that it not only performs well but also visually harmonizes with your overall decor theme.
Features and Functions of Wall-Mount Faucets
Wall-mount faucets offer a range of features and functions that make them a practical choice for both kitchen and bathroom setups. Understanding these can help you make an informed decision when selecting a faucet for your space.
Key Features
- Adjustable Reach: Many wall-mount faucets come with adjustable spouts, allowing you to extend or retract the faucet to better suit your sink or workspace. This feature adds versatility and convenience, enabling you to direct water exactly where you need it.
- Swivel Spouts: Swivel spouts are often a standard feature in wall-mount faucets, especially in kitchen models. The ability to rotate the spout provides increased flexibility for washing dishes or filling pots, making kitchen tasks more efficient.
- Spray Functions: Some wall-mount faucets include a pull-out or pull-down spray head, offering different spray modes such as stream, spray, and pause. This is particularly useful in kitchens for a more thorough cleaning and is equally beneficial in the bathroom for hair washing.
- Temperature Controls: Advanced models come with precise temperature controls, sometimes integrated into a single handle. This allows you to easily set and maintain your preferred water temperature without constant adjustments.
- Durable Construction: High-quality wall-mount faucets are built from durable materials like brass or stainless steel, ensuring long-lasting performance. These materials are also resistant to corrosion and tarnishing, maintaining the faucet’s aesthetic appeal over time.
- Water Efficiency: Many modern wall-mount faucets are designed with water-saving features such as aerators, which mix air with water to reduce flow without compromising on pressure. This is both environmentally friendly and cost-effective.

Key Functions
- Maximizing Counter Space: By mounting on the wall, these faucets free up valuable counter space, making them ideal for smaller kitchens and bathrooms. This also makes cleaning the counter easier since fewer obstructions are present.
- Enhanced Aesthetic Appeal: Wall-mount faucets can serve as a focal point in the room, adding a striking visual element. Their unique installation and variety of designs allow them to complement any decor style.
- Ease of Cleaning: With fewer components resting on the counter, wall-mount faucets reduce the likelihood of grime and moisture buildup around the base. This results in an overall cleaner and more hygienic environment.
- Improved Accessibility: The elevated position of wall-mount faucets can provide better accessibility, especially for individuals with mobility issues or for filling tall pots and containers in the kitchen.
By considering these features and functions, you can choose a wall-mount faucet that not only meets your practical needs but also enhances the overall aesthetic and functionality of your space.
Necessary Tools and Materials
When installing a wall-mount faucet, having the right tools and materials at hand is essential for a smooth and efficient process. Below is a list of what you’ll typically need:
Tools
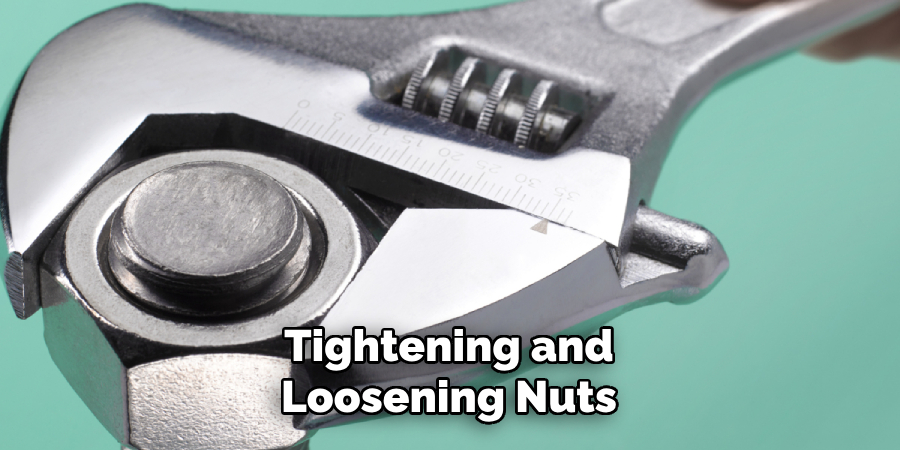
- Adjustable Wrench: Vital for tightening and loosening nuts and bolts without damaging the fixtures.
- Pipe Wrench: Essential for gripping and turning pipes, particularly if you need extra leverage.
- Phillips and Flathead Screwdrivers: Required for installing and securing screws that come with the faucet.
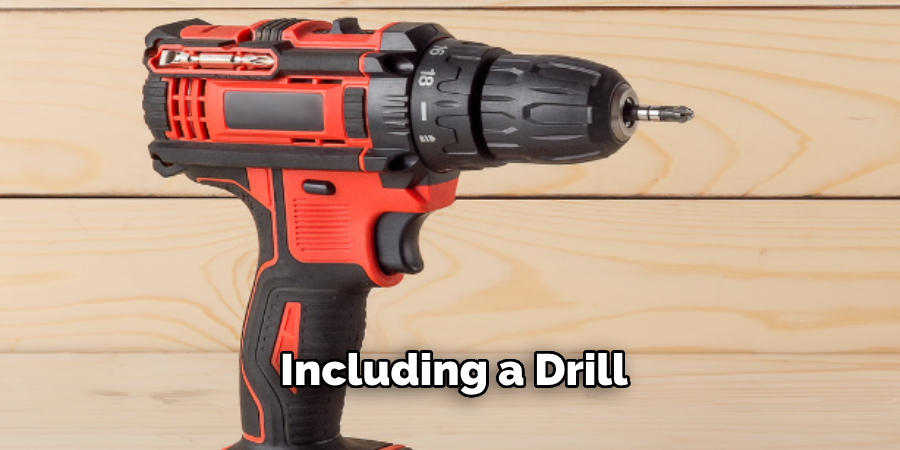
- Drill: Used to create holes for mounting the faucet if they are not pre-existing.
- Level: Ensures that your faucet is mounted straight, avoiding any sloping that could affect both aesthetics and functionality.
- Measuring Tape: Critical for accurate measurements to place the faucet at the correct height and distance.
- Plumber’s Tape: Also known as Teflon tape, this prevents leaks by sealing threaded pipe connections.
- Pipe Cutter: Necessary if you need to cut pipes to the required length for the installation.
Materials
- Wall-Mount Faucet Kit: Includes the faucet, handles, and necessary mounting hardware.
- Supply Lines: Flexible hoses that connect the faucet to your home’s water supply.
- Mounting Brackets: Provides sturdy support for the faucet when mounted on the wall.
- Sealant: Used to ensure watertight connections, preventing any potential leaks.
- Plumbing Putty: Needed to create a water-resistant seal around fixtures and drains.
- Backer Board: Offers a stable surface to mount the faucet, especially useful for drywall installations.
- Escutcheon Plate: Decorative plates that cover the wall openings, giving a clean finish to the installation.
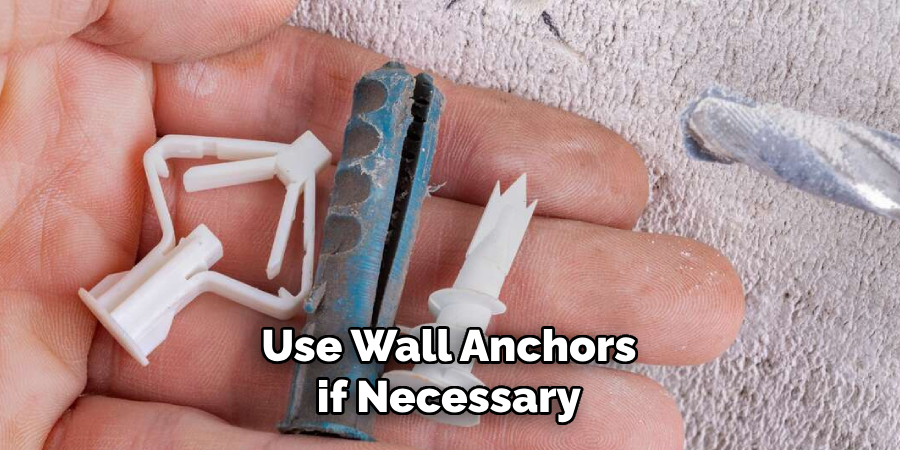
- Screws and Anchors: Required for securing the faucet and brackets to the wall surface.
By gathering these tools and materials beforehand, you’ll be well-prepared to undertake the installation of your wall-mount faucet, ensuring both efficiency and a professional finish.
10 Methods How to Install Wall Mount Faucet
1. Gather Necessary Tools and Materials
Before diving into the installation process, it’s crucial to have all the tools and materials required at your fingertips. Ensure you have a wall mount faucet kit containing the faucet, handles, spout, and any additional components.
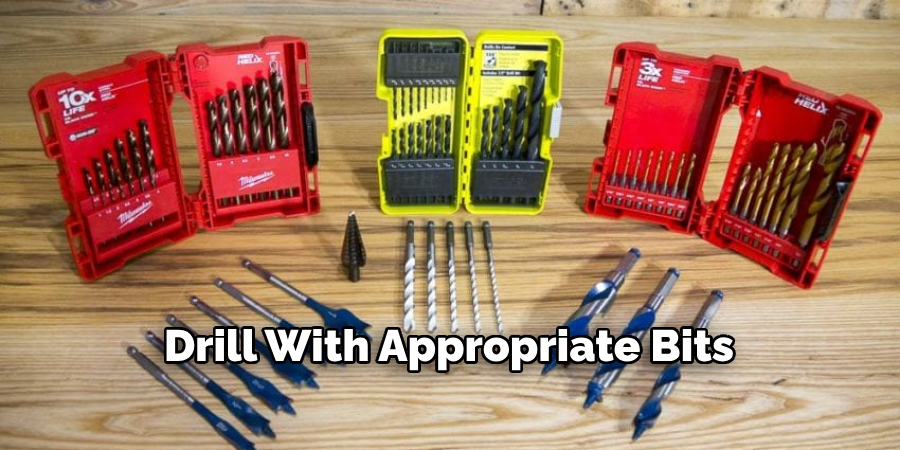
Alongside, gather tools such as an adjustable wrench, plumber’s tape (Teflon tape), screwdriver (flathead or Phillips), drill with appropriate bits, wall anchors (if necessary), measuring tape, level, pencil, safety glasses, and towels or rags. Having everything prepared beforehand will streamline the installation process and prevent interruptions.
2. Prepare the Work Area
Creating a conducive work environment is essential for a smooth installation process. Clear the area around the sink and ensure there’s enough space to maneuver comfortably. To prevent any water mishaps, turn off the water supply to the sink. Placing towels or rags in the sink will help absorb any water drips and keep the workspace tidy.
3. Remove the Old Faucet (if applicable)
If you’re replacing an existing faucet, start by disconnecting it. Use the appropriate tools to disconnect the water supply lines and loosen the nuts securing the faucet to the sink or countertop. Gently lift the old faucet out of the sink, taking care not to cause any damage. Inspect the area to ensure it’s clean and free of debris before proceeding with the installation.
4. Prepare the Wall
For a new wall mount faucet installation, proper preparation of the wall is crucial. Use a measuring tape and level to mark the desired placement of the faucet on the wall. Ensure the marks are level and accurately aligned. Use a drill with the appropriate bit size to create holes in the wall for the faucet mounts, adhering to the manufacturer’s specifications for spacing and depth.
5. Install Wall Mount Brackets
With the wall prepared, it’s time to install the wall mount brackets or supports. Align the brackets according to the markings on the wall and use wall anchors if necessary to ensure a secure fit. Insert the mounting screws through the brackets and into the wall anchors, tightening them securely with a screwdriver or drill.
Double-check the alignment and levelness of the brackets before proceeding.
6. Assemble the Faucet Components
Before mounting the faucet, assemble all the components according to the manufacturer’s instructions. This typically involves attaching the handles, spout, and any other components to the faucet body. Apply plumber’s tape (Teflon tape) to the threaded connections to create a watertight seal and prevent leaks.
7. Mount the Faucet to the Wall
With the components assembled, it’s time to mount the faucet to the wall. Carefully align the faucet with the wall mount brackets and insert the mounting screws through the holes in the faucet body. Use a screwdriver or drill to tighten the screws securely, ensuring the faucet is level and stable.
8. Connect the Water Supply Lines
Connect the water supply lines to the faucet, using either flexible supply lines or copper piping depending on your setup. Use adjustable wrenches to tighten the connections, ensuring they are snug but not over-tightened. This step is critical to prevent leaks and ensure proper water flow to the faucet.
9. Test for Leaks and Functionality
Before completing the installation, it’s essential to test the faucet for leaks and functionality. Turn the water supply back on and slowly open the faucet handles. Check for any leaks around the connections and tighten them if necessary. Test both hot and cold water functions to ensure they’re working correctly.
10. Secure and Seal the Faucet
Once you’ve confirmed that the faucet is functioning properly and there are no leaks, secure any remaining components and seal any gaps or openings around the faucet mounts with silicone caulk. This final step helps prevent water damage and ensures a clean, finished look for your newly installed wall mount faucet.
Conclusion
In conclusion, installing a wall mount faucet is a rewarding DIY project that can enhance both the functionality and aesthetic appeal of your space. By following the step-by-step instructions outlined in this guide, you can tackle the installation process with confidence and precision.
From assessing the installation area and gathering the necessary tools and materials to carefully securing the faucet to the wall and testing for proper functionality, each step is crucial to ensuring a successful outcome.
Remember to take your time, double-check measurements, and follow manufacturer instructions closely for best results. Thanks for reading, and we hope this has given you some inspiration on how to install wall mount faucet