
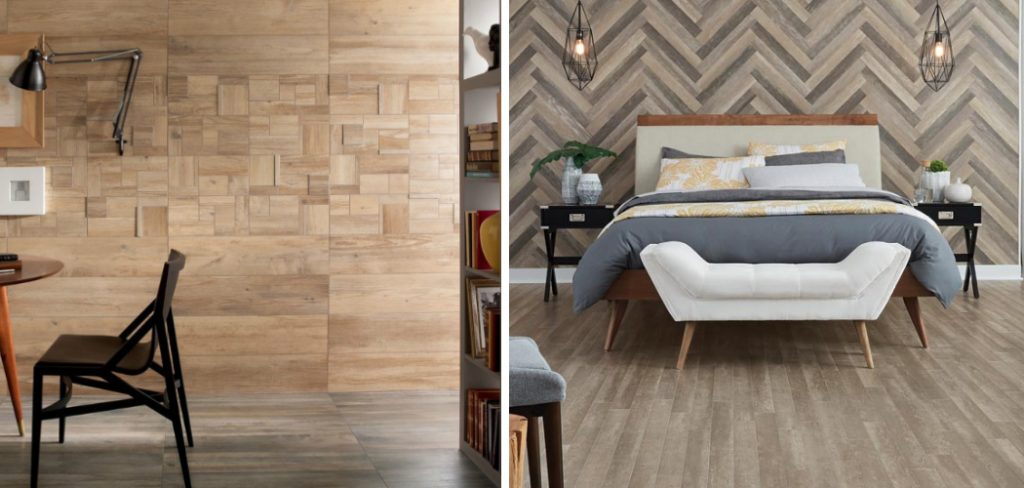
Are you looking for an easy and affordable way to give your walls a new look? Installing vinyl plank flooring on your walls is the perfect solution! With its chic and modern style, this installation technique adds texture and depth to any room, while remaining simple and quick to do.
Vinyl planks are resistant to water damage, mildew growth, scratches, stains, dents, and more – making them perfect for homes with children or pets. In this blog post, we’ll walk you through how to install vinyl plank flooring on walls step-by-step. So put down that paintbrush; it’s time to bring out the hammer!
As a homeowner, it is common to want a truly unique look for the walls in your home. The classic paint and wallpaper look can become tiresome and blend together easily.
Vinyl plank flooring on walls offers an attractive alternative that adds character to the room while providing an extra barrier of protection against deterioration or abrasions caused by moisture damage. Installing vinyl plank flooring on your walls is not as complicated as it may seem; follow this guide to make sure you get perfect results!
Benefits of Installing Vinyl Plank Flooring on Walls
1. For a Unique Look
One of the main benefits of installing vinyl plank flooring on walls is the unique look it can give to the room. The planks create a visual texture, adding character and interest to any space. You can mix and match colors to achieve a specific aesthetic or just keep it simple with one color for a more subtle appearance.
2. Cost-Effective Solution
Using vinyl plank flooring on walls is an affordable and cost-effective way to spruce up your space. Vinyl planks are typically cheaper than other wall treatments, making it a budget-friendly choice.
3. Easy Installation
Installing vinyl plank flooring on walls is quick and easy. With the right tools and materials, you can have your new wall makeover ready in no time. Plus, it’s a project that you can do yourself, without the need for professional help.
4. Low Maintenance
Vinyl plank flooring is also low-maintenance and easy to clean. All it takes is occasional dusting or wiping with a damp cloth – no special products or cleaning techniques are required! This makes it an ideal choice for those who want a hassle-free wall treatment.
Overall, installing vinyl plank flooring on walls is an excellent way to add character and style to your space without breaking the bank or taking up too much time. From its unique appearance to its low maintenance requirements, it’s sure to be a project you’ll enjoy for years to come.
Some Extra Tips How to Install Vinyl Plank Flooring on Walls
1. Do Not Leave Any Gaps
This is very important! Make sure you have enough vinyl planks for your wall so that there are no gaps between them. If there are any, this may lead to water damage over time.
2. Use Leveling Strips
When installing the vinyl planks on walls, use leveling strips along all edges and corners to ensure the planks are installed evenly and securely. Also make sure to use the appropriate adhesive depending on your wall surface.
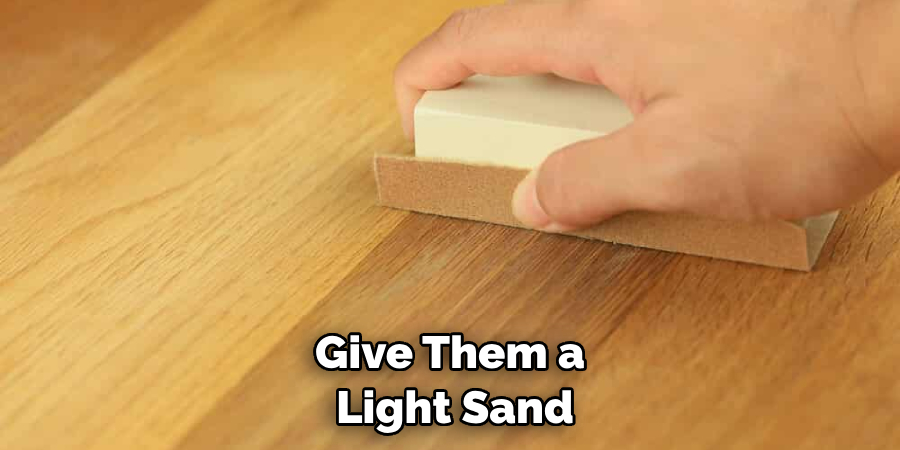
3. Sand Smooth Edges
Once you have installed all of the vinyl planks, give them a light sand along the edges so that they are completely smooth and flat against the wall. This will ensure a neat finish and prevent any sharp edges or corners from forming.
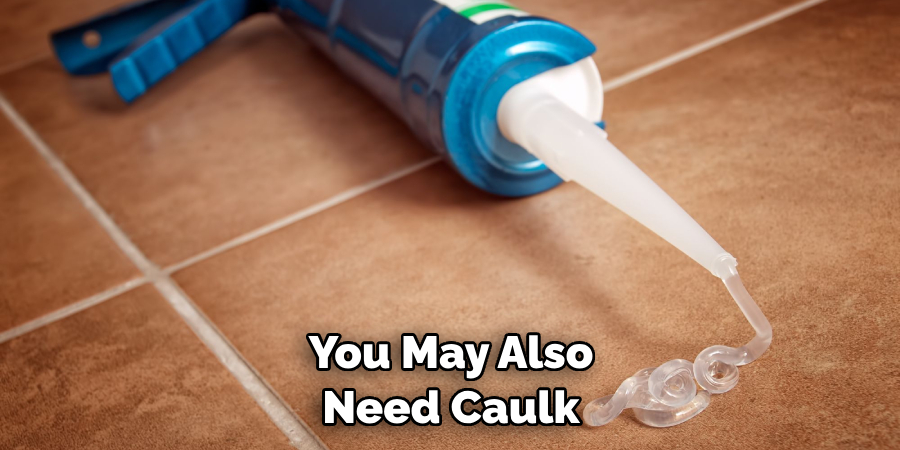
4. Fill In Any Gaps
To complete the installation, you may need to use a caulking gun and filler to fill in any small gaps or imperfections between the planks. This will help prevent water from entering through these small cracks over time.
5. Clean Up
Once all of your vinyl plank floorings have been installed on your wall, make sure to clean up any excess adhesive or filler that may have spilled onto your walls during the installation process.
These are just some extra tips to help make sure you properly install vinyl plank flooring on your wall. With proper care and maintenance, these planks can last for years! So be sure to follow these steps for a successful installation. Good luck!
Frequently Asked Questions
What Precautions Should I Take?
When installing vinyl plank flooring on the wall, it is important to take certain precautions. Be sure that the walls are clean and free of dust before starting. Make sure that any nails or screws in the walls are removed before installation begins. Also, be aware of any pipes or wires located behind the walls before cutting or drilling into them. Finally, be sure to use the appropriate adhesive or glue for vinyl plank flooring.
What Tools Do I Need?
Tools you will need to install vinyl plank flooring on walls include a level, measuring tape, utility knife, drill, and screwdriver. You may also need caulk if you plan to fill in any gaps between boards. Additionally, depending on the type of vinyl plank flooring you choose, you may need adhesives or nails.
What Is The Best Way To Measure?
The best way to measure for your vinyl plank flooring is to use a measuring tape and mark the areas you plan to install the flooring on the wall. Be sure to measure twice before cutting any boards, as it can be difficult to make adjustments once the boards have been cut. Additionally, be sure to leave extra room for any expansion gaps along the edges of the walls.
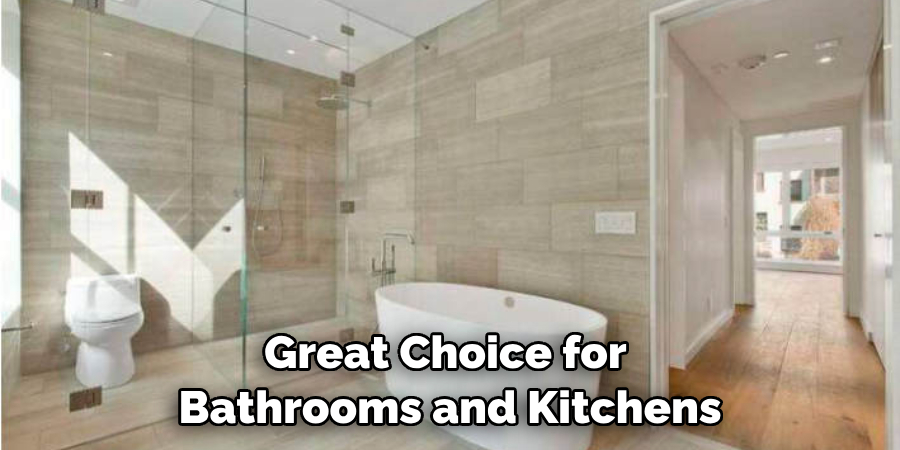
What Are The Benefits Of Vinyl Plank Flooring On Walls?
Vinyl plank flooring on walls has several benefits. It is a great option for those looking to add a decorative touch to their wall without having to paint or wallpaper. It is also easy to clean and water-resistant, making it a great choice for bathrooms and kitchens. Additionally, vinyl plank flooring is durable, so it will last for years. Finally, vinyl plank flooring can be installed quickly and easily without requiring any special tools or skills.
How Much Vinyl Plank Flooring Will I Need?
The amount of vinyl plank flooring you will need depends on the size of the area you plan to install it in. Be sure to measure the area carefully and add an extra 10-15% for waste or any cuts that may be necessary. Additionally, make sure you purchase enough adhesive, caulk, and/or nails for the job.
Can I Install Vinyl Plank Flooring On An Uneven Wall?
Yes, you can install vinyl plank flooring on an uneven wall. However, it is important to take extra care when installing in these cases. Be sure to check that any boards are level and secure before moving on to the next board. Additionally, fill in any gaps between the boards with caulk to ensure that the vinyl plank flooring is secure on the walls.
What Are The Different Types Of Vinyl Plank Flooring?
There are several different types of vinyl plank flooring available. These include luxury vinyl, rigid core, and waterproof options. Luxury vinyl is a popular choice because it has an attractive appearance and is easy to clean. A rigid core is a great option if you are looking for extreme durability and waterproofing. Finally, waterproof vinyl plank flooring is ideal for areas prone to moisture, such as bathrooms or kitchens.
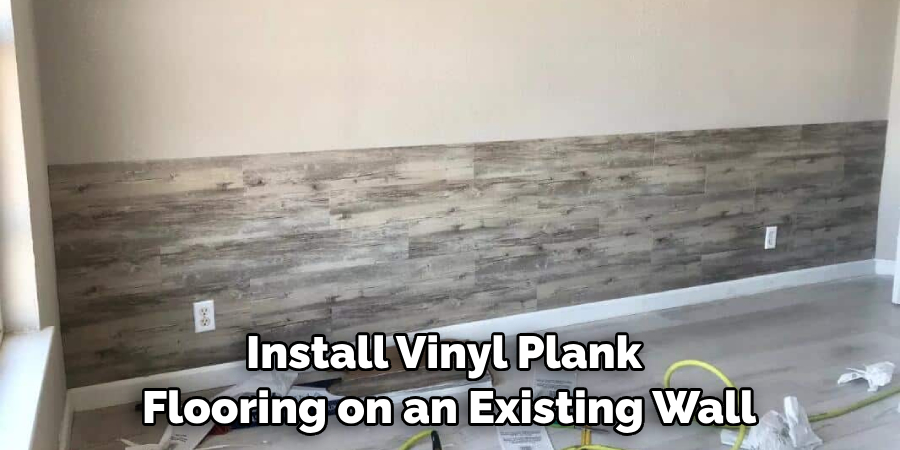
Can I Install Vinyl Plank Flooring On An Existing Wall?
Yes, it is possible to install vinyl plank flooring on an existing wall. However, you must be sure that the wall is clean and free of dust before beginning installation. Additionally, make sure to check for any nails or screws in the walls and remove them before starting. Finally, you may need to use adhesives or extra screws when installing vinyl plank flooring on an existing wall.
Conclusion
Installing vinyl plank flooring on your walls is a great way to spruce up a space or give it an entirely new look. With the right tools, planning, and instructions, you can easily get the job done and add a unique touch to your home décor.
Vinyl planks are an efficient way to decorate not just walls, but also floors. By following all the steps on how to install vinyl plank flooring on walls, you’ll make sure that your vinyl plank flooring will last and remain beautiful for years to come.
At the same time, you’ll create the exact effect you have been dreaming about for a fraction of what it would cost to hire professionals. Finish off your project with accessories such as wall trims or plastic edges in order to make everything look cohesive! Remember, underlayment will give you added comfort and insulation– so don’t skip out on this step either!