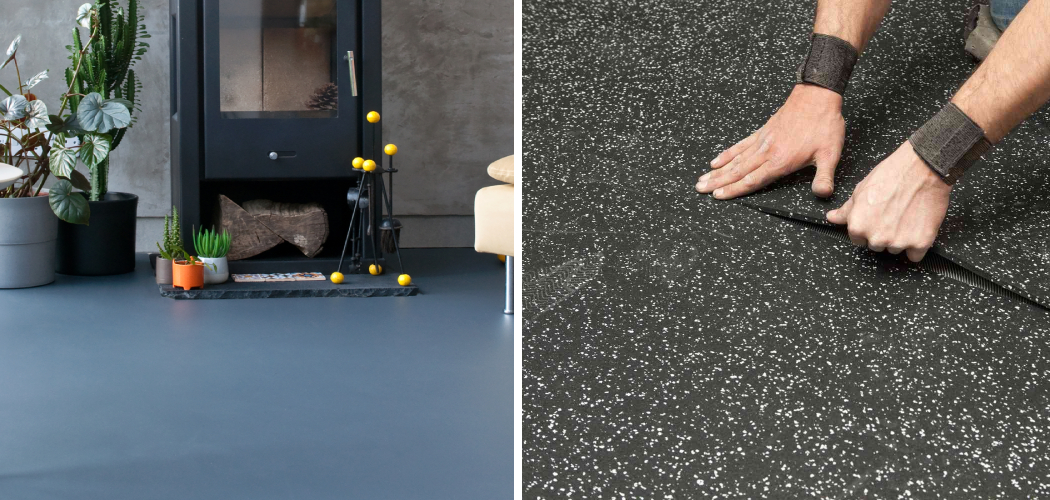
Want to revitalize the look and feel of your home or business? Installing rubber flooring is a great way to improve both safety and aesthetic appeal. With its wide range of colors, textures, styles, and sizes, rubber flooring offers something for every taste while also providing great durability. Additionally, rubber flooring installations are relatively straightforward, so you don’t need special skills or tools in order to get it installed.
So, if you’re looking for an easy and effective solution that provides long-term value, too – then installing rubber flooring might just be the answer! In this blog post, we will highlight all there is to know about installing rubber floors, such as understanding different types of rubber surfaces, choosing the right underlayment material, getting started with the installation process, things to consider when cutting around edges, etc.
– equipping you with all information required for D-I-Y venture. Follow the steps on how to install rubber flooring and get started with your project today!
Understanding Different Types of Rubber Flooring
Before you get started, it’s important to determine the type of rubber flooring that best suits your needs. There are three main types of rubber flooring – sheet, tile, and plank. The sheet is the most affordable option and offers excellent coverage for large areas but is often too thin for high-traffic areas. Tiles offer great durability and come in a variety of styles, while planks offer a stylish look with better stability than sheet rubber flooring.
The Benefits of Installing Rubber Flooring
1. Durable
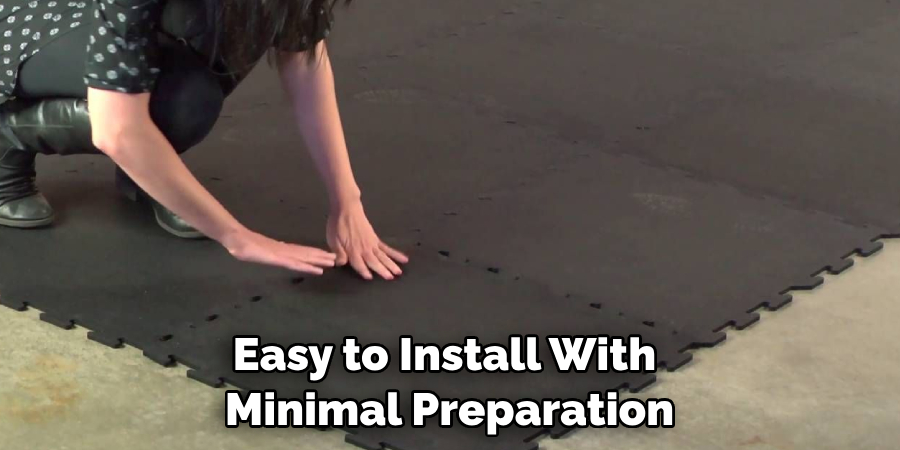
Rubber flooring is stylish, durable, and low maintenance. It’s also easy to install with minimal preparation required. Additionally, rubber flooring offers excellent resistance to both moisture and wear, which means it will stand up well in any environment. This makes rubber flooring ideal for commercial applications such as gyms, restaurants, hospitals, and more!
2. Low-maintenance
Once the floor is installed, it requires minimal maintenance and care. This makes it ideal for busy people who don’t have a lot of time to dedicate to cleaning and upkeep. Plus, rubber floors are resistant to spills which means you won’t need to worry about any stains ruining your look.
3. Variety
Rubber floors come in a wide variety of colors, textures, styles, and sizes. This makes it easy to find something that fits your space and style perfectly without compromising on quality.
Required Items
To install rubber flooring, you’ll need some basic tools like:
- A tape measure
- Utility knife
- Rubber floor
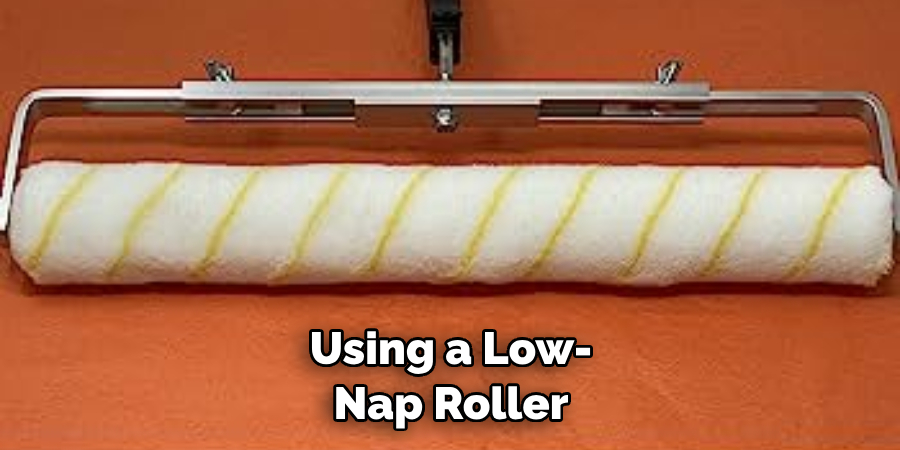
- A low-nap roller
10 Ways How to Install Rubber Flooring
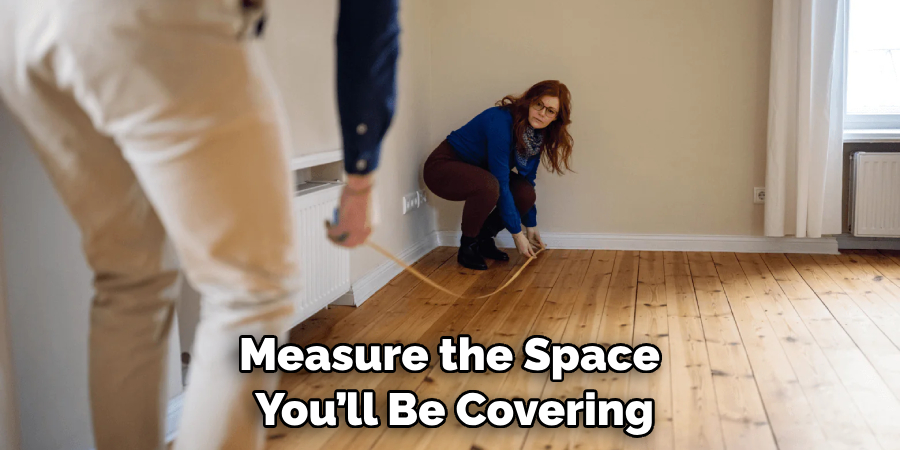
1. Measurement
Measure the space you’ll be covering and purchase enough rubber flooring to cover it. Measuring is the first step in how to install rubber flooring, and it’s important to be very accurate. Also, measure any doorways or other openings to make sure the rubber flooring won’t be too wide and won’t prevent the door from closing.
2. Clean Surface
Clean the surface you are installing the rubber flooring. Make sure it is free of dirt and debris that could interfere with installation. Cleaning is an important part of how to install rubber flooring. The surface must be dry and free of any substances that could cause the rubber flooring to not adhere properly.
3. Plan Layout
Plan out how you want the rubber flooring laid and cut accordingly. Make sure to leave some room for trimming, so there won’t be any gaps or uneven areas in your finished project. Planning is an important part of how to install rubber flooring.
4. Glue Down Edges
Apply a thin layer of adhesive along the edges and corners with a trowel or putty knife. This will help ensure that the rubber flooring stays in place during installation. Make sure to use gloves when handling adhesives, as they can be hazardous if not handled properly.
5. Lay Rubber Flooring
Carefully lay the rubber flooring in place, taking care to ensure that it is flush with any adjoining surfaces. If you need to trim the edges of the rubber flooring, use a utility knife and make sure to be very precise.
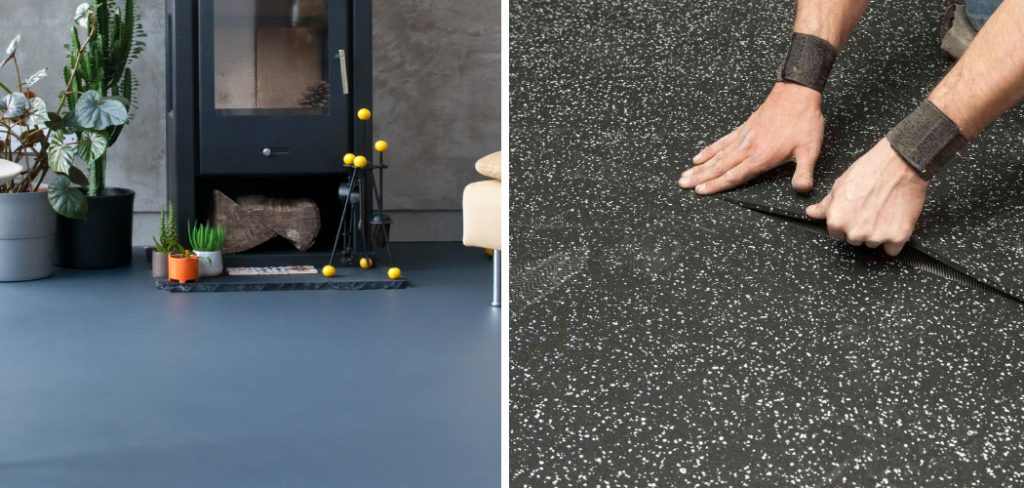
6. Roll Into Place
Using a low-nap roller, roll the rubber flooring into place to help it adhere better. This will also ensure that any air pockets or bumps are removed and that no edges come loose during installation.
7. Cut Around Edges
Cut around the edges of the rubber flooring with a utility knife to give it a finished look. Make sure you have a steady hand and are precise so that all the edges look even when finished.
8. Seal Edges
Using a sealant, apply it around the edges of the rubber flooring to help keep moisture out and protect against any wear and tear. Make sure you use a sealer that is compatible with rubber. Sanding the edges of the rubber flooring before applying sealant can help.
9. Check for Loose Edges
Check to make sure that none of the edges are loose or coming up. If they are, simply apply more adhesive and roll with a low-nap roller again. Check for any air pockets or bumps, and if found, simply apply a little more adhesive.
10. Clean Up
Once the rubber flooring has been installed, clean up any excess adhesive or sealant that may have gotten on the surface of the rubber flooring. Make sure you use a cleaner that is compatible with rubber to avoid damaging it.
Installing rubber flooring correctly is an important part of maintaining a safe and comfortable environment. With careful preparation, correct measurements, planning, and installation, you can ensure that your rubber flooring will last for years to come. Following these steps on how to install rubber flooring properly will help make sure your finished project looks great and performs as expected.
8 Safety Precautions to Follow When Installing Rubber Flooring
When installing rubber flooring, it is important to take certain safety precautions in order to avoid any risks or hazards. Before beginning the installation process, here are 8 safety tips to follow:
1. Always wear protective gear when handling rubber flooring materials. This includes gloves, eye protection, and a dust mask. Safety gear should also be worn when using power tools and saws in the installation process.
2. Ensure that all areas of the room or space where you will be installing rubber flooring are well-ventilated. Open any windows or doors if necessary to allow for proper airflow while working on the project.
3. Make sure all furniture is removed from the space before beginning installation. This will ensure that the installation process can be completed safely and without obstruction. Making sure to remove any existing flooring before installing rubber flooring is also important.
4. Do not attempt to install rubber flooring on a non-level surface, as this can cause the material to become uneven or unstable. If needed, level out any irregularities in the subfloor before beginning installation.
5. Make sure all power tools and saws are properly disconnected from power sources when not in use. This will help to avoid any risks of shock or electrical hazards.
6. If using adhesive, always wear gloves and eye protection in order to keep away from any fumes that can be created while applying the product. Additionally, make sure proper ventilation is available during this part of the process as well.
7. Be sure to measure and cut the rubber flooring correctly so that it fits properly in the space. This will help to ensure that installation time is not wasted due to inaccurate measurements or cuts.
8. Keep a first aid kit nearby at all times, just in case of any unexpected accidents or injuries. Keeping the kit easily accessible will help to prevent further complications while dealing with any injuries that may occur.
By following these 8 safety tips, you can be assured that your rubber flooring installation process will go as smoothly and safely as possible. Taking extra precautions for your own safety is always worth the time and effort!
Frequently Asked Questions
How Long Will It Take to Finish the Project?
The amount of time it takes to install rubber flooring depends on the size and complexity of your space. Generally, a project can take anywhere from one day for a smaller area to several days or even weeks for larger or more complex spaces. It is important to plan your project ahead of time so you know how much time you need to finish the job.
What Are the Benefits of Installing Rubber Flooring?
Installing rubber flooring provides many benefits. It is a durable and long-lasting material that can withstand heavy foot traffic and regular wear and tear. Its non-slip surface makes it suitable for both wet and dry areas, which is an advantage in places like bathrooms, kitchens, entryways, and laundry rooms.
It also provides extra cushioning and sound absorption, which makes it great for areas like gyms or playrooms. Additionally, rubber flooring comes in a variety of colors and styles, so you can choose the right flooring to match your home decor.
Do I Need to Seal My Rubber Floor After Installation?
Yes, it is important to seal your rubber floor after installation. Sealing helps to protect the surface and extend its life by repelling dirt and moisture. It also provides a layer of protection against UV rays so the colors won’t fade over time. Many types of rubber floors come pre-sealed, but it is always a good idea to double-check and make sure you seal the floor properly.

Are There Any Other Tips I Should Know Before Installing Rubber Flooring?
Yes! It is important to make sure that your subfloor is clean, flat, and dry before installation. Otherwise, your rubber floor may not sit flush and be uneven. Additionally, you should always allow the flooring to acclimate to your home’s environment for 48 hours before installation.
This will help ensure that there is no shrinking or buckling after the floor is put down. Finally, make sure that you have enough rubber flooring for the entire project — it may be difficult to find matching pieces later!
Conclusion
Rubber flooring is an attractive and durable choice for any home, offering great sound insulation and a variety of colors and designs to choose from. It’s a relatively straightforward project to install rubber flooring, even for a beginner do-it-yourselfer.
As long as you take the time to measure twice and cut once, follow the instructions laid out in this article closely, and use the right tools for the job, you can have your rubber flooring installed in no time.
Whether you’re looking to upgrade one room or your entire home, the unique characteristics of rubber flooring are an excellent choice: it’s low maintenance, slip retardant, allergy free, environmentally friendly, mold resistant – the list goes on! Follow these steps on how to install rubber flooring carefully, and you’ll have a beautiful result in no time. Give it a try – you won’t be sorry!