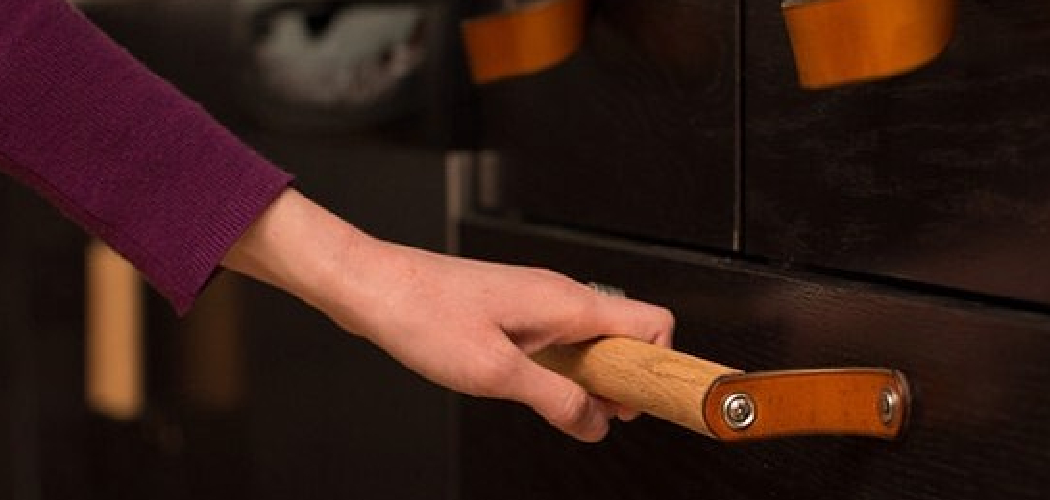
Are you tired of struggling to open your kitchen cabinets? Do you wish there was an easier way to access the items inside? Installing pulls on your kitchen cabinets can make a world of difference. Not only do they add a decorative touch, but they also provide a functional solution for easily opening and closing cabinets.

How to install pulls on kitchen cabinets can dramatically enhance both the functionality and aesthetic of your kitchen. Whether you’re updating old cabinets or finishing up a new build, adding pulls is a straightforward task that can be tackled on a weekend. With the right tools and a bit of patience, you can achieve a professional look without the need for a contractor.
This guide will walk you through each step of the process, ensuring that your cabinet pulls are perfectly aligned and securely fastened.
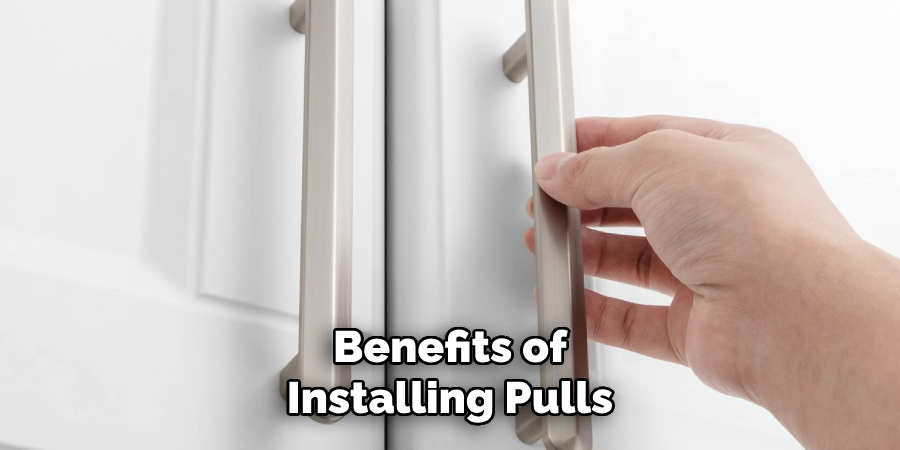
What are the Benefits of Installing Pulls on Kitchen Cabinets?
Before we dive into the installation process, it’s important to understand the benefits of adding pulls to your kitchen cabinets. Here are a few reasons why you should consider installing pulls:
- Easier Access: As mentioned earlier, pulls make opening and closing cabinets easier. This is especially helpful for those with limited mobility or hand dexterity.
- Improved Functionality: Pulls allow you to grip the cabinet doors and drawers more securely, making it easier to retrieve items inside. This is particularly useful for larger or heavier items that may be difficult to grab without a handle.
- Enhanced Aesthetic: Cabinet pulls come in various styles, materials, and finishes, allowing you to customize the look of your kitchen cabinets. They can add a touch of personality or seamlessly tie into your existing decor.
- Added Value: Installing pulls on your kitchen cabinets can increase the value of your home. Potential buyers often look for functional and visually appealing features in a kitchen, and cabinet pulls can tick both boxes.
Now that you understand the benefits of installing pulls, let’s follow the step-by-step process.
What Will You Need?
Before you get started, make sure you have all the necessary tools and materials on hand. Here’s a list of items you’ll need to complete this project:
- Cabinet pulls of your choice (make sure to measure the distance between screw holes before purchasing)
- Drill
- Appropriate drill bit for your cabinet pull screws
- Measuring tape or ruler
- Pencil or marker
- Screwdriver (if not included with your cabinet pulls)
- Level
- Optional: template for drilling guide (can be purchased or made from cardboard)
Once you have everything you need, you’re ready to begin the installation process.
10 Easy Steps on How to Install Pulls on Kitchen Cabinets
Step 1: Measure and Mark Placement
Start by deciding where you want to place the cabinet pulls. It’s essential to consider both function and aesthetics when determining their location. For base cabinets, pulls are typically installed on the top corners, while for wall cabinets, they are usually placed on the bottom corners. Use a measuring tape or ruler to measure the exact distance from the edges where you intend to mount each pull. Common practice is to line up the cabinet pull with the vertical and horizontal center of the door frame for a balanced look.
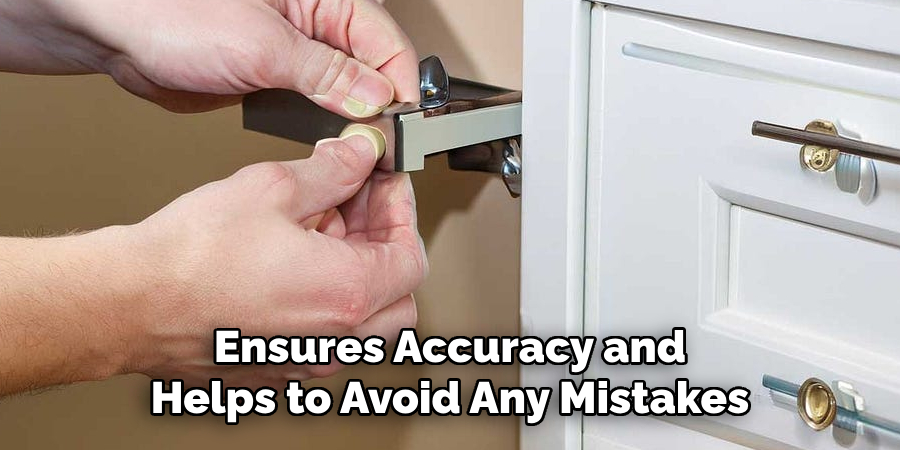
Step 2: Make Pilot Holes
After marking the placement for each pull, use a pencil or marker to indicate the exact spots where you’ll drill. This ensures accuracy and helps to avoid any mistakes that could misalign the pulls. Next, use a drill with an appropriate drill bit to make small pilot holes at each marked spot. Pilot holes make it easier to drive in screws and reduce the risk of splitting the wood.
Step 3: Drill Holes for Screws
Switch to a drill bit that matches the size of the screws provided with your cabinet pulls. Carefully drill through the pilot holes, ensuring that the drill is perpendicular to the surface of the cabinet for clean, straight holes. If you’re unsure about the depth, use a piece of painter’s tape on the drill bit as a guide.
Step 4: Attach the Pulls
Position the pull over the drilled holes from the front of the cabinet door. Insert the screws through the back of the door and into the pull. Hand-tighten each screw a bit to ensure it goes in straight before fully tightening it with a screwdriver. Double-check the alignment as you secure the pulls to ensure they remain level and even.
Step 5: Check Alignment and Tighten Screws
Once the pulls are attached, take a moment to check their alignment again. Use a level to ensure each pull is sitting perfectly horizontally. If adjustments are needed, make them now before fully tightening the screws. Secure the screws tightly with a screwdriver, being careful not to over-tighten which could damage the wood or the hardware.
Step 6: Repeat for Remaining Cabinets
Follow the same process for the remaining cabinet doors and drawers. Consistency is key, so measure and mark each pull carefully to ensure they align properly. Take your time with each step to maintain a uniform look across all cabinets.
Step 7: Final Adjustments
After installing all the pulls, take a step back and assess the overall alignment and appearance. Look at the cabinets from different angles and distances to ensure the pulls are uniformly placed and aligned. If you notice any discrepancies, make necessary adjustments by slightly loosening the screws, repositioning the pulls, and then re-tightening them.
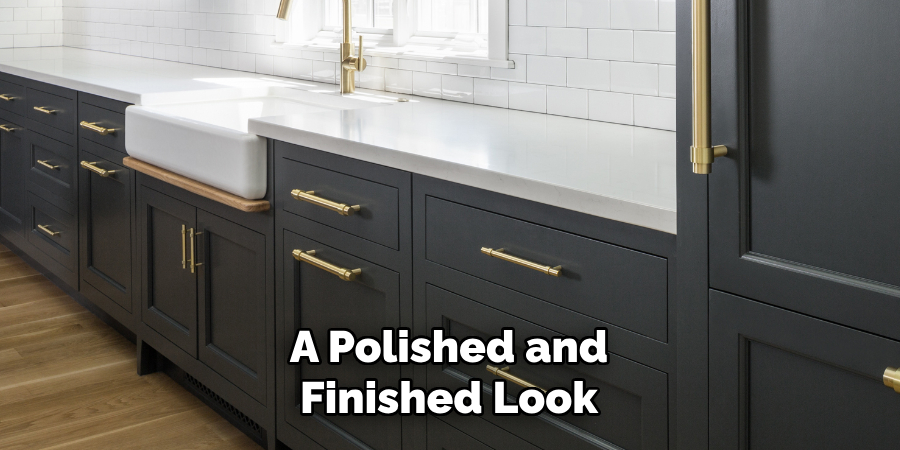
Step 8: Clean Up
Once you are satisfied with your cabinet pull placement, it’s time to clean up. Remove any pencil marks or residue left on the cabinets from the installation process. A gentle cleaner and a soft cloth can help remove any smudges or fingerprints on the cabinet surface. Ensure you vacuum or sweep up any sawdust or debris created during the drilling process. This helps give your newly installed pulls a polished and finished look.
Step 9: Test Each Pull
Testing each pull is important to ensure they are securely fastened and functional. To check the sturdiness of the pulls, open and close each cabinet door and drawer multiple times, applying varying degrees of force. Pay attention to any wobbling or looseness, which might require further tightening or adjustment.
Step 10: Enjoy Your New Cabinets
With the pulls installed, your kitchen cabinets should now be more functional and visually appealing. Enjoy the ease of access and the aesthetic enhancement they bring to your kitchen space. Take pride in your work, knowing that you’ve added a touch of personal craftsmanship to your home.
By following these ten simple steps, you can easily install cabinet pulls and achieve a professional look without hiring a contractor.
5 Additional Tips and Tricks
- Measure Accurately: Use a ruler or measuring tape to ensure the placement of the pulls is consistent across all cabinets. This will guarantee a uniform look and avoid any visual discrepancies.
- Create a Template: Make a drilling template out of a piece of cardboard or a pre-made plastic template. This will help you drill holes in the same spot on each door or drawer, ensuring alignment and saving time.
- Use Blue Painter’s Tape: Apply blue painter’s tape to the holes where you drill them. This helps prevent the wood from splintering and allows you to mark your measurements clearly.
- Check for Obstructions: Before drilling, open the cabinet door and check for any shelves or obstructions that might be in the way. Adjust the placement of your pulls if necessary to avoid inconveniences.
- Keep Extra Screws: Keep a few extra screws on hand in case some become lost or damaged during installation. It’s always better to have extras than be short on screws and have to run to the store mid-project.
These additional tips and tricks will make your cabinet hardware installation process smoother and more efficient.
5 Things You Should Avoid
- Rushing the Process: Take your time when measuring and drilling. Rushing can lead to mistakes that are hard to correct, resulting in misaligned pulls and potential damage to your cabinets.
- Using Incorrect Tools: Ensure you use the appropriate tools for the job. Using the wrong drill bit size or a low-quality screwdriver can cause inaccuracies and may damage your hardware or cabinets.
- Ignoring Manufacturer Instructions: Always read and follow the manufacturer’s instructions for your specific cabinet pulls. Ignoring these can lead to improper installation and can void any warranties.
- Skipping the Pilot Holes: Drilling pilot holes before inserting screws can prevent the wood from splitting and makes the installation smoother. Skipping this step may result in damaged wood and misaligned pulls.
- Neglecting to Double-Check Measurements: Double-check all measurements and placements before drilling. A small error in measurement can lead to misaligned pulls, requiring additional time and effort to correct.

By avoiding these common pitfalls, you can ensure a successful and seamless installation of your kitchen cabinet pulls.
Conclusion
How to install pulls on kitchen cabinets is a straightforward yet impactful way to enhance your kitchen’s functionality and aesthetic.
You can achieve a professional look by following a systematic approach—from measuring and marking to drilling and tightening—without needing specialized skills. The key lies in careful planning, accurate measuring, and ensuring each step is done correctly. Utilizing tools like templates and painter’s tape can simplify the process while avoiding common mistakes such as rushing or ignoring pilot holes can save you from potential issues.
With these steps and tips, you’ll be able to confidently install your cabinet pulls, adding a polished and personalized touch to your kitchen.