
Are you looking to make a practical upgrade to your home that will not only add value but also functionality? Look no further than Bilco doors! Not only are they affordable, durable, and easy to install yourself, but installing these complete basement solutions provide an aesthetic look that’s sure to improve the overall style of any living space.
We have put together a step-by-step guide on how to install Bilco doors easily and safely in order for you to enhance your beloved home quickly!
Tools and Materials You Will Need to Install Bilco Doors
- Bilco door kit
- Measuring tape
- Level
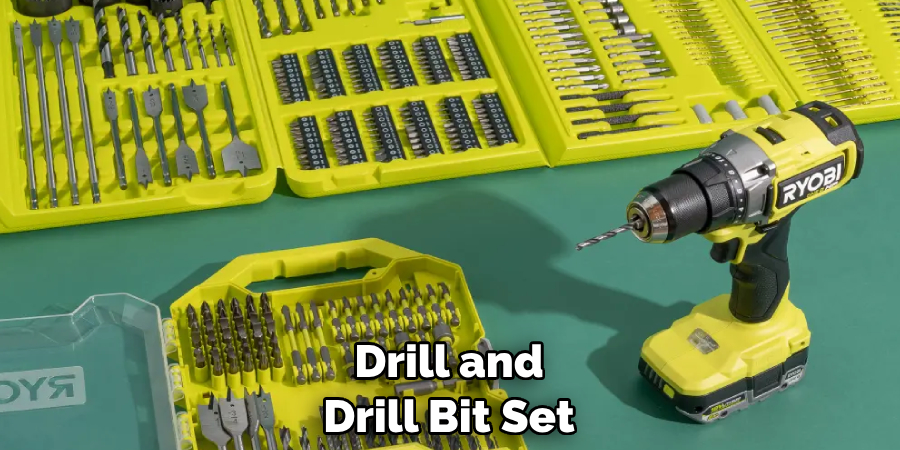
- Drill and drill bit set
- Power saw
- Hammer
- Nails and screws
Step-by-Step Guidelines on How to Install Bilco Doors
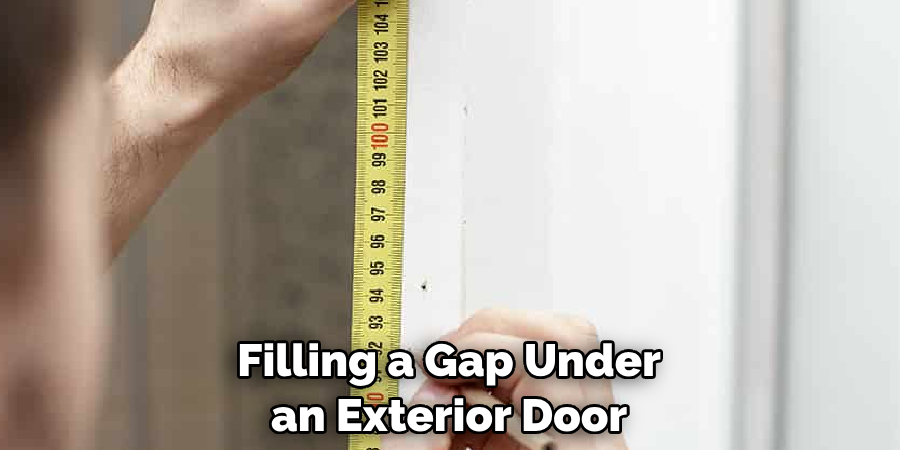
Step 1: Measure Out the Opening for Your Bilco Door Carefully
The first step in installing your Bilco door is to measure out the opening where you want your door to be installed. It is important that you measure the size of the opening accurately and precisely so that when you move on to the next step, your Bilco door fits perfectly into the opening.
Step 2: Ensure That The Opening Is Level and Plumb
Before proceeding with installing your Bilco door kit, it is essential to make sure that the opening is level and plumb. To do this, use a level to ensure that the walls of your opening are straight and in line with one another. This will make the installation process easier and safer in the long run.
Step 3: Cut Out The Opening With a Power Saw
Once you have measured out and ensured that the opening is level, you can begin cutting out the opening with a power saw. Make sure to measure twice and cut once as this will help prevent any costly mistakes during the installation process. While cutting, be sure to wear protective gear such as safety glasses and gloves.
Step 4: Position Your Bilco Door Kit In The Opening
After you have successfully cut out the opening, it is time to position your Bilco door kit in the opening. Make sure that the door is square and level before proceeding with the installation process. You can use a level to make sure that the door is in the right position.
Step 5: Secure The Bilco Door Into Place
Once your Bilco door is in the right position, it is time to secure it into place. Use nails or screws depending on your preference and start from the center of each side and work your way outwards. Make sure to drill in the nails or screws at an angle so that they are firmly secured.
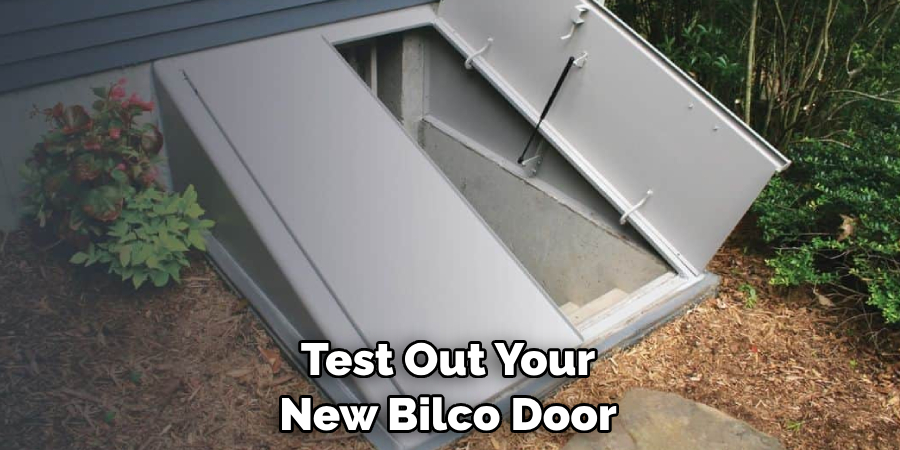
Step 6: Test Out Your New Bilco Door
Once you have finished securing the door into place, it is time to test it out! Open and close your new Bilco door carefully to make sure that everything is working as it should be. If you notice any issues, make sure to go back and re-secure the door as necessary. If everything is working properly, you are now ready to enjoy the enhanced look and functionality of your beloved home.
Congratulations! You have just completed installing your Bilco door kit and added a practical upgrade to your home. We hope that this guide has helped you install your new Bilco door safely and correctly. Thank you for choosing us as your trusted source for complete basement solutions and enjoy the newfound look of your living space!
Additional Tips and Tricks to Install Bilco Doors
- Make sure you have all the necessary tools for your Bilco doors installation project. This includes a hammer, level, measuring tape, power drill, and screwdriver.
- Measure the opening for your Bilco door to make sure it is square and that all sides measure correctly before cutting any holes.
- Before starting the installation process, read through the installation instructions provided by your Bilco door manufacturer.
- Have a friend or family member help you install your Bilco door for an easier and safer job.
- If possible, seal off the area around where your Bilco door will be installed to minimize the risk of debris falling into the opening while working on the project.
- Make sure to properly dispose of any materials you no longer need after installing your Bilco door, such as leftover screws and nail pieces.
- After the installation is complete, check for any leaks or drafts that may have been caused during the process and take appropriate measures to fix them if necessary.
- If you are not sure about certain parts of the installation process, it is best to contact a professional for assistance.
- Once you have finished installing your Bilco door, make sure it functions correctly and securely by testing the lock mechanisms and performing basic maintenance tasks on a regular basis.
- 1Finally, enjoy the peace of mind that comes with having a secure and reliable Bilco door installed in your home.
Following these tips and tricks can help you install your Bilco door with ease and confidence. With the right tools, materials, and knowledge, you can save time and money on your installation project while ensuring that everything is done correctly. Good luck!
Things You Should Consider to Install Bilco Doors
- Measure the dimensions of your Bilco door opening and door to ensure it will fit correctly.
- Familiarize yourself with local building codes for installing Bilco doors in your area to ensure compliance with any regulations you may need to follow when installing the door.
- Make sure that the area around your Bilco door opening is free of obstructions and debris; any objects that may come into contact with the door should be removed or relocated.
- Prepare the necessary tools for installation, including a hammer, drill, screws, saws, leveler, and tape measure.
- Clean the Bilco door opening to ensure the best possible results when installing your new door.
- Carefully read the instructions provided by Bilco for installing their doors, as they provide detailed information on how to correctly install and use the door.
- Before you begin the installation of your Bilco door, mark where you plan to place each hinge and screw into the opening with a pencil or chalk for easier reference during installation.
- Securely attach the Bilco door hinges to both the opening and door frame using the provided screws.
- Check that all of your screws are tightened securely, then close your door to make sure it’s properly aligned.

Following these considerations and steps can help ensure a smooth installation process for your Bilco door. If you have any questions or need assistance, contact the Bilco team for further advice. They are always here to help!
Precautions Need to Follow for Installing Bilco Doors
Before you begin installing your Bilco Door, it is important to take a few safety precautions.
- Make sure the area around the door opening is free of any debris or objects that might interfere with the installation process.
- Use protective gloves and eyewear when handling sharp tools or working in areas with potential hazards.
- Ensure that the existing foundation is stable and can support the weight of the Bilco Door.
- Make sure to read the instructions carefully before starting the installation process.
- Bring in any helpers you might have to ensure the installation is done properly.
- Bilco Doors are heavy, so make sure to bring a dolly or lift system if needed for easier maneuverability.
- Make sure all the necessary tools and supplies are on hand before beginning the installation process, including a tape measure, level, drill, screws, and a hammer.
Following these safety precautions will ensure that the installation of your Bilco Door proceeds without incident. With a little bit of preparation and the right tools on hand, you can have your new door installed in no time!

Frequently Asked Questions
What Are Bilco Doors?
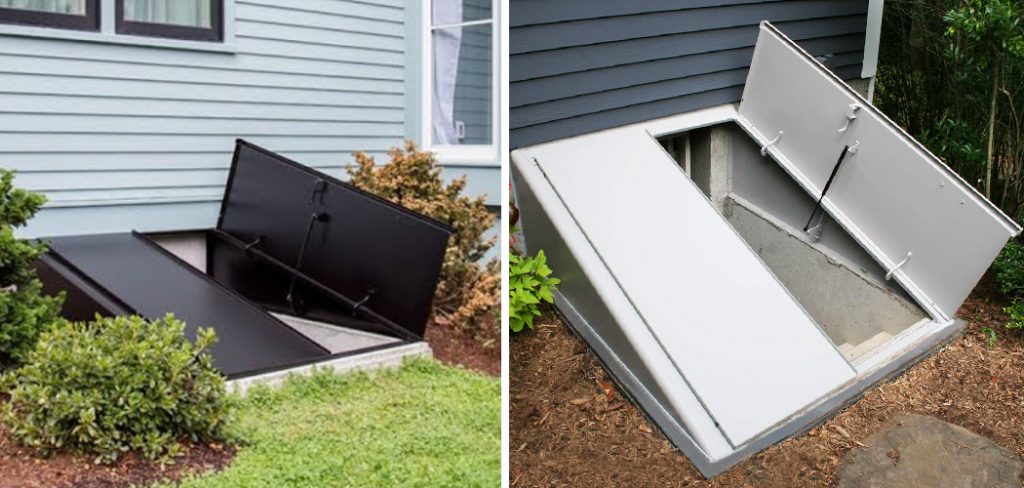
Bilco doors are typically used as basement access points in residential homes. They provide easy entrance to the basement while still providing security and weather-proofing. Bilco doors are available in a variety of colors, styles, and sizes to suit your home’s aesthetic needs.
What Tools Will I Need to Install a Bilco Door?
You’ll need basic hand tools such as screwdrivers, wrenches, a drill driver (for pre-drilling holes), a saw, and chisels. You may also want to have a level and measuring tape handy for the installation process.
What Type of Door Should I Choose?
The type of Bilco door you choose will depend on your needs. If you need additional security or weather-proofing, then consider options like the Ultra Series which features double-welded steel construction and a reinforcing angle frame.
For energy efficiency, the Super Series offers superior insulation values while achieving an attractive appearance through its solid woodgrain pattern. Finally, the Deluxe Series features a two-part vinyl construction for maximum energy efficiency and durability.
What is the Best Way to Install Bilco Doors?
Installing Bilco doors is a relatively straightforward process. However, it’s important to read and understand all the instructions before beginning the installation. First, you’ll need to measure the opening in order to choose the right door size and type. Next, you should secure the door frame into place with screws or bolts.
Finally, attach hinges and other components as necessary for your particular model. Be sure to refer to the manufacturer’s instructions for detailed information on installing specific components.
Are There Any Safety Tips I Should Keep in Mind?
Always wear protective eyewear, gloves, and clothing when installing a Bilco door. Keep the area around your work space clear of clutter or anything that might obstruct your movements. Additionally, make sure to be mindful of electrical lines when drilling holes for hardware. And finally, always use caution when handling heavy doors or components.
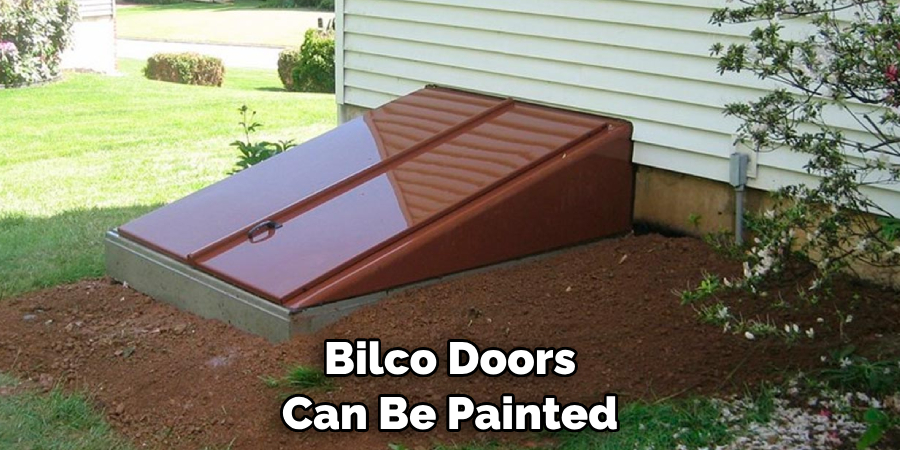
Can I Paint My Bilco Door?
Yes, Bilco doors can be painted if desired. However, make sure to check the manufacturer’s instructions before beginning any painting or staining project. This will ensure that you are using the correct type of paint and applying it correctly for maximum longevity and performance.
Conclusion
Installing a Bilco Door can be a daunting task, but the end result is worth the effort. By following these steps, you can confidently and safely install your own Bilco Door at home. Installing a Bilco Door is something everyone should know how to do, as it offers extra security and convenience when entering and exiting your home.
Once you’ve mastered the installation process, you can always go back to the manuals for a refresher or simply enjoy the fact that your door is now secured and protected from unwanted visitors. If you’re still feeling unsure about taking on this job yourself, contact a professional who can professionally install your anew Bilco Door for you.
In any case, getting a Bilco Door installed is an important decision and one that should not be taken lightly – take advantage of all of the information available in order to make an educated and well-informed choice! Follow these steps for How to Install Bilco Doors today and enjoy these benefits with extra peace of mind in no time.