Installing a Wright Door Closer will add extra safety and security to your home or business. It’s designed to close the door automatically, reducing the risk of leaving it open and allowing intruders in. The installer needs to have some basic knowledge of carpentry and tools, but even if you don’t know much about carpentry, with a few simple steps, you can install your Wright Door Closer in no time.
The Wright door closer is an excellent choice for homes or businesses that want a secure, reliable, easy-to-install option. It features smooth operation and adjustable speed control, allowing you to customize the closing force of the door for various climates and applications. You can find step-by-step instructions on how to install a wright door closer in this blog article.
Step-by-step Instructions for How to Install a Wright Door Closer
Step 1: Inspect the Door Closer
Before you begin, ensure the Wright Door Closer is complete and undamaged. Before starting the installation process, ensure all necessary parts are provided with the closer, such as screws and mounting brackets.
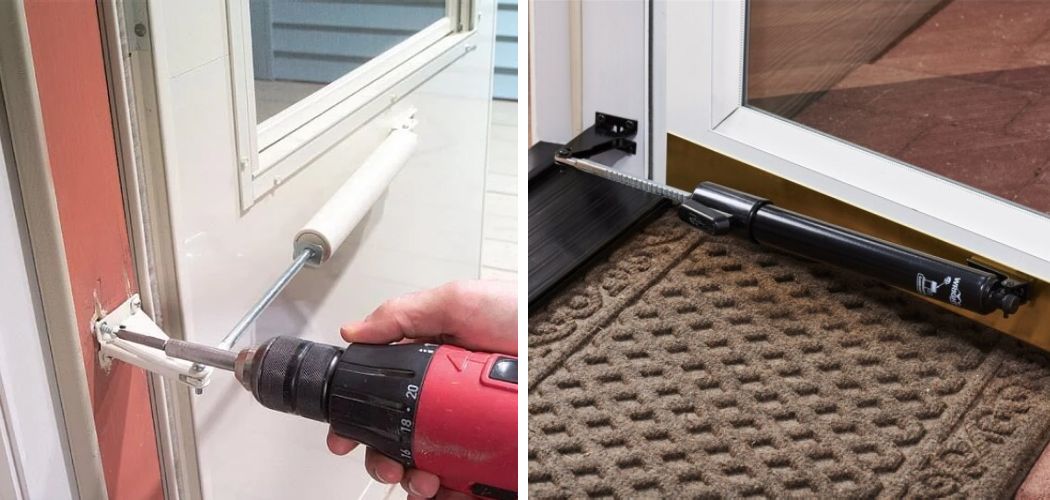
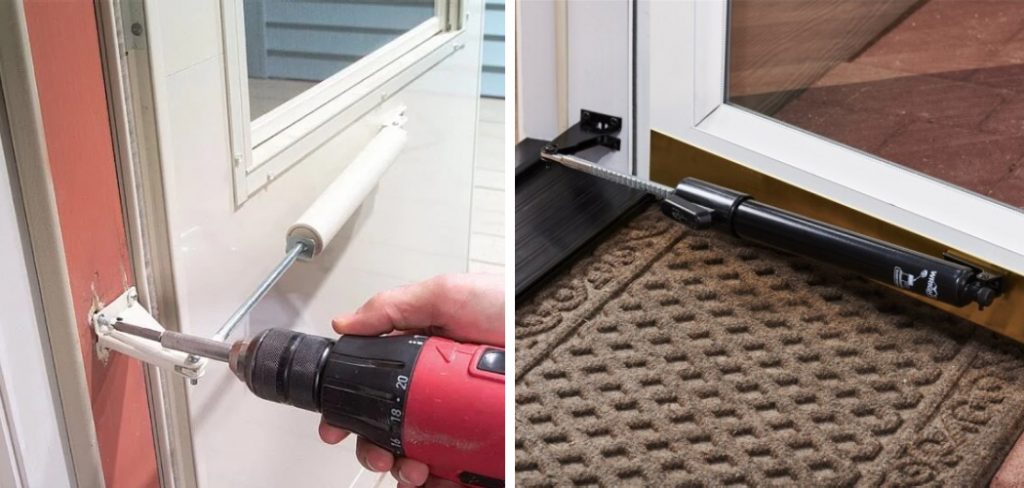
Step 2: Mark Installation Hole Locations
Locate where you need to drill holes to install the door closer. If no template is provided, hold the door closer to the door and mark where the holes need to be placed. Using an appropriate drill bit for your door material (wood or metal), drill pilot holes for mounting screws at marked locations. Ensure the pilot holes are free of debris or dust before proceeding.
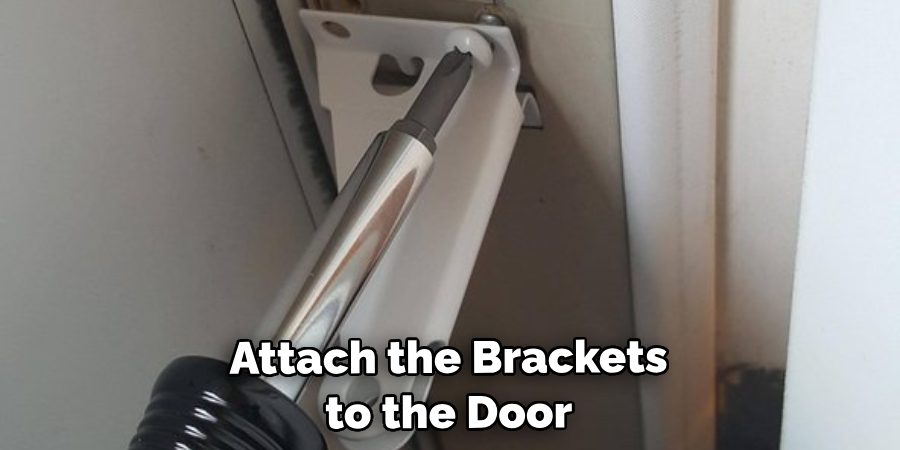
Step 3: Install Brackets
Using the screws provided, attach the brackets to the door. Make sure they are firmly secured and that all screws are tightened properly. Line up the closer tube with the holes you have drilled, then secure it using screws. Make sure it is aligned correctly and that all screws are tightened firmly.
Step 4: Attach Handle Plate
Attach the handle plate to the door. Ensure it is aligned properly with the closer tube, then secure it using screws. Connect the closer tube to the handle plate. Make sure the pins on the closer tube are aligned with the holes on the handle plate, then secure it in place using screws.
Step 5: Test Closer Operation
Open and close the door several times to test that the closer is working properly. Make any necessary adjustments to ensure a smooth operation. Adjust the tension spring to set the desired closing rate for the door. Turning the adjustment screw clockwise will increase tension and cause the door to close more quickly while turning it counterclockwise will reduce tension and result in a slower closing speed.
Step 6: Final Check
Once you’ve completed the above steps, ensure the Wright Door Closer is securely mounted on the door. Ensure all screws and connections are tight, and the closer operates properly.
You can expect it to provide years of reliable service with proper installation. Regularly inspect your door closer for loose screws or wear and tear, and make any necessary adjustments to ensure a smooth operation.
Safety Tips for How to Install a Wright Door Closer
- Make sure to use the correct size for your door closer. The wrong size can affect the door’s performance closer and even cause it to malfunction or break down.
- Double-check on all mounting hardware needed before installation, as some models require special tools for installation (such as a drill).
- Always wear protective gear, such as safety glasses and gloves, while working with door closers.
- Never install a door closer without testing it first to make sure it is working properly
- Don’t forget to review the manufacturer’s instructions carefully before beginning your project, as this will help you avoid any mistakes or wrong steps while installing.
- Make sure that all necessary screws and bolts are securely tightened after installation.
- Last but not least, test your newly installed door closer before use to ensure it works correctly.

By following these safety tips, you can be sure you’re doing it right when installing a Wright Door Closer! If you need help with the installation process, don’t hesitate to contact us; our professional installers will help you.
How Do You Troubleshoot Any Issues That Arise With Your Installed Wright Door Closer?
If you experience any issues with your Wright Door Closer after installation, it’s important to troubleshoot the problem as soon as possible. Here are some tips for resolving common issues:
- Check the Door Power Source: Ensure the connection is secured and properly functioning. The wires should be connected correctly, and all working parts of the door closer should be properly lubricated.
- Adjust the Power Setting: Your Wright Door Closer has a power adjustment setting, which can adjust the torque it applies when closing or locking a door. You may need to experiment with different settings to find the best one for your needs.
- Inspect for Damage: Look carefully at all the door closers’ components to ensure they are in good condition and not damaged due to wear or tear.
- Contact Customer Service: If none of these steps fix your issue, you should contact Wright Customer Service for assistance. They can provide additional troubleshooting advice as well as replacement parts if needed.
By following these tips, you can ensure that your Wright Door Closer functions correctly and provides long-lasting performance.
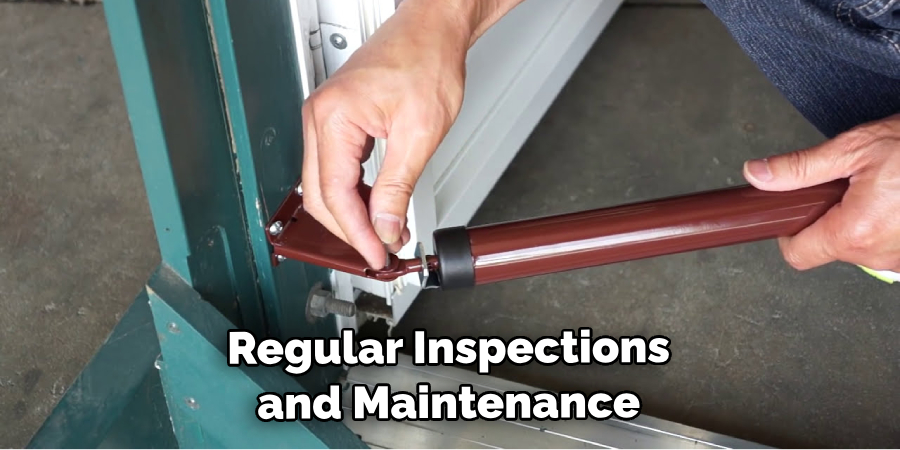
How Often Should You Inspect and Maintain Your Wright Door Closer After Installation?
After installing your Wright door closer, it is important to make sure that you inspect and maintain the device regularly. Doing so will help ensure that the closer performs optimally for years. Inspect your Wright door closer every few months for signs of wear and tear.
You should replace the component immediately if you notice any defects or damage, such as a loose screw or a worn-out arm. Additionally, it is important to lubricate the components of your Wright door closer regularly to keep them operating smoothly and reduce friction.
Following these simple maintenance tips ensures that your Wright door closer continues to perform optimally for many years. Keeping up with regular inspections and maintenance will also help you avoid future costly repairs or replacements. Suppose you are ever trying to figure out how to maintain your Wright door closer. In that case, it is best to refer to the manufacturer’s installation manual or consult a professional for guidance.
Are There Any Local Building Codes That Need to Be Followed When Installing a Wright Door Closer?
Before you begin the installation process, it is important to follow local building codes. This will ensure that your door closer meets all safety regulations and standards your local municipality sets. If there are discrepancies between the Wright Door Closer instructions and the local code requirements, always follow the local code. And be sure to consult with a professional if you need help understanding the local codes.
What Are the Common Problems Associated With Installing a Wright Door Closer, and How Can You Avoid Them?
Installing a Wright door closer can be tricky, and it is important to understand the common problems that you may encounter. Poor installation techniques or incorrect installation of the wrong model could cause your door to not close properly, place unnecessary strain on the hinges, and even cause damage to the door. Here are some tips for avoiding some of these common issues:
- Make sure to check the door opening size and select a Wright Door Closer that is compatible with your specific door size.
- Carefully measure the door’s width, height, and thickness before you purchase a closer. It needs to fit snugly within the frame for proper installation.
- Follow all directions with your Wright Door Closer, and only use the mounting screws in the kit.
- The closer should be installed six inches from the top of your door and not less than two inches from its bottom.
- If replacing an existing door closer, remove all old hardware before installing the new one.
- Make sure to test your door’s closure before completing the installation.
- If you need help installing a Wright Door Closer, consider hiring a professional installer. They can ensure that your door is properly secured and advise choosing the right model for your needs.

Following these tips, you can avoid many common issues by installing a Wright Door Closer and securely closing your door. With the right installation techniques and knowledge, you can rest easy knowing your door will be safe and secure for years.
Conclusion
In conclusion, installing a Wright Door Closer is an easy task. This article has provided you with the knowledge and tools to complete the job. With just a few simple steps, you can have your door closer installed in no time at all! Take your time and follow these instructions closely to ensure everything is done correctly for the best results possible. If you have any questions or concerns, feel free to contact a professional for assistance. Reading this post has helped you learn how to install a wright door closer. Make sure the safety precautions are carried out in the order listed.
You Can Check It Out To Add Doors to Cube Storage