Installing a rain shower head in the ceiling gives your bathroom a luxurious and spa-like feel. It is also easier to clean and maintain than traditional wall-mounted shower heads. Additionally, it can reduce splash back on the walls of your bathroom due to its raised position.
Installing a rain shower head in the ceiling is a great way to add an elegant touch to your bathroom. Not only does it look beautiful, but it also offers several advantages over installing a traditional shower head from the wall.
One major advantage of installing a rain shower head in the ceiling is that it can create a luxurious spa-like atmosphere. The gentle rainfall of the shower head creates an ambiance that is perfect for relaxation and tranquility. You can find step-by-step instructions on how to install a rain shower head in the ceiling in this blog article.
Tools You Will Need
- Level
- Plumber’s tape
- Adjustable wrench
- Drill and drill bits
- Hammer
- Measuring tape
- Screwdriver set
- Rain shower head assembly kit
- Wall anchors
- Safety goggles
- Electrical masking tape
- Phillips head screwdriver
Step by Step Processes for How to Install a Rain Shower Head in the Ceiling
Step 1: Inspect Your Shower Ceiling
Before starting your showerhead installation, inspect the ceiling for any water damage or warping signs. Depending on the age and condition of the ceiling, you may need to reinforce it before continuing with the project.
Step 2: Locate Ceiling Joists
Once you have determined that the ceiling is strong enough, mark the location of each ceiling joist. This will help you locate the spot where you plan to install the shower head so that it is securely fastened to a structural part of your home.
Step 3: Measure and Mark
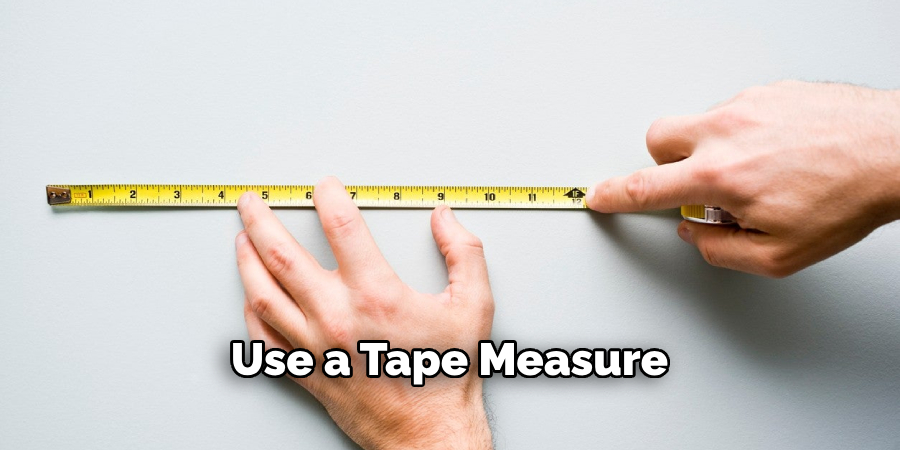
Use a tape measure to measure the distance between each joist and mark the spots on the ceiling where you plan to drill holes for mounting the shower head. Referring to your measurements, drill two pilot holes in the ceiling for each mounting bracket. Use a drill bit that is slightly larger than the screws you will use to mount the showerhead.
Step 4: Install Brackets
Place one of the mounting brackets into each hole and secure them into place. Make sure these brackets are securely fastened to the ceiling joists. Slide the shower arm through the bracket and tighten it with a wrench or socket. The shower arm will be used to connect your rain showerhead to your plumbing system.
Step 5: Connect the Plumbing Line
Connect the plumbing line to the shower arm and ensure it is securely attached. Place the rain shower head onto the end of the shower arm, ensuring a tight fit. Use a wrench to secure it into place. Securely tighten the plumbing line to the bracket with a wrench or socket.
Step 6: Test Shower Head
Once all of your connections are secure, it is time to test out your new rain shower head by turning on the water and checking for any leaks. If everything looks good, you have successfully installed a rain shower head in your ceiling.
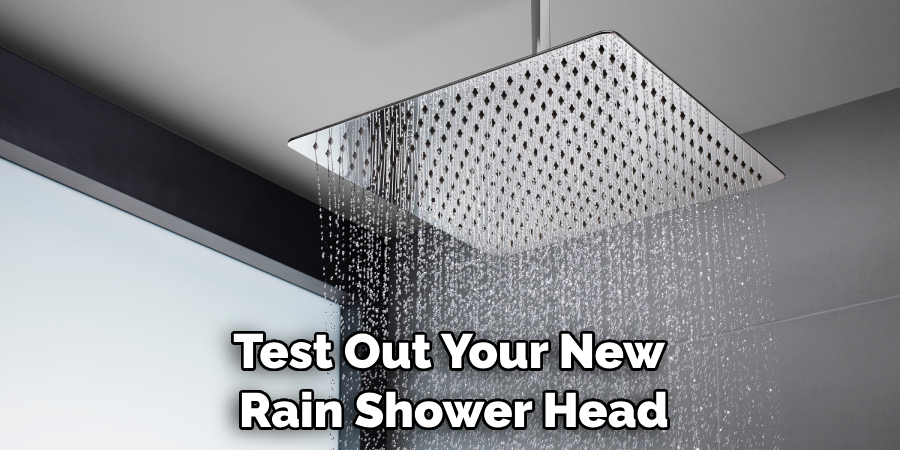
By following these steps, you can install a rain shower head in your ceiling successfully. Make sure to double-check all of your connections and keep an eye out for any signs of water damage or warping.
Safety Tips for How to Install a Rain Shower Head in the Ceiling
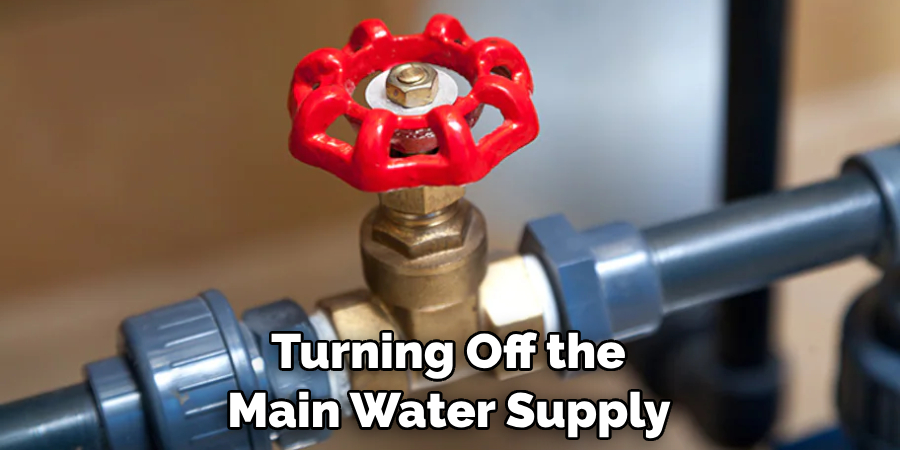
- Turn off the water supply from the main water line before beginning the installation process.
- Determine if the existing shower arm can support a heavier weight of a rain shower head or whether it may need to be replaced with a sturdier and more robust one.
- Wear protective eyewear when drilling, cutting, and sawing.
- Secure the shower arm to the ceiling by using two studs or wall anchors for added support and stability.
- Measure twice, drill once – accurately measure the distance between the rain shower head and the ceiling before drilling any holes.
- Connect all pipes tightly with a wrench to avoid leaks and water damage.
- Test the shower system by gradually turning on the water supply and checking for leaks or weak points. If any are found, take steps to fix them before use.
Following these safety tips will help ensure that anyone installing a rain shower head in their ceiling does so safely and securely. A smooth and successful installation will be achieved by double-checking measurements, securing all connections, and turning off the water supply beforehand.
What Type of Mounting Bracket Should You Use for a Secure Installation?
When it comes to installing a rain shower head in the ceiling, you need to use the right type of mounting bracket. To ensure your installation is secure and long-lasting, use a metal bracket for support.
The most common type of metal bracket used for this application is an L-bracket, which should be able to handle the weight of most rain shower heads. Before you start the installation process, ensure the L-bracket is securely fastened using screws or bolts.
This will provide extra support for your rain shower head and ensure that it stays in place throughout use. Additionally, you can use a toggle bolt for added stability. Once the L-bracket is securely fastened, you can attach your rain shower head to it. Depending on your shower head model, this may involve using screws or bolts as well. Ensure each connection point is firmly secured for a safe and secure installation.
How Do You Connect the Showerhead to the Water Supply Piping?
Once the showerhead is in place, it must be connected to the water supply piping. This will require cutting a hole into the wall behind the showerhead and running pipes from that hole into the main plumbing system.
The most common type of pipe used for this connection is copper piping, which can easily be bent by hand or with a pipe-bending tool. Once the pipes are in place, they must be connected to the water supply valve and showerhead using fittings such as compression fitting or soldered joints.

Depending on your local building codes, you may need to use a copper pipe with a shutoff valve at either end for safety in case of a leak. When the connections are complete, slowly turn the water supply on to check for leaks. A leak can usually be corrected by tightening the connection with a pipe wrench and applying additional sealants such as Teflon tape or putty.
Are There Specific Instructions You Need to Follow When Positioning and Installing the Showerhead?
Yes. When installing a rain shower head in the ceiling, following specific instructions and guidelines is important. First, locate the desired spot on the ceiling for your rain showerhead. Ensure this location is at least 8 feet from the floor or higher.
When positioning and drilling your showerhead onto the ceiling, ensure that the arm of the showerhead points slightly downward. Once you have determined and drilled your desired location, turning off the main water supply before installing it is important. If you are replacing an existing showerhead with a rain showerhead, make sure to remove any old hardware.
Once everything is in place, use Teflon tape to wrap the threads of the shower arm and showerhead until fully sealed. Hand-tighten the components and carefully check for leaks before turning on the main water supply. If you have installed everything correctly, your rain showerhead should now be in place and ready to use!
How Do You Test and Troubleshoot Your Installation to Make Sure Everything is Working Properly?
Once you have successfully installed the rain shower head in your ceiling, testing and troubleshooting your installation is important to ensure everything is working properly. To do this, turn on the water supply valve slowly.
This will allow you to monitor how quickly the water pressure increases as well as any potential leaks that may occur. Once the water pressure has stabilized, you can turn the shower on and adjust the temperature as needed. If any water leaks out of your ceiling or around the edges of your shower head, it’s time to do some troubleshooting.
The first step in troubleshooting a rain shower head installation is to check all connections and tighten them if necessary. Ensure all the parts are securely attached to the ceiling, including the support bracket, mounting screws, and shower arm. You should also double-check that the gasket is correctly installed—if it’s not, water may seep around the edges of your showerhead.
How Do You Properly Maintain and Clean Your Rain Shower Head?
Much like any other shower head, proper maintenance and regular cleaning of your rain shower head is important for it to continue performing optimally. It’s particularly important to clean a rain shower head because the droplets that give it its unique design are more likely to collect bacteria and dirt over time. To properly maintain your rain shower head, follow these easy steps:
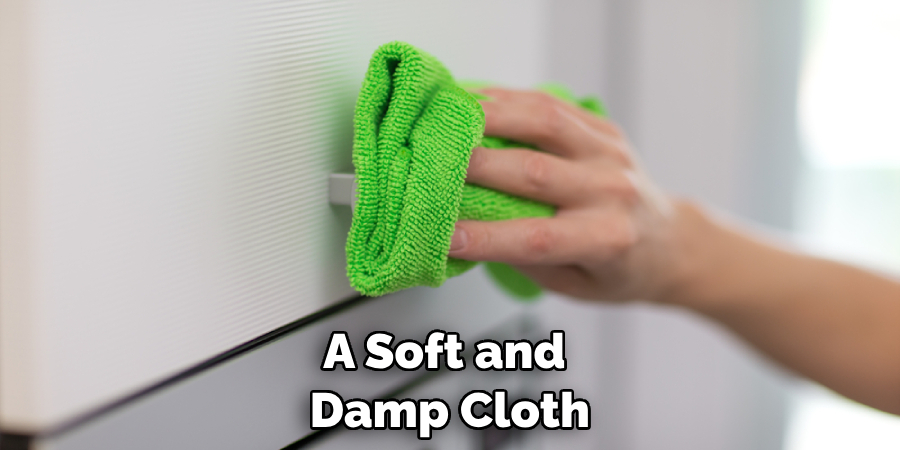
- Start by regularly wiping down your rain shower head with a soft and damp cloth. This will help remove any dirt or residue that may have built up on the surface.
- To remove hard water deposits, fill a bucket with equal parts of white vinegar and water; submerge the rain shower head in the mixture for a few hours.
- Use a toothbrush and non-abrasive cleaner to scrub away any buildup around the shower head for deeper cleaning. Be sure to rinse the shower head thoroughly before putting it back in place.
- If you notice any mineral deposits or hard water stains on your rain shower head, you can try using a lemon and salt mixture to remove the buildup. Simply mix lemon juice and coarse salt into a paste and use it to scrub away the deposits.
By following these easy steps regularly, you’ll help keep your rain shower head looking and performing its best for years to come.
Conclusion
In conclusion, installing a rain shower head in the ceiling is difficult and requires some plumbing knowledge. It takes patience, skill, and at least one other person to assist you in the process. However, if done correctly, you will have a beautiful rain shower head that will make your bathroom look more luxurious.
Furthermore, installing your rain shower head in the ceiling can give you a greater sense of relaxation and comfort when taking a shower.
We hope that this article has given you an idea of how to proceed with your installation, and we wish you luck in making it work. I hope this article has been beneficial for learning how to install a rain shower head in the ceiling. Make Sure the precautionary measures are followed chronologically.
