Are you looking to hide wood filler after staining? Wood filler is a great way to fix small imperfections on your stained wood, but it can also be frustrating when it stands out against the rest of the wood.

When working on woodworking projects, achieving a flawless finish is often the ultimate goal. One challenge that woodworkers frequently encounter is the visibility of wood filler after staining, which can detract from the overall aesthetics of the piece. Wood filler is essential for disguising imperfections such as holes, cracks, or scratches, but it sometimes stands out after staining due to differences in texture and color absorption.
This guide on how to hide wood filler after staining will provide you with practical steps and tips to ensure that your wood filler remains inconspicuous and does not compromise the beauty of your stained woodwork.
What Will You Need?
- Wood filler (color-matched to your wood stain)
- A putty knife or scraper
- Sandpaper (medium and fine grit)
- Tack cloth or a clean cloth
- The stain of your choice
- Paintbrush or rag for staining
- Top coat sealer (optional)
10 Easy Steps on How to Hide Wood Filler After Staining
Step 1: Choosing the Right Wood Filler
Selecting the appropriate wood filler is crucial to achieving an invisible repair. Begin by choosing a wood filler that closely matches the color of the final stain. Some wood fillers are specifically designed to be stainable, allowing them to blend better with the stained wood. Read the product labels to determine which type is suitable for your project.

There are both water-based and solvent-based wood fillers; each has its advantages based on the application and the type of wood you are working with. If possible, test a small amount of the wood filler and stain it on a scrap piece of wood to see how well it matches the final color before applying it to your project.
Step 2: Prepare the Wood Surface
Before applying the wood filler, ensure that the wood surface is clean and smooth. Use medium-grit sandpaper to gently sand the area around the imperfections, removing any loose fibers and creating a good bonding surface for the filler. Follow up with fine-grit sandpaper to achieve a smoother finish, making it easier for the filler to adhere seamlessly.
Wipe the sanded area with a tack cloth or a clean cloth to remove all dust and debris. This preparation step is vital, as a clean, smooth surface will help the wood filler blend more naturally with the surrounding wood when stained.
Step 3: Apply the Wood Filler
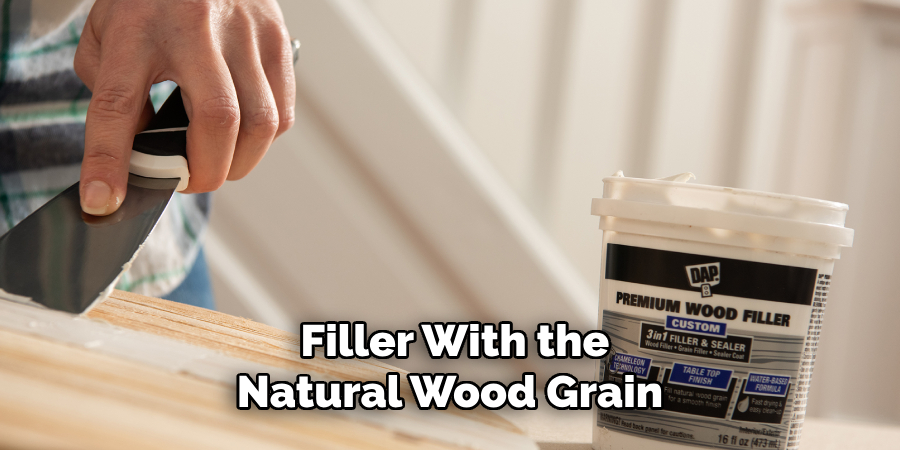
Using a putty knife or scraper, carefully apply the wood filler to the imperfections, pressing it firmly into the cracks, holes, or scratches. Ensure that the filler is slightly overfilled above the surface of the wood, as it may shrink slightly as it dries. Smooth the surface of the filler with the putty knife, removing any excess and creating an even finish. Allow the wood filler to dry completely according to the manufacturer’s instructions before proceeding to the next step. Proper application and drying of the wood filler are essential for a flawless final result.
Step 4: Sand the Filled Areas
Once the wood filler has dried completely, sand the filled areas using medium-grit sandpaper to remove any excess filler and to level it with the surrounding wood surface. Follow up with fine-grit sandpaper to achieve a perfectly smooth finish. Ensuring that the filled areas are flush with the wood is crucial to make the filler less noticeable after staining.
Carefully wipe away all sanding dust with a tack cloth or a clean cloth to prepare the wood for staining. A meticulously sanded surface will help the stain penetrate evenly and blend the filler with the natural wood grain.

Step 5: Test the Stain on Filled Areas
Before applying the stain to the entire project, it’s wise to test it on the filled areas to ensure an even color match. Apply a small amount of the chosen stain to the filled and sanded areas using a paintbrush or rag, and let it dry according to the manufacturer’s instructions. Compare the color of the stained filler to the surrounding wood. If the filler appears too light or dark, you may need to adjust your approach or choose a different filler or stain to achieve a better match. Testing the stain on the filled areas helps prevent any surprises and ensures a consistent look across your woodwork.
Step 6: Apply the Stain
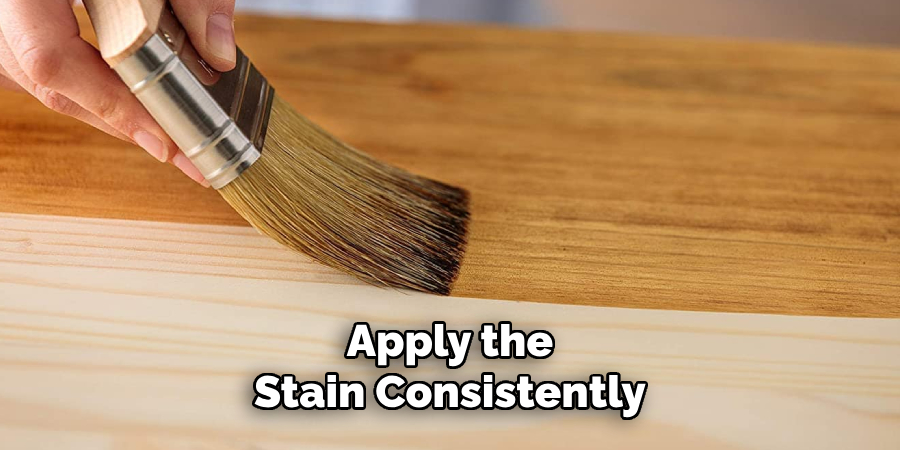
Once you are satisfied with the test results, apply the stain evenly across the wood surface, including the filled areas. Use a paintbrush or rag to apply the stain in the direction of the wood grain, ensuring that you cover both the natural wood and the filled imperfections thoroughly. Work systematically in small sections to prevent the stain from drying unevenly. Allow the stain to penetrate the wood for the recommended time specified by the manufacturer, then wipe away any excess stain with a clean cloth.
Step 7: Blend and Touch Up
After the initial stain has dried completely, inspect the filled areas to see if they blend seamlessly with the surrounding wood. If any discrepancies in color or texture are noticeable, you may need to apply a second coat of stain to the filled areas. Use a fine paintbrush or rag to carefully touch up these spots, blending the edges into the surrounding wood.
Allow this second coat to dry thoroughly. Patience and attention to detail at this stage will ensure that the wood filler is as inconspicuous as possible, maintaining the uniform appearance of your stained woodwork.

Step 8: Apply a Top Coat Sealer
To protect your stained wood and the filled areas, apply a top coat sealer such as polyurethane, varnish, or lacquer. This not only enhances the wood’s appearance but also provides a durable finish that guards against moisture, scratches, and wear. Use a clean brush or a lint-free cloth to apply the sealer in thin, even coats, following the direction of the wood grain.
Allow each coat to dry according to the manufacturer’s instructions, and lightly sand between coats with fine-grit sandpaper to ensure a smooth finish. Wipe away any sanding dust before applying the next coat.
Step 9: Final Inspection and Touch-Ups
Once the top coat is dry, inspect your work under good lighting. Check for any areas where the filler is still noticeable or where the finish is uneven. If necessary, perform any minor touch-ups with additional stain or sealer, using a fine paintbrush or rag to blend them seamlessly. A meticulous final inspection ensures that your woodwork looks as professional and polished as possible.
Step 10: Maintenance and Care
Follow regular maintenance and care practices to keep your stained woodwork looking its best. Dust the surface regularly with a soft, dry cloth, and clean it periodically with a slightly damp cloth to remove any grime. Avoid using harsh chemicals or abrasive cleaners that can damage the finish. Periodically, you may want to reapply a fresh coat of top coat sealer to maintain the wood’s protection and sheen. Proper care will extend the life and beauty of your woodwork, ensuring that the hidden wood filler remains undetectable over time.
By following these steps, you can achieve professional-looking results when using wood filler to repair imperfections in stained wood.
5 Things You Should Avoid
- Using the Wrong Type of Wood Filler: Avoid using a wood filler that is not compatible with your wood type or stain. Some fillers are made specifically for indoor or outdoor use, and others are designed to match particular wood species. Using the wrong kind can result in poor adhesion, noticeable patches, or a mismatched color.
- Skipping the Sanding Process: Do not skip the sanding step after the wood filler has dried. Failing to sand the filled areas properly can leave rough patches and visible filled spots that do not absorb stain evenly. Always ensure the filled areas are flush with the surrounding wood for a seamless look.
- Neglecting to Test the Stain: Never apply the stain to the entire project without first testing it on the filled areas. The filler can absorb the stain differently than the natural wood, potentially leading to a noticeable contrast. Testing prevents surprises and allows you to make adjustments before committing to the final application.
- Applying Uneven Stain Coats: Avoid applying uneven coats of stain, as this can make the filled areas stand out. Apply the stain consistently and in the direction of the wood grain to ensure an even finish. Uneven application can result in a blotchy and unprofessional appearance.
- Rushing the Drying Time: Patience is key when working with wood filler and stain. Do not rush the drying time between the filler, stain, and topcoat applications. Allow each layer to dry completely as per the manufacturer’s instructions. Hastening this process can compromise the adhesion and effectiveness of each layer, resulting in an inconsistent and patchy finish.

Conclusion
How to hide wood filler after staining requires attention to detail and adherence to a multi-step process.
You can achieve a seamless and professional appearance by choosing the right type of wood filler, thoroughly preparing the wood surface, and meticulously following each staining and sealing step. The key lies in testing the stain, applying it evenly, and allowing sufficient drying time between coats. Regular maintenance and careful touch-ups further ensure that your stained woodwork retains its beauty and longevity, with the wood filler remaining virtually undetectable.
With patience and precision, your efforts will yield impressive and enduring results.
