
Hanging cabinets securely is crucial not only for the aesthetic appeal of your space but also for ensuring safety and functionality. Cabinets that are not properly mounted can pose significant risks, including falling and causing injuries or damage. Traditionally, cabinets are secured to wall studs, which provide a solid foundation for the mounting hardware. However, in situations where studs are not available or do not align with the desired cabinet placement, alternative methods must be employed.
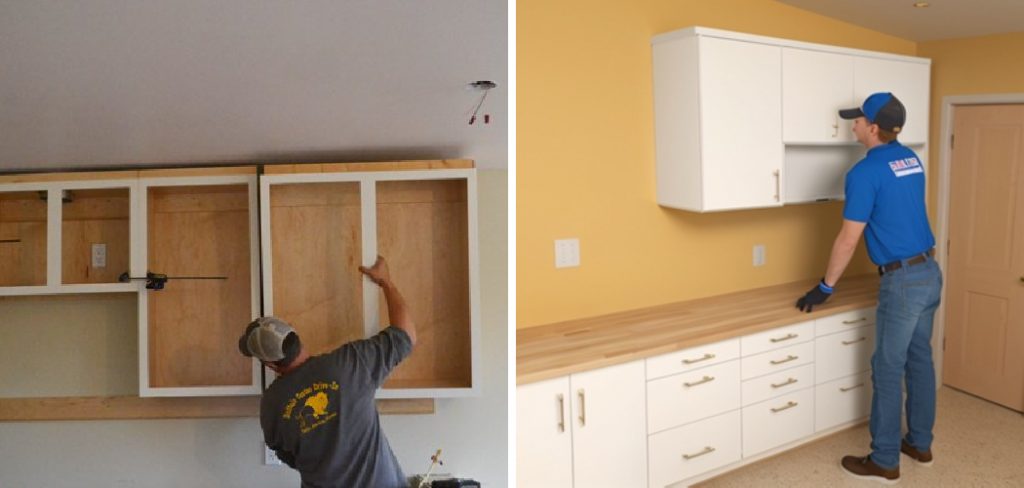
This guide will explore how to hang cabinets without studs, covering various techniques and tools that can be used to achieve a secure and stable installation. From using toggle bolts to wall anchors and hollow wall anchors, we will provide detailed instructions to help you navigate the challenges of hanging cabinets without relying on wall studs. By following these steps, you can ensure your cabinets remain firmly in place, enhancing both the safety and appearance of your home.
Assessment of Cabinet Weight and Wall Structure
Properly assessing the weight of your cabinet is the first step in selecting the appropriate mounting hardware. Begin by emptying the cabinet to get an accurate weight measurement. Use a digital scale if possible, or refer to the manufacturer’s specifications for the cabinet’s weight. It is important to consider the total weight, including any items that will be stored inside the cabinet once it is installed. Overlooking this step could result in selecting hardware that lacks the strength needed to support the cabinet’s load over time.
Next, evaluate the type of wall where the cabinet will be mounted. Different wall materials require different types of anchors to ensure a secure installation. For drywall, wall anchors or toggle bolts are typically used, as they provide the necessary grip behind the drywall. In contrast, plaster walls might require more robust solutions such as molly bolts or dedicated plaster anchors. If the wall has a masonry surface, specialized masonry anchors or bolts will be needed. Identifying the correct wall material and pairing it with the appropriate anchors is crucial for a safe and reliable installation, ensuring that the cabinet can be securely mounted in the absence of studs.
How to Hang Cabinets without Studs: Preparation and Marking
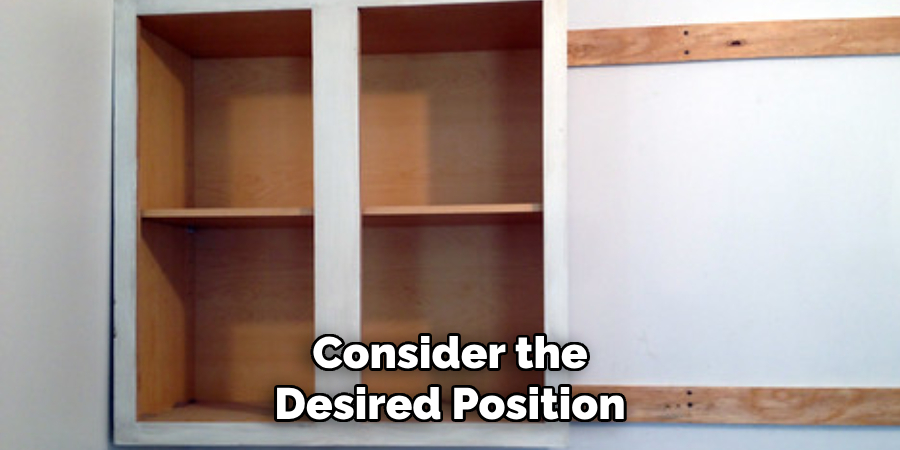
Positioning
Before beginning the installation process, carefully consider the desired positioning of your cabinet. Use a tape measure to determine the height and horizontal placement, ensuring it suits both your aesthetic preferences and functional needs. Once you’ve decided on the ideal location, use a level to draw a straight, horizontal line on the wall where the top of the cabinet will sit. This step is crucial for ensuring that your cabinet is installed evenly and avoids a tilted appearance that can affect both its functionality and visual appeal.
Marking Mounting Holes
With the location and height determined, it’s time to mark the mounting holes. Place the cabinet’s mounting brackets against the wall in the intended positions, ensuring they align with the level line you’ve drawn. Use a pencil to mark the specific spots where the screws will go through the brackets and into the wall. Double-check these marks to confirm they are level and correctly spaced according to the cabinet’s mounting points. This careful marking will guide you during the drilling process, ensuring that the mounting hardware is installed precisely where needed for optimal support and alignment. By taking these preparatory steps, you set a solid foundation for a secure and visually appealing cabinet installation.
How to Hang Cabinets without Studs: Installation
Drilling Pilot Holes
Begin the installation by drilling pilot holes at the marked locations on the wall. Use a drill bit that corresponds to the size of the wall anchors or toggle bolts you have selected. Drilling pilot holes helps to guide the anchors and prevents the wall material from splitting or cracking during installation. Make sure the holes are drilled at the correct depth based on the length of the anchors or bolts, ensuring a snug fit.
Inserting Anchors
Next, insert the wall anchors or toggle bolts into the pilot holes. For wall anchors, gently tap them into the hole using a hammer until they are flush with the wall surface. If using toggle bolts, fold the metal wings and insert them through the hole. Once they are inside the wall cavity, the wings will expand and lock into place. Ensure that all anchors are securely positioned before proceeding to the next step.
Attaching Mounting Brackets
Once the anchors are securely in place, attaching the mounting brackets to the wall is time. Position the brackets over the installed anchors, aligning the screw holes. Use the screws provided with the anchors to attach the brackets, making sure each one is firmly secured to provide a stable base for the cabinet. Tighten the screws adequately, but be careful not to over-tighten, which could damage the wall anchors.
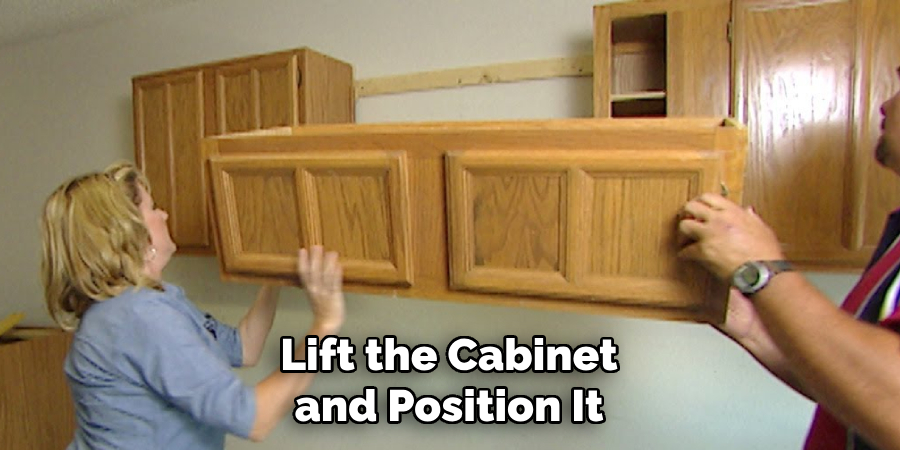
Lifting and Positioning
With the mounting brackets securely attached, lift the cabinet and position it so that the mounting brackets align with the installed anchors. This step may require an extra set of hands, especially if the cabinet is large or heavy. Carefully guide the cabinet into place, ensuring that its mounting points align perfectly with the brackets. This alignment is crucial for the cabinet’s stability.
Securing Cabinet
Once the cabinet is properly aligned with the mounting brackets, use screws to attach it to the brackets securely. Typically, these screws are provided with the cabinet hardware. Insert the screws through the cabinet’s mounting points and into the brackets, ensuring they are tightly fastened. This will anchor the cabinet firmly to the wall and prevent any movement.
Checking Level
After securing the cabinet, use a level to ensure it is straight. Place the level on top of the cabinet, checking both the horizontal and vertical alignment. If the cabinet is not level, make the necessary adjustments by loosening the screws slightly and repositioning the cabinet until it is perfectly aligned. Once level, retighten the screws to secure it in place.
Repeat for Additional Cabinets
If you are installing multiple cabinets, repeat this process for each one, ensuring proper alignment and spacing. Consistency is key; use the same steps to maintain uniformity and functionality across all cabinets. Carefully position, level, and secure each cabinet, checking alignment frequently to achieve a cohesive and professional installation.
Safety Considerations
Weight Capacity
One of the critical safety aspects in cabinet installation is ensuring that the chosen mounting hardware can support the cabinet’s weight. Always check the maximum weight capacity of the wall anchors or toggle bolts, and compare it with the combined weight of the cabinet and its contents. Using hardware with insufficient weight capacity can lead to failure, posing a safety risk.
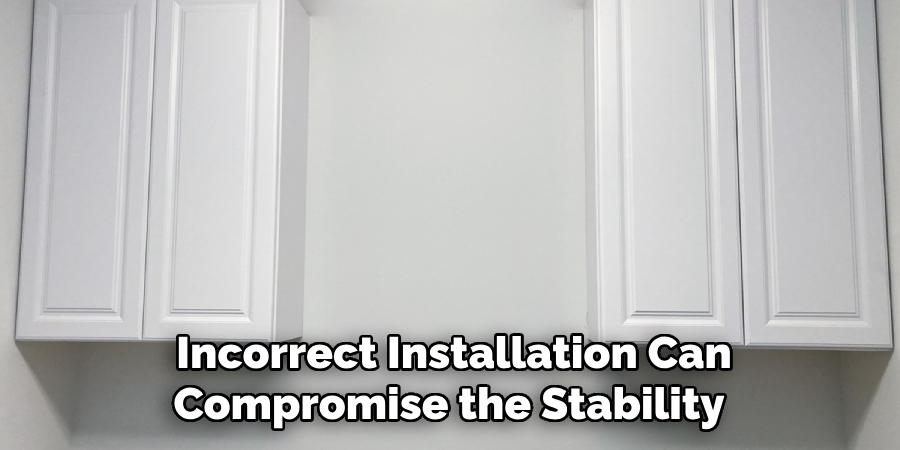
Proper Installation
Follow the manufacturer’s instructions meticulously when installing anchors and toggle bolts. Incorrect installation can compromise the stability of the cabinet, making it prone to accidents. Complying with the specified guidelines ensures that the hardware functions as intended and provides the necessary support.
Even Distribution
Distributing the cabinet’s weight evenly across multiple anchors or toggle bolts is essential to prevent overloading any singular point. This balanced approach minimizes stress on each anchor and enhances the overall stability and safety of the installation. Make sure that each anchor shares an equal load for optimal support.
Final Inspection and Adjustment
Leveling
Double-check the cabinet’s alignment with a level. Place the level along various points of the cabinet, both horizontally and vertically, to ensure that it remains perfectly aligned. If you find any discrepancies, make the necessary adjustments by loosening the mounting screws just enough to shift the cabinet into place. Carefully retighten the screws once the cabinet is accurately leveled.
Stability Test
Apply pressure to the cabinet to ensure it is securely mounted to the wall. Gently push against different areas of the cabinet, including the edges and corners, to verify that it remains stable and firmly attached. This stability test helps identify any potential mounting weaknesses that could affect the cabinet’s performance over time.
Final Touches
Clean up any debris created during the installation process and ensure all mounting hardware is properly concealed. Use covers or caps provided with the hardware to hide screws and brackets, creating a clean and polished look. This final step not only enhances the cabinet’s appearance but also ensures that the installation is safe and complete.

Conclusion
Hanging cabinets without studs involves several key steps for a successful and secure installation. Start by assessing the wall type and condition, and selecting the appropriate hardware, such as wall anchors or toggle bolts, suited for the cabinet’s weight. Follow the detailed installation process: drill pilot holes, insert anchors, attach mounting brackets, lift and position the cabinet, secure it, and check for levelness. Focus on distributing weight evenly and ensuring that each anchor is properly installed to prevent any failures.
Proper installation is crucial for the longevity and safety of your cabinets. Following each step meticulously will help keep the cabinets firmly attached to the wall, reducing the risk of accidents and ensuring they hold up over time.
For heavier cabinets, it is advisable to seek assistance to avoid injury and ensure accurate placement. If you have any uncertainties about how to hang cabinets without studs, consulting a professional can provide peace of mind and guarantee a safe installation. Remember, a careful and deliberate approach leads to a professional and secure result.