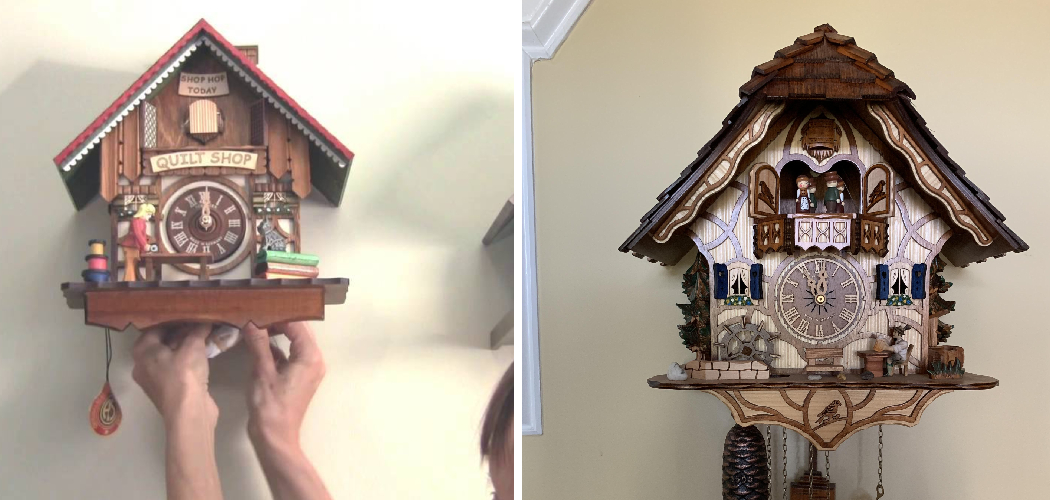
Are you looking to hang a cuckoo clock in your home? Installing the clock is easier than you might think and can add attractive detail to your walls.
When it comes to decorating your home, cuckoo clocks offer a classic touch of whimsical charm. Whether you’re adding some warmth to a bare wall or looking for something that will be the centerpiece of your room, hanging one of these handcrafted timepieces is an effective way to dress up any space.
They are beautiful and unique, and cuckoo clocks can also become treasured family heirlooms passed down through generations. In this blog post, we’ll go over how to hang a cuckoo clock like the pros so you can showcase this wonderful decorative piece for years and years to come!
What are the Benefits of Hanging a Cuckoo Clock?
The main benefit of having a cuckoo clock in your home is its timeless beauty. Cuckoo clocks are classic timepieces with intricate details and craftsmanship that look stunning on any wall.
Additionally, cuckoo clocks can be excellent conversation pieces when guests come over, as the clock’s melodic sound adds a unique ambiance to any room. They also make for great gifts for those who appreciate traditional beauty in a home.
It’s important to note that there are some caveats when it comes to hanging a cuckoo clock, so make sure you read this guide before getting started!
What Will You Need?
Before you get started, there are a few key things you’ll need to have on hand to hang your cuckoo clock:
- Hammer
- Nails
- Level
- Wall Anchors
- Screwdriver (for some models)
Once you have all these tools, you’re ready to start the installation process.
10 Easy Steps on How to Hang a Cuckoo Clock
Step 1. Preparing the Wall and Clock for Hanging
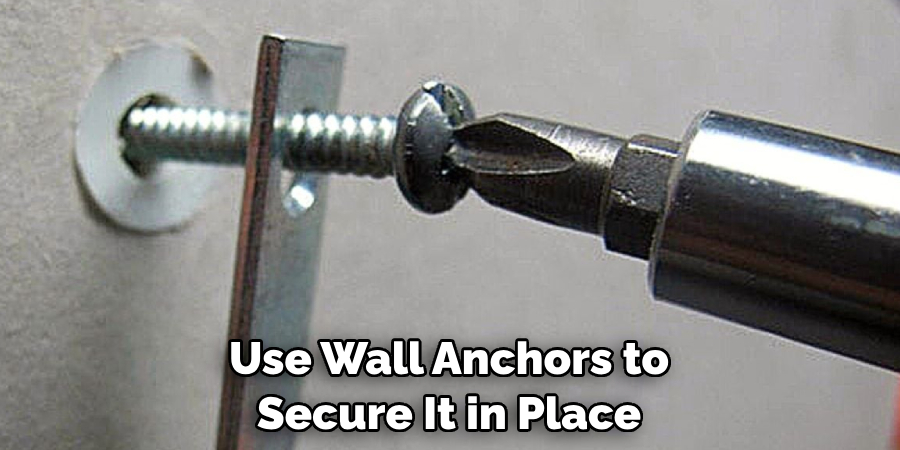
Once you’ve gathered all the materials, ensure that the wall where you plan to hang the clock is clean and ready. Cuckoo clocks are heavy, so it’s important to make sure that the wall can support its weight. If not, then be sure to use wall anchors to secure it in place. Also, check if there are any preinstalled holes on the back of your clock, as some models may require a screwdriver for installation.
Step 2. Place the Clock in Its Desired Location
Once you’ve prepped the wall and the clock, it’s time to decide where to hang it. It’s best to find a spot that is out of direct sunlight and away from any sources of heat or moisture, such as radiators or humidifiers. Ensure you have enough space for its pendulum to move freely without being obstructed by furniture or other objects.
Step 3. Mark Where You Will Hammer the Nails
With a level, mark two points on the wall corresponding to where you plan to hammer nails. Make sure the points are even and at a height that you’re comfortable with. As a rule of thumb, placing them at least 6 inches above the top of the clock is best.
Step 4. Hammer the Nails into the Wall
Once you have marked the two points, use your hammer to drive the nails into place. Be careful not to hit your fingers! Try to use gentle but firm pressure when doing this step.

Step 5. Place Wall Anchors in Necessary Areas
If your wall is made of drywall or other lightweight material, then you should install wall anchors in order for it to support the weight of the clock. Place them accordingly along each nail so they can do their job properly. Don’t forget to use a screwdriver if your clock requires it.
Step 6. Position the Clock on the Nails
Carefully place the clock onto the two nails. Ensure it’s secure before you let go and hang it level with the wall. If the clock doesn’t fit securely, then you may need to adjust the nails or wall anchors if necessary.
Step 7. Secure the Clock in Place
Use a screwdriver to secure your cuckoo clock in place further if necessary. Be careful not to over-tighten screws as this may cause damage to the clock itself. You can also use a level to ensure the clock is properly aligned.
Step 8. Test It Out
Once everything is set up, test your cuckoo clock to ensure it works properly and that all parts function correctly. You don’t want any surprises when you turn it on! This is also a great time to check for any signs of dust or debris that may have been collected inside.

Step 9. Adjust Any Necessary Parts
Make sure all moving parts are adjusted correctly. This includes the pendulum, weights, and any other components that may need to be adjusted for your cuckoo clock to function properly. Ensure the clock is level and that all parts are suspended correctly.
Step 10. Enjoy Your Cuckoo Clock
You’ve done it! You’ve successfully hung your cuckoo clock like a pro. Now all you have to do is sit back, relax, and enjoy this timeless piece of art in your home! Remember, if you ever have any issues with your clock later on, consult the manufacturer’s instructions for more help.
With these easy steps, you’re now ready to show off this classic timepiece in your home or give it as a gift. Be sure to follow these steps carefully so you can get years of enjoyment out of your cuckoo clock.
5 Additional Tips and Tricks
- If you’re hanging your cuckoo clock on a wall, make sure to use the appropriate hardware. Ensure that it is firmly and securely attached to the wall so it won’t be easily damaged or knocked down.
- adjust the weights and pendulum accordingly when setting up the clock. Make sure they hang freely, and if necessary, tighten any slack around the shaft with a nut driver or small pliers.
- Always run a test of your cuckoo clock before attaching it to the wall- this will ensure that everything is working correctly and in perfect time!
- To avoid having to reset your cuckoo clock every day, consider investing in an automatic timer module for added convenience. This will ensure that your clock runs smoothly and accurately for years to come.
- Finally, if you’re not sure about how to hang a cuckoo clock, always refer to the manufacturer’s instructions! Doing so will help you set up your clock properly and safely.
With all of these tips in mind, you can be sure that your cuckoo clock is hung correctly – and enjoy it for many years to come!
5 Things You Should Avoid
- Don’t hang your cuckoo clock in a damp or humid environment. This can cause the wood to warp, leading to serious damage.
- Avoid using inappropriate hardware to hang your clock- use the correct screws and nails for maximum security.
- Never attempt to adjust the weights Don’t hang your cuckoo clock too high – it needs to be within easy reach so you can easily adjust the weights and pendulum if necessary.
- Never attempt to hang a cuckoo clock without reading and following manufacturer instructions carefully – if in doubt, contact an expert for help.
- Avoid hanging your cuckoo clock in direct sunlight or otherwise exposing it to extreme temperatures. Doing so could cause irreparable damage to the mechanism.
By following these simple tips, you can ensure that your cuckoo clock hangs correctly and is safe from harm – allowing you to enjoy it for years to come!
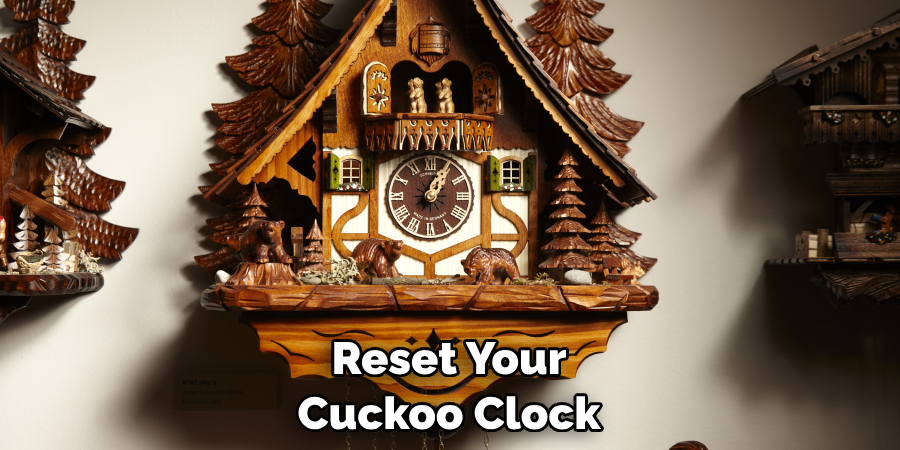
How Do You Stop a Cuckoo Clock at Night?
- The first step in stopping a cuckoo clock at night is to find the switch or lever located on the side of the clock – usually near the weights and pendulum.
- Once you have found it, simply push or turn the switch to stop the mechanism from chirping during nighttime hours.
- If your cuckoo clock has an automatic timer, then you can adjust its settings to restrict when it starts and stop chirping. This way, you won’t have to control it manually every day!
- Additionally, some cuckoo clocks come with a ‘night time’ feature that allows them to shut off completely after a set period of time – usually around 8 hours. This can be activated by pressing a button or turning a switch on the side of the clock.
- Finally, if you’d like to keep your cuckoo clock running continuously, simply leave the switch in the ‘on’ position – and enjoy its chirps throughout the day and night!
By following these simple steps, you’ll be able to easily stop your cuckoo clock at night – and enjoy its comforting chimes during the day.
Conclusion
How to hang a cuckoo clock is not an easy task and can be time-consuming, but if you take it step by step, it should look great and keep accurate time. The Cuckoo Clock has been around for centuries, making it an excellent addition to any home, no matter the style or decor.
Once you have the cuckoo clock hung with expertise, you’ll find yourself wishing your other projects in life were as simple as hanging a cuckoo clock!
If this project was enjoyable for you, why not challenge yourself and make a craft item to hang next to your cuckoo clock? You may enjoy creating something unique and special for your home; after all, DIY projects like these make life uniquely yours.