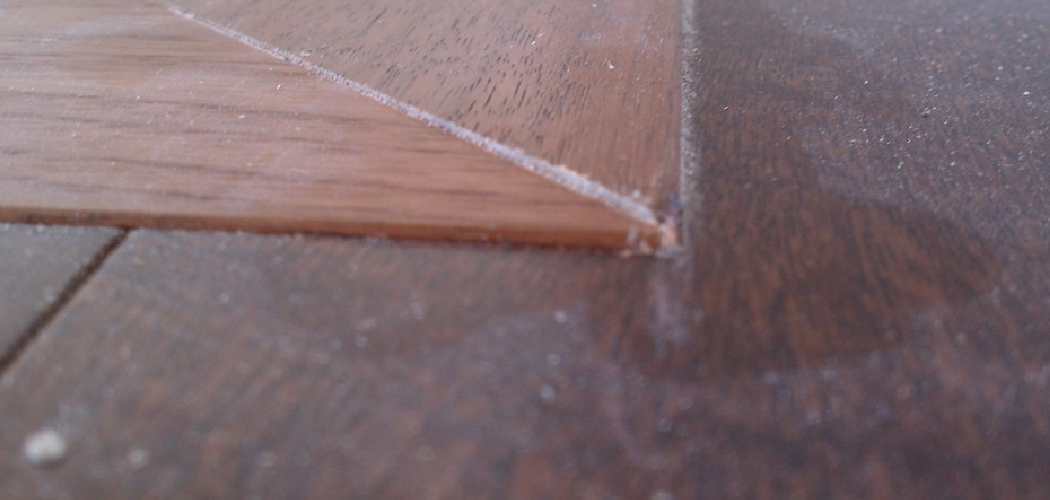
Wood trim can add elegance and character to any room, but over time, it may suffer from wear and tear. Fixing wood trim is a valuable skill that can save you money and preserve the beauty of your home.
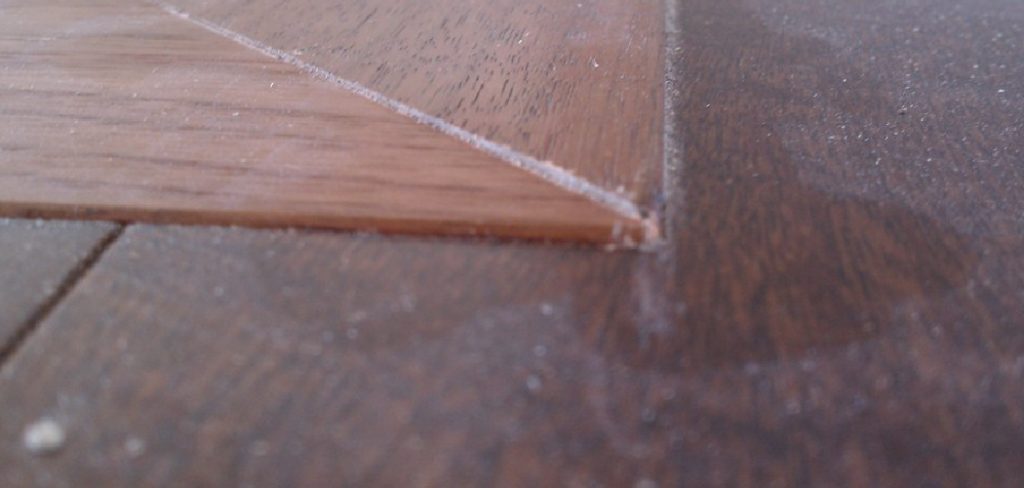
Whether you’re dealing with scratches, dents, or more significant damage, this guide on how to fix wood trim will provide you with the necessary steps to restore your wood trim to its original condition.
What is Wood Trim?
Wood trim, also known as molding or molding, is a decorative element used to add detail and cover the joints between walls, ceilings, floors, and doorways. It can be made from various types of wood and comes in different shapes and sizes to complement any interior design style.
You can typically find wood trim in older homes, but it is still commonly used in modern construction as well. It’s a versatile and timeless addition that can elevate the look of any room.
Why Does Wood Trim Need Fixing?
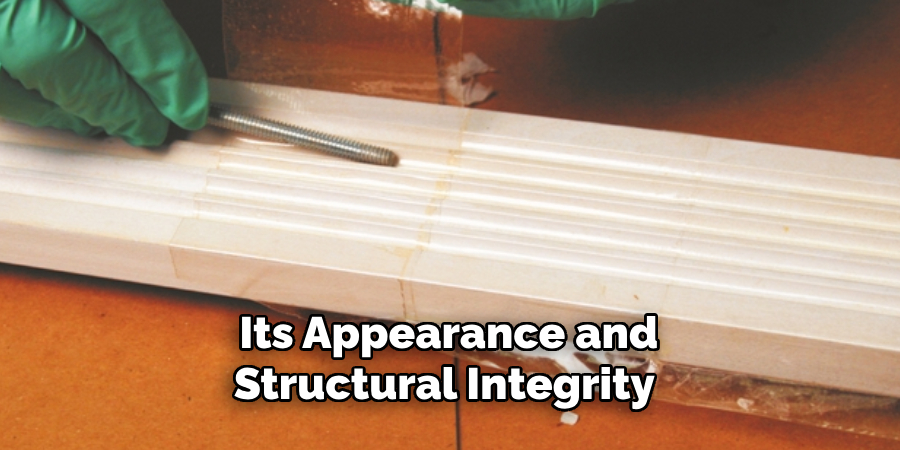
Wood trim often requires fixing due to various factors that can affect its appearance and structural integrity over time. Common causes include:
1.Wear and Tear:
Daily activities and repeated use of areas like doors and windows can lead to scratches, dents, and gouges.
2.Moisture and Humidity:
Changes in moisture levels can cause wood to expand and contract, leading to cracks, warping, and other forms of damage.
3.Posts:
Insects such as termites and carpenter ants can burrow into wood trim, compromising its strength and appearance.
4.Aging:
As wood ages, it can naturally deteriorate, becoming more susceptible to damage.
5.Accidental Impact:
Furniture moving, vacuuming, or kids playing indoors might result in accidental bumps or knocks that damage the trim.
Addressing these issues promptly is essential to maintain the aesthetic appeal and structural function of wood trim in your home.
Needed Materials
Fixing wood trim requires various materials, depending on the type and extent of damage. However, some common tools and supplies you may need include:
1.Sandpaper:
Used to smooth out rough edges and surfaces.
2.Wood Filler:
To fill in gaps, cracks, and holes in the trim.
3.Putty Knife:
Apply wood filler evenly.
4.Paint or Stain:
To match the color of your existing trim, give it a fresh coat of paint or stain.
5.Saw:
In case you need to replace a section of damaged trim.
9 Step-by-Step Guides on How to Fix Wood Trim
Step 1: Scratches and Dents
Small scratches and dents can be easily fixed with wood filler. First, clean the damaged area with a damp cloth and let it dry. Then, use a putty knife to fill in the damage with wood filler, making sure to smooth it out and remove any excess. Let it dry according to the manufacturer’s instructions before sanding it down until smooth. Finally, apply paint or stain as needed.
Step 2: Cracks
For small cracks, you can also use wood filler in the same way as for scratches and dents. However, if the crack is larger or deeper, use a wood glue specifically designed for filling in cracks. Apply the glue into the crack and use clamps to hold it closed until dry. Then, sand and paint or stain as needed.
Step 3: Split Wood**
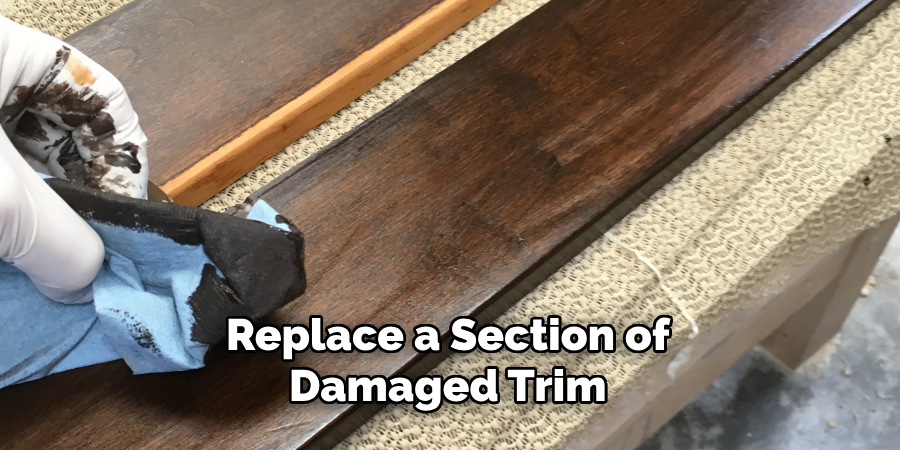
If your wood trim has split due to moisture or age, you may need to replace that section entirely. Use a saw to remove the damaged section and cut a new piece of matching trim to fit. Sand down any rough edges before attaching them with wood glue or nails. Finish off with paint or stain. You may also opt to replace all the trim in that area for a more cohesive look.
Step 4: Termite or Carpenter Ant Damage
If your wood trim has been damaged by pests, it’s essential to address the infestation first before fixing the trim. Once treated, remove any damaged sections and treat them with a wood hardener to strengthen the remaining wood. Then follow the previous step of replacing split wood. If the damage is minor, you can use wood filler to fill in small holes or gaps.
Step 5: Warping
Warped wood trim can be challenging to fix, but it is possible with some patience and effort. Use a heat gun or hairdryer on its highest setting to apply heat directly onto the warped area. As it warms up, gently bend the wood back into place using clamps or heavy objects to hold it in place until it cools. If the warping is severe, you may need to replace that section of trim.
Step 6: Peeling Paint or Stain
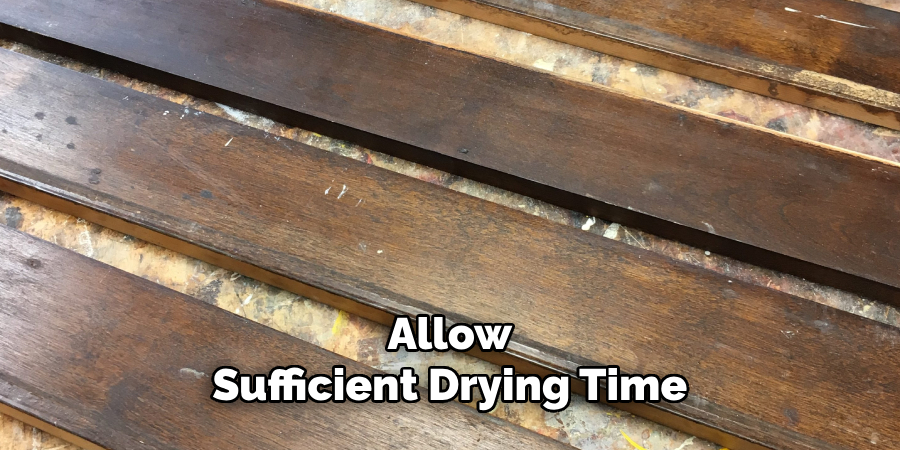
If your wood trim has peeling paint or stain, use a scraper or sandpaper to remove any loose or chipping layers. Then, clean the surface and apply a fresh coat of paint or stain. Make sure to use a primer if needed and allow sufficient drying time between coats. Otherwise, the new layer may also peel.
Step 7: Loose Trim
If your trim has become loose from the wall or ceiling, use a hammer and nails to reattach it securely. You can also use wood glue for added strength. Make sure to countersink the nail heads or wipe away any excess glue before painting or staining. But if the trim is too damaged, you may need to replace it entirely.
Step 8: Removing Stains
If your wood trim has stains from spills or other accidents, use a gentle cleaner and soft cloth to remove them. Avoid using harsh chemicals that can damage the wood’s finish. You can also try using a mixture of equal parts vinegar and olive oil to remove stubborn stains. It’s always best to test any cleaning method on a small, inconspicuous area first.
Step 9: Preventative Maintenance
To avoid needing frequent repairs, consider taking preventative measures such as sealing and staining your wood trim. This will help protect it from moisture and pests. Also, regularly inspect your trim for signs of damage and address them promptly before they worsen. The better you maintain your wood trim, the longer it will last.
Following these steps on how to fix wood trim and taking good care of your wood trim will keep it looking beautiful and functioning for many years to come. Remember, prevention is key, but if damage does occur, don’t hesitate to tackle it head-on using the right materials and techniques. So next time you notice any wear or tear on your wood trim, don’t wait – fix it right away! Happy repairing!
Do You Need to Use Professionals?
Deciding whether to hire professionals for wood trim repairs largely depends on the extent of the damage and your own DIY skills. For minor issues like small scratches, dents, or loose trim, you may feel comfortable tackling the repairs yourself with the right materials and guidance. However, if you’re facing more extensive damage such as severe warping, significant pest infestations, or large sections of split wood, it may be wise to consult a professional carpenter or contractor.
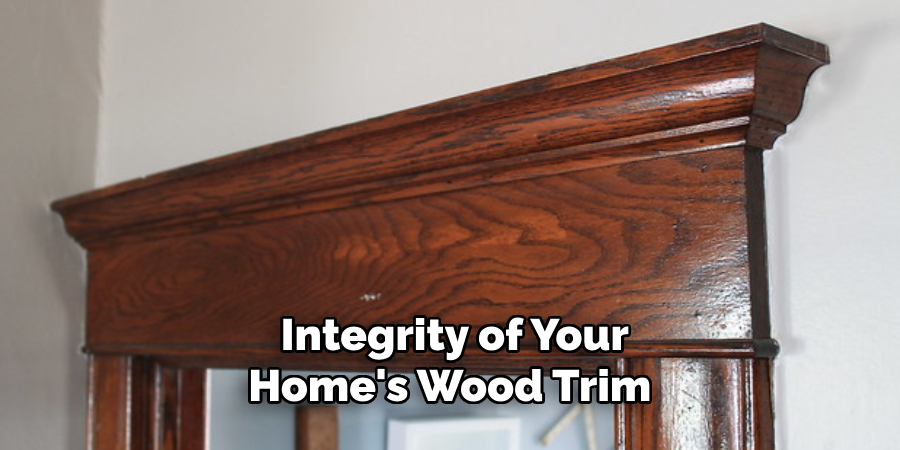
Professionals have the expertise, tools, and experience to handle complex repairs effectively and efficiently, ensuring the longevity and aesthetic appeal of your wood trim. Additionally, they can identify underlying issues that might not be immediately visible, preventing future problems. While hiring a professional incurs a cost, it can save you time, effort, and potential mistakes, ultimately preserving the integrity of your home’s wood trim.
Frequently Asked Questions
Q: How Do I Know When to Repair or Replace My Wood Trim?
A: It depends on the extent of the damage and your personal preference. Minor scratches, dents, and loose trim can be easily repaired, while significant warping, pest damage, or split wood may require replacement. If you’re unsure, consult a professional for their expert opinion.
Q: Can I Use Regular Wood Glue to Fix Cracks in My Trim?
A: No, regular wood glue is not suitable for filling cracks in trim as it doesn’t have the necessary strength and flexibility. Instead, use wood glue specifically designed for filling cracks or opt for wood filler if the crack is small enough.
Q: How Do I Avoid Future Damage to My Wood Trim?
A: To prevent damage to your wood trim, consider sealing and staining it periodically to protect against moisture and pests. Also, regularly inspect and address any minor issues before they worsen. Additionally, be mindful of how you clean and maintain your trim and avoid using harsh chemicals or tools that can damage the wood’s finish. Lastly, be cautious of any potential hazards around your trim, such as heavy objects that could cause dents or scratches. With proper care, your wood trim can last for many years to come.
Conclusion
Wood trim is a beautiful and functional element in any home that may require occasional fixing due to wear and tear, age, or other factors. With the right tools and materials, you can easily restore your trim to its original condition. However, it’s also essential to take preventive measures and regularly maintain your wood trim to prevent more significant issues from arising.
By following these step-by-step guides on how to fix wood trim and taking good care of your wood trim, you can ensure its longevity and keep it looking beautiful for years to come. Thank you for reading, and happy repairing!
