A few things, including water damage, weak floor joists, or rot can cause soft spots on a floor. If not fixed, these soft spots can lead to structural problems and even injury when someone steps on the spot. As such, it is important to know how to fix a soft spot on your floor to prevent any further damage from occurring.

One of the major advantages of fixing a soft spot on your floor is that it can help improve your space’s stability and safety. A soft spot on a floor could be caused by water damage or structural issues, and repairing these weak points helps prevent further damage. In this blog post, You will learn in detail how to fix soft spot in floor.
Tools You Will Need
- Hammer
- Nails
- Pry bar
- Wood glue
- Saw
- Drill
- Hole saw
- Chisel
- Leveler
- Putty knife
- Tape measurer
- Caulk gun and Silicone caulk
The first thing you need to do is determine the cause of your soft spot. If it is due to a broken or loose floor joist, you must repair this before attempting any further repairs. To do this, use a pry bar to remove the floorboards around the affected area and inspect the joists for damage.
Step by Step Processes for How to Fix Soft Spot in Floor
Step 1: Inspect the Area
The first step to fixing a soft spot on the floor is thoroughly inspecting the area. Take note of any signs of water damage or mold growth, as these could signal potential issues such as rot and termite infestations that must be addressed before proceeding.
Step 2: Find the Source
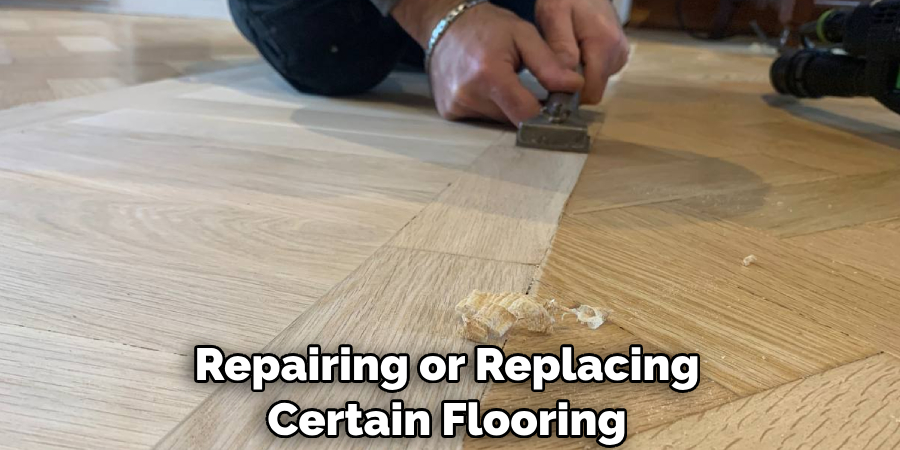
Once you have inspected the area, it is important to determine the source of the soft spot. Once you have identified the cause, you can fix the problem. Depending on what is causing your soft spot on the floor, repairing or replacing certain flooring parts may be necessary. If the spot is caused by water seepage, you may need to replace the damaged boards or install a drainage system.
Step 3: Secure the Subfloor
One of the most important steps in fixing a soft spot in flooring is to secure the subfloor beneath it. This can involve reinforcing and securing with screws or fasteners or using structural supports to distribute the weight of the floor more evenly. If an uneven subfloor causes a soft spot, it may be necessary to level the area before installing new flooring. This can involve using a self-leveling compound, grinding down high spots, and filling low spots with mortar or concrete.
Step 4: Install New Flooring
You can install the new flooring once the subfloor is secure and level. This could involve laying down a plywood or particleboard base, then adding the chosen type of flooring on top. All gaps between boards must be sealed properly, as this helps keep moisture out and prevents further damage. Use a good quality sealant suitable for your chosen type of flooring.
Step 5: Add Finishing Touches
If desired, you can add finishing touches to your newly fixed soft spot in the floor, such as tile or carpeting. This will help to improve the overall appearance of the space and make the area look more complete. After all of the work is completed, it is important to clean up any debris that may have been left behind. This will help to ensure that no additional damage occurs in the future and will also help to keep your floors looking their best for years to come.
Step 6: Maintenance
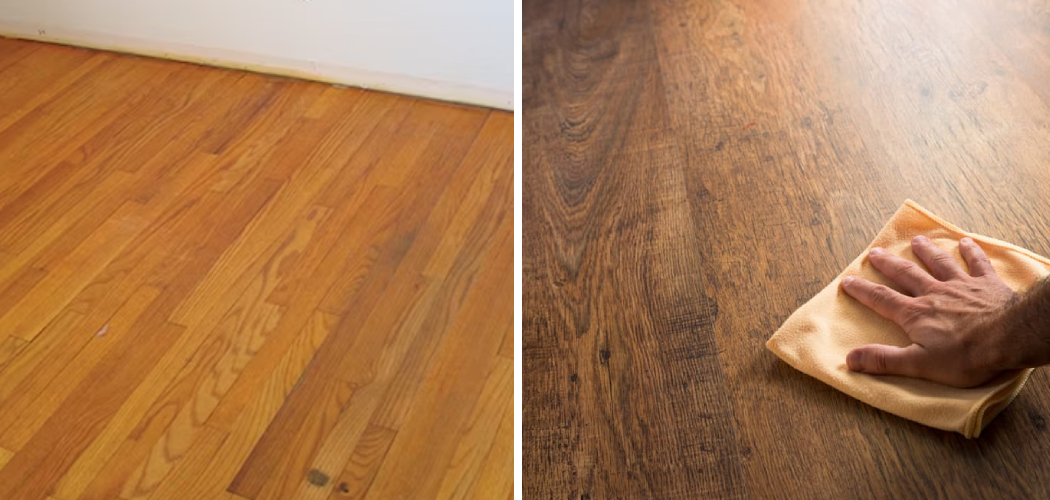
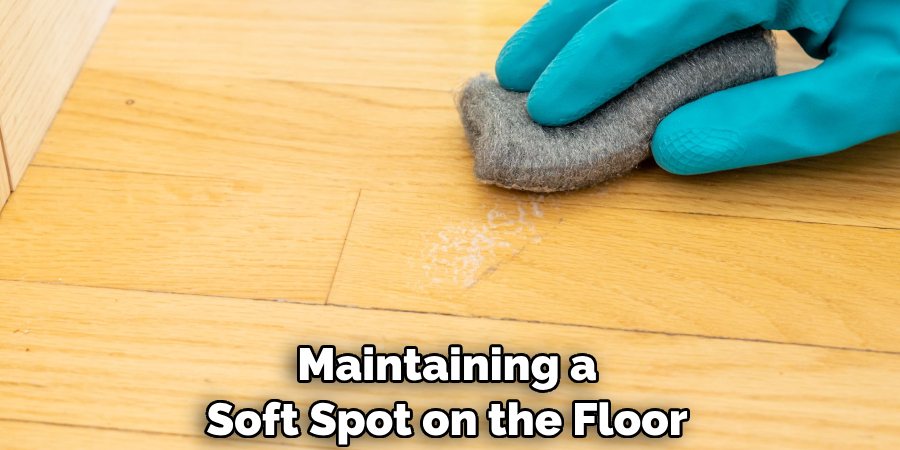
Maintaining a soft spot on the floor is the final step in fixing it properly. This can involve regular scrubbing or vacuuming and stain and water protection products to help keep your floors looking their best.
By following these steps, you can fix a soft spot on your floor and create a safe and durable surface for all types of activity. With the right knowledge and supplies, you can ensure that your floors will remain in great condition for years.
Safety Tips for How to Fix Soft Spot in Floor
- Wear proper safety gear when working on your floor. This includes work boots, safety glasses, and gloves.
- Ensure the area is well-ventilated before you begin working to avoid any toxic fumes from chemicals used in the repair.
- Before using any chemical or adhesive product, read the directions carefully for the best results and safety precautions.
- Ensure the floor area is arid and clean before attempting any repair.
- Using a wet saw, use a heavy-duty extension cord or generator to avoid electric shock hazards.
- Always wear a dust mask when sanding down wood floors to prevent inhalation of fine particles from the wood dust.
- Test the floor repair product on a small, hidden area of the floor to ensure it does not cause any staining or discoloration before using it in a larger area.
These safety tips will help you safely and successfully fix soft spots in your floors. With proper precautions, you can ensure your floors are safe and secure for years.
Is There Any Damage to the Subfloor Beneath the Soft Spot?
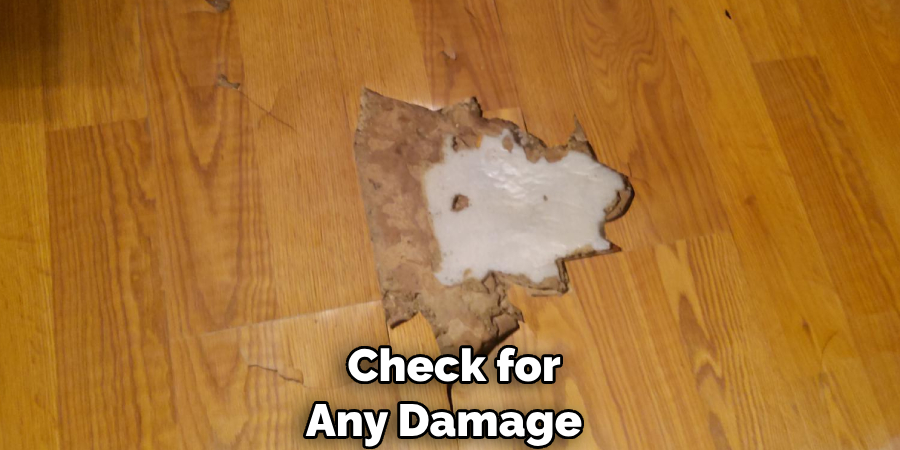
When dealing with a soft spot on your floor, one of the first steps is to check for any damage to the subfloor beneath. If there isn’t any visible damage, you may be able to fix the problem by simply filling in the area with matching floor materials. However, more extensive repair may be necessary if damaged or rotted wood is within the subfloor. For damaged wood in the subfloor, you must begin by removing rotten or broken sections.
Once this is done, you should use a floor-leveling compound and fill in the area so it is leveled with the rest of your floor. You can then secure new plywood over the top of the area if needed. Once the subfloor has been repaired and leveled, you can replace or re-install your floor covering. If you are dealing with carpet, you must securely glue the new padding and carpet over your newly leveled area. For wood floors, you may need to secure a new plank over the spot for a seamless repair.
What Type of Maintenance Will Be Needed After the Repair is Complete?
Once you have finished repairing the soft spot on your floor, there are a few additional steps that you will need to take to make sure that it remains secure and stable. Firstly, check regularly for moisture or water damage on or around the area, which could worsen the problem if left unattended. If you notice any moisture or water damage, address it immediately by applying the waterproof sealant to the area or having a professional look into it.
It is also important to ensure that any furniture, appliances, and other items in the area are not causing undue pressure on the repaired spot. You can do this by creating a protective barrier around the affected area. This barrier should be made of some material like plywood or particle board that is strong enough to support the weight of whatever items you have in the area. Finally, clean the area regularly and check for any cracks, holes, or other structural issues that the repair or pressure from furniture and appliances may have caused. If any of these issues are found, address them immediately and consider having a professional inspect the area.
What Are the Potential Risks Associated With Attempting to Repair a Soft Spot in Floor on Your Own?
If you are considering attempting to repair a soft spot in your floor on your own, it is important to be aware of the potential risks associated with the task. Soft spots in floors can indicate structural damage and often require more than simple repairs like filling or patching. If the issue is not properly addressed, there could be further detrimental effects, such as weak floor joists or cracks in the concrete.
Additionally, attempting to repair a soft spot on your own without proper knowledge and tools can result in further damage to your floor. It is important to understand that soft spots require more than just patching, and attempting DIY repairs may not be effective at solving the underlying issue. In some cases, it may even cause further damage. Therefore, if you are unsure of the cause of the soft spot, it is best to contact a professional who can accurately assess and repair the issue.
What Common Mistakes to Avoid When Attempting to Repair a Soft Spot in the Floor?
When trying to repair a soft spot on your floor, there are some common mistakes you should avoid. Here are a few:
- You are not cutting out the entire damaged area. When attempting to repair a soft spot, you must remove all of the damaged wood and sub-flooring. If you only partially cut away the affected area, it could cause further damage to your floor.
- You need to use more new wood/sub-flooring. Replace any missing or damaged wood/sub-flooring with new material when repairing a soft spot. Ensure that the amount of new wood/sub-flooring you use is sufficient to replace the entire damaged area.
- You need to secure the new wood/sub-flooring properly. To ensure a solid repair, you must ensure the new material is secured with screws or nails. If not done correctly, this could cause further damage and weaken your floor even more.
- You are not using the correct type of glue/adhesive. Different types of wood and sub-flooring require different types of glue or adhesive. It’s important to use the right kind for your particular situation to ensure a strong and secure repair.

By avoiding these mistakes when attempting to repair a soft spot in your floor, you can increase the chances that your repair will hold up and last. Contact a professional flooring contractor for more information on properly fixing a soft spot on your floor.
Conclusion
In conclusion, fixing a soft spot in your flooring is not easy, but it can be done with the right tools and knowledge. If you need more clarification about what to do, consult a professional. Depending on the type of flooring and the severity of the damage, different approaches may need to be taken. However, if you can repair the area yourself, it can save you a lot of time and money.
Furthermore, if the problem is severe enough that a professional needs to be consulted, they will have the knowledge and expertise to fix the soft spot in your flooring correctly. This article has been beneficial for learning how to fix soft spot in floor. Make Sure the preventive measures are followed chronologically.