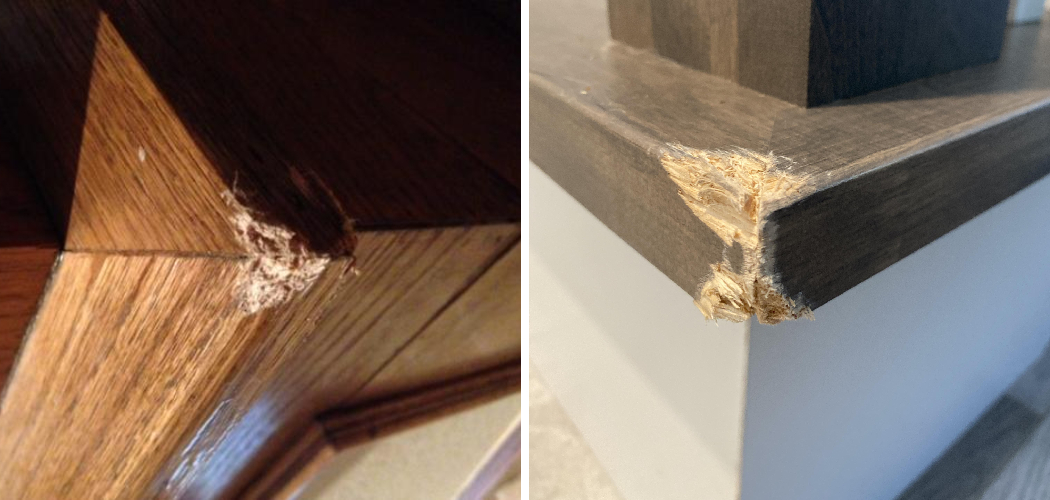
Are you tired of seeing your furniture corner suffer from bite marks or other damage? Worry not, as there are simple ways to fix chewed wood corners and give your furniture a new lease on life.
If you have a pet or small child at home, you may have experienced the frustration of discovering chewed wood corners on your furniture or baseboards. These gnawed areas not only detract from the aesthetic appeal of your home but can also lead to further damage if not addressed promptly.
Fortunately, repairing chewed wood corners is a manageable DIY task that can restore the appearance of your wooden fixtures. In this guide, we’ll walk you through the steps on how to fix chewed wood corners and provide tips on preventing future damage.
What Will You Need?
Before you begin repairing the chewed wood corners, gather the necessary materials for the task. You will need:
- Wood filler or putty
- Sandpaper
- Paint or stain (if applicable)
- A putty knife
- A small paintbrush
- A damp cloth
Once you have all these items, you’re ready to begin the repair process.
9 Easy Steps on How to Fix Chewed Wood Corners
Step 1: Prep the Area
The first step in fixing chewed wood corners is to prepare the damaged area for repair. Use a damp cloth to clean the affected area and remove any loose wood pieces or debris. This will ensure that the filler adheres properly and creates a smooth finish.
Step 2: Sand the Area
Using medium-grit sandpaper, gently sand the damaged area to smooth out any rough edges and create an even surface for the wood filler. This step is crucial as it helps the filler bond better to the wood, ensuring a more durable repair. Sanding also helps to feather out the edges of the damaged area, which will result in a more seamless blend with the surrounding wood once the repair is complete. After sanding, wipe the area again with a damp cloth to remove any dust and debris. Ensure the area is completely dry before moving on to the next step.
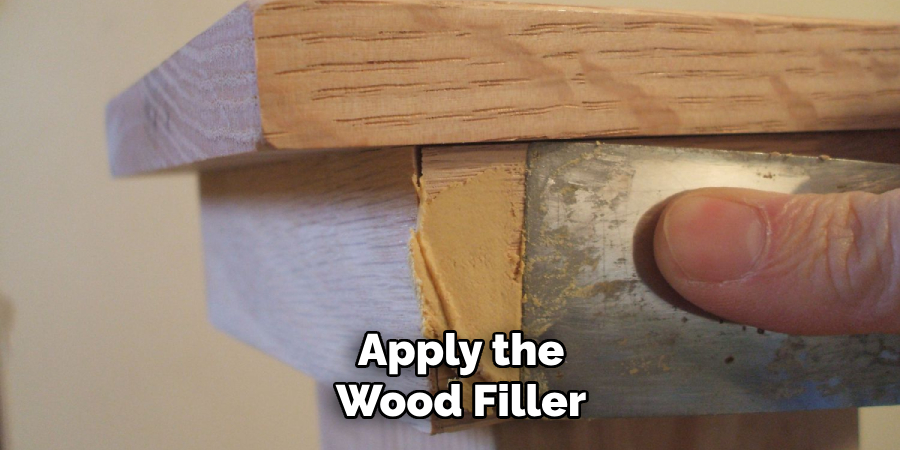
Step 3: Apply the Wood Filler
With the damaged area cleaned and sanded, it’s time to apply the wood filler. Scoop a small amount of wood filler using a putty knife and press it into the chewed or damaged area. Be sure to overfill the area slightly, as the filler will shrink a bit as it dries. Smooth out the surface of the filler with the putty knife, feathering it out to blend with the surrounding wood. Allow the filler to dry completely according to the manufacturer’s instructions, which usually takes a few hours to overnight, depending on the product.
Step 4: Sand the Filler
Once the wood filler has completely dried, use fine-grit sandpaper to smooth out the surface. Sand the filled area gently until it is flush with the surrounding wood and any excess filler is removed. This will create a uniform and seamless appearance. Be careful not to over-sand, as this may create uneven spots. After sanding, wipe the area with a damp cloth to remove any dust and debris.
Step 5: Apply Paint or Stain
Now that the filled area is smooth and even, it’s time to match it with the rest of your furniture or baseboard. If the wood is painted, apply a layer of matching paint over the sanded filler with a small paintbrush. Apply a matching stain using a clean cloth or a brush for stained wood. Be sure to follow the manufacturer’s instructions for both the paint and stain and apply additional coats if necessary to achieve the desired color match. Allow the paint or stain to dry thoroughly before handling the repaired area. This step not only conceals the repair but also helps to protect the wood from future damage.
Step 6: Seal the Repair (Optional)
For added protection and longevity of the repair, consider applying a sealant or clear topcoat to the painted or stained area. This step is particularly useful for high-traffic areas or furniture pieces that will experience heavy use. Use a small paintbrush to apply a clear polyurethane or varnish, following the manufacturer’s instructions for drying times and additional coats if necessary. Sealing the repaired area will help prevent future damage and keep your furniture looking pristine for longer. Allow the sealant to dry completely before placing any items on or near the repaired surface.
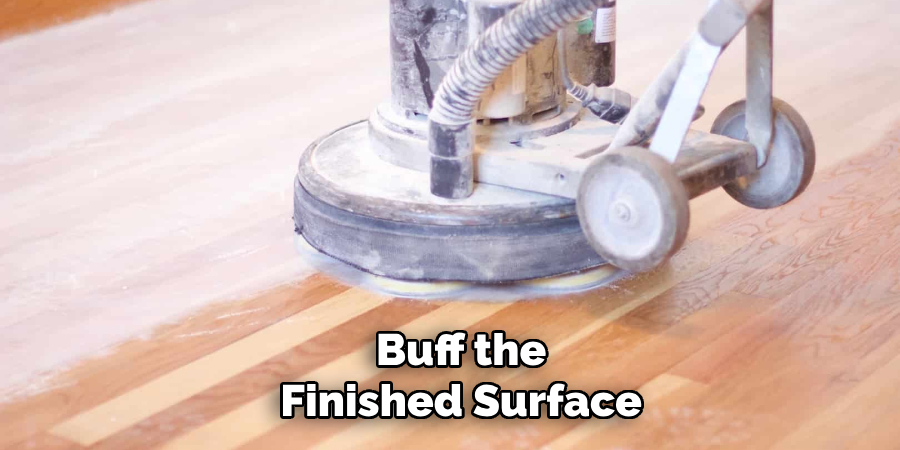
Step 7: Buff the Finished Surface
Once the sealant has dried completely, buffing the finished surface for a polished look is next. Take a soft cloth and gently buff the repaired area to blend it seamlessly with the rest of the wood. This will help to remove any minor imperfections and give the surface a smooth, uniform appearance. Buffing also enhances the shine of the finish, ensuring that the repaired area matches the surrounding wood perfectly. If you’re satisfied with the finish, move on to the final inspection. If needed, additional light sanding with very fine-grit sandpaper followed by another light coat of sealant may provide the best results.
Step 8: Inspect the Repair
After buffing the finished surface, take a moment to thoroughly inspect the repaired area. Look for any remaining imperfections or uneven spots that may need additional attention. Ensure that the color match is consistent with the surrounding wood and that the surface is smooth and well-integrated. If any touch-ups are needed, repeat the necessary steps such as light sanding, additional filling, painting, or staining until the repair meets your satisfaction. A meticulous inspection guarantees a flawless finish, ensuring that the repaired wood corner is as good as new and blends seamlessly with the rest of your furniture or baseboard.
Step 9: Prevent Future Damage
To keep your furniture and baseboards looking their best, take steps to prevent future damage to wood corners. For pet owners, consider using deterrent sprays or training aids to discourage chewing behaviors. Adding protective corner guards or covers can also provide a physical barrier against potential damage. Regular maintenance and inspections can catch and address minor issues before they become significant problems.
By following these steps, you can easily repair chewed or damaged wood corners and keep your furniture and baseboards looking their best.
5 Additional Tips and Tricks
- Epoxy Putty Repair: For a longer-lasting fix, use epoxy putty. Mix the putty according to the manufacturer’s instructions and apply it to the chewed corner. Shape and mold the putty while it is still pliable to match the original profile.
- Wood Glue and Sawdust Method: Mix wood glue with fine sawdust to create a paste. Fill the chewed area with this mixture, pressing it firmly into place. After it dries, sand it smooth. This method works best for smaller areas of damage and provides a seamless finish when stained.
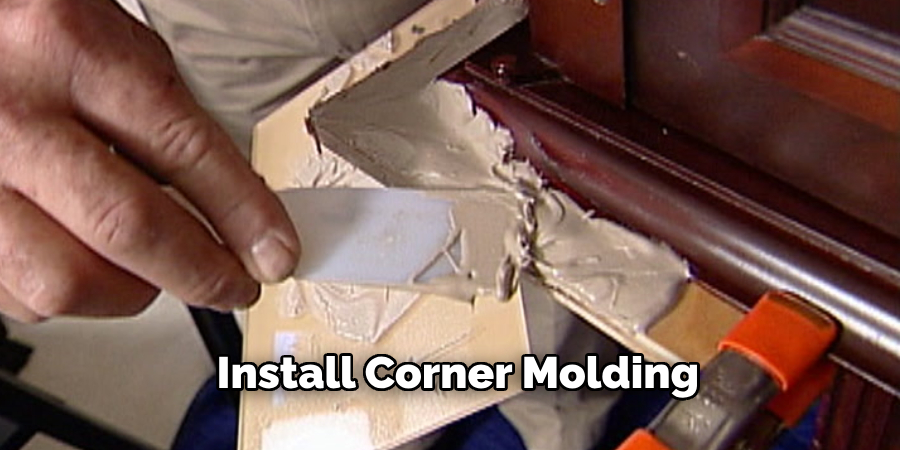
- Corner Molding Installation: If the damage is extensive, consider installing corner molding or trim to cover the affected area. Measure and cut the molding to size, and attach it with wood glue and finishing nails.
- Paint or Stain Touch-Up: After repairing the chewed wood, finishing the area with paint or stain helps to blend the repair with the rest of the woodwork. Choose a color that closely matches the existing finish, and apply it carefully to achieve a uniform look.
- Check Your Pet’s Teeth: If your pet has a habit of chewing on wood corners, it’s essential to check their teeth regularly. Sometimes, underlying dental issues can cause this behavior, and addressing them can help prevent future damage.
By utilizing these additional tips and tricks, you can achieve professional-looking results when repairing damaged wood corners.
5 Things You Should Avoid
- Ignoring Proper Surface Preparation: Skipping the steps of cleaning, sanding, and ensuring the area is dry can lead to poor adhesion of fillers, paints, and sealants. Proper preparation is crucial for a durable and seamless repair.
- Using Low-Quality Materials: Opting for cheap fillers, paints, or stains can compromise the quality of your repair. Invest in high-quality products to ensure a professional finish and longevity of the repair.
- Applying Too Much Filler at Once: Overloading the damaged area with too much filler in one go can result in uneven surfaces and longer drying times. It’s better to apply filler in multiple thin layers, allowing each to dry before adding the next.
- Skipping the Sealant: Neglecting to seal the repaired area can leave it vulnerable to future damage, moisture intrusion, and wear. Always finish with a clear sealant or topcoat to protect your work.
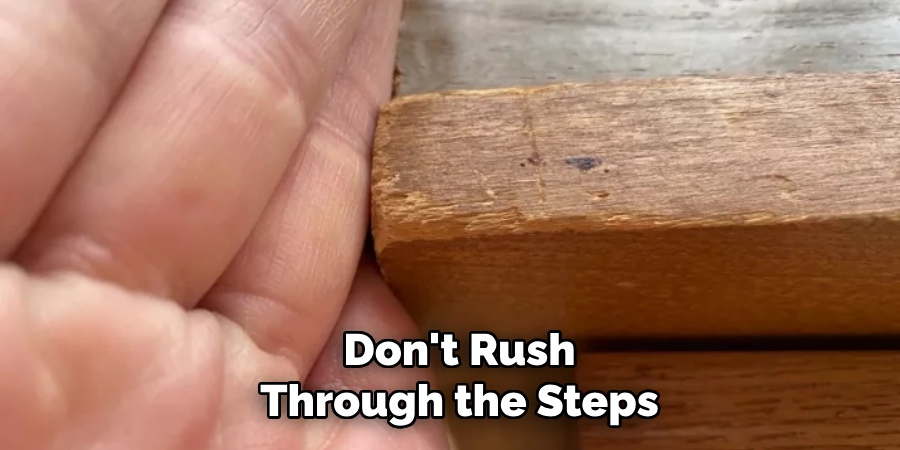
- Rushing the Process: Patience is key to a successful repair. Rushing through the steps, such as insufficient drying times between coats or inadequate sanding, can lead to subpar results. Follow all manufacturer’s instructions and allow each step to be fully completed for the best outcome.
By avoiding these common mistakes, you can ensure a high-quality, lasting repair. Remember to take your time and follow the necessary steps for the best results.
Conclusion:
How to fix chewed wood corners may seem challenging, but with the right techniques and materials, it can be a straightforward process.
By carefully following each step, from surface preparation to final inspection, you can restore your damaged woodwork to its original beauty. Additional tips, such as epoxy putty repair, wood glue, and sawdust methods, and ensuring proper finishing touches can enhance the durability and appearance of your repair. Remember to avoid common pitfalls like using low-quality materials or rushing through the process.
With patience and attention to detail, you can achieve professional-looking results that will extend the life of your furniture and baseboards, ensuring they remain a treasured part of your home for years to come.
