Are you tired of struggling to close your chest of drawers? Do the drawers constantly get stuck, making it difficult to retrieve your clothes? Fixing a chest of drawers may seem intimidating, but you can easily solve this common household problem with the right tools and techniques.
How to fix chest of drawers can seem like a daunting task, but with the right tools and guidance, it can be a straightforward and rewarding project. Whether your chest of drawers has a broken drawer, loose handles, or wobbly legs, this guide will walk you through the essential steps to bring it back to good working order.

Not only will you save money by repairing rather than replacing, but you’ll also gain valuable DIY skills that can be applied to future projects around your home. Let’s start restoring your chest of drawers to its former glory.
What Will You Need?
Before you begin, it’s important to ensure you have all the necessary tools and materials. This will save you time and frustration during the repair process. Here are some items you’ll need:
- Screwdriver
- Wood glue
- Sandpaper
- Replacement hardware (if needed)
- Clamps (if needed)
It’s also helpful to have a clear work area with adequate lighting. Remove the drawers from the chest and work on a flat surface, such as a table or workbench.
10 Easy Steps on How to Fix Chest of Drawers
Step 1: Assess the Damage
The first crucial step in fixing your chest of drawers is to thoroughly assess the damage. Carefully examine each drawer and the chest’s overall structure. Look for any obvious signs of wear and tear, such as cracks in the wood, loose joints, or broken hardware. Pay special attention to the drawer runners and the areas where the drawers meet the chest, as these are common points of failure.
Gently pull the drawers in and out to identify any sticking points or misalignments. If a drawer doesn’t open smoothly, note where it catches. In some cases, you may find that the drawers have warped over time or that the wood has expanded or contracted due to changes in temperature and humidity. Make a list of all the issues you observe, as this will help you determine the specific tools and materials you’ll need for the repair.
Step 2: Tighten Loose Screws and Joints
Once you’ve assessed the damage, the next step is to tighten any loose screws and joints. Using your screwdriver, check all the screws on the chest of drawers, including those on the drawer handles, runners, and the frame itself. Tighten any loose screws you find to ensure the stability of the structure.
For loose joints, apply a small amount of wood glue to the affected areas and use clamps to hold the pieces together until the glue dries. Make sure the joints are aligned correctly before securing them with the clamps. Tightening screws and securing joints can significantly improve the functionality and lifespan of your chest of drawers.
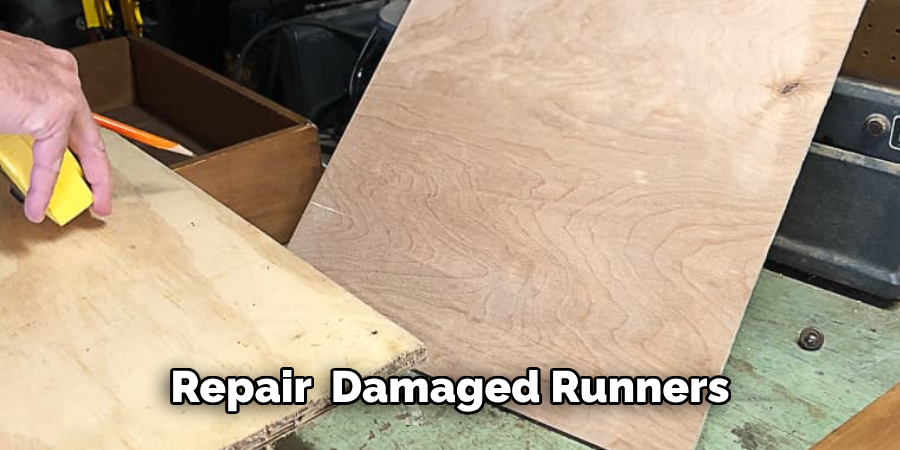
Step 3: Repair or Replace Damaged Runners
If your drawers are still sticking after tightening screws and joints, the issue might be with the runners. Drawer runners can wear out over time or become misaligned, making it difficult to open and close the drawers smoothly. Begin by removing the drawers and inspecting the runners for signs of damage or wear. If you notice any cracks, breaks, or significant wear, consider replacing them with new runners.
First, remove the damaged ones by unscrewing them from the drawer and replacing the runners on the chest frame. Measure the old runners to ensure you purchase the correct size replacements. Install the new runners by screwing them into the existing holes or, if necessary, drilling new holes. Align the runners carefully to ensure they are straight and level.
Step 4: Sand Down Sticky Areas
If your drawers are still sticking despite tightened screws and repaired runners, the wood itself might be uneven or swollen. Carefully pull out the drawers and examine the edges and the areas where the drawer slides against the chest. Use sandpaper to smooth down any rough or swollen spots, ensuring an even and smooth surface. Sand toward the wood grain to avoid scratches and further damage.
When sanding, remove a small amount of wood at a time and frequently check the fit by sliding the drawer back in. Continue sanding and testing until the drawer moves freely without any sticking. After sanding, wipe away any dust with a clean cloth.
Step 5: Fix or Replace Drawer Handles
Drawer handles can become loose or broken over time, impacting the functionality and aesthetics of your chest of drawers. Start by examining each handle to identify any that are loose or damaged. If the screws holding the handles are loose, tighten them with your screwdriver. You will need to replace broken handles with new ones.
To replace a handle, remove the old handle by unscrewing it from the drawer. Measure the distance between the screw holes to ensure you purchase a new handle that fits properly. Align the new handle with the existing screw holes and secure it in place by tightening the screws. Ensure all handles are firmly attached and operate smoothly.
Step 6: Re-glue Loose Drawer Bottoms
One common issue with old chests of drawers is loose or sagging drawer bottoms. If you notice that the bottom of any drawer separates from the sides, you’ll need to re-glue it. Remove the drawer and place it on a flat surface. Apply a thin bead of wood glue along the edges where the bottom panel meets the sides of the drawer.
Press the bottom panel back into place, ensuring it is properly aligned with the sides. Use clamps to hold the drawer together while the glue dries. Allow the glue to cure according to the manufacturer’s instructions before removing the clamps and reinserting the drawer back into the chest.
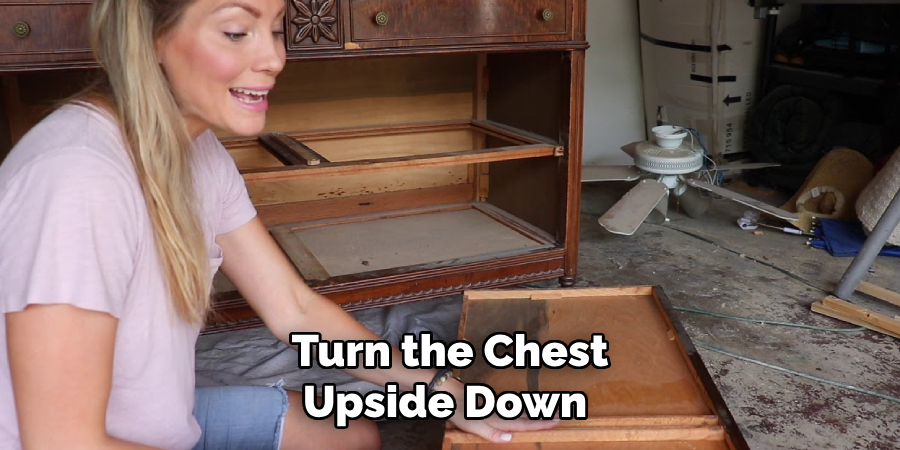
Step 7: Check and Fix Wobbly Legs
Wobbly legs can compromise the stability of your chest of drawers. Turn the chest upside down or on its side to inspect the legs. Tighten any loose screws or bolts that attach the legs to the frame. If the legs are glued on and have come loose, reapply wood glue to the joints and use clamps to hold them in place until the glue dries.
In cases where the legs are severely damaged, consider replacing them. Remove the old legs and measure them to ensure you purchase the correct size replacements. Attach the new legs following the same method as the original ones, using screws or wood glue as appropriate.
Step 8: Lubricate Moving Parts
Lubricating the moving parts can enhance the smooth operation of your drawers. Use a suitable lubricant, such as beeswax or a silicone-based spray, on the runners and other areas where the drawers slide against the chest. Apply a small amount of lubricant to these surfaces, and move the drawers in and out a few times to distribute the lubricant evenly.
Step 9: Reassemble the Drawers
After all the necessary repairs and adjustments, it’s time to reassemble the drawers. Carefully slide each drawer back into its designated slot, ensuring they align properly with the runners. Test the drawers to make sure they open and close smoothly. If any issues persist, recheck your work and make any additional adjustments as needed.
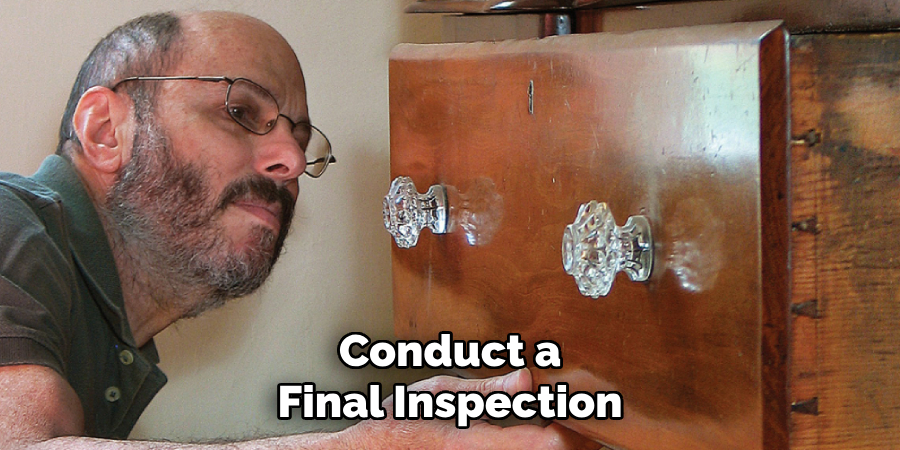
Step 10: Final Inspection and Touch-ups
Conduct a final inspection to ensure every part of your chest of drawers is in good working order. Check for any remaining issues, such as rough edges, loose screws, or misaligned parts. Make any final touch-ups with sandpaper, wood glue, or replacement hardware as needed. Clean the chest thoroughly and consider applying a wood polish to restore its shine and protect the surface.
Your chest of drawers should now be fully functional and ready to use. By following these steps, you’ve fixed your chest of drawers and gained valuable DIY skills that can be applied to future projects.
5 Things You Should Avoid
1. Using the Wrong Tools: Using inappropriate or low-quality tools can cause more harm than good. Always ensure you have the correct tools for each task, whether it’s a specific screwdriver size, a sturdy clamp, or fine-grit sandpaper.
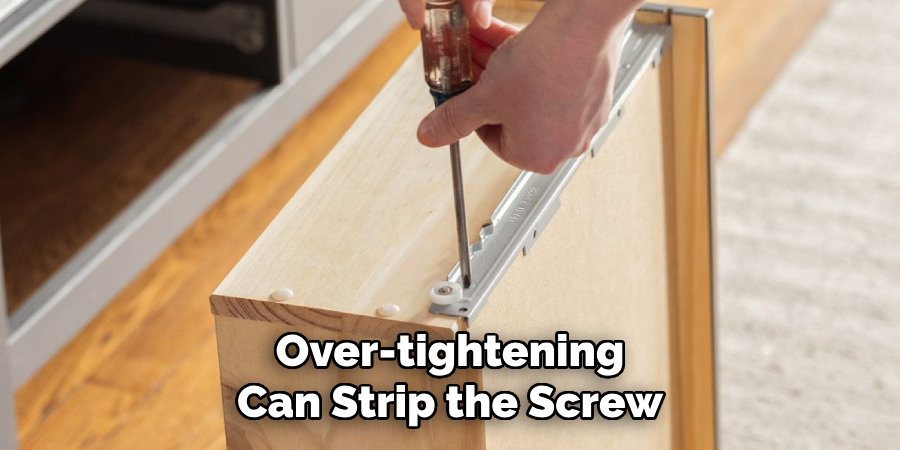
2. Over-tightening Screws: While it’s important to ensure screws are tight, over-tightening can strip the screw holes or crack the wood. This can compromise the structural integrity of your chest of drawers.
3. Applying Excessive Glue: Applying too much glue can be counterproductive when re-gluing joints or drawer bottoms. Excessive glue can ooze out, creating a mess and weakening the joint instead of strengthening it.
4. Ignoring Manufacturer Instructions: If you’ve never repaired a chest of drawers before, following the manufacturer’s guidelines is crucial. Ignoring these instructions can lead to improper fixes or potential safety hazards.
5. Rushing Through the Process: Repairing furniture takes time and patience. Rushing through each step can result in mistakes or incomplete repairs that may cause further issues down the line.
Conclusion:
How to fix chest of drawers can be a rewarding and cost-effective way to restore a valuable piece of furniture. By following a systematic approach, you can address common issues such as sticky drawers, loose handles, wobbly legs, and sagging bottoms.
Ensuring you have the right tools and materials is crucial for successful repairs. Taking the time to understand the problem and apply the correct fix will enhance the functionality and appearance of your chest of drawers and extend its lifespan. Remember to be patient and diligent, follow each step carefully, and avoid common pitfalls.
Armed with these repair techniques, you can confidently tackle future DIY projects and maintain your furniture in top condition.