Ceiling tiles, with their versatile designs and practical applications, can elevate the aesthetics of any space. However, like any interior feature, they may require occasional maintenance and repairs. Whether dealing with cracks, sagging, or stains, knowing how to effectively fix ceiling tiles is a valuable skill. In this comprehensive guide, we’ll explore a range of methods and techniques on how to fix ceiling tiles.

From repairing minor damage to replacing entire tiles, we’ll cover the necessary steps to restore the beauty and functionality of your ceiling. Armed with the right knowledge and tools, you’ll be able to confidently tackle these repairs, ensuring your ceiling remains a striking element of your interior design for years to come.
Common Issues with Ceiling Tiles that Require Fixing
- Water damage: Ceiling tiles are vulnerable to water damage, especially in areas with high humidity or where there is potential for leaks. This can cause the tiles to warp, sag, or even fall down. To fix this issue, it’s important to identify and repair the source of water leakage before replacing any damaged tiles.
- Stains: Stains on ceiling tiles can be caused by a variety of factors, such as water damage, smoke, or mold. Depending on the type of stain, different methods may be needed to remove it. For example, a simple detergent solution can be used for light stains, while oil-based stains may require stronger cleaners.
- Cracks: Over time, ceiling tiles can develop cracks due to wear and tear or shifting foundations. These cracks can compromise the integrity of the tile and also be unsightly. To fix cracks, you can use a patching compound or adhesive to secure the broken pieces back together.
- Loose tiles: If ceiling tiles are not properly secured, they can become loose and fall down. This is not only a safety concern but also affects the overall appearance of the room. To fix this, you can use adhesive or replace the suspended ceiling wires that hold the tiles in place.
- Discoloration: Over time, ceiling tiles can become discolored due to exposure to sunlight or other environmental factors. This can make them stand out and look unappealing. To fix discoloration, you may need to clean the tiles with a mild cleaner or paint over them with a suitable stain-blocking primer.
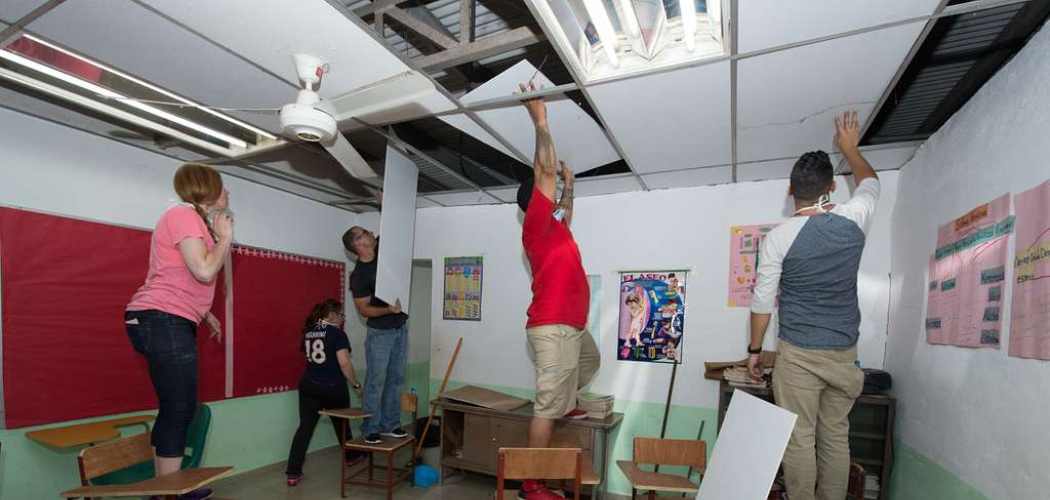
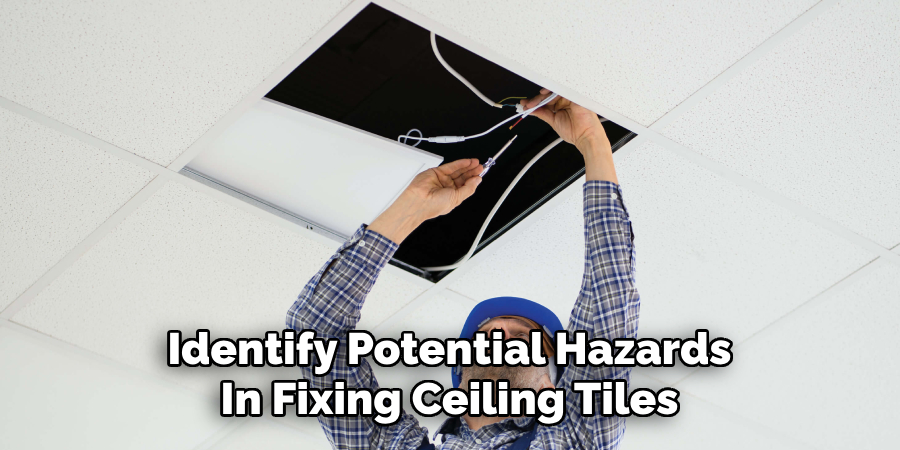
Identifying Potential Hazards
One of the first steps in fixing ceiling tiles is to identify potential hazards. This includes taking note of any loose or damaged tiles, as well as being aware of any electrical wiring or fixtures that may be hidden behind them. It’s also important to check for mold growth or water damage, which can weaken the structure of the ceiling.
If you notice any issues with the tiles or the ceiling itself, it’s important to address them before proceeding with any repairs. This will help ensure the safety of those working on the project and prevent any accidents or further damage to the ceiling.
Once all potential hazards have been identified and addressed, you can move on to the next step of fixing ceiling tiles. However, if you are unsure about any potential hazards, it’s always best to consult a professional before attempting any repairs yourself.
10 Methods How to Fix Ceiling Tiles
1. Replacing Damaged Ceiling Tiles
If you have a few damaged ceiling tiles, the simplest and easiest way to repair them is to replace them with new ones. To do this, first carefully remove the old tile from the ceiling by cutting around it with a utility knife.
Once removed, take measurements of the tile and purchase a replacement that is the same size. Secure the new tile in place using adhesive or nails, depending on the type of tile you have.
2. Repairing Cracked Ceiling Tiles
If your ceiling tiles are cracked but not completely broken, you can use a special repair kit to fix them. These kits typically contain a two-part epoxy resin that can be used to fill in any cracks or holes in the tile.
Simply mix together the two components according to package instructions and apply it to the affected area using a putty knife or similar tool. Allow it to dry completely before painting over it for an even finish.
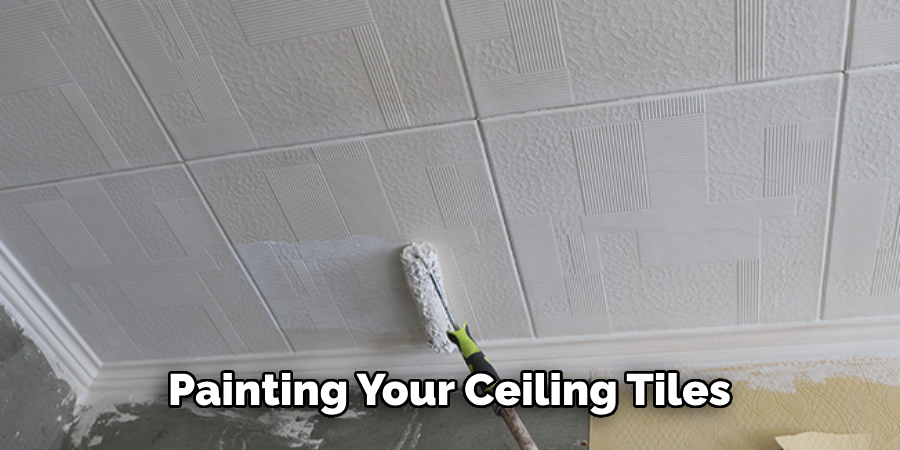
3. Painting Ceiling Tiles
Painting your ceiling tiles can help to give them a fresh look and can also be used to cover up any minor imperfections such as stains or discoloration. Make sure to clean off any dirt or dust before applying paint and use an oil-based primer beforehand if necessary for better adhesion. Once dry, apply at least two coats of high-quality latex paint and allow each coat to dry thoroughly before adding another one on top of it.
4. Cleaning Moldy Ceiling Tiles
Moldy ceiling tiles can be difficult to get rid of, but there are some simple solutions that you can try at home. Start by mixing equal parts water and white vinegar in a spray bottle and then spraying it onto the affected areas of your ceiling tiles until they are completely covered with liquid.
Leave it on for about 15 minutes before wiping it away with a damp cloth or sponge and then rinse off with clean water afterward. For tougher mold spots, you may need to use bleach instead of vinegar for better results.
5. Installing New Suspended Ceiling Tiles
If your ceiling tiles are beyond repair, you may want to consider installing new suspended ceiling tiles instead as these are much easier to install than traditional ones and come in many different styles as well as colors so you’re sure to find something that suits your needs perfectly!
To install them, first measure out where each tile will go using a tape measure and mark out its position using pencils or chalk lines on the wall behind it so that they’re easy to see when placing each one into position later on. Then attach each tile into place using screws or nails according to manufacturer instructions before finally trimming off any excess material around its edges for a neat finish!
6 . Filling Gaps Between Ceiling Tiles
Gaps between ceiling tiles can often occur due to changes in temperature or humidity levels which cause them to expand or contract slightly over time resulting in small gaps appearing between them – fortunately, though these gaps can easily be filled using caulk!
To do this simply apply caulk along all sides of each gap ensuring that all gaps are filled properly before allowing it time enough time for drying afterward (usually around 24 hours).

7 . Reinforcing Loose Ceiling Tiles
Loose ceiling tiles can often become detached from their original positions over time due primarily due too either poor installation techniques being used during their initial installation or because they have become weakened due to age – either way though, reinforcing loose ones is relatively easy!
To do this, simply add extra support underneath each loose one by attaching wooden battens onto walls behind them using screws – this will ensure that they remain firmly attached while also providing additional strength against potential damage caused by impacts, etc…
8 . Covering Unsightly Holes In Ceiling Tiles
Unsightly holes in your ceiling tiles may appear due to various reasons such as accidental damage caused by drilling through them while attempting DIY repairs etc…
Fortunately, though these unsightly holes don’t need replacing entirely – instead they can simply be covered up using specially designed ‘ceiling hole covers’ which come in various sizes so no matter how large/small your hole is there should be one available suitable for covering it up nicely without having to replace entire sections of your existing tiled ceilings!
9 . Replacing Missing Grout Lines
Missing grout lines between adjoining pieces of tiled ceilings may occur over time due to wear & tear caused by movement within buildings etc… Fortunately, though these missing grout lines don’t need replacing entirely either – instead they can simply be re-filled using specially designed ‘grout filler’ which comes in various colors so you can easily match it to your existing tiled ceiling’s color scheme!
10 . Installing Ceiling Tile Borders
Ceiling tile borders can be used to create a unique design on your ceiling and are relatively easy to install. To do this, first measure out the length and width of your ceiling and mark where you want the border to go using chalk lines or pencils.
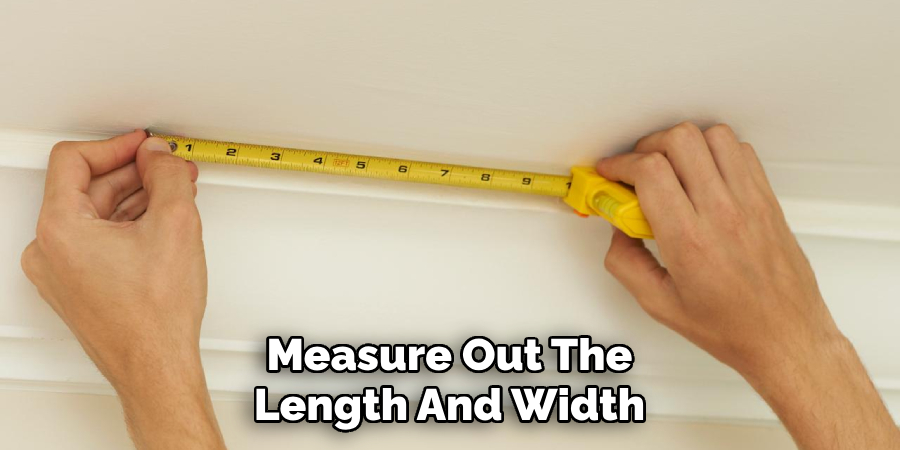
Next, cut border tiles to fit the measurements and attach them using adhesive or nails according to manufacturer instructions. Finally, add corner pieces if desired for a finished look.
Conclusion
In conclusion, we have seen how to fix ceiling tiles, from the tools and supplies needed to fix them correctly and safely. Professionals for this job are a great option, as they have the experience and know-how on how to deal with such problems.
However, with the right tools and supplies in hand, anyone can take on this task themself if their budget allows it. No matter what you choose to do, make sure you carefully follow the instructions or safety protocols present when working with these materials. Now that you know to fix ceiling tiles let’s get started on your project!