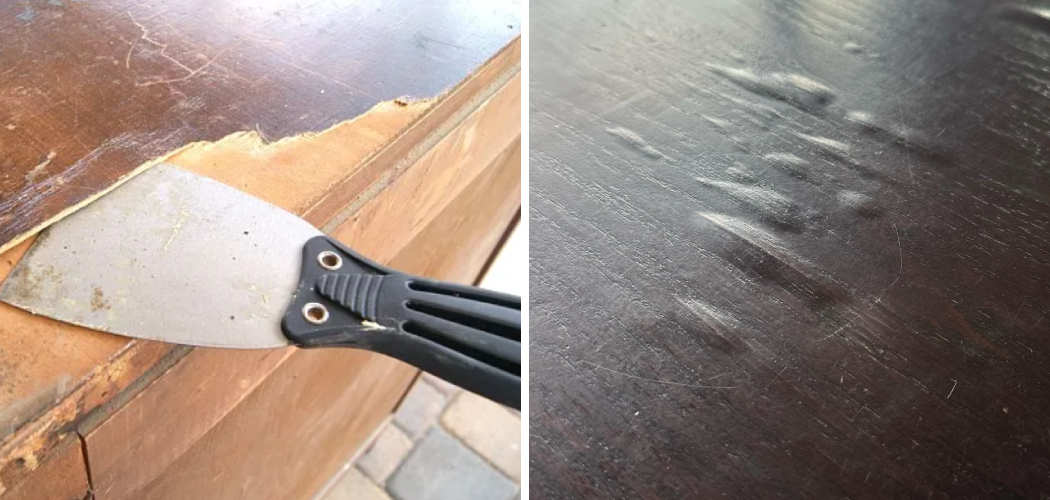
Are you noticing bubbles in your veneer furniture? Don’t worry; it’s a common problem with an easy fix! Veneer is a thin layer of material often used for furniture to create a more decorative finish. It can be made from wood, plastic, or even paper.
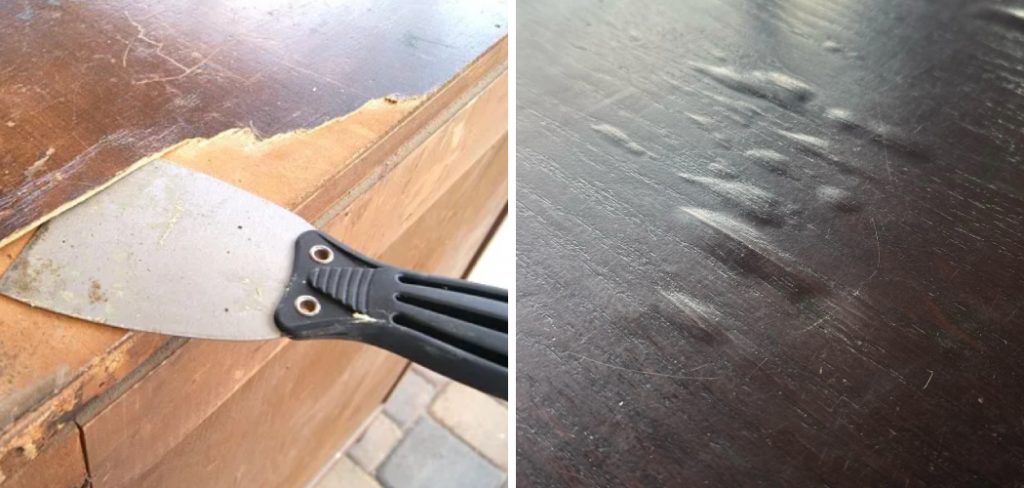
A bubbled veneer is a common issue that can detract from the appearance and integrity of wooden furniture and surfaces. These unsightly bubbles indicate that the veneer has lifted away from the substrate due to factors such as moisture, heat, or improper adhesive application. Fortunately, with the right tools and techniques, you can effectively repair bubbled veneer and restore your furniture to its original beauty.
This guide will walk you through a step-by-step process on how to fix bubbled veneer, ensuring a smooth and durable finish. Whether you are a seasoned woodworker or a DIY enthusiast, these instructions will help you achieve professional results.
What Will You Need?
Before you begin the repair process, gather all the necessary materials and tools. You will need:
- A utility knife or razor blade
- Sandpaper (200-grit)
- Wood glue or contact cement
- Putty knife
- Heavy books or clamps
Once you have gathered all the materials, follow these simple steps to fix the bubbled veneer:
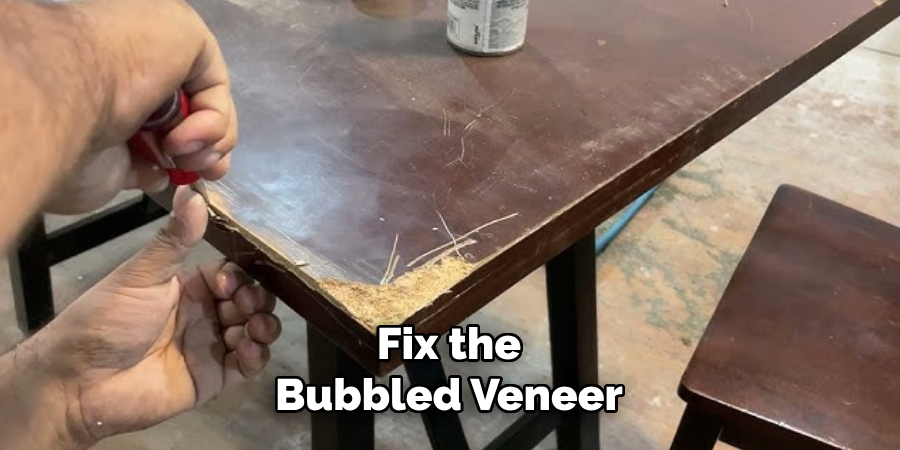
10 Easy Steps on How to Fix Bubbled Veneer
Step 1: Assess the Damage
The first step in repairing a bubbled veneer is to determine the extent of the damage. Inspect the affected area and look for any loose or lifted edges. If there are only a few small bubbles present, you can likely fix them easily with a few simple steps. However, if the bubbles cover a larger surface area, it may require more time and effort to repair.
Step 2: Prepare the Work Area
Before starting the repair, ensuring that your work area is well-prepared is crucial for achieving the best results. Choose a clean, flat, and stable surface to work on, such as a workbench or a sturdy table. Clear the area of any dust, debris, or obstacles that might interfere with your project. It’s also a good idea to lay down a drop cloth or old newspaper to protect the surrounding surfaces from any adhesive spills or accidental scratches.
Step 3: Make an Incision
Using a sharp utility knife or razor blade, carefully make a small incision in the center of each bubble. Be cautious not to cut too deeply, as you want to avoid damaging the underlying wood substrate. The goal is to create an opening that allows you to apply adhesive underneath the lifted veneer. If there are several bubbles, repeat this process for each one.
Step 4: Apply Adhesive
Once the incisions are made, gently lift the veneer around the cuts to create a small gap. Using a putty knife, carefully apply a thin layer of wood glue or contact cement under the lifted veneer. Make sure to spread the adhesive evenly to ensure complete coverage. This will help reattach the veneer to the underlying surface and prevent future bubbling.
Step 5: Press Down the Veneer
After applying the adhesive, press the veneer down firmly to ensure it adheres to the substrate. Use your fingers or a putty knife to smooth out any air bubbles and ensure even contact between the veneer and the glue beneath. If you’re working with larger bubbles, you might find it helpful to use a rolling pin or a similar object to apply even pressure over the entire area. Make sure the veneer is lying flat and there are no visible gaps.
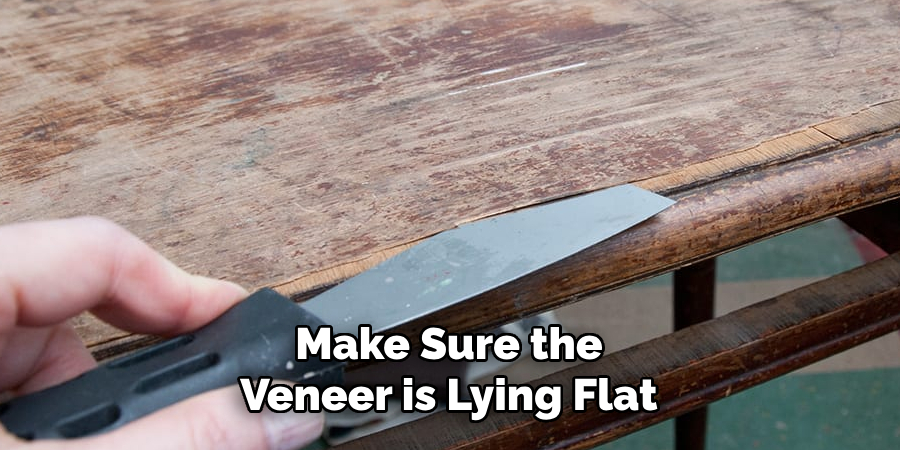
Step 6: Secure the Veneer
Use heavy books or clamps to apply consistent pressure over the repaired area to ensure the veneer remains in place while the adhesive dries. If you’re using books, stack them evenly on top of the veneer, making sure the weight is distributed uniformly. If you’re using clamps, position them around the edges and tighten them gently but firmly without causing any damage to the veneer. Allow the adhesive to dry according to the manufacturer’s instructions, typically for 24 hours.
Step 7: Sand the Surface
Remove the books or clamps once the adhesive is fully dry and the veneer is securely attached. Using 200-grit sandpaper, gently sand the repaired area to smooth out any uneven spots and blend the repair with the surrounding veneer. Be careful to sand lightly, as excessive sanding can damage the veneer. The goal is to create a smooth, even surface that matches the rest of the furniture.
Step 8: Clean the Area
After sanding the surface, it’s important to clean the area thoroughly to remove any dust or debris that may have accumulated during the repair process. Use a soft, dry cloth or a slightly damp microfiber cloth to wipe down the repaired section and the surrounding veneer. Make sure you remove all the fine sanding particles that could interfere with the final finish. A clean, dust-free surface is essential for the next steps and ensures the veneer looks its best once the repair is complete.
Step 9: Finish the Surface
To restore the veneer’s appearance and protect the repaired area, apply a finish that matches the rest of your furniture. Choose a varnish, lacquer, or wood polish that is compatible with the existing finish on your piece. Use a clean brush or a cloth to apply a thin, even coat, following the direction of the wood grain. Allow the finish to dry according to the manufacturer’s instructions, and if necessary, apply additional coats to achieve the desired level of sheen and protection. Lightly sand between coats with fine-grit sandpaper for a smoother finish.
Step 10: Inspect the Repair
Once the finish is completely dry, carefully inspect the repaired area to ensure the bubbles are gone and the veneer is securely attached. Check for any remaining imperfections or areas that might need additional attention. If everything looks good, your furniture should now have a smooth, bubble-free veneer that is as good as new. If you notice any issues, you might need to repeat some of the steps for a perfect repair.
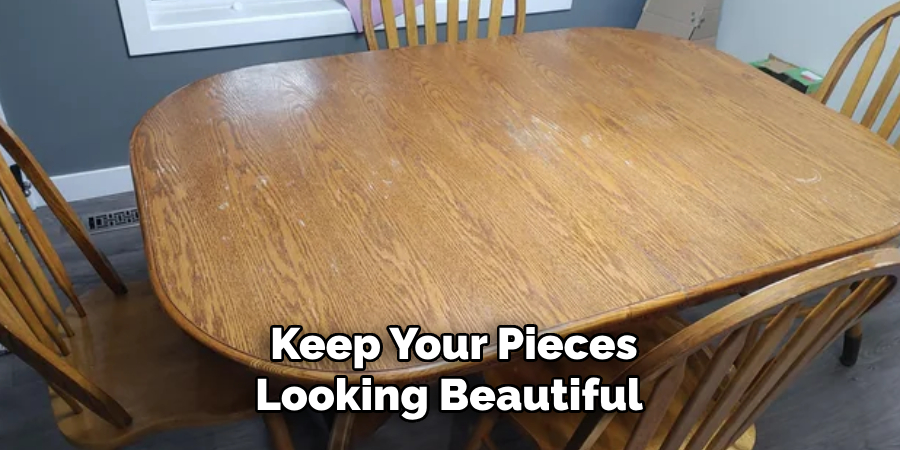
By following these 10 easy steps, you can effectively fix the bubbled veneer and extend the life of your furniture. Regular maintenance and prompt attention to any veneer issues will help keep your pieces looking beautiful for years to come.
5 Additional Tips and Tricks
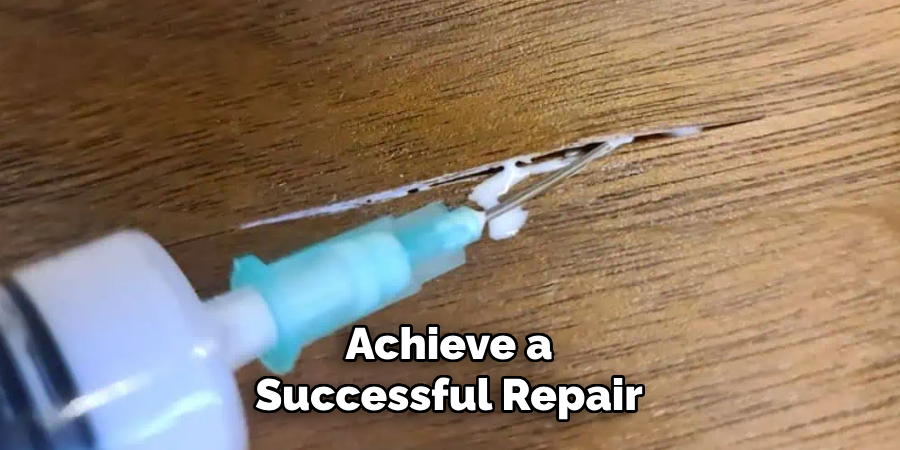
- Use a Syringe for Glue Injection: If the veneer has bubbled and created a pocket, use a syringe to inject wood glue directly into the bubble. This allows you to precisely target the affected area without causing further damage to the surrounding veneer.
- Apply Heat: Sometimes, applying a low-heat iron over a cloth on the bubbled area can help. The heat can reactivate the old adhesive, making it easier to press the veneer back into place. Be sure to use a moderate temperature to avoid scorching the veneer.
- Use a Roller for Smoothing: After applying adhesive, use a veneer roller or a small, hard roller to smooth the veneer. Rolling helps spread the glue evenly and can ensure that the veneer adheres properly without new bubbles forming.
- Clamp with Cauls: When clamping the veneer after gluing, use cauls – which are flat, straight pieces of wood – on both sides of the veneer sandwich. This distributes the pressure evenly and helps flatten the bubbled area effectively.
- Humidity Control: Controlling the humidity levels where the veneered item is stored can prevent future bubbling. Veneer tends to expand and contract with fluctuations in humidity, so maintaining a stable environment can reduce the likelihood of bubbles forming again.
With these additional tips and tricks, you can effectively repair bubbled veneer and ensure a smooth, professional-looking finish.
5 Things You Should Avoid
- Using Excessive Glue: Resist the temptation to use too much adhesive. Over-applying glue can lead to a messy repair process and potential damage to the veneer. A small amount, injected carefully, is often sufficient to fix the bubble.
- Applying Direct Heat Without Protection: Never apply heat directly to the veneer without a protective cloth. Direct heat can scorch and damage the veneer, making the problem worse. Always use a cloth barrier and moderate heat levels.
- Ignoring Proper Drying Time: Do not rush the drying process. Allow adequate time for the adhesive to set and cure properly before removing clamps or cauls. Rushing this step can result in an unfinished bond and the reappearance of bubbles.
- Using Inappropriate Tools: Avoid using tools that are not designed for veneer work. Sharp or abrasive tools can easily scratch or damage the veneer surface, leading to further repairs. Stick to using recommended tools like syringes, rollers, or veneer-specific clamps.
- Neglecting Surface Preparation: Failing to prepare the surface properly before applying glue can lead to ineffective repairs. Ensure the surface is clean, dry, and free of debris to promote a strong bond between the veneer and the adhesive.
By avoiding these common mistakes, you can achieve a successful repair and maintain the integrity of your veneered item.
Conclusion
How to fix bubbled veneer requires a combination of precision, the right tools, and patience. By using techniques such as injecting glue with a syringe, applying moderate heat with a protective cloth, and smoothing with a veneer roller, you can effectively address the issue.
Additionally, clamping with cauls ensures even pressure distribution while controlling humidity prevents future problems. Avoiding common mistakes like using excessive glue, applying direct heat without a barrier, and ignoring proper drying time further enhances the repair process.
With these comprehensive tips and careful attention to detail, you can restore your veneered items to their original beauty and functionality, ensuring a smooth and professional finish.
