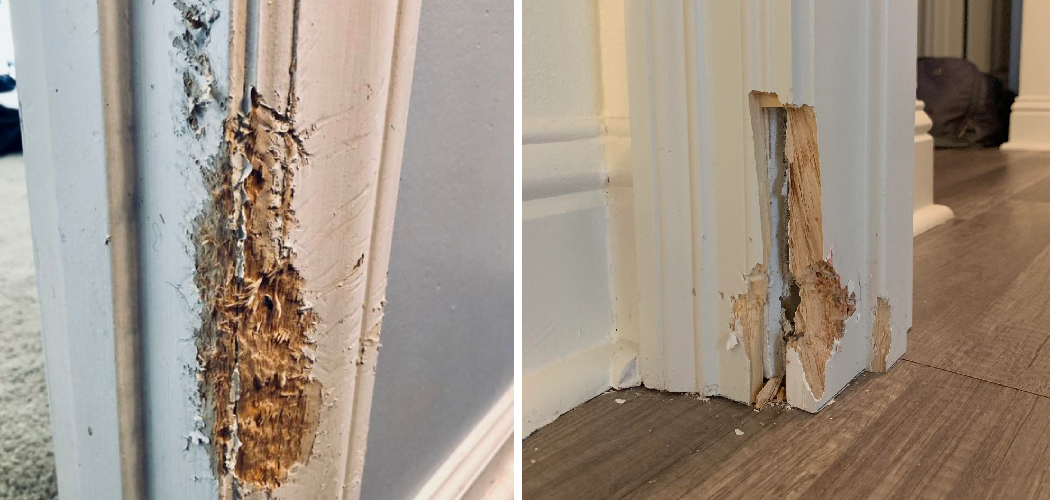
Discovering a chewed door frame can be a frustrating and unsightly issue in any home, especially for pet owners. Whether caused by an overly enthusiastic pup or an inquisitive feline, the damage is not irreversible. Learning how to fix a chewed door frame can save you the expense of replacing the entire frame and restoring the aesthetics of your living space.
This repair endeavor involves a blend of woodworking skills and attention to detail, as you’ll need to address not only the physical damage but also ensure seamless integration with the existing frame.
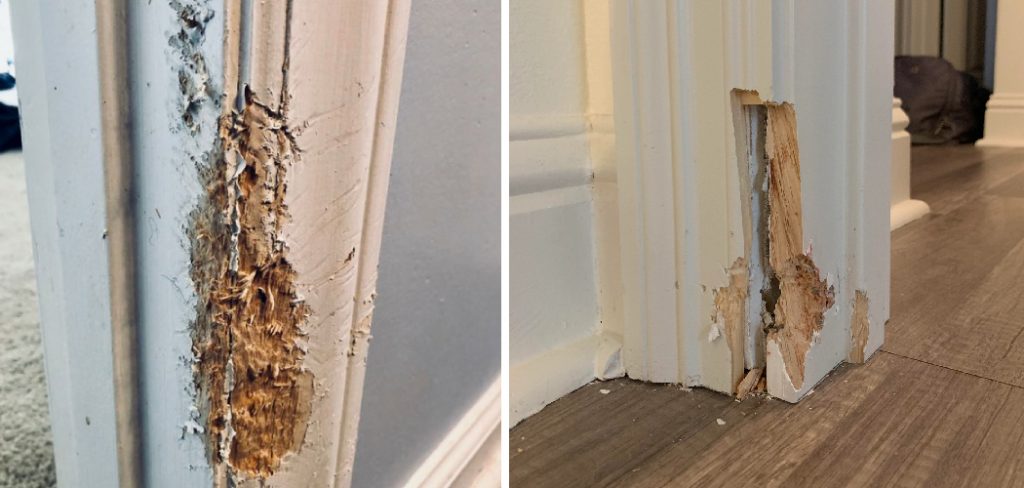
From assessing the extent of the damage to selecting appropriate materials and employing the right techniques, this guide will provide you with a comprehensive step-by-step approach to mending a chewed door frame, allowing you to effortlessly blend craftsmanship with practicality and maintain the integrity of your home.
The Common Issue of Chewed Door Frames
Chewed door frames are an all-too-common issue in many homes, but it doesn’t have to stay that way! Fortunately, you can easily repair a chewed door frame with the right supplies and some know-how. This guide is here to show you how.
First, gather the necessary materials: sandpaper, wood putty, and paint. You’ll also need a putty knife, a brush, and protective equipment such as goggles and gloves to protect your eyes and hands.
Next, use the sandpaper to smooth out any rough patches on the door frame where the chewing has taken place. Use a circular motion with light pressure to ensure even coverage. Once you have finished sanding, use the putty knife to apply wood putty to the affected areas. Let it dry for 30 minutes.
Once the putty is dry, you can begin painting over the area with your chosen paint color. Make sure that you cover all of the repaired parts and allow adequate drying time before applying a second coat if needed.
Finally, you should invest in a chew-deterrent for your pet, such as bitter apple spray or another product specifically designed to prevent chewing. This will help keep them from returning to the door frame and undoing all your hard work.
The Importance of Maintaining Door Frames for Aesthetics and Durability
No matter how vigilant you are, accidents happen. Chewing on your door frame can be something that your furry companion does out of boredom or anxiety. Unfortunately, it causes unsightly damage to the woodwork and weakens its structural integrity over time if not addressed.

Fortunately, fixing a chewed door frame is relatively easy as long as you take the steps to ensure that the damage is properly attended to. It’s important to take immediate action, no matter how minor it may seem, because without timely maintenance and repair, your door frame can weaken significantly over time due to wear and tear.
Before taking any steps towards repair, it’s best practice to assess the amount of damage done by your pet. If you’ve noticed a few small chew marks, it’s likely that they can be easily removed with some simple sanding and repainting. However, if the damage is more severe and the wood has been completely stripped in certain areas, then you may need to consider replacing the entire frame.
Before starting any repairs, make sure you have all of the necessary tools and supplies on hand. This includes sandpaper, primer, paint, and wood glue. It’s also a good idea to have some extra pieces of wood ready in case the damage is too deep for simply sanding and covering up with paint.
10 Methods on How to Fix a Chewed Door Frame
1. Assess the Damage:
Begin by closely examining the extent of the damage. Determine whether the chewed areas are minor or if they require more comprehensive repairs. This assessment will help you decide which method or combination of methods to employ.
2. Sanding and Smoothing:
For minor chew marks or surface-level damage, start by sanding the affected area with fine-grit sandpaper. Sand away any rough edges and smooth the surface to prepare it for further repair steps.
3. Wood Filler Repair:
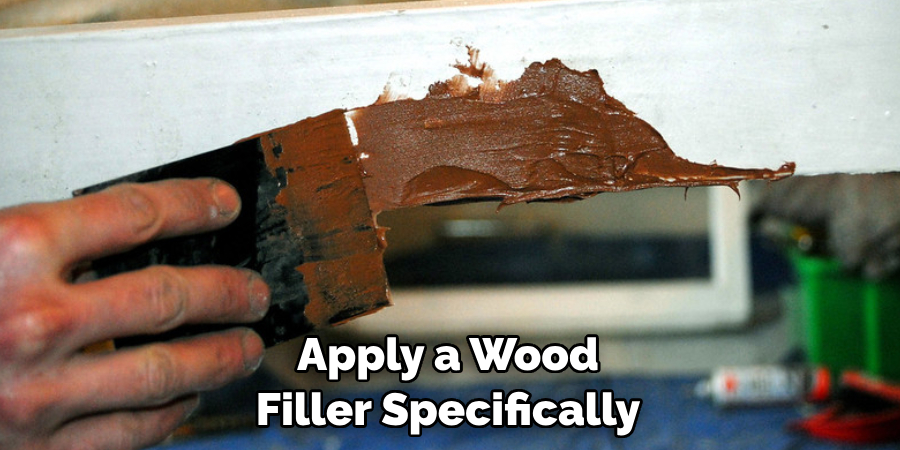
For deeper chew marks, apply a wood filler specifically designed for repairing damaged wood. Clean the area thoroughly, then use a putty knife to spread the filler evenly over the chewed portions. Allow it to dry according to the manufacturer’s instructions before sanding it smooth.
4. Bondo or Epoxy Filler:
In cases of more severe damage, consider using automotive body filler (Bondo) or epoxy filler. These fillers are strong and durable, making them suitable for substantial repairs. Follow the manufacturer’s guidelines for mixing and applying the filler, and sand it smooth once it’s dry.
5. Wood Putty Application:
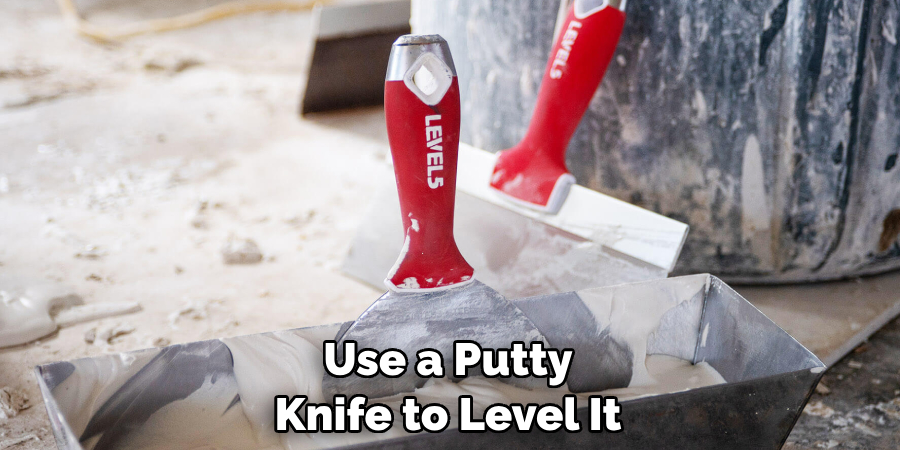
Wood putty can be effective for small chewed areas. Apply the putty to the damaged spots, then use a putty knife to level it with the surrounding wood. Sand the dried putty to achieve a seamless finish.
6. Patching with Wood Pieces:
If the chewed area is extensive, consider patching it with a matching piece of wood. Carefully remove the damaged section and replace it with a new piece cut to fit. Use wood glue and finish nails to secure the new piece in place.
7. Wood Stain or Paint Touch-Up:
After the repairs are complete, apply a matching wood stain or paint to blend the repaired area with the rest of the door frame. This step ensures a cohesive and polished appearance.
8. Decorative Overlays:
To conceal chew marks or add visual interest, consider applying decorative overlays, such as wooden appliques or rosettes. These can transform the chewed area into an attractive design element.
9. Door Frame Protectors:
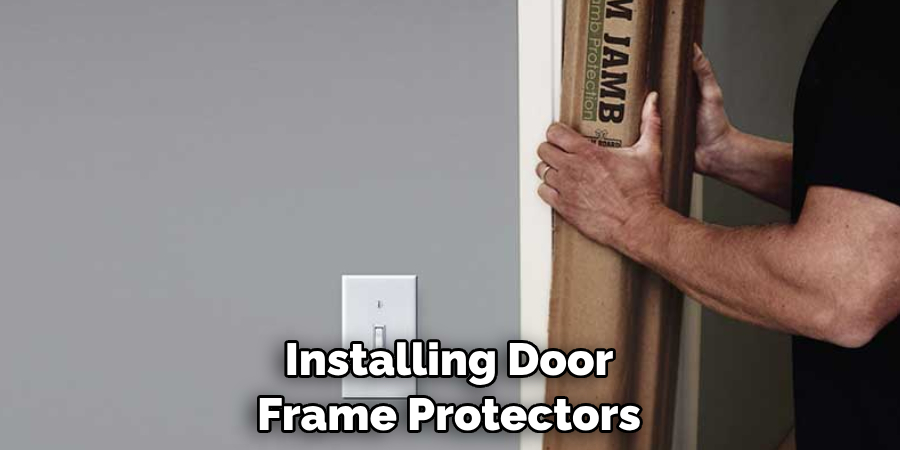
Prevent future damage by installing door frame protectors made of metal or other sturdy materials. These protectors are designed to shield the door frame from further chewing or scratching.
10. Training and Prevention:
While repairing the door frame is important, addressing the root cause of the chewing is equally vital. Train your pets to avoid chewing on door frames through positive reinforcement, providing appropriate toys, and using deterrent sprays.
Things to Consider When Fixing a Chewed Door Frame
When faced with a chewed door frame, you may be wondering what the best course of action is for getting it repaired. Repairing a chewed door frame is not always an easy task, and there are several components to consider before starting your repair.
First, assess the extent of the damage done to the frame. Depending on how much wood has been chewed away, you may need to replace the entire frame. If the damage is localized to a small area, then it may be possible to repair just that section of the frame.
Next, determine what type of wood was used for the door frame and obtain an appropriate replacement if necessary. If repairing instead of replacing, make sure you have all the supplies needed to effectively fill in the missing wood.
Lastly, decide which repair option is best for you. If you are comfortable doing the repairs yourself, there are plenty of tutorials online that can guide you through each step. If the damage is too extensive and you don’t feel confident enough to carry out repairs on your own, it may be best to hire a professional to do the work.
Some Common Mistakes to Avoid When repairing a chewed door frame,
There are some common mistakes that DIYers tend to make. Here are a few things to keep in mind when making your repairs:
- Don’t skip the sanding step. Although it may seem like an extra step, sanding down any rough edges or splintered wood is crucial for getting a good result.
- Don’t rush the job and be sure to take your time. You want to create a repair that lasts, so applying pressure or glue too quickly can cause mistakes.
- Be careful not to damage the surrounding material. This could include paint on the wall or other structures near the door frame that could be damaged if you are too aggressive with the repair.
- Don’t forget to use the right materials for your repair job. You want to make sure you are using the correct type of wood, nails and glue so that your repairs are secure and won’t fail in the future.
- Be sure to give it some time to dry before putting it back together.
Conclusion
Overall, fixing a chewed door frame can seem intimidating, but it doesn’t have to be. Hopefully this guide has empowered you with the tools and detailed how-to steps necessary for making your door frame look as good as new. Make sure to choose the repair material that best suits the type of damage incurred on your particular door frame and follow each step carefully.
By taking your time and doing some preventative maintenance to protect your doors from future damage, you’ll be successfully renovating a chewed up door frame in no time! So don’t put off starting the project any longer – get out there and fix that chewed up door frame today! Now you know How to Fix a Chewed Door Frame like an expert!
