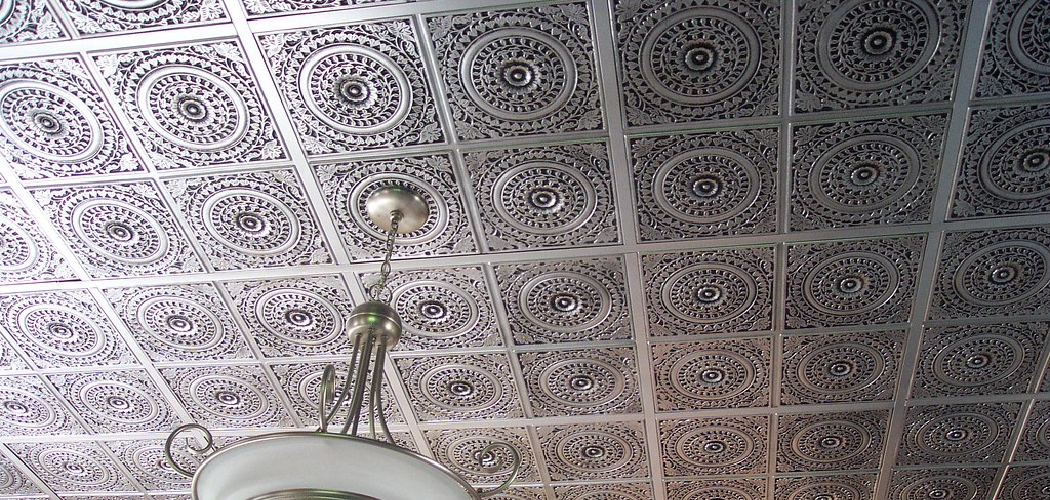
Tin ceiling tiles exude a vintage charm and timeless elegance, making them a popular choice for adding character to interior spaces. However, to truly bring out their beauty and ensure longevity, it’s essential to know how to finish tin ceiling tiles appropriately. Whether you’re restoring an old ceiling or enhancing a modern design, the finishing process plays a pivotal role in achieving the desired aesthetics.
In this insightful guide, we’ll walk you through the steps and techniques to finish tin ceiling tiles effectively. From prepping the surface to choosing the right finish and applying it skillfully, we’ll cover everything you need to transform plain tin tiles into stunning architectural elements that elevate the ambiance of your space. Whether you prefer a sleek, contemporary look or a distressed, antique appeal, this guide will empower you to achieve the perfect finish for your tin ceiling tiles.
Importance of Finishing Tin Ceiling Tiles
Ceiling tiles are a popular choice for many homeowners and businesses due to their versatility and aesthetic appeal. Tin ceiling tiles, in particular, have gained popularity in recent years for their vintage charm and durability.
Enhances Aesthetic Appeal
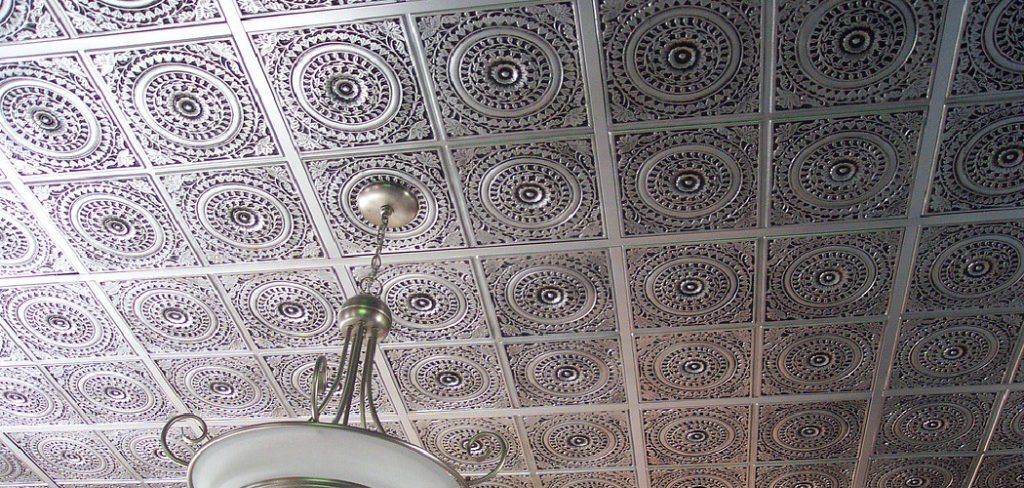
One of the primary reasons for finishing tin ceiling tiles is to enhance their aesthetic appeal. The finishing process allows you to add color and texture to your tiles, making them a focal point in any room.
You can choose from a variety of finishes such as paint, stain, or even a faux finish, depending on your personal preference and the style of your space. Finishing also helps to hide any imperfections in the tin and provides a more polished and cohesive look.
Protects Against Rust
Tin ceiling tiles are prone to rust if not properly finished. Moisture and humidity can cause the metal to corrode over time, leading to discoloration and damage. Finishing the tiles with a protective sealant, such as polyurethane, helps to prevent rust from forming and extends the life of your ceiling.
Easier Maintenance
Finished tin ceiling tiles are much easier to clean and maintain compared to unfinished ones. The finishing process creates a smooth surface that can be easily wiped down with a damp cloth or mild cleaning solution. Unfinished tiles, on the other hand, are more porous and can be difficult to clean, making them susceptible to staining and damage.
Improved Durability
In addition to protecting against rust, finishing tin ceiling tiles also improves their overall durability. The sealant used in the finishing process helps to strengthen the metal and protects it from scratches and other wear and tear. This makes the tiles more resistant to damage and ensures they maintain their aesthetic appeal for years to come.

Identifying Potential Hazards
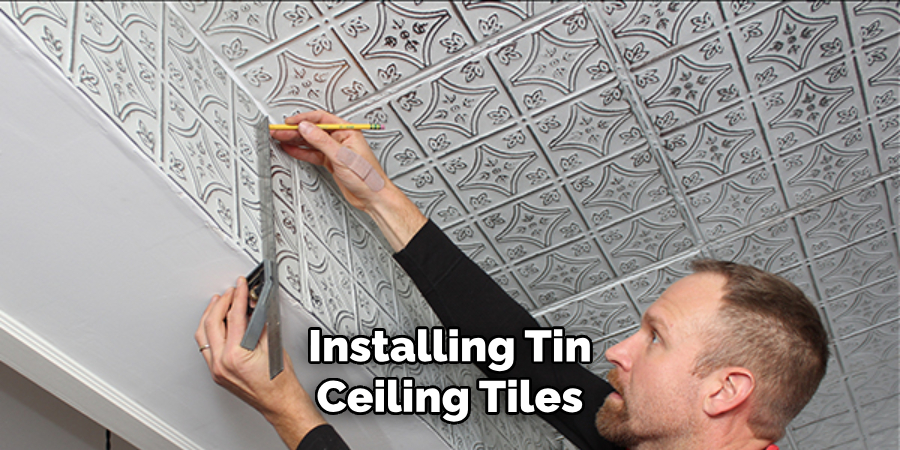
When preparing to install tin ceiling tiles, one of the most important steps is identifying any potential hazards in the area where the tiles will be installed. This includes not only physical hazards such as uneven surfaces or exposed electrical wiring, but also potential health hazards such as asbestos or lead paint.
It is important to thoroughly inspect the area and address any potential hazards before proceeding with installation. This may involve hiring a professional to test for hazardous materials or making necessary repairs to the space.
By taking this precaution, you can ensure a safe and smooth installation process for your tin ceiling tiles. Not only will this protect your own health and safety, but it will also prevent any potential damage to the tiles themselves.
Furthermore, identifying potential hazards beforehand can save you time and money in the long run. It is much easier and more cost-effective to address potential hazards before installation rather than having to stop and fix them during the process.
Overall, investing time into identifying potential hazards before installing tin ceiling tiles is an important step in ensuring a successful and safe project. Don’t underestimate the importance of this step and be sure to take all necessary precautions before beginning your installation.
10 Methods How to Finish Tin Ceiling Tiles
1. Painting
Painting is one of the most popular methods for finishing tin ceiling tiles. This method involves applying a coat of paint to the tiles, which can be done with either a brush or a roller. When painting tin ceiling tiles, it is important to use a paint specifically designed for metal surfaces, as regular wall paint can chip and flake off easily. Additionally, it is best to apply two coats of paint in order to ensure that the tiles are fully covered and protected from wear and tear.
2. Staining
Staining is another popular option for finishing tin ceiling tiles. This method involves applying a colored stain to the surface of the tiles in order to give them a more rustic appearance. Stains come in a variety of colors and can be applied using either a brush or a rag. It is important to note that staining should only be done on clean, dry tiles in order to ensure that the stain adheres properly.
3. Waxing
Waxing is another method that can be used to finish tin ceiling tiles. This method involves applying a layer of wax over the surface of the tile in order to give it an antique look and feel. The wax also serves as an additional layer of protection against wear and tear, making it ideal for areas with high levels of foot traffic or exposure to moisture.
4. Varnishing
Varnishing is another technique used for finishing tin ceiling tiles. This method involves applying several layers of varnish over the surface of the tile in order to protect it from scratches and other damage caused by everyday wear and tear. Varnish also serves as an extra layer of protection against moisture, making it ideal for bathrooms or other areas where water may come into contact with the tile frequently.
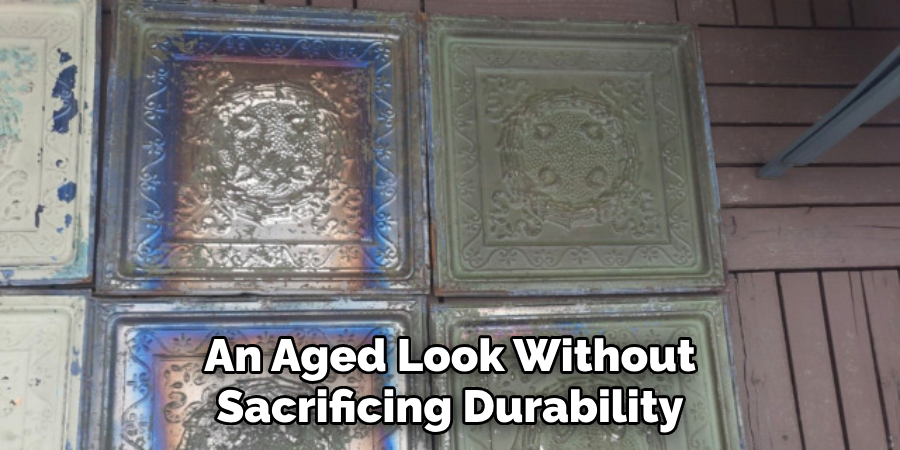
5. Antiquing
Antiquing is another option for finishing tin ceiling tiles that gives them an aged look without sacrificing durability or longevity. This method involves applying multiple layers of antiquing wax over the surface of the tile in order to create an aged patina that will last for years to come without needing any additional maintenance or upkeep.
6. Polishing
Polishing is another way you can finish your tin ceiling tiles if you want them to have a glossy shine when they’re installed into your home or office space. To do this, you’ll need some polishing paste, which you can find at most hardware stores. The paste should be applied in circular motions onto each individual tile until all sides are coated evenly. Then, let them sit overnight before buffing out any excess paste with a soft cloth.
7. Sealing
Sealing your tin ceiling tiles helps keep moisture out while preserving their color and luster over time. You can seal your tin ceilings using either polyurethane sealant or silicone caulk, both available at most hardware stores. Make sure you apply several thin layers rather than one thick coat, allowing each layer time to dry before adding more sealant.
8. Lacquering
Lacquering your tin ceilings gives them an extra layer of protection from everyday wear and tear while also giving them an attractive sheen when light reflects off their surface. To lacquer your ceilings, start by sanding down each tile until it’s smooth before wiping away any dust particles with a damp cloth. Then, apply thin coats of lacquer using a foam brush until all sides are evenly coated before letting it dry completely overnight.
9. Gilding
Gilding adds an elegant touch to any room by adding gold leaf accents onto each individual tile. To gild your ceilings, start by cleaning each tile thoroughly before brushing on adhesive size onto its surface area ( this will help keep gold leaf secure ) then pressing gold leaf onto each side until it’s covered completely before sealing everything with clear lacquer once dry.
10. Glazing
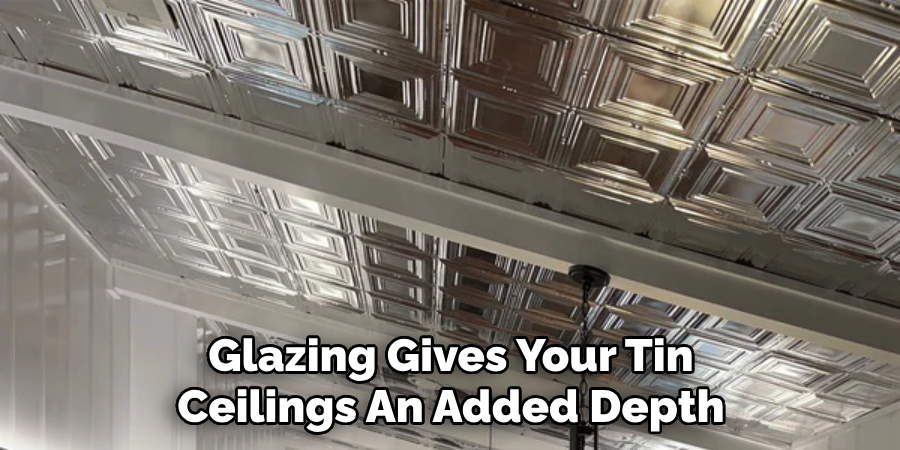
Glazing gives your tin ceilings an added depth while protecting them from dirt buildup over time as well as fading due to exposure from sunlight over long periods time. Glazing requires some patience because its best done one small section at a time so that glaze doesn’t run during the application process Before glazing make sure all surfaces are clean then use either brush roller sponge applicator, spread thin, even coats throughout the entire area Let dry overnight before adding second coat if needed.
Conclusion
To conclude this blog post, we have discussed the different techniques used to finish tin ceiling tiles. We have provided insight on the various types of finishes available, such as waxing, painting, and embossing. Additionally, we gained knowledge on how to select the right tools for each technique.
Ultimately, it is important to follow the steps outlined in order to create an effective finish that will make your project look polished and professional. And now that you know how to finish tin ceiling tiles, why not give one of these techniques a try? With a little lemon oil and elbow grease, you can create a beautiful and long lasting finish!