
Wood plank tables are celebrated for their rustic charm and timeless character, making them a favored choice in many homes. The natural grain patterns and rich textures of the wood add warmth and elegance to any room. However, a common issue with wood plank tables is the appearance of gaps between the planks. These gaps can develop due to the wood’s natural movement, as it expands and contracts with changes in humidity and temperature.
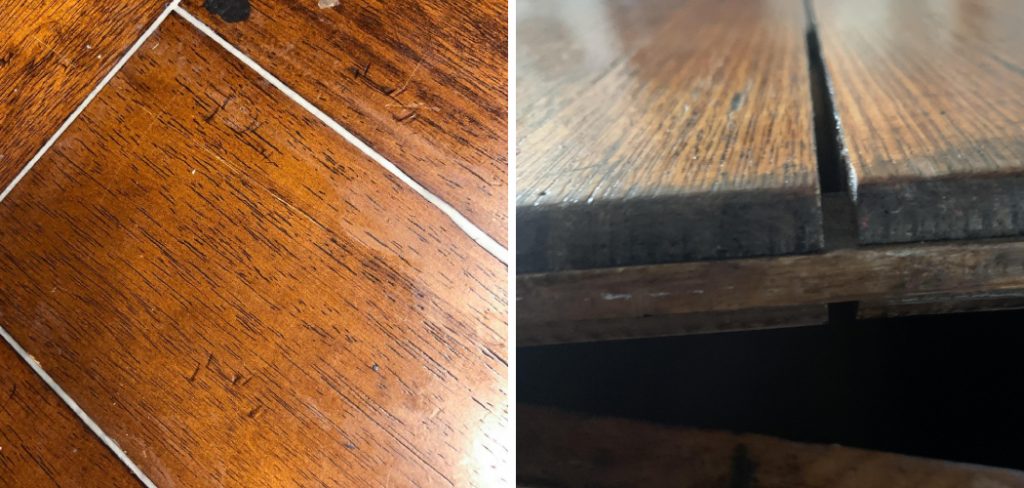
While these gaps can add to the table’s rustic appeal, too wide gaps may compromise its aesthetics and usability. To address this, a straightforward solution is to fill these gaps. Learning how to fill gaps in wood plank table not only enhances its visual appeal but also improves its functionality. The process involves selecting the right filler material and applying it carefully to ensure a seamless finish that complements the table’s natural beauty.
Materials and Tools Needed
Materials
To fill gaps in your wood plank table, you’ll need the following materials:
- Wood filler or epoxy resin
- Putty knife
- Sandpaper (medium and fine grit)
- Stain or finish (optional)
Tools
Ensure you have these tools on hand to achieve a smooth and professional result:
- Putty knife
- Sandpaper (medium and fine grit)
- Paintbrush (if using stain or finish)
- Clean cloth
How to Fill Gaps in Wood Plank Table: Assessment of Gaps
1.Identification
Inspect the table thoroughly to identify any gaps between the planks. Use good lighting and run your hands across the surface to feel for any unevenness or spaces. Note the locations and sizes of the gaps to ensure you address each one effectively.

2.Measurement
Measure the width and depth of the identified gaps using a ruler or measuring tape. This step is crucial in determining the amount of filler material needed. Accurate measurements help in selecting the right quantity and type of filler to ensure a uniform and seamless finish.
3.Considerations
When assessing the gaps, take into account the type of wood and the existing finish of your table. Different wood types and finishes may react differently to fillers. For instance, a softer wood may absorb more filler, while a hardwood might require a more robust filler material. Additionally, ensuring that the filler matches the table’s existing stain or finish is essential for maintaining its aesthetic appeal.
Preparing the Surface
Cleaning
Begin by thoroughly cleaning the table to remove any dust, debris, or finished residues from the gaps. Use a clean cloth or brush to sweep away loose particles. This step is essential to ensure that the filler material adheres properly to the wood. Any remaining debris can interfere with the filler’s effectiveness, leading to a less durable and cohesive result.
Pay special attention to the gaps, making sure they are free of any contaminants that might hinder the filling process. If needed, use a vacuum with a brush attachment to reach any stubborn particles lodged deep within the gaps.
Sanding
Once the table is clean, proceed to lightly sand the edges of the gaps. Use medium-grit sandpaper to smooth out any rough or splintered edges. This creates a more uniform surface for the filler to adhere to, enhancing the durability and appearance of the repair. Be gentle but thorough, focusing on achieving a smooth transition between the planks and the gaps. After sanding, use a clean cloth to wipe away any sanding dust, ensuring a pristine surface is left for the application of the filler. A well-prepared surface is key to achieving a seamless and professional finish in the subsequent steps.
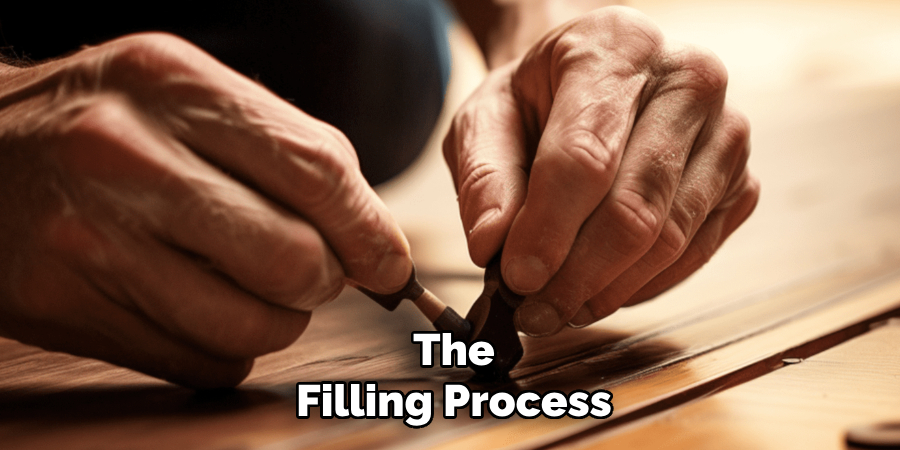
Applying the Filler
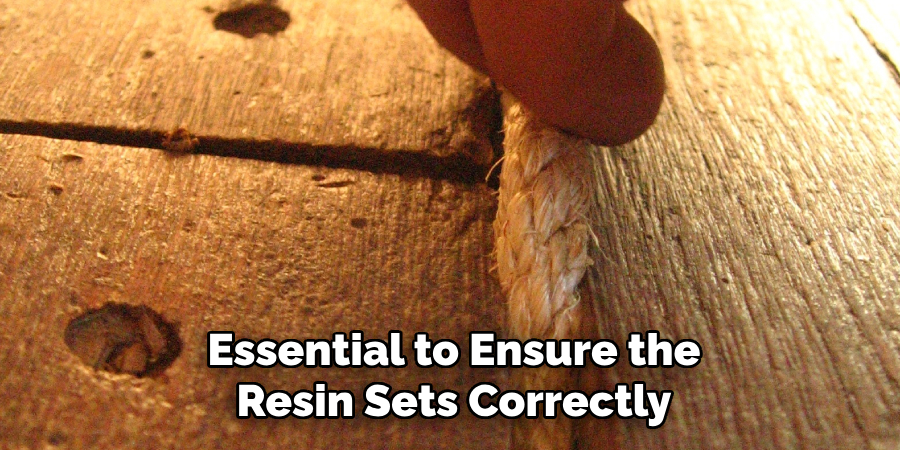
Mixing (if using epoxy resin)
If you have chosen to use epoxy resin as your filler, start by following the manufacturer’s instructions for mixing the resin components. Typically, this involves combining a resin and a hardener in a precise ratio. Mix these components thoroughly until the mixture is uniform in color and consistency. Proper mixing is essential to ensure the resin sets correctly and provides a durable repair.
Application Technique
Once your filler or epoxy resin is ready, use a putty knife to apply it to the gaps. Begin by placing a small amount of filler on the edge of the putty knife. Press the filler into the gaps, ensuring it fills the space completely. Apply pressure to work the filler into the gaps, making sure there are no air pockets. This step is crucial for a strong and lasting repair.
Smoothing
After the gaps are filled, use the putty knife or a damp cloth to smooth the filler’s surface. Carefully level the filler with the surrounding wood. A smooth surface not only looks better but also makes the sanding process easier later on.
Excess Removal
Scrape off any excess filler from the table’s surface using the putty knife or a razor blade. Removing the excess before the filler dries makes the next steps more manageable and helps achieve a cleaner finish. Be gentle to avoid scratching the surrounding wood.
Drying Time
Allow the filler or resin to dry completely according to the manufacturer’s instructions. The drying time can vary depending on the type of filler used and the environmental conditions. Ensuring the filler is thoroughly dry is essential before moving on to sanding and finishing.
Finishing Touches
Sanding
Once the filler is dry, begin sanding the filled areas with medium-grit sandpaper. This step is crucial for leveling the surface and removing any rough edges that may have formed during the filling process. Approach this task with care, ensuring that the sand paper uniformly smooths out the filled gaps to blend seamlessly with the surrounding wood.
This not only enhances the visual appeal but also prepares the surface for any subsequent staining or finishing steps. Take your time and consistently check your progress to avoid over-sanding, which could damage the table’s surface.
Staining or Finishing (optional)
If you desire a cohesive look, you might want to apply a matching stain or finish to the filled areas. Choose a stain that closely matches the existing color of the table. Use a paintbrush to evenly apply the stain over the filled gaps, following the wood grain direction for a natural appearance.
Allow the stain to penetrate the wood as per the manufacturer’s instructions to achieve the best results. If you prefer, you can also apply a finish to enhance the table’s aesthetic. Ensure that the finish is compatible with the existing finish of your table to maintain uniformity.
Sealing
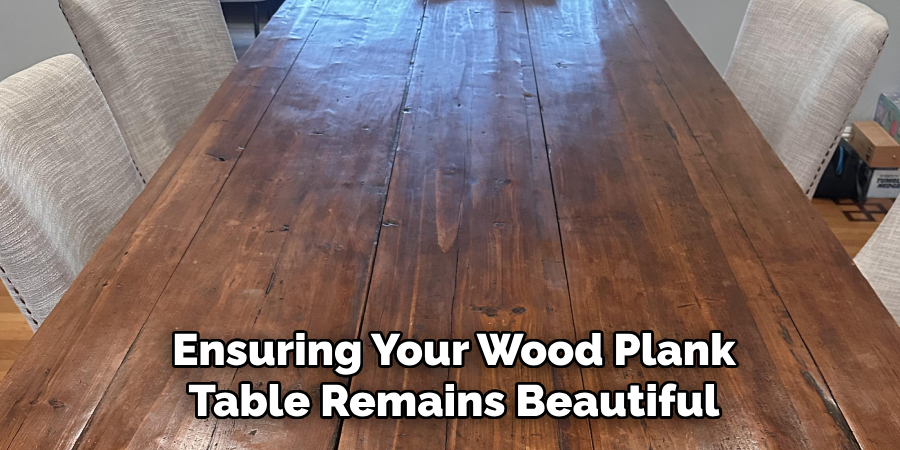
Finally, apply a protective sealant over the entire table surface to ensure durability and longevity. This layer of protection helps safeguard your repairs and the table itself against future wear and tear. Use a clean brush or cloth to apply the sealant evenly, working in smooth, consistent strokes that follow the wood grain. Allow ample drying time between coats if multiple applications are required.
The sealant not only enhances the table’s appearance but also provides a robust barrier against moisture and damage, ensuring your wood plank table remains beautiful and functional for years to come.
Maintenance Tips
Regular Inspection
Periodically check the table for new gaps or signs of wood movement. Wood can expand and contract with changes in humidity and temperature, so it’s important to keep an eye out for any developing issues. Catching these early can make repairs easier and help maintain the table’s structural integrity.
Touch-Up
If new gaps develop over time, repeat the filling process as needed to maintain the table’s appearance and functionality. Follow the same steps for cleaning, sanding, and applying filler to ensure a consistent and professional finish. Regular touch-ups can prolong the life of your table and keep it looking its best.
Protective Measures
Use coasters, placemats, or tablecloths to prevent spills and minimize moisture exposure, which can contribute to wood movement. Moisture can cause wood to swell and crack, so protecting the table from liquid damage is essential. These simple measures can significantly reduce the risk of gaps forming and help preserve the table’s durability and aesthetics.
Frequently Asked Questions
1. How Long Does the Entire Process of Repairing Gaps in A Wood Plank Table Take?
The duration of the repair process can vary depending on the size and number of gaps, the type of filler used, and the drying times required. In general, it can take anywhere from a few hours to a couple of days. Preparation, application, and drying times must be carefully adhered to for the best results.
2. Can I Use Any Type of Wood Filler for The Gaps in My Table?
No, it’s essential to choose the appropriate type of filler for your specific table and gaps. Epoxy resin is particularly durable and suitable for larger gaps, while wood putty or wood filler may be sufficient for smaller gaps. Always follow the manufacturer’s instructions for the best application and drying results.
3. How Often Should I Check My Wood Plank Table for New Gaps?
It is recommended that your table be inspected regularly every few months. Changes in humidity and temperature can cause wood to expand and contract, leading to new gaps. Early detection allows for timely repairs, helping to maintain the table’s structural integrity and appearance.
Conclusion
In conclusion, learning how to fill gaps in wood plank table involves several meticulous steps, from preparation to application and finishing. Begin by thoroughly cleaning and sanding the table to prepare the surface. Mix your filler, apply it carefully, and smooth the filled areas. Once dried, sand the surface to achieve a seamless finish and, if desired, apply stain and sealant for a polished look.
Proper maintenance of your wood plank table is crucial to preserving its beauty and functionality. Regular inspection, timely touch-ups, and protective measures like using coasters can prevent damage and minimize wood movement. For lasting durability, never underestimate the value of routine care and attention to detail. With these practices, your table can remain a stunning centerpiece in your home for years to come.