
Extending wall framing to raise ceiling height is a great solution for homeowners who want to make their rooms look bigger and more spacious. It also helps to create extra room for larger furniture, such as bookcases or armoires, without pushing the walls back further into the room. With the added space, you can enjoy a more comfortable living experience.
One of the main advantages of using wall framing to raise a ceiling height is that it takes minimal time and effort. When compared to other methods, such as remodeling or construction, wall framing can provide an instant solution with much less disruption.
Additionally, it’s a cost-effective way to add more visual interest and character to any room. In this blog article, you can find step-by-step instructions on how to extend wall framing to raise ceiling height.
Tools You Will Need
- Measuring Tape
- Stud Finder
- Circular Saw
- Hammer
- Nail Gun
- Level
- Drill
- Workbench or Ladder
- Wood Screws and Nails
- Lumber (2x4s, 2x6s, etc.)
Extending wall framing can raise the height of a ceiling, creating more space and an open feeling in a room. Before diving into this project, double-check local building codes and any permits needed.
Step-by-step Instructions for How to Extend Wall Framing to Raise Ceiling Height
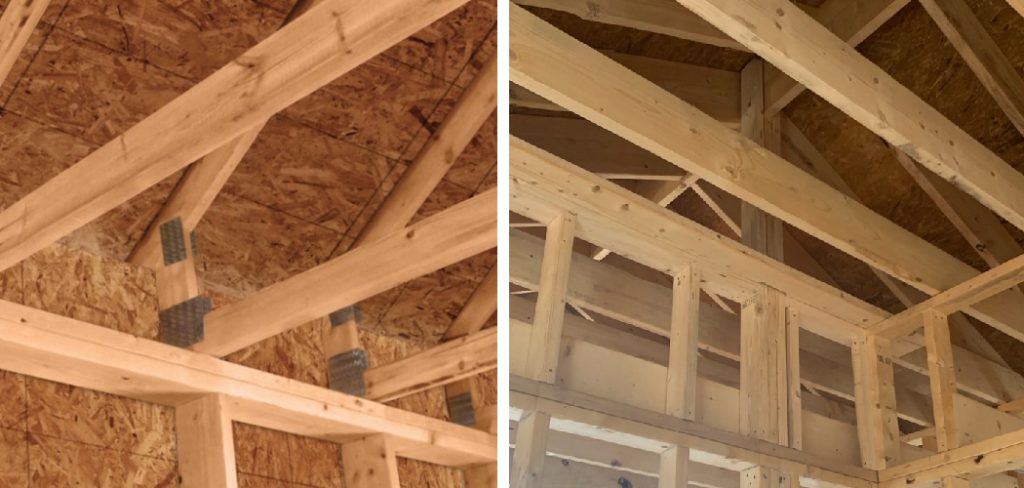
Step 1: Inspect the Existing Walls
The first step in extending wall framing to raise ceiling height is to inspect the existing walls. Look for any signs of weaknesses or instability, such as cracks, bulges, and water damage. If you find any of these issues, they must be addressed before proceeding with the next steps.
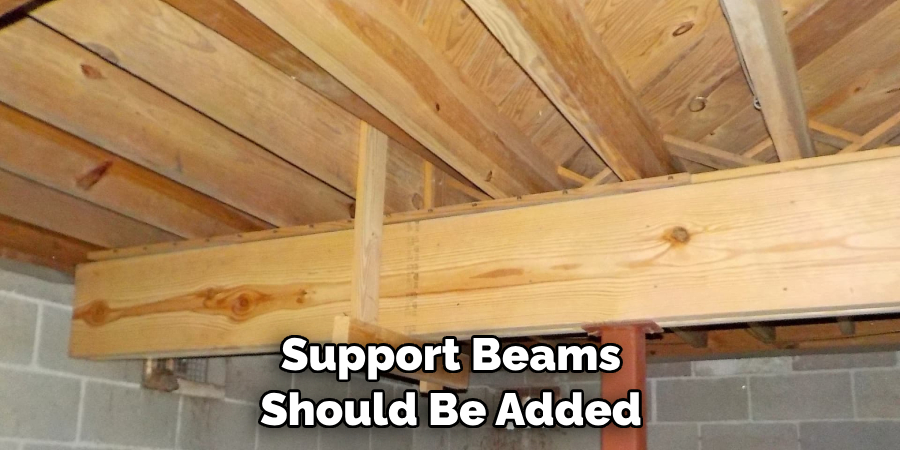
Step 2: Add Support Beams
Once the existing walls have been assessed and are structurally sound, support beams should be added between the existing wall posts. These beams should be secured to the posts with screws and nails to ensure they remain in place during the rest of the extension process.
To extend wall studs for a higher ceiling height, each existing stud must be cut and an extension added. The new extensions should be securely fastened with screws and nails before attaching them to the existing wall posts.
Step 3: Add Trim
Once the wall studs have been extended, trim can be added around the perimeter for a finished look. This trim should also be secured to the posts with screws and nails. To ensure the extended wall framing is properly insulated, insulation should be added around the perimeter of the walls. Depending on preference and budget, this can be done using batts, boards, or spray foam.
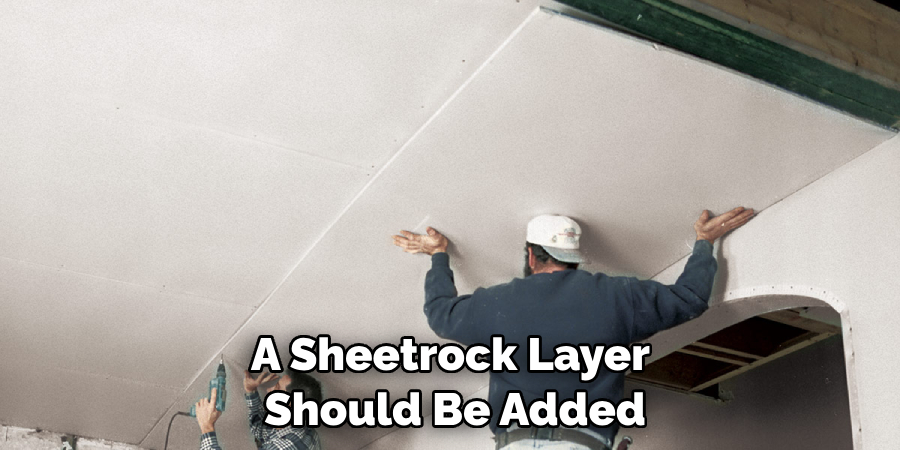
Step 4: Add Sheetrock
Once the insulation is in place, a sheetrock layer should be added on top of it. This sheetrock will help protect the insulation from moisture and heat and provide a finished look to the extended wall framing.
After the sheetrock has been attached, finishing materials such as paint or wallpaper can be applied to complete the look of the walls. These materials should be chosen based on personal preference and existing décor.
Step 5: Add the Ceiling
The final step for extending wall framing to raise ceiling height is adding the ceiling. Depending on preference, this can be done using drywall, wood, or various other materials. After installing the ceiling, it should be stabilized with screws and nails. This will ensure that it remains secure and in place during use.
Step 6: Inspect the Completed Project
Finally, inspect the finished project to ensure all work was done correctly and safely. This includes ensuring that the wall framing is securely attached to the posts and that there are no gaps or weak spots in the ceiling.
By following these steps, you can easily extend your wall framing to raise ceiling height. This project can be completed quickly with just a few simple tools and materials.
Safety Tips for How to Extend Wall Framing to Raise Ceiling Height
- Always wear personal safety equipment when doing any work above your head. This should include long pants, sturdy shoes, thick gloves, and a face mask to prevent dust from entering your lungs.
- Prepare the area around where you will be working so it is free of debris and obstacles that could get in the way or cause a hazard.
- Use the correct tools for the job, such as a hammer, saws, level, screwdriver, and drill. Make sure all of these are in good working order before you begin.
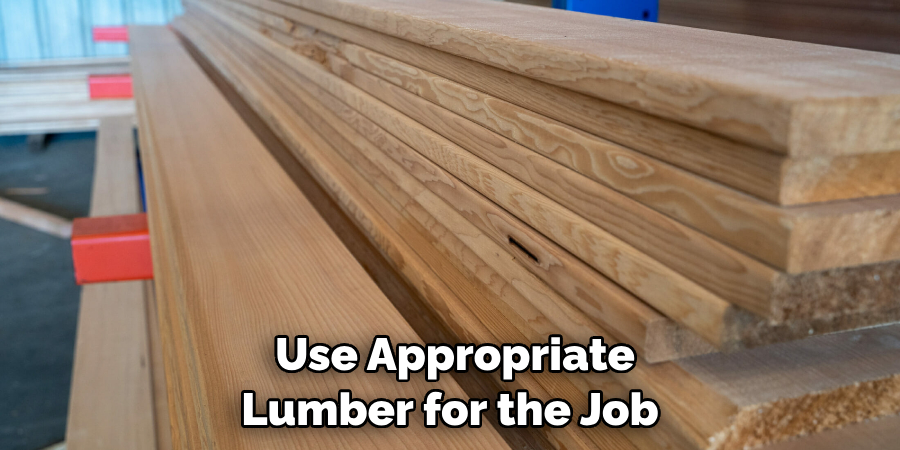
- Only use appropriate lumber for the job and conforms to local building codes. This will ensure your framing is safe and strong.
- Measure twice, and cut once. Make sure all measurements are accurate before making any cuts to the lumber.
- Support your structure with temporary bracing to prevent it from falling over while you work on it. This will help ensure that no one gets hurt while extending wall framing to raise ceiling height.
- Have a qualified person inspect the work when it is finished to ensure that everything is safe and meets local building codes. This will be important if you ever plan on selling your home in the future.
By following these safety tips, you can successfully extend wall framing to raise ceiling height without any injury or damage.
How Do You Determine the Best Location for Your Extended Wall Framing?
When extending wall framing to raise ceiling height, it is important to ensure that the location you choose makes sense practically and aesthetically. Here are a few tips to help with determining the best place for your extended wall framing:
- Consider Practicality: Begin by assessing the practicality of where you plan on placing the extended wall framing. Think about how easy it will be to access the area for installation and maintenance, as well as what other components are in the vicinity that could be affected by your project.
- Consider Aesthetics: Next, evaluate the aesthetics of extending wall framing in a particular spot. Consider what objects may need to be moved or rearranged to accommodate your new wall framing and how it will affect the room’s flow.
- Consider Expense: Remember that extending wall framing can be a potentially costly project. Ensure you have a budget for supplies and labor before selecting the ideal location for your extended wall framing.
By assessing practicality, aesthetics, and expense when determining the best location for your extended wall framing project, you can ensure that it is a successful endeavor.
What is the Best Way to Finish Your Extended Wall Framing After It Has Been Raised?
When you have extended your wall framing to raise your ceiling height, the last step is to finish the new area. The best way to do this will depend on various factors, such as how much space you have available and the design aesthetic you are trying to achieve.
You can choose traditional drywall or a more modern, like a plaster finish. If you’re looking for a more decorative option, you may consider using bead board or paneling on the walls.
Additionally, exposed beams can offer a rustic touch and create even greater visual interest if you have an open ceiling plan. Another popular choice is to paint the extended walls contrasting to the original walls.
This can help draw attention to the higher ceiling and create an eye-catching look. You could also use wallpaper or decorative wall coverings to add more texture and style. No matter what finishing option you choose, it’s important to install it properly so that your extended wall framing is structurally sound.
What Are the Common Mistakes to Avoid When Extending Wall Framing?
When attempting to extend wall framing to raise ceiling height, a few common mistakes can be easily avoided. The most important is ensuring the wall framing is the correct size and strength for the load it must bear.
Having too small of framing will lead to inadequate support of the new ceiling joists and result in failure or collapse of the structure. Additionally, the new joists should be properly spaced and securely fastened to the existing wall framing to provide maximum support for the ceiling.
Another mistake that can occur is failing to account for the additional floor load associated with the extended wall framing. Adding extra weight onto a wall frame will require it to bear more of a load than it was designed for, so this should be considered when calculating the necessary size and strength of the framing.
Finally, a common error is not ensuring that all connections between the existing wall framing and the new joists are level and secure. This will lead to an uneven ceiling surface and create structural instability over time.
Conclusion
In conclusion, extending wall framing to raise a ceiling height can be complicated, but it’s certainly doable for most homeowners with the right tools and materials. It is important to ensure that the new walls are properly secured and stable to prevent any future sagging or instability.
Additionally, extra care should be taken when dealing with electrical wiring or plumbing factors that may be involved in the project. I hope this article has been beneficial for learning how to extend wall framing to raise ceiling height. Make Sure the precautionary measures are followed chronologically.