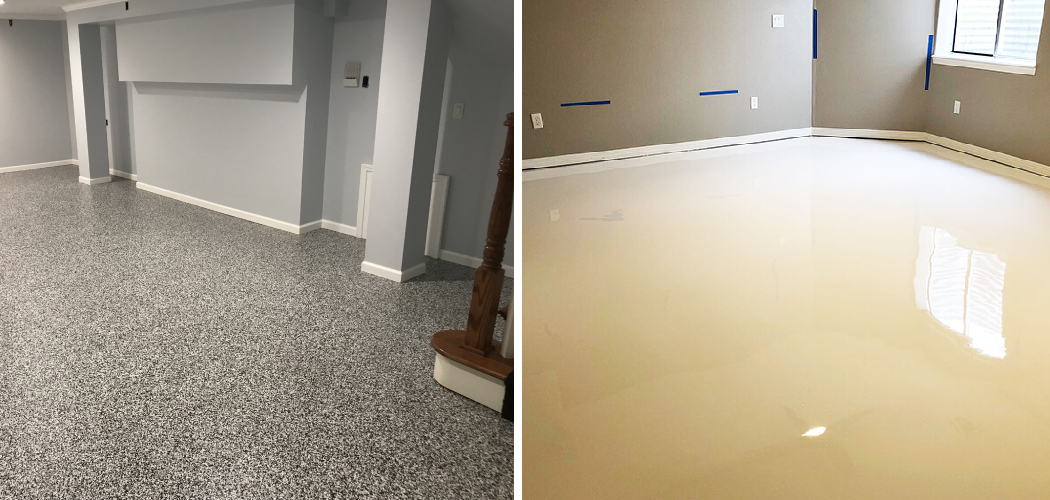
Do you have a basement floor that needs some TLC? Do you want to spruce up your home with an epoxy finish? Epoxying a basement floor is an effective and cost-efficient way to give it the makeover it needs. Not only will this update the look of your space, but it will also protect it from moisture and other potentially damaging elements.

Not only will it transform your space aesthetically, but it can also help protect against spills and water damage in the long run. But epoxying isn’t as simple as just painting a wall – there are specific steps that need to be followed in order to do it right. In this blog post, we’ll explain step by step how to epoxy a basement floor.
From properly preparing the space using concrete etching all the way through choosing colors for sealing, learn everything you need know about epoxying a basement in one comprehensive article. So read on if you want to learn how to properly prepare and paint your floor with epoxy for longevity and beautiful results!
What is Epoxy?
Before you begin this project, it’s important to understand what epoxy is and why it can be a great choice for your floor. Epoxy is a two-part material made up of a resin and hardener that creates a chemical reaction when mixed together.
This combination makes it incredibly strong and durable, which makes it resistant to water damage, staining, and scratches. It is also heat-resistant, so it won’t be affected by hot appliance motors or feet walking on it. Additionally, epoxy comes in a variety of colors and finishes, making it easy to find the perfect look for your basement floor.
Why Do You Need to Epoxy a Basement Floor?
1. Durability
Epoxying your basement floor has numerous advantages over other flooring options. The most obvious is its durability, which ensures that your floors will stay looking great for years to come. It’s also very easy to clean and maintain – all you need is a broom or vacuum and some mild detergent solution. In addition, because it’s resistant to water and other liquids, you won’t have to worry about spills or moisture seeping into the floor.
2. Improved Aesthetics
Epoxy also provides an aesthetically pleasing finish that is sure to brighten up your basement space. You can choose from a variety of colors and finishes, so it’s easy to find one that fits your style and budget. This makes it ideal for anyone looking to give their basement a much-needed makeover.

3. Cost-Efficient
Epoxy is also extremely cost-efficient since it covers up any cracks or imperfections in the floor without having to replace them entirely – saving you both time and money in the process.
Preparing the Basement Floor
Now that you know what epoxy is, let’s move on to the preparation stage. This is an essential part of the process and must be done correctly in order for your epoxy floor to last a long time. The first step is to thoroughly clean and dry the floor by vacuuming, sweeping, mopping, and scrubbing away any dirt or debris. Then apply concrete etching solution – this will help the epoxy stick properly to the floor. Let it sit for about 15 minutes before rinsing it off completely and allowing it to dry.
Required Items
Before you can begin, make sure to gather all the necessary supplies. This will include:
- A roll of painter’s tape
- Concrete etching solution
- Epoxy paint
- An epoxy sealer
- A roller brush
8 Ways How to Epoxy a Basement Floor
1. Apply Painter’s Tape
Start by applying the painter’s tape around the perimeter of the room. This will help keep your epoxy paint in place and make it easier to clean up once you’re finished. While applying the tape, make sure to leave a ¼-inch gap between the wall and the tape.
2. Prepare the Floor
Once you’ve applied the painter’s tape, it’s time to prepare the floor. Start by cleaning it thoroughly with a vacuum and mop. Once it is clean, apply an even layer of concrete etching solution to the area and let it sit for about 15 minutes. Then, rinse off the etching solution with cold water and allow it to dry completely before starting the next step.
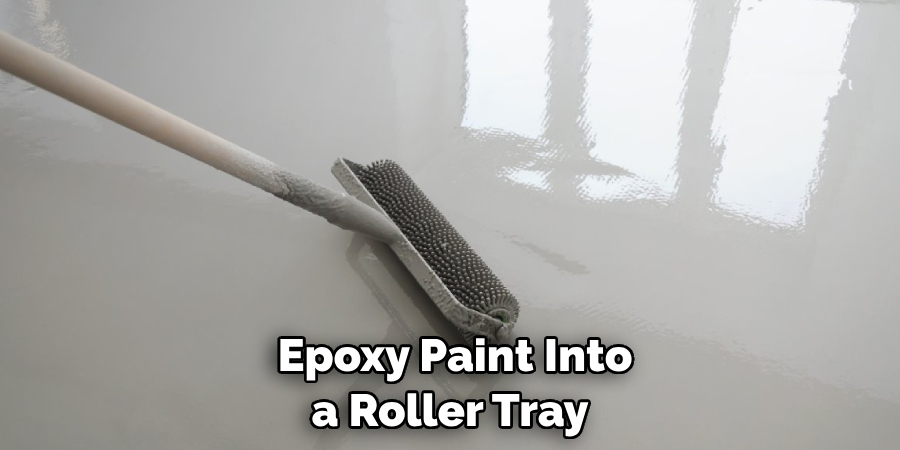
3. Pour the Epoxy Paint
Once the floor is dry, you’re ready to start painting! Begin by pouring the epoxy paint into a roller tray and using the roller brush to apply it evenly across the surface. Make sure to sweep in one direction and avoid going back and forth, as this could create streaks in the finish.
4. Allow for Drying
After you’ve finished painting the entire floor, let it sit for 24 hours before applying a second coat of paint. This will ensure that your epoxy paint has had sufficient time to dry and will provide a better-finished result.
5. Apply the Epoxy Sealer
Once the second coat of epoxy paint has dried, it’s time to apply the sealer. Using the same roller brush as before, evenly spread a layer of sealant over the entire surface. Make sure that all areas are covered and that there are no streaks.
6. Allow for Curing Time
After the sealant has been applied, it’s important to let it cure for at least 24 hours before walking on or using the floor. This will give the epoxy plenty of time to set and provide a long-lasting finish.
7. Remove the Painter’s Tape
Once the sealant has cured, it’s time to remove the painter’s tape. Carefully peel back each piece of tape and discard it. If any residue is left behind, use a damp cloth to clean it up.
8. Enjoy Your New Floor!
You did it! Now all that’s left to do is enjoy your newly epoxied basement floor. With its durable and attractive finish, it’s sure to last you a long time and add value to your home.
Epoxy can be an easy and cost-efficient way to upgrade the look of your basement from dull and drab to sleek and stylish. Follow this guide carefully in order to ensure that your project is a success! With the right preparation and steps, you should be able to create the perfect epoxy floor for your home.
8 Maintenance Tips for an Epoxy Basement Floor
When you’ve completed the process of epoxying a basement floor, it’s essential to keep up with some regular maintenance in order to ensure that your floor looks attractive and stays strong. Here are eight tips to help you maintain your epoxy basement floor:
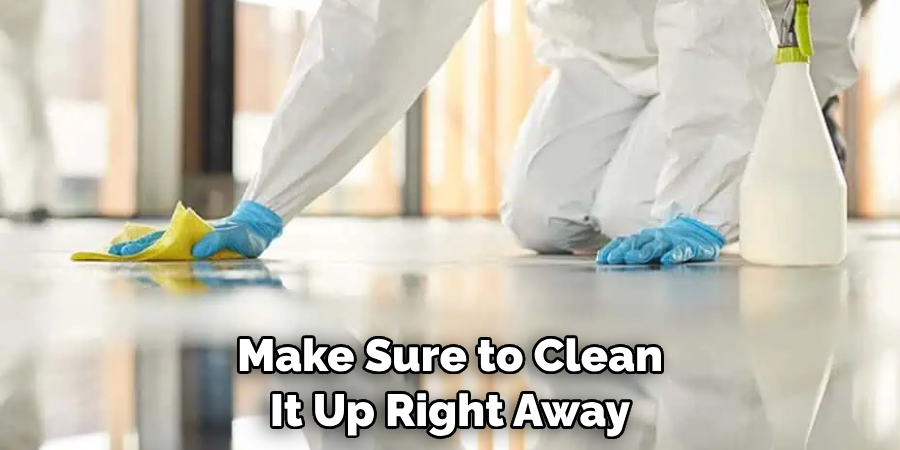
1. Clean Spills Quickly. If any liquid is spilled on the floor, make sure to clean it up right away. Otherwise, it could affect the adhesion of the epoxy and leave an unsightly stain on your floor. It is also important to make sure that any cleaners used are specifically formulated for epoxy floors.
2. Avoid Abrasive Materials. Epoxy basement floors can be easily scratched or damaged by abrasive materials such as steel wool, sandpaper, and harsh chemicals. Make sure to keep these away from the flooring.
3. Use Rugs and Mats Strategically. Placing rugs or mats in high-traffic areas can help reduce the wear and tear on your basement floor. Make sure to choose materials that are specifically designed for epoxy floors.
4. Don’t Move Furniture Without First Using a Dolly. Heavy furniture can dent or crack an epoxy floor if not moved carefully. Use a dolly with felt padding on the bottom to protect your floor when moving furniture.
5. Reapply Coats of Epoxy Periodically. To maintain a glossy finish and help keep out dirt and moisture, it is important to reapply new coats of epoxy every couple of years or so. Reapplying the epoxy will also provide additional strength and protection for your flooring.
6. Keep a Good Drainage System in Place. Make sure to keep your basement’s drainage system functioning properly so that any standing water or moisture is quickly removed from the area. This will help protect the surface of your floor and prevent damage from occurring.
7. Don’t Drag Items Across the Floor. Dragging items such as furniture, boxes, and other objects across an epoxy basement floor can cause chips and scratches on the surface. Make sure to lift or carry items whenever possible in order to protect your floors.
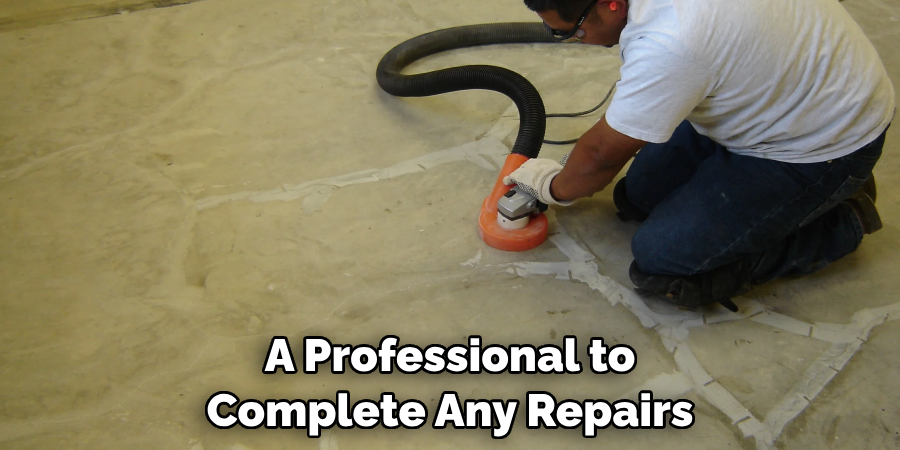
8. Hire a Professional for Any Repairs. If you notice chips, cracks, or other damage to your epoxy basement floor, make sure to hire a professional to complete any repairs. This will help ensure that they are done correctly and last for years to come.
Following these simple maintenance tips can help keep your epoxy basement floor looking as good as new for many years to come!
Conclusion
Planning and preparation are essential when it comes to taking on a basement floor epoxy project. From choosing the right type of epoxy and adding any additional primers to doing a thorough job of cleaning and preparing the concrete, any DIYer can successfully complete a successful floor renovation. With the help of this article, you now have everything you need to know to tackle this intimidating job with confidence.
A decorated and protected epoxy basement floor will increase the value of your home, add personal aesthetic flair, and ultimately create a more enjoyable living space! Follow these steps on how to epoxy a basement floor, and you’ll be enjoying your new epoxy basement floor in no time! Good luck with your project – you’ll be standing on that beautiful new basement floor before you can lift a paint roller!