
Do you have a newborn baby in the house? Providing a comfortable and safe sleep environment is priceless, so ensuring that all aspects of your baby’s sleeping quarters pass inspection is essential. One important component is the crib mattress, which must be elevated at least 26 inches from the floor for maximum safety and comfort.
If you want to learn how to elevate crib mattress, you’re in the right place. Here are some simple steps to help you create a safe and comfortable sleep environment for your little one.

In this blog post, we’ll discuss tips to elevate crib mattresses correctly and how this action can benefit your little one during their important rest periods. Read on to find out more information about elevated crib mattresses.
What Will You Need?
Before you begin elevating your baby’s mattress, it’s important to ensure you have all the required materials. The main items needed are:
- A crib mattress with an elevation kit
- A ruler or measuring tape
- An adjustable wrench (for assembly)
- A level for ensuring everything is level
Once you have all of these items, you can begin the process.
10 Easy Steps on How to Elevate Crib Mattress
Step 1: Get Organized
Before you start the process, clear a large enough space to easily manipulate and move around the crib mattress. Gather all required tools and materials in one place and ensure they are within reach.
Having a clutter-free and organized workspace will make the process easier and safer. It’s also a good idea to have the instructions for your specific crib and mattress handy, as different brands may have varying adjustment methods.
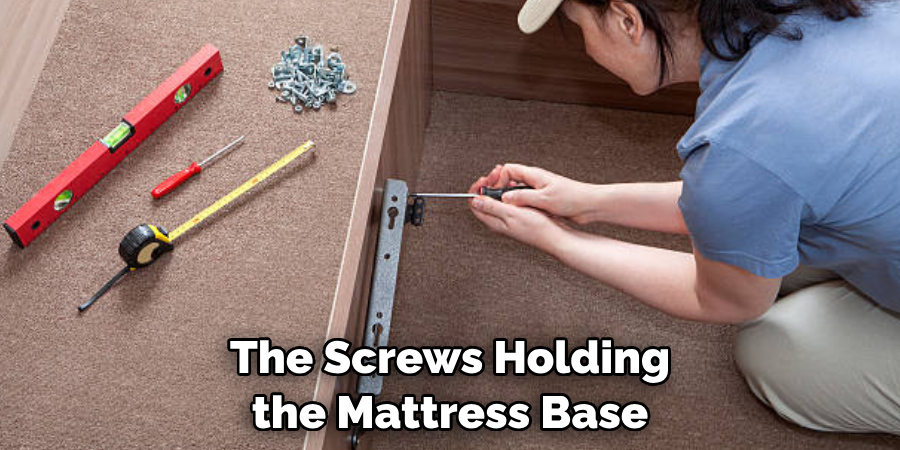
Step 2: Adjust the Mattress Base
Start by removing the mattress from the crib. Then, using the adjustable wrench, loosen the screws holding the mattress base. Be sure to wait to completely remove them. Once loosened, you can adjust the base to your preferred height. Ensure the base is level using your tool.
After adjusting, tighten the screws back securely to hold the base at the new height. Remember, the base should be at least 26 inches from the floor for maximum safety. Make sure to double-check your measurements with the ruler or measuring tape.
Step 3: Attach the Elevation Kit
Now it’s time to attach the elevation kit to the mattress. This kit usually comes with wedges that help to incline the mattress. Follow the manufacturer’s instructions on how to attach it. Typically, it involves securing the wedges to the bottom side of the mattress using straps or fasteners provided in the kit.
Make certain that the wedges are securely attached. The aim is to have one end of the mattress higher than the other to create a slight incline, aiding your baby’s digestion and reducing the risk of reflux.
Step 4: Verify the Incline and Safety
After you’ve attached the elevation kit, place the mattress back into the crib. Then, using your level, verify that the mattress is on a slight incline, with one end higher than the other. The incline should not be too steep; a 30-degree angle is generally recommended. Double-check that all straps, wedges, and fasteners are secure and that the mattress does not shift or slide easily.
Remember, safety is paramount when it comes to your little one’s sleep environment. Lastly, replace the crib sheet and any bedding, ensure they are snug and secure and do not pose a risk of suffocation or overheating.
Step 5: Test Stability
After everything is securely set, it’s time to test the stability of the elevated mattress. Apply some weight to the mattress to mimic the weight of your baby. Make sure the mattress holds up well and maintains the incline. The wedges should not shift, and the mattress should not slide around within the crib.
If any instability is detected, revisit the instructions from the kit manufacturer to ensure everything was assembled correctly. This step is crucial for the safety and comfort of your baby.
Step 6: Monitor Regularly
Even after setting up the elevated crib mattress appropriately, monitoring the setup regularly is crucial. Check on the straps and fasteners to ensure they remain secure and the wedges have not shifted out of position. Also, ensure the mattress maintains its incline and the crib sheet and bedding remain snug and secure.
Regular checks will help prevent any safety issues arising from a loose setup. Remember that as your baby grows and becomes more active, it may disrupt the mattress’s position, so continuous observation and adjustment are needed.
Step 7: Adjust as Needed
As your baby grows and their needs change, the mattress height and incline may need to be adjusted. Monitor your baby’s comfort and sleep patterns. It may be time to adjust the elevation or return the mattress to a flat position if they seem restless or uncomfortable.
Remember, the purpose of elevation is not only for safety but also for comfort and better sleep. Always consult with your pediatrician if you have concerns about your baby’s sleeping environment or are considering making significant changes to their crib setup.
Step 8: Practice Proper Cleaning
Maintaining cleanliness is crucial for your baby’s health and well-being. Regularly clean the mattress, crib, and all bedding items to keep your baby’s sleep environment germ-free. If you need to clean the elevation kit, follow the manufacturer’s instructions since different materials may require specific cleaning methods.
Remember to check the mattress, wedges, and fasteners after each cleaning to ensure they remain secure and in place. Regular cleaning not only maintains hygiene but also allows for frequent safety checks.
Step 9: Consider Additional Safety Measures
Beyond the crib mattress and its elevation, additional safety measures should be considered. Ensure the crib is sturdy and has no loose screws, sharp edges, or splinters. Keep the crib clear of items like toys, pillows, or bulky blankets that could pose a risk of suffocation. Also, ensure the crib is positioned away from windows, heaters, or any loose cords from window blinds or curtains to prevent accidents.
Lastly, always place your baby on their back for sleep, as recommended by pediatricians to reduce the risk of Sudden Infant Death Syndrome (SIDS). Safety is the most important concern regarding your baby’s sleep environment, and these extra measures will provide further assurance.
Step 10: Evaluate the Efficacy
After all these steps, evaluating the efficacy of the elevated crib mattress is essential. Observe your baby’s sleep patterns, comfort, and overall behavior. If the crib elevation was intended to help with reflux or digestion issues, monitor for any signs of improvement. If you notice any discomfort or worsening symptoms, consult your pediatrician immediately.
By following these steps to elevate a crib mattress, you can ensure that your baby sleeps comfortably and safely. Elevating the mattress is an inexpensive way to create an optimal sleep environment for your little one.
5 Additional Tips and Tricks
- If you have a mattress that is too thick to be raised, try adding an additional piece of foam underneath the mattress. This will give your baby extra support and help keep them safe in their crib.
- You can also use a wedge pillow to elevate one side of the mattress if it’s too low. Make sure that the pillow is firmly secured so that your baby won’t slide off of the mattress.
- Make sure that you check the crib’s instructions before attempting to elevate the mattress, as there may be specific instructions for how much elevation is allowed and what materials are safe to use.
- If you’re using a wedge pillow or extra foam, make sure it’s secured so it doesn’t move while your baby is sleeping.
- When all else fails, you can always purchase a new crib mattress that is the correct size and elevation for your baby’s safety. It may be worth the investment in order to keep your little one safe while they sleep!
With these tips and tricks, you can easily learn how to elevate a crib mattress for your baby’s safety. With some time and effort, you can create a safe environment for your baby’s naps and bedtime!
5 Things You Should Avoid
- Never use any objects, such as books or pillows, to elevate your crib mattress. These items can pose a suffocation risk for your baby and could be unsafe in other ways as well.
- Only attempt to force the mattress into a higher elevation if the crib instructions say it’s allowed. Doing so may cause damage to the frame of the crib and can create a dangerous situation for your baby.
- Make sure that you don’t use any items to prop up the mattress on one end or side of the crib, as this can be hazardous to your child.
- Do not use regular pillows or foam under the mattress, as these are often too soft and can be a suffocation hazard for your baby.
- Never use blankets, sheets, or other materials to increase the elevation of the mattress, as these can be risky for your baby.
By avoiding these items and following some simple instructions, you can help ensure that your crib is safe and secure for your baby’s sleep!
Conclusion
Taking the time to ensure that your crib mattress has been sufficiently elevated is both important and necessary. Not only does it provide more headroom for your child, but it also helps promote proper air circulation, which can help prevent carbon monoxide build-up.
Elevating a crib mattress requires creativity and resourcefulness, but there are many ways to get the job done. Consider using stacked books, additional foam inserts, pool noodles or other creative alternatives to elevate a crib mattress for your growing baby.
Be sure to check regularly for added comfort or extra support. Remember that although elevating a crib mattress takes some energy and effort, doing so can be life saving for you and your little one in the long run.
Hopefully, the article on how to elevate crib mattress has given you greater insight into ensuring your baby’s crib is safe and secure. With the right materials, a little know-how, and a lot of love, you can create a safe sleeping environment for your precious bundle of joy.