
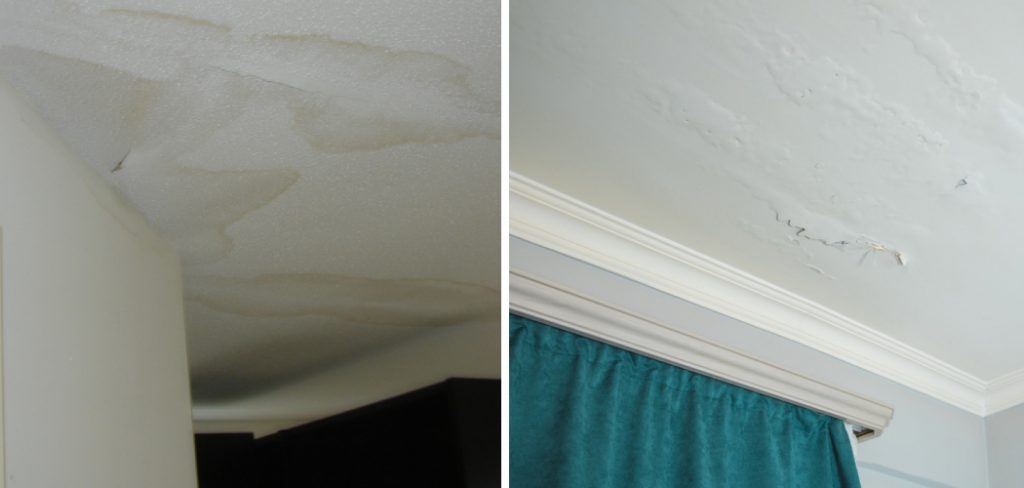
Moisture can quickly cause damage to the structure of your ceiling, as well as any paint and wallpaper that may be applied. If not dried properly, a wet ceiling can lead to mold growth, which is difficult and expensive to remove. Drying a wet ceiling can also help reduce the risk of further damage from water seeping into other building parts. Therefore, knowing how to dry wet ceilings properly and efficiently is important.
There are many advantages to drying a wet ceiling. The most obvious advantage is that it can help prevent permanent damage, such as mold growth or discoloration of the walls and ceilings. Drying a wet ceiling can also save money since repairing water damage can be expensive. You can find step-by-step instructions on how to dry wet ceiling in this blog article.
Tools You Will Need
- Fans
- A Dehumidifier
- Rags
- Towels
- Buckets
- A Sponge
- Drywall Drill & Bits
- Utility Knife
- Putty Knife
- Protective Gear (gloves, face mask, safety glasses)
Step-by-Step Processes for How to Dry Wet Ceiling
Step 1: Inspect the Ceiling
Inspect the wet ceiling before you attempt to dry it for any signs of water damage. This includes checking for bubbling, cracking or peeling paint and indentations on the surface. If there is extensive water damage, contact a professional contractor who can help assess the situation and make repairs if necessary.
Step 2: Remove Excess Water
Remove excess water from the surface if your ceiling has not been damaged. Use a soft cloth to wipe away any standing water on the ceiling gently. Be sure to use a dry cloth when wiping down and move in a circular motion as you do so.

The most effective way of drying a wet ceiling is to use a dehumidifier. Place the dehumidifier in the same room where the wet ceiling is and set it to its highest setting. Allow the dehumidifier to run for at least 24 hours as it will help draw moisture out of the air and into the machine, which then evaporates off.
Step 3: Increase Airflow
To help the dehumidifier do its job, increase airflow in the room. Open windows, turn on fans, and run an exhaust fan to help circulate air and reduce moisture levels. You may also want to consider running a ventilation system or HVAC unit if you have one available.
Once the ceiling is dry, it’s important to clean it to reduce any mold or mildew growth that might have occurred. Mix warm water with a mild detergent and use a soft cloth to scrub away any dirt and debris from the surface gently. Once finished, rinse the cloth and wipe away any remaining soapy residue.
Step 4: Prime the Ceiling
Once you’ve cleaned the ceiling, use a primer to help seal it from further moisture damage. This will also provide a better foundation if you paint over the surface. Allow the primer to dry completely before proceeding with additional steps.
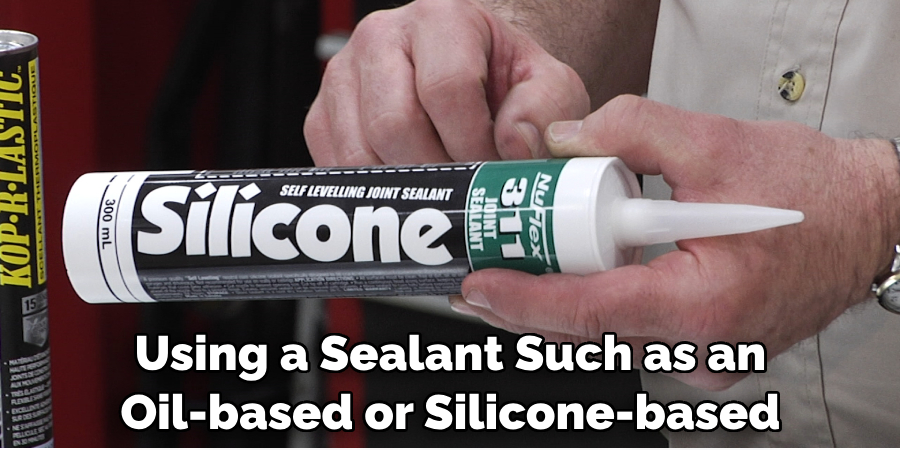
Using a sealant, such as an oil-based or silicone-based product, is recommended to help protect your ceiling from further moisture damage. Use a paintbrush to apply the sealant evenly and allow it to dry before continuing with additional steps.
Step 5: Add a Sealant Paint
For extra protection, consider adding sealant paint to the ceiling. This will provide an additional layer of protection from future moisture damage. Allow the paint to dry completely before proceeding with further steps.
Once you’ve applied the sealant paint, it’s time to re-paint the ceiling. This will help restore the look of your ceiling and make it look new again. Allow the paint to dry completely before proceeding with any additional steps.
Step 6: Finish Up
It’s time to finish up once you’ve allowed all products to dry completely. You may need to repeat some of the previous steps if the initial drying process didn’t fully resolve the problem. If there are any other signs of water damage, such as mold or mildew, contact a professional contractor who can help assess and repair the issue.
With this step process for drying a wet ceiling, you should be able to restore your ceiling and prevent any further damage successfully. If you cannot resolve the issue independently, contact a professional contractor for help.
Tips for How to Dry Wet Ceiling
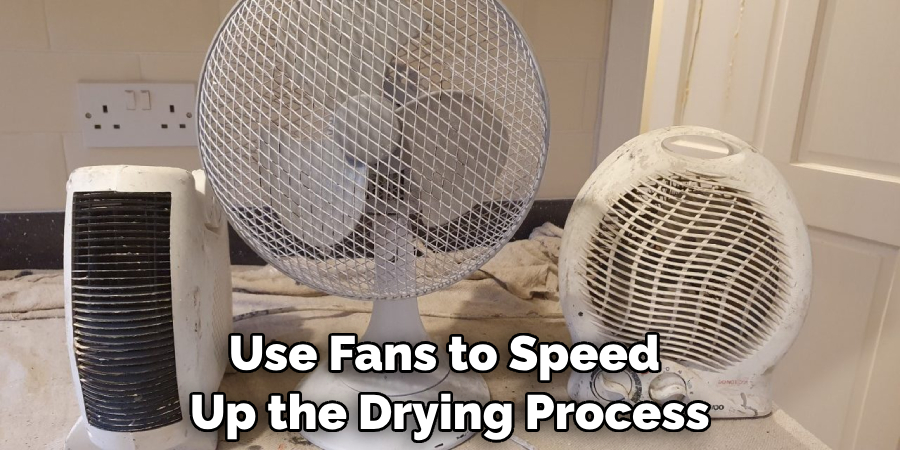
- Ensure the area is well-ventilated, and use fans to speed up the drying process if needed.
- Wear protective gear such as goggles, gloves, and a mask when handling wet material or debris on the ceiling.
- Inspect any electrical wiring or outlets around the affected area for potential hazards before starting work.
- Use a shop vacuum to remove any standing water on the ceiling.
- Sponge mop or use towels to dry off the rest of the wet spot on the ceiling and surrounding area, being careful not to spread contaminated water onto other surfaces.
- If possible, prop up a fan nearby to help with air circulation to dry the wet spot faster.
- Remember to unplug and turn off electrical wiring or outlets near the affected area before beginning work to prevent potential accidents.
These tips should help you safely and effectively dry a wet ceiling while avoiding any potential hazards or further damage. It is important to take all the necessary safety precautions before draining a wet ceiling, as it can be risky.
How Can You Prevent Water Damage From Happening in the Future?
Once you have managed to dry the wet ceiling, your next step should be to figure out how to prevent water damage from happening in the future. If possible, check for any nearby plumbing issues and repair them.
Look around for any signs of leaking pipes or other water sources that may be coming into contact with your ceiling. You should also check that all gutters and drains around your home are in working order and that they can move water away from the building properly.
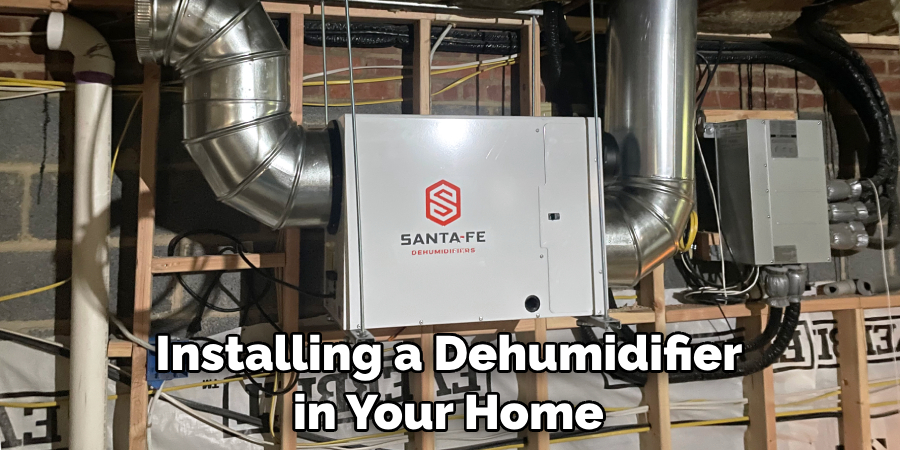
Live in an area with a high risk of flooding or severe weather conditions. It may be worth investing in waterproofing solutions for your ceiling, such as installing sealants and membranes to prevent water from seeping through. Installing a dehumidifier in your home can also be helpful as it will reduce moisture levels and help prevent water damage due to condensation.
What Common Issues Can Arise if You Don’t Properly Dry Your Ceiling?
If you don’t properly dry your wet ceiling, several potential problems can arise. The most common issue is mold growth and mildew on the ceiling. These organisms can cause both health issues and affect the structural integrity of the ceiling.
Mold and mildew thrive in humid environments, so failing to dry a wet ceiling properly can cause them to spread quickly. Additionally, if the wetness of the ceiling is not dried properly, it can damage the paint or wallpaper and even cause cracking. This will require costly repairs to restore your ceiling to its original condition.
Finally, failing to dry a wet ceiling may lead to water stains on the ceiling and walls, making removing it difficult. In summary, it is important to dry a wet ceiling properly to avoid potentially costly damage and health issues from mold or mildew growth. Taking the time to make sure your ceiling is completely dry can save you a great deal of money and hassle in the long run.
Is There Any Way to Accelerate the Drying Process of a Wet Ceiling?
If you are dealing with a wet ceiling that needs to be dried quickly, there are some steps you can take to speed up the process. Utilizing fans or dehumidifiers can help draw moisture from the air and make it easier for the ceiling to dry faster.
This helps create airflow, which in turn aids in evaporating any water that may remain on the ceiling. Another option is to use a hairdryer or heat gun to dry out the ceiling, however, this should only be done with caution, as using too much heat can cause further damage.
It’s also important to ensure that all electrical items are unplugged and turned off to avoid potential fire hazards. Finally, depending on the type of ceiling material and the cause of the water damage, it may be necessary to remove portions of the ceiling to dry it out effectively. If this is necessary, make sure that you wear a dust mask while doing so to avoid breathing in any debris or contaminants.
How Long Will It Usually Take for a Wet Ceiling to Completely Dry?
The amount of time it will take for a wet ceiling to completely dry depends on the extent of the damage and how quickly you can act. Typically, a wet ceiling should complete drying in 4-7 days if the water source has been sealed off and all excess standing water has been removed.
It is important to use a dehumidifier and a fan to facilitate this process to help circulate air throughout the room. Additionally, ensure that the space is properly ventilated so that any moisture in the air can dissipate.
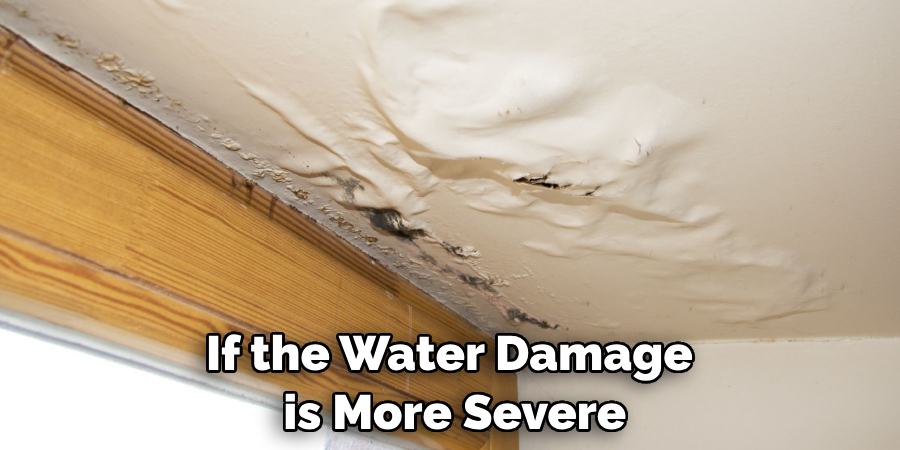
Finally, keep the ceiling exposed as much as possible for it to dry more effectively and quickly. It may take longer if you cannot do this or if the water damage is more severe. In these cases, you should consider contacting a professional to help with drying and repair.
In conclusion, a wet ceiling can be dried in 4-7 days if proper measures are taken to facilitate the drying process. If you are unsure of how to dry a wet ceiling properly or if the damage is too extensive, it is best to contact a professional for help.
What Are the Best Ways to Clean Up a Wet Ceiling and Make Sure It’s Completely Dry?
When it comes to drying wet ceilings, you can use a few methods to ensure the job is done right. The first step for any wet ceiling is removing as much moisture as possible. This can be done with a mop or sponge and warm water. Make sure to wring out the sponge/mop often so that you don’t reintroduce more moisture into the ceiling. Using a fan for air circulation to help dry out the area completely is also a good idea.
The second step is to use a dehumidifier or an air conditioner to extract excess moisture from the ceiling. This should be done for at least a few days to ensure that the area is completely dry.
If you don’t have access to one of these items, then you should consider using a shop vac with a HEPA filter attachment to suck up any remaining moisture. Lastly, it’s important to inspect the ceiling and ensure no mold or mildew is present.
Conclusion
In conclusion, drying a wet ceiling can be an arduous and time-consuming task. However, it is possible to repair the damage quickly and easily with the right steps and tools. The key is to identify the cause of water damage early and take preventive measures to avoid further damage.
Once you have completed these steps, you can dry your wet ceiling effectively. Ultimately, following these steps will help you protect your investment and ensure that water damage does not occur again. I hope this article has been beneficial for learning how to dry wet ceiling. Make Sure the precautionary measures are followed chronologically.