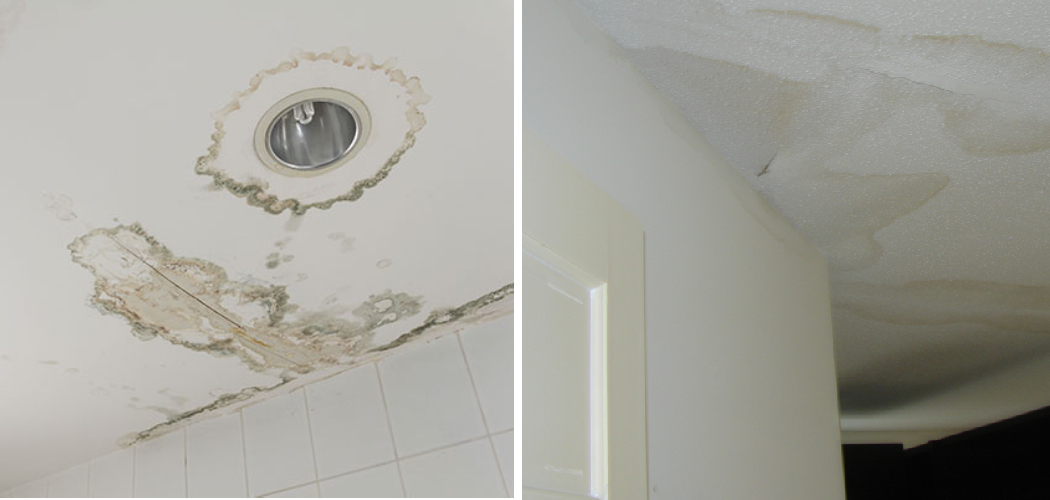
Water damage is something that no homeowner wants to deal with. However, it’s a reality that at some point, we all have to face. One of the most common areas that experience water damage is the ceilings of our homes.
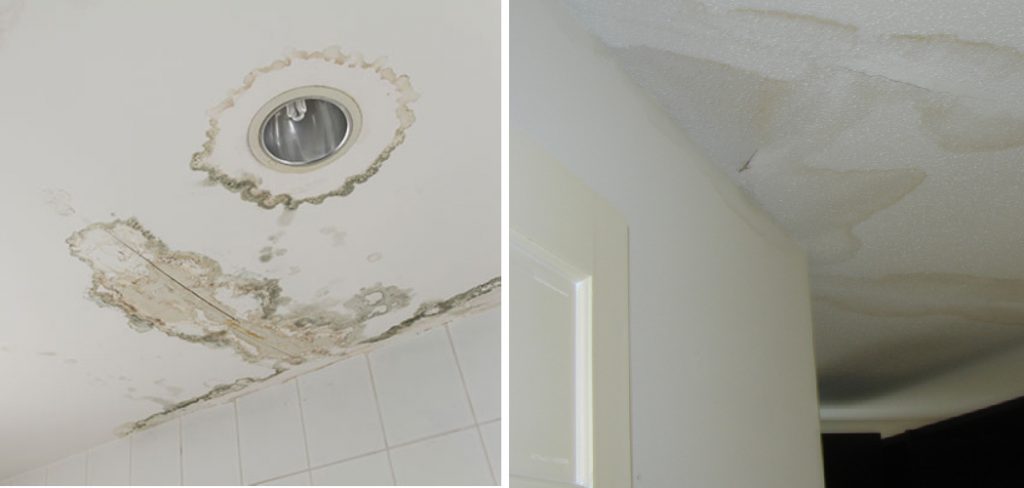
Water damage can be costly if not addressed immediately, whether it’s from a leaky roof or a burst pipe. So, what should you do when you find water in your ceiling? In this post, we will outline seven simple steps on how to dry out water in ceiling.
Can You Dry out Water in Ceiling
A damp or wet ceiling is not only unsightly but can be a sign of a serious problem. If you have noticed water stains or moisture on your ceiling, you may be wondering if it is possible to dry out the water. The good news is that drying out water in a ceiling is possible, but it requires immediate action.
The longer you wait, the higher the mold growth risk and structural damage. It is recommended that you seek the help of a professional to properly assess the damage and take the necessary steps to dry out the water and prevent further damage. Don’t wait until it’s too late; act fast for a safe and healthy home.
Why Should You Dry out Water in Ceiling
Dealing with a water leak in your home can be a stressful and overwhelming experience. One of the most crucial steps in addressing this issue is drying out any water that may have seeped into your ceiling. This may seem like an unnecessary step, but it can actually save you from a host of future problems and expenses.
Water in your ceiling can lead to mold and mildew growth, posing serious health risks if left unchecked. Additionally, standing water can weaken and eventually damage the structure of your ceiling, leading to costly repairs down the line. By taking the time to thoroughly dry out any water in your ceiling, you can safeguard your health and protect your home from further damage.
7 Steps to Follow on How to Dry Out Water in Ceiling
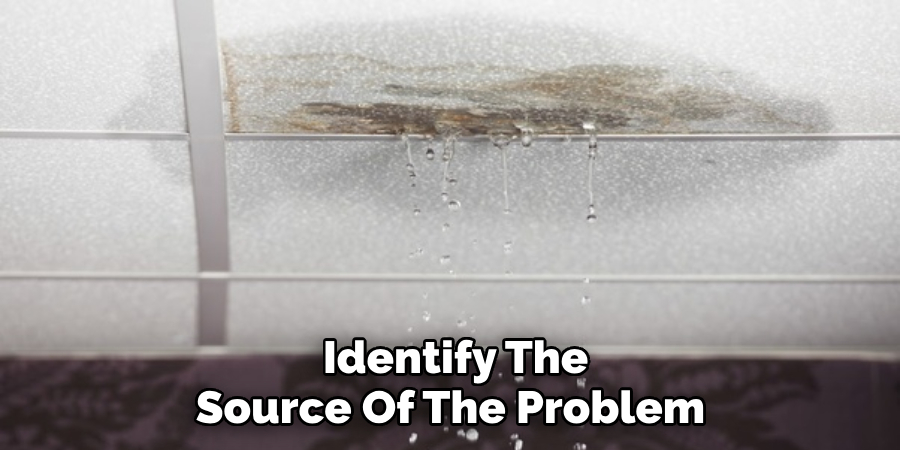
Step 1: Identify the Source of The Water
Before you can start drying out the water, it’s important to identify the source of the problem. This will help to ensure that the issue is fixed and that water damage does not occur again in the future. If you are dealing with a leaky roof, it’s important to have a professional come out and assess the situation. If the issue is a burst pipe, you must immediately turn off your water supply to prevent further damage.
Step 2: Remove the Standing Water
Once you have identified the source of the water, it’s time to remove any standing water from your ceiling. Use a bucket or a wet/dry vacuum to remove as much water as possible. This will help to prevent any further damage to your property and will allow for faster drying times.
Step 3: Dry out The Area
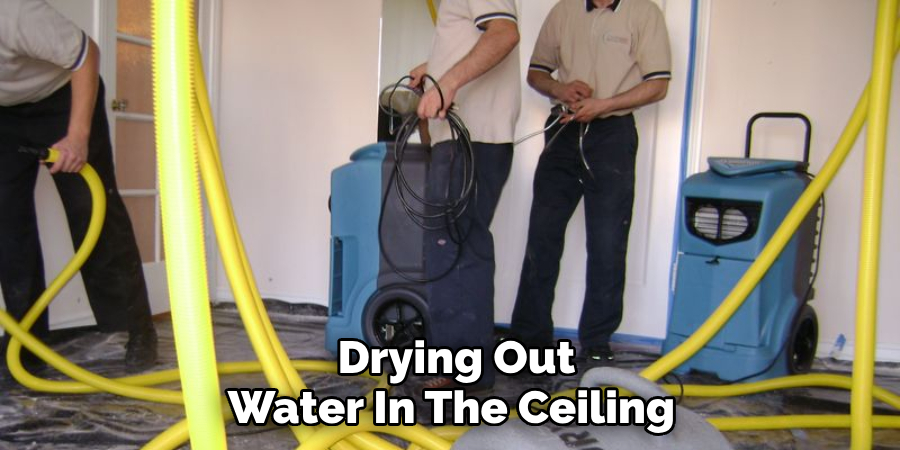
After you have removed all standing water from your ceiling, it’s time to start drying out the area. Turn on any fans in the room and open any windows to increase ventilation. If you have a dehumidifier, set it up in the room to help remove excess moisture from the air.
Step 4: Use a Moisture Meter
It’s important to remove all excess moisture from the area before you start to repair any damage. Use a moisture meter to check the moisture levels in the affected area. If the moisture levels are still too high, continue to dry out the area until you get a reading that is within the normal range. This will help to prevent any mold growth in the future.
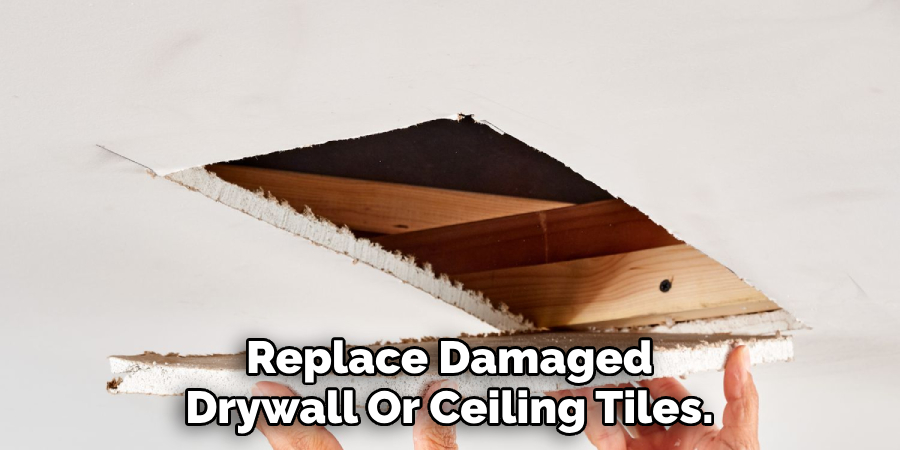
Step 5: Repair Any Damage
Once the area has been completely dried out, it’s time to start repairing any damage that may have occurred. If there are noticeable water stains on your ceiling, you can try using a mixture of bleach and water to remove them. Alternatively, you may need to replace damaged drywall or ceiling tiles. If the damage is extensive, it may be best to hire a repair professional.
Step 6: Monitor for Mold Growth
Even after you have dried out and repaired the affected area, it’s important to continue monitoring for any signs of mold growth. Keep an eye out for musty odors, discoloration, or visible mold. If you notice any of these signs, contacting a professional for remediation is best.
Step 7: Take Preventative Measures
To prevent future water damage in your ceiling, there are some preventative measures you can take. Regularly inspect your roof for leaks and make any necessary repairs immediately. If you live in an area prone to extreme weather or have had previous issues with burst pipes, consider investing in a smart water leak detection system. These systems can alert you to any potential leaks before they become major issues.
By following these steps, you can effectively dry out water in your ceiling and prevent future damage. Remember to always address the source of the problem first and seek professional help if needed. With proper care and maintenance, your ceiling will stay dry and in good condition for years to come.
So, be proactive and take the necessary steps to protect your home from water damage. Don’t wait until it’s too late! Prevention is always better than cure. Keep an eye out for any warning signs and address them promptly to avoid costly repairs and potential health hazards caused by mold growth.
5 Benefits of Dry Out Water in The Ceiling
1. Prevention of Mold and Mildew Growth
One of the main benefits of drying out water in the ceiling is that it helps prevent the growth of mold and mildew. When water accumulates in a ceiling, it creates an ideal environment for mold and mildew to thrive. If left unchecked, these organisms can cause various health problems, including respiratory issues, allergic reactions, and skin irritation. Drying out the water as soon as possible will help to prevent mold and mildew from taking hold in your home.

2. Avoid Costly Repairs
Drying out water in the ceiling can also help you avoid costly repairs. If left unaddressed, standing water can cause structural damage to your home’s ceiling, walls, and floors over time. This damage can be expensive to repair and may even require professional assistance if it is extensive enough. Taking care of any water accumulation quickly will help you avoid such costly repairs in the future.
3. Reduce the Risk of Fire Hazards
Another benefit of drying out water in the ceiling is that it reduces the risk of fire hazards. Water accumulation can lead to electrical shorts or sparks that could start a fire if not addressed quickly enough. By drying out any standing water as soon as possible, you can reduce this risk significantly and keep your home safe from potential fires caused by electrical shorts or sparks.
4. Improved Air Quality
Drying out water in the ceiling also helps to improve air quality in your home by reducing humidity levels inside your house. High humidity levels can create an ideal environment for dust mites and microscopic insects that feed on dead skin cells shed by humans and animals living inside a house.
These dust mites can trigger allergies or asthma attacks in some people, so reducing humidity levels through proper drying techniques will help you keep your air quality high at all times.
5. Prevention of Structural Damage
Finally, drying out water in the ceiling helps to prevent structural damage caused by excess moisture buildup over time. Excess moisture buildup causes wood rot and other structural damage that could weaken the structure’s integrity over time if left unaddressed for too long.
Some Common Mistakes People Make When Trying to Dry Out Water in The Ceiling
When it comes to water damage in the home, drying out a moist ceiling can be tricky. However, many homeowners make common mistakes when drying out water in the ceiling. One common error is not moving quickly enough, as waiting too long can lead to mold growth and further damage.
Another mistake is failing to identify the source of the water damage, which can lead to patchy or incomplete repairs. Additionally, using improper drying techniques or tools can exacerbate the problem and lead to even more damage. It’s crucial to take a careful and strategic approach to drying out water in the ceiling to ensure a complete and effective repair.
Conclusion
Drying out water in your ceiling can be daunting, but it should be addressed as soon as possible to prevent further damage. By following these five simple steps, you can effectively dry out the affected area and prevent any further issues from occurring.
Always be cautious when dealing with water damage, as it can be dangerous if not handled properly. If you are uncomfortable addressing the issue alone, always seek professional help. Thanks for reading our post about how to dry out water in ceiling.
