
There are several reasons why learning to do steps with vinyl plank flooring can be beneficial. Not only is this type of flooring a popular choice for homeowners, but knowing how to properly install it can also save you time and money in the long run. One of the main advantages of vinyl plank flooring is its durability. Unlike traditional hardwood or laminate flooring, vinyl planks are water-resistant and can withstand high levels of foot traffic.
This makes it a great option for areas such as kitchens, bathrooms, and entryways. Vinyl plank flooring has become an increasingly popular option for homeowners looking to upgrade their floors. It offers a wide range of benefits, making it a top choice for many people. In this section, we will delve into the advantages of using vinyl plank flooring and why you should consider learning how to do steps with vinyl plank flooring.
Tools You Will Need
- Measuring tape
- Utility knife
- Pry bar
- Hammer
- Spacers
- Chalk line
- Tapping block and pull bar
- Rubber mallet or hammer with a rubber head
- Knee pads or cushioned knee board
Once you have gathered the necessary tools, it’s time to get started on installing your vinyl plank flooring. But before you begin, it’s important to understand the steps involved in this process.
Step-by-step Instructions for How to Do Steps With Vinyl Plank Flooring
Step 1: Inspect the Subfloor

Before starting any installation, it is important to inspect the subfloor for any damage or debris. This will ensure a smooth and stable surface for your vinyl plank flooring. Make sure you have all the necessary materials and tools before beginning. This may include vinyl planks, underlayment, adhesive, a utility knife, measuring tape, and a roller.
Step 2: Prepare the Room
Remove all furniture and baseboards from the room. This will give you more space to work with and prevent any damage to your belongings during installation. Measure the length of your room and cut the vinyl planks accordingly using a utility knife. It is recommended to leave a 1/4 inch gap from the wall to allow for expansion.
Step 3: Lay Down Underlayment
If your subfloor is not level or has imperfections, it is recommended to lay down an underlayment before installing the vinyl planks. This will provide a smooth and even surface for your flooring. Begin laying your planks from a corner of the room. Apply adhesive to the back of each plank and press firmly onto the subfloor. Make sure to stagger the seams for a more natural look.
Step 4: Use a Roller
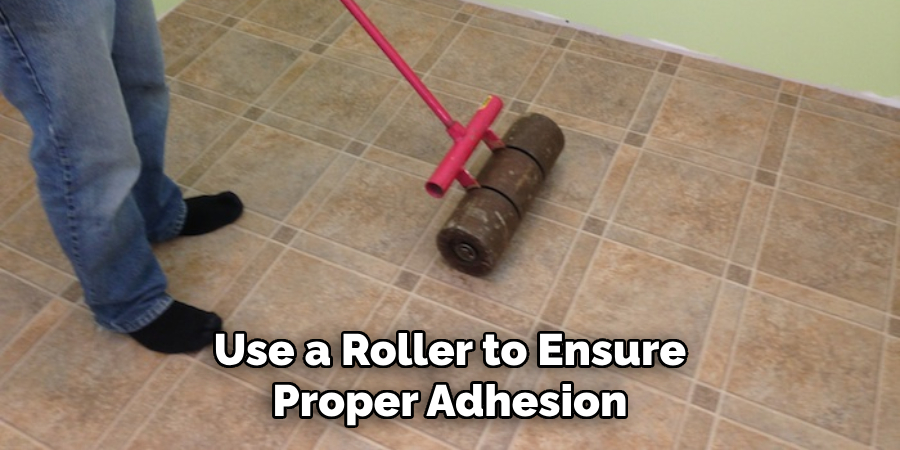
After laying down each plank, use a roller to ensure proper adhesion and eliminate any air pockets under the planks. When encountering obstacles such as doorways or vents, use a template to cut the planks to fit accurately. This will ensure a seamless installation.
Step 5: Install Baseboards and Trim
Once all the planks are installed, you can reinstall baseboards and add any desired trim for a finished look. Finally, clean your new vinyl plank flooring with a mild cleaner and enjoy your newly transformed space.
By following these step-by-step instructions, you can easily and successfully install vinyl plank flooring in your home or space. Remember to take your time and double-check measurements for a professional-looking result.
Tips for How to Do Steps With Vinyl Plank Flooring

- Wear protective gear such as safety glasses, gloves and a face mask to protect yourself from any potential debris or chemicals during the installation process.
- Ensure proper ventilation in the room where you will be installing the vinyl plank flooring to avoid inhaling harmful chemicals from adhesives or sealants.
- Keep children and pets away from the installation area to prevent accidents and injuries.
- Use a sharp utility knife or vinyl cutter to make precise cuts on the planks. Avoid using dull blades which can cause jagged edges and potential injuries.
- Always read the manufacturer’s instructions carefully before starting the installation process to ensure proper handling and use of tools and materials.
- When working with power tools, be sure to unplug them when not in use and handle them with care to avoid any accidents.
- If you have any doubts or concerns during the installation process, do not hesitate to seek professional help.
What is the Best Way to Install Vinyl Plank Flooring on Stairs
As vinyl plank flooring continues to gain popularity as a durable and affordable flooring option, many homeowners are wondering if it can also be used on stairs. The answer is yes! Vinyl plank flooring is a great choice for stairs due to its versatility and ease of installation.
Before we dive into the steps of installing vinyl plank flooring on stairs, let’s go over some background information on this type of flooring. Vinyl plank flooring is made up of several layers, including a PVC backing layer, a vinyl core layer, a design or print layer, and a protective top layer. This construction makes it extremely durable and resistant to scratches, stains, and water damage.
Now that we have covered the basics of vinyl plank flooring, let’s get into how to install it on stairs. The process is similar to installing it on a flat surface, but there are a few additional steps and considerations to keep in mind.
How Do You Clean and Maintain Vinyl Plank Flooring After Installation
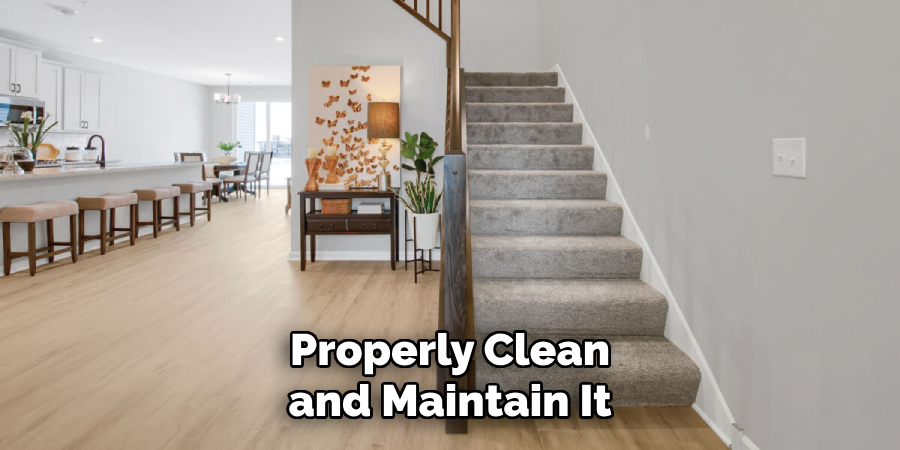
Vinyl plank flooring is a popular choice for homeowners due to its durability, affordability, and easy maintenance. Once you have successfully installed your vinyl plank flooring, it is important to know how to properly clean and maintain it to ensure its longevity. In this section, we will discuss the steps on how to clean and maintain your vinyl plank flooring.
1. Sweep or Vacuum Regularly
The first step in maintaining your vinyl plank flooring is to regularly sweep or vacuum it. This will help remove any surface dirt, dust, or debris that can cause scratches and damage to the flooring if left untreated. Make sure to use a soft-bristled broom or a vacuum with a hard floor attachment to avoid scratching the surface of the vinyl planks.
2. Clean Spills Immediately
Accidents happen, and spills are inevitable in any household. However, it is important to clean up any spills on your vinyl plank flooring immediately to prevent any staining or damage. Use a damp cloth or mop with mild soap and water to wipe up the spill, then dry the area thoroughly.
3. Use a Recommended Cleaner
While vinyl plank flooring is known for its low maintenance, it is still important to use the right cleaner when needed. Avoid using harsh chemicals or abrasive cleaners as they can damage the protective layer of the flooring. Instead, opt for a cleaner specifically designed for vinyl plank flooring.
4. Avoid Excessive Water
Excess water can seep into the gaps between the vinyl planks and cause them to swell or warp. When cleaning your vinyl plank flooring, make sure to only use a damp mop and avoid soaking the floor with water.
5. Use Furniture Protectors
To prevent scratches and damage, it is important to use furniture protectors on your vinyl plank flooring. Felt pads or coasters can be placed under furniture legs to avoid direct contact with the flooring. This will also make it easier to move furniture around without causing any damage.
6. Avoid High Heels and Sharp Objects

High heels, sharp objects, and heavy items can easily scratch or dent vinyl plank flooring. Make sure to remove high heels before walking on the floor and use caution when moving heavy furniture or objects.
7. Regularly Inspect and Address Any Issues
It is important to regularly inspect your vinyl plank flooring for any issues such as scratches, chips, or gaps between the planks. If you notice any problems, address them immediately to prevent further damage.
By following these simple steps, you can maintain the appearance and quality of your vinyl plank flooring for years to come. Remember, prevention is key in keeping your flooring looking its best, so make sure to incorporate these maintenance practices into your cleaning routine.
How Long Does It Typically Take to Install Vinyl Plank Flooring
Vinyl plank flooring is becoming an increasingly popular choice for homeowners due to its durability, affordability, and easy installation process. However, one question that many people have when considering this type of flooring is how long it takes to install. The answer to this question can vary depending on a few factors such as the size of the space being covered, the condition of the subfloor, and the skill level of the person doing the installation.
However, on average, it typically takes 1-2 days to install vinyl plank flooring in a standard-sized room. Before beginning the installation process, it’s important to properly prepare the space by removing any existing flooring, leveling the subfloor if necessary, and allowing the planks to acclimate to the room temperature for at least 48 hours. Once these initial steps have been completed, the actual installation can begin.
What Are the Benefits of Choosing Vinyl Plank Flooring Over Other Types of Flooring
Installing vinyl plank flooring is a great way to give your home a fresh and modern look. It’s also an affordable option compared to other types of flooring like hardwood, laminate, or tile. But before you dive into the installation process, it’s important to consider whether you want to do it yourself or hire a professional.
DIY (Do-It-Yourself) installation may seem like a cost-effective and fun option, but it requires time, effort, and some handyman skills. If you’re not confident in your abilities or don’t have the necessary tools, it’s best to hire a professional for the job. They will ensure that the flooring is installed correctly and efficiently, saving you time and potential frustration.
On the other hand, if you’re up for the challenge, installing vinyl plank flooring can be a rewarding experience. It allows you to have control over the project and potentially save money on labor costs. With the right tools and proper preparation, anyone can successfully install vinyl plank flooring.
Conclusion
In conclusion, vinyl plank flooring is a versatile and cost-effective option for any home renovation project. With its easy installation process and low maintenance requirements, it’s no wonder that more and more homeowners are choosing vinyl plank flooring over traditional options like hardwood or tile.
By following the steps outlined in this guide, you can easily transform your space with beautiful and durable vinyl plank flooring. I hope this article has been beneficial for learning how to do steps with vinyl plank flooring. Make Sure the precautionary measures are followed chronologically.