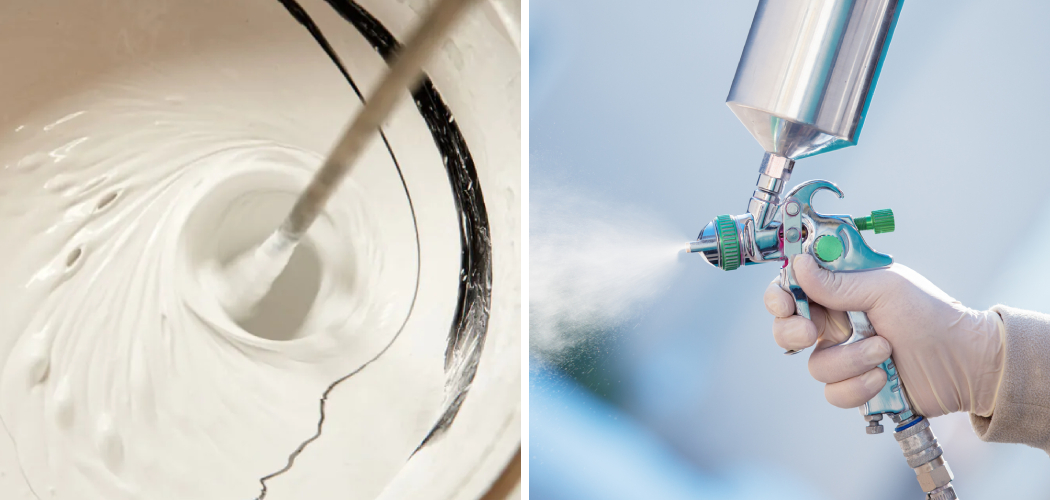
Are you tired of the hassle and mess that come with using a traditional paintbrush? Then, it’s time to switch to a paint sprayer! Not only does it save you time and effort, but it also provides a smooth and even finish to your painting projects.
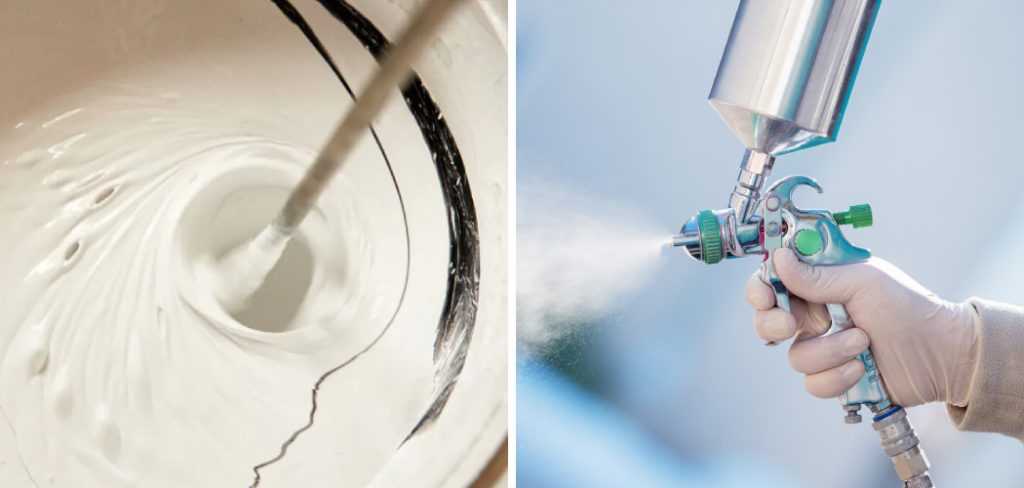
Diluting paint for a sprayer is a crucial step to ensure a smooth and even application. Proper dilution helps to achieve the correct consistency, allowing the paint to flow seamlessly through the sprayer and adhere uniformly to surfaces. Understanding the right methods and proportions for diluting different types of paint can save you time, reduce waste, and ultimately improve the quality of your project.
This guide will walk you through the essential steps and tips needed on how to dilute paint for sprayer, ensuring professional-looking results every time.
What Will You Need?
Before we dive into the steps, let’s make sure you have everything you need on hand to get started. To dilute paint for a sprayer, you will need:
- Paint
- Water or Solvent
- Mixing Container
- Stir Stick
- Measuring Cups or Scale (depending on your preference)
- Funnel (optional)
Some additional items that may come in handy but are not necessarily required are:
- Strainer
- Paint Thinner or Reducer (depending on the type of paint)
Now, let’s move on to the steps for diluting paint for a sprayer.
10 Easy Steps on How to Dilute Paint for Sprayer
Step 1: Choose Your Mixing Container
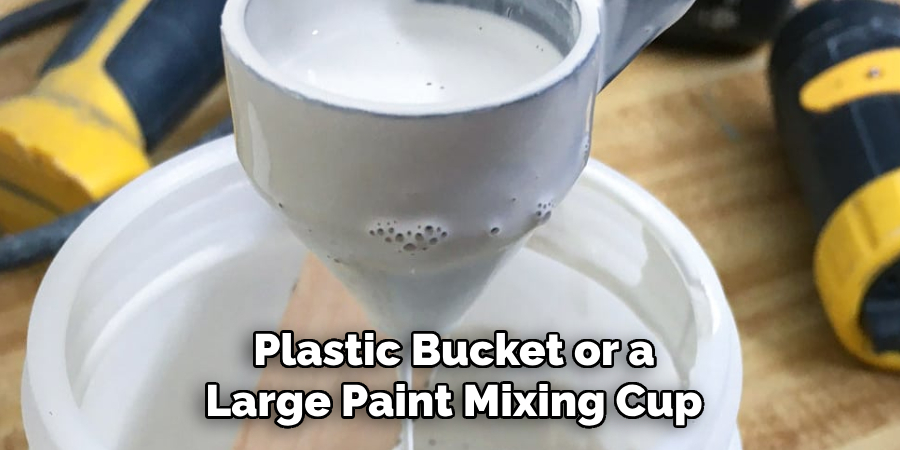
The first step in diluting paint for a sprayer is to select an appropriate mixing container. Your mixing container should be large enough to hold the amount of paint you plan to use, with some extra space for adding water or solvent and for mixing. It is important to use a clean container to avoid any contamination of the paint.
A plastic bucket or a large paint mixing cup are common choices. Ensure that the container is sturdy and easy to handle, as you’ll be stirring and pouring from it.
Step 2: Measure Your Paint
After selecting your mixing container, the next step is to measure the amount of paint you will be using. Pour the paint into the container using measuring cups or a scale to ensure accuracy. Accurate measurement is crucial because the ratio of paint to water or solvent determines the consistency, which affects the paint’s performance in the sprayer. If you are diluting multiple batches of paint, consistency between batches is essential to achieve an even finish throughout your project.
Step 3: Add Water or Solvent Gradually
Once you have measured your paint, it’s time to add water or the appropriate solvent gradually. Start with a small amount—typically, you can begin with 10% of the paint volume. Slowly pour the water or solvent into the mixing container while stirring continuously with a stir stick. Mixing slowly and consistently helps to maintain a uniform texture and prevents the formation of air bubbles.
Step 4: Mix Thoroughly
After adding the initial amount of water or solvent, mix the paint thoroughly. Use a stir stick to blend the liquid evenly throughout the paint. Be sure to scrape the sides and bottom of the container to ensure that all the paint is uniformly diluted. If needed, add more water or solvent incrementally, mixing well each time until you reach the desired consistency. The goal is to achieve a smooth, pourable texture that will flow easily through your sprayer without clogging.
Step 5: Strain the Paint (Optional)
To ensure that your paint is free of clumps and debris that could clog the sprayer, strain it through a paint strainer or a fine mesh filter. This step is particularly useful if you’re using older paint or if there are visible impurities. Pour the mixed and diluted paint through the strainer into a clean container to catch and remove any unwanted particles. Straining the paint can significantly improve the flow and finish of your spraying project.
Step 6: Test the Consistency
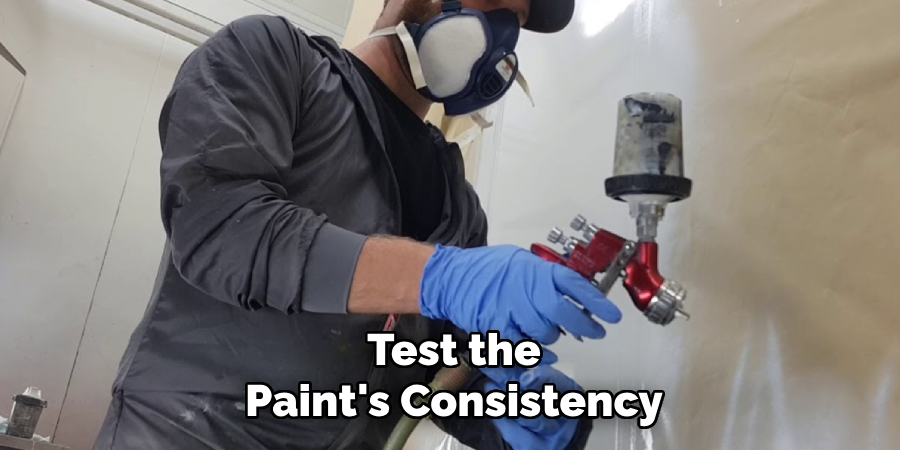
Before you start painting, it’s critical to test the consistency of your diluted paint. Fill the paint sprayer’s container with the diluted paint and perform a test spray on a piece of cardboard or scrap material. Observe the spray pattern and the smoothness of the application. If the paint comes out too thick and leads to sputtering or an uneven finish, you may need to add more water or solvent.
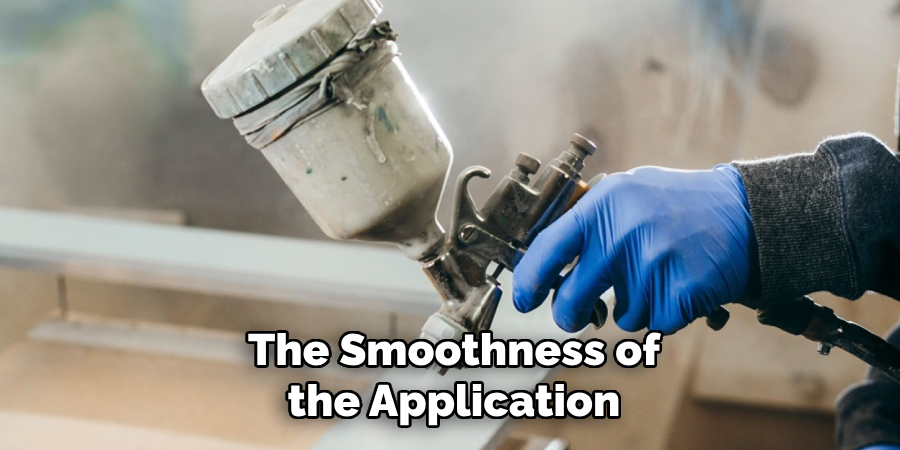
Conversely, if the paint is too thin and results in runs or drips, you might need to add more paint to thicken it up. Adjust the dilution as necessary and retest until you achieve a smooth, even spray.
Step 7: Adjust Spray Settings
Once the paint consistency is to your liking, the next step is to adjust the settings on your paint sprayer. Different sprayers have varying controls for spray pattern, pressure, and flow rate. Refer to the user manual of your specific sprayer model to understand how to adjust these settings.
Begin with a lower pressure setting and gradually increase it if necessary, checking to ensure a smooth, even application. Proper adjustment of the sprayer settings can greatly enhance the quality of your painting project and minimize the risk of overspray or drips.
Step 8: Practice Spraying Technique
Before moving on to your actual project, it is beneficial to practice your spraying technique. Use a piece of cardboard, scrap wood, or another waste material to get comfortable with the sprayer’s operation. Focus on maintaining a consistent distance from the surface, usually between 6 and 12 inches, and keep the sprayer moving in a steady, controlled manner. Ensure that each pass slightly overlaps the previous one to prevent streaks and ensure even coverage.
Step 9: Begin Spraying
When you feel confident with your spraying technique, you can start applying the paint to your project surface. Begin at one edge and work systematically across the area, applying the paint in smooth, even strokes. Be mindful of maintaining a consistent speed and distance from the surface to avoid areas with too much or too little paint. Pay attention to corners and edges, which can be more challenging to cover evenly.
Step 10: Clean the Sprayer
After completing your painting project, it’s essential to clean your paint sprayer thoroughly to ensure its longevity and reliable performance for future use. Follow the manufacturer’s instructions for cleaning, which typically involves flushing the sprayer with water or the appropriate solvent to remove any residual paint. Proper cleaning prevents clogs and preserves the sprayer’s components, ensuring it remains in optimal working condition.
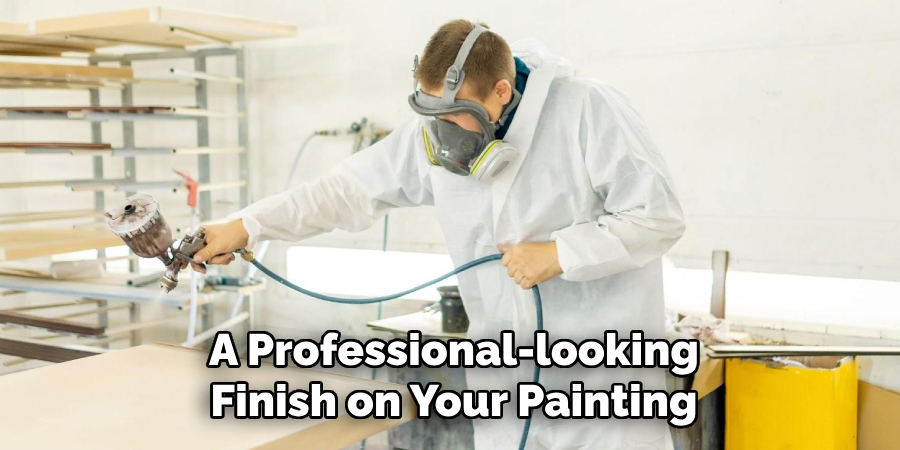
By following these ten steps, you can effectively dilute paint for a sprayer and achieve a professional-looking finish on your painting projects.
5 Additional Tips and Tricks
- Use a Viscosity Cup: A viscosity cup is a valuable tool to measure the thickness of your paint. By timing how long it takes for the paint to flow through the cup, you can ensure it’s at the right consistency for spraying.
- Consider the Weather: Temperature and humidity can affect how your paint flows and dries. On hot, dry days, you might need to add a bit more water or solvent to keep the paint from drying too quickly.
- Invest in a Paint Mixer: While stirring by hand is effective, using a paint mixer attachment for a drill ensures a more thorough mix, especially for larger batches. This tool can save time and ensure consistent results, which are crucial for a seamless finish.
- Label Your Batches: When diluting multiple batches, label each one with the exact ratio and date. This ensures you maintain consistency throughout your project and allows you to replicate the mixture if you need to touch up specific areas later.
- Test on Vertical Surfaces: If your project involves vertical surfaces, always test your diluted paint on a similar vertical piece to check for runs and drips. This way, you can make any necessary adjustments before applying it to your final project, ensuring a smooth and professional finish.
5 Things You Should Avoid
- Using Unclean Containers: Always avoid using containers that have not been thoroughly cleaned. Residue from previous paint jobs can contaminate your fresh paint, leading to inconsistent results and potential clogs in your sprayer.
- Skipping Measurement: It is critical to precisely measure both your paint and the solvent or water. Eyeballing the amounts can result in a mixture that is too thick or too thin, affecting the paint’s performance and finish.
- Adding Solvent Too Quickly: Pouring solvent or water too quickly into the paint can lead to improper mixing and the formation of clumps. Gradually add the solvent while stirring continuously to maintain a smooth and even consistency.
- Neglecting to Strain the Paint: Foregoing the straining step, especially with older paints, can introduce clumps and particles into your sprayer. These impurities can clog the nozzle and disrupt the spray pattern, resulting in an uneven finish.
- Not Testing the Consistency: It’s crucial to test the paint’s consistency before beginning your project. Skipping this step can lead to unexpected issues like clogging, runs, or an uneven application.
Conclusion
How to dilute paint for sprayer might seem like a daunting task, but by following these detailed steps and tips, you can achieve a smooth, professional finish on your projects.
Proper preparation, including measuring and mixing the paint accurately, adjusting your sprayer settings, and practicing your technique, sets the stage for success. Additionally, the importance of clean equipment, consistent ratios, and environmental considerations cannot be overstated. By avoiding common pitfalls and taking the time to test and refine your approach, you can ensure that your paint flows well through the sprayer and applies evenly to your surfaces.
Whether you’re a novice or an experienced painter, these guidelines will help you get the most out of your paint sprayer and deliver outstanding results every time.
