
Decoupage is a versatile and creative method for transforming furniture by adhering decorative paper cutouts onto surfaces and sealing them with varnish. This technique can rejuvenate old, worn-out pieces or add a personal touch to new ones, making it a popular choice for DIY enthusiasts and crafters alike.
Whether you’re looking to update a table, chair, or dresser, this guide on how to decoupage furniture will walk you through the steps needed to decoupage furniture successfully. From selecting the right materials to applying a flawless finish, you’ll learn how to achieve professional-looking results that reflect your unique style.
Materials Needed
Before you jump into your first decoupage project, gather the necessary materials to make the process smoother and more enjoyable. Here’s a list of essential supplies you’ll need:
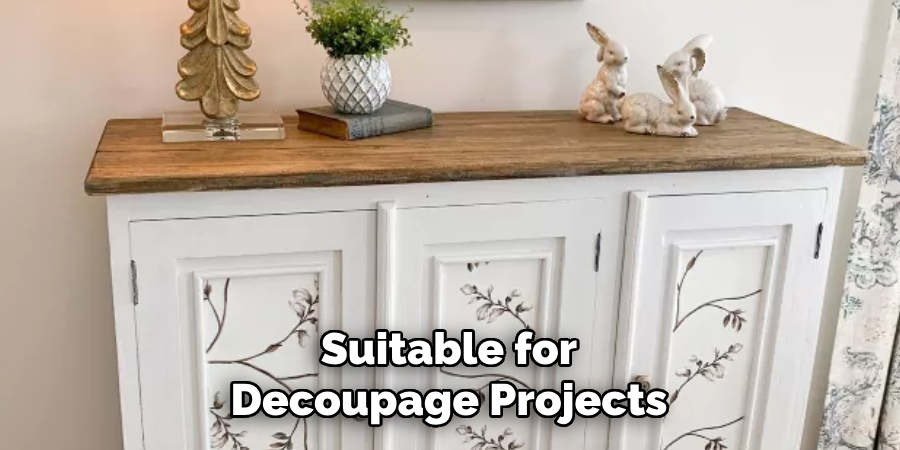
Furniture Piece to Decoupage:
Choose a piece of furniture that’s in good condition and suitable for decoupage. Avoid using furniture with intricate carvings or uneven surfaces, as they can make the process more challenging.
Decorative Paper:
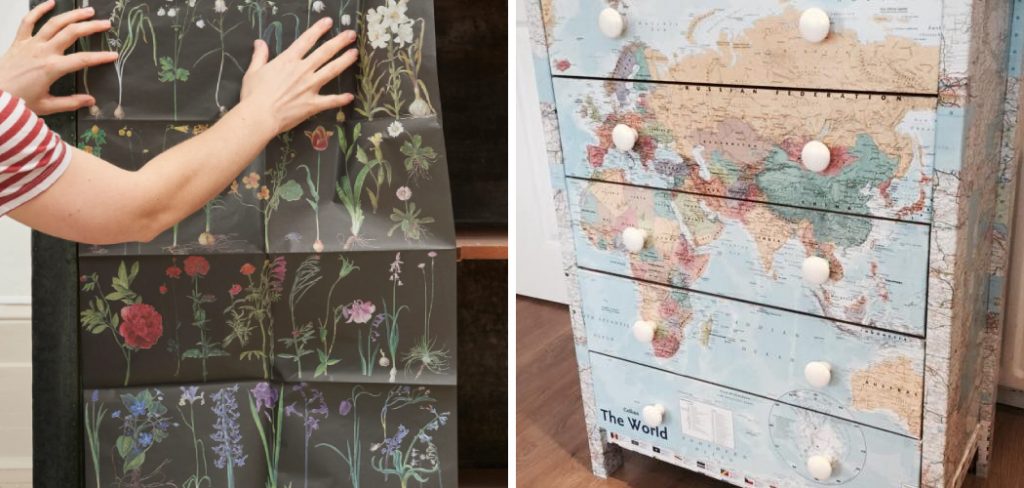
Decoupage papers come in various patterns, colors, and textures, allowing you to create endless design possibilities. You can use tissue paper, wrapping paper, scrapbooking paper, or even fabric to achieve different effects.
Mod Podge:
Mod Podge is the glue-like medium used for decoupage projects. It’s available in different finishes, such as matte, glossy, and satin. Choose one that suits your desired look.
Paintbrushes:
Invest in quality paintbrushes of different sizes for smooth application.
Scissors:
You’ll need scissors to cut your decorative paper into desired shapes and sizes.
Sandpaper:
Some furniture pieces may require sanding before the decoupage process to ensure a smooth surface.
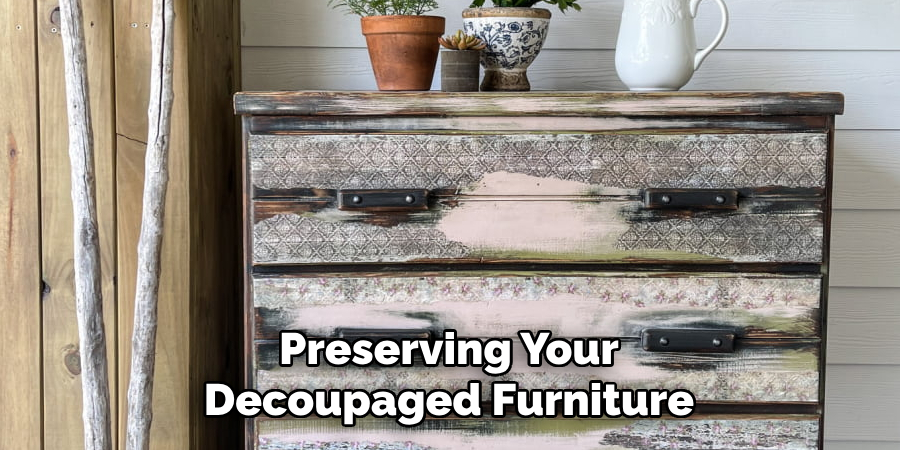
Protective Sealant:
A protective sealant is essential for preserving your decoupaged furniture and making it resistant to scratches and water damage. You can use polyurethane, varnish, or wax as a sealant.
9 Step-by-step Guidelines on How to Decoupage Furniture
Step 1: Prepare Your Furniture Piece
Start by preparing your furniture piece to ensure a smooth and even surface for the decoupage process. Begin by cleaning the piece thoroughly to remove any dust, dirt, or grease that might interfere with the adhesion of the decorative paper. Use a damp cloth and mild detergent for this purpose, and let the furniture dry completely.
Next, inspect the surface for any imperfections such as scratches, dents, or rough patches. If needed, use sandpaper to lightly sand the surface, focusing on any troublesome areas. This step is crucial for achieving a flawless finish, as it helps the paper adhere better and eliminates any uneven textures that could cause bubbles or wrinkles.
Once you’ve sanded the surface, wipe it down with a tack cloth to remove any remaining dust and debris. Your furniture piece is now ready for the next step in the decoupage process.
Step 2: Choose and Prepare Your Decorative Paper
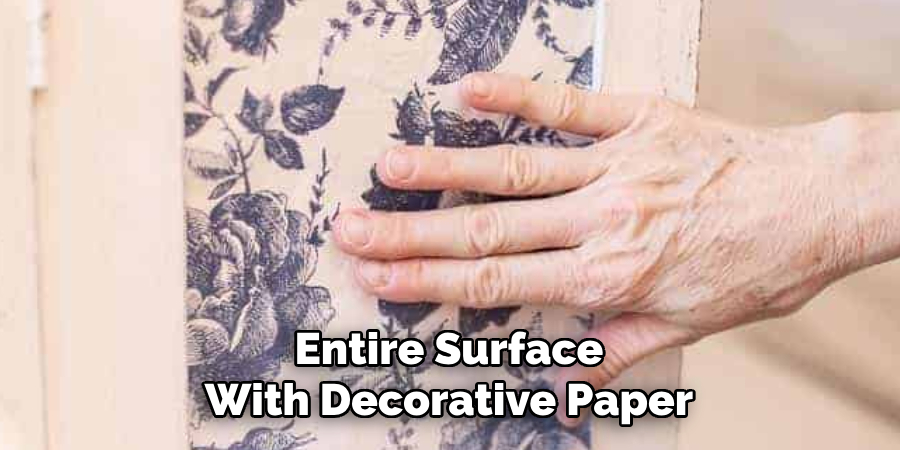
Select the decorative paper you want to use for your project. Depending on the pattern and design of your paper, decide on how you want to arrange it on your furniture piece. You can use one large piece or multiple smaller pieces to cover the entire surface, creating a collage-like effect.
Once you’ve selected your desired design, cut the paper into shapes and sizes that fit your furniture piece. It’s essential to have some overlap between each piece to ensure complete coverage and a seamless look.
Step 3: Apply Mod Podge onto the Furniture Surface
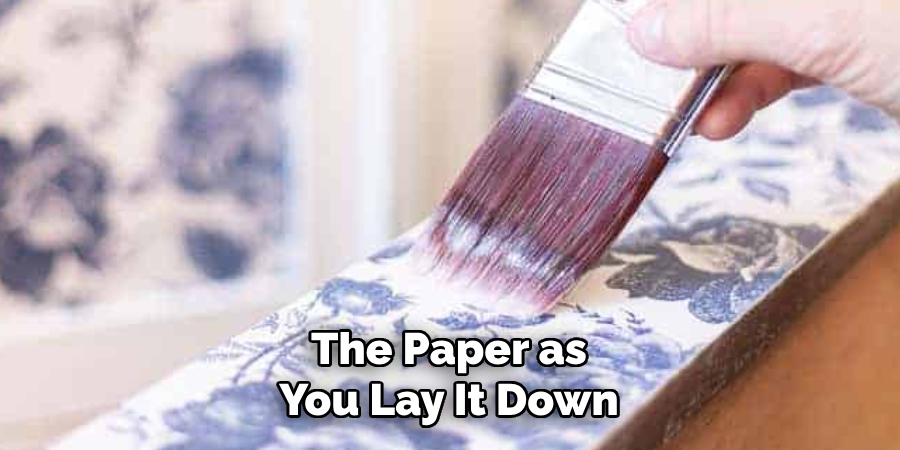
With your decorative paper cut and ready, it’s time to apply the Mod Podge to your furniture surface. Using a paintbrush, apply a thin, even layer of Mod Podge onto a small section of the furniture where you will place your first piece of decorative paper. It’s best to work in small sections to prevent the Mod Podge from drying out before you can position the paper correctly.
Make sure the layer is smooth and covers the entire area, but avoid applying too much Mod Podge, as this can lead to wrinkles and bubbles. Once the area is covered, carefully place your decorative paper onto the Mod Podge-coated surface, pressing down gently to ensure it adheres. Use a brayer or your fingers to smooth out any air bubbles or wrinkles, working from the center of the paper outward. Repeat this process until you have covered the entire surface with decorative paper.
Step 4: Seal the Decorative Paper
After you’ve placed and smoothed out all your decorative paper, let it dry completely for at least 20-30 minutes. Once the Mod Podge has dried, apply another coat of Mod Podge over the entire surface to seal the paper. This step is crucial for protecting your decoupaged furniture from wear and tear and making it resistant to water damage.
You can apply as many coats of Mod Podge as you want, depending on your desired finish. However, it’s essential to let each coat dry completely before applying the next one.
Step 5: Add Additional Design Elements (Optional)
If you want to add more design elements to your furniture piece, now is the time to do so. You can use stencils, stamps, or hand-paint designs on the decoupaged surface. Just make sure to let each design element dry completely before adding another layer of Mod Podge for a seamless look.
It’s also a good idea to experiment with different techniques and textures to create a unique and personalized piece of furniture.
Step 6: Sand the Edges (Optional)
After your final layer of Mod Podge has dried, you can choose to sand the edges of your furniture piece for a distressed, shabby, chic look. Use fine-grit sandpaper to gently sand away the paper around the edges and corners of your furniture. This technique gives the piece an aged, worn-in look that adds character and charm.
But be careful not to sand too much, as this can damage or tear the paper and ruin your design. It’s best to start with light pressure and gradually increase as needed.
Step 7: Apply Protective Sealant
Once all layers of Mod Podge have dried completely, it’s time to apply a protective sealant to preserve your decoupaged furniture. You can use polyurethane or varnish for a durable, long-lasting finish or wax for a more natural and subtle sheen. Whichever sealant you choose, make sure to apply it evenly and let it dry completely before handling your furniture piece.
You can also choose to use a spray sealant for a quick and easy application, especially if your furniture piece has intricate designs that are hard to reach with a paintbrush.

Step 8: Reattach Hardware (If Applicable)
If you removed any hardware from your furniture piece before beginning the decoupage process, now is the time to reattach the pieces. You can use the same hardware or opt for new ones to give your furniture a fresh, updated look.
It’s essential to let the sealant dry completely before reattaching hardware, as it can interfere with the adhesion and cause damage to your design.
Step 9: Let Your Furniture Piece Cure
After completing all the steps, it’s essential to let your furniture piece cure and dry completely before using it. This process can take up to a week, depending on the sealant used, and will ensure a durable and long-lasting finish.
Remember to handle your furniture piece with care during this time and avoid placing any heavy objects on it until the sealant has fully cured.
Congratulations, you have successfully decoupaged your furniture piece! With these easy steps on how to decoupage furniture, you can transform any old or plain furniture into a unique and stylish statement piece for your home. Remember to have fun with the process and get creative with different patterns, designs, and techniques. Happy crafting!
Additional Tips
Experiment with Different Papers:
Don’t limit yourself to just decorative paper. You can use wrapping paper, magazine clippings, fabric, or even old maps for unique and interesting patterns.
Use a Protective Mat:
To avoid getting Mod Podge on your work surface, use a protective mat or newspaper underneath your furniture while you work.
Test First:
If you’re unsure about how a particular paper or design will look, test it on a small, inconspicuous area first.
Patience is Key:
Give each layer ample time to dry before moving on to the next. Rushing can result in wrinkles and air bubbles.
Work in a Well-Ventilated Area:
Mod Podge and other sealants can have strong odors. Ensure you work in a well-ventilated area or use a fan to dissipate the fumes.
Clean Brushes Immediately:
Mod Podge and sealants can be hard to remove once they dry. Clean your brushes and tools immediately after use with warm, soapy water.
Custom Mixes:
For a unique touch, mix different types of Mod-Podge (like matte and gloss) or add glitter to the Mod-Podge for extra sparkle.
Edge Sealing:
To ensure your paper edges stay down, apply an additional thin line of Mod Podge along the edges of the paper as you lay it down.
By following these tips, you can achieve a flawless finish and elevate your decoupage projects to the next level. Happy decoupaging!
Frequently Asked Questions
Q: Can I Decoupage on Any Surface?
A: Yes, you can decoupage on almost any surface, including wood, metal, glass, and even plastic. Just make sure to prepare the surface properly before starting. You may need to sand, prime, or clean the surface before applying Mod Podge.
Q: Can I Use Regular Paper for Decoupage?
A: While regular paper can be used for decoupage, it’s best to use thin and lightweight paper specifically made for decoupage projects. This type of paper is more durable and less likely to wrinkle or tear when coated with Mod Podge.
Q: Is There a Difference Between Mod Podge and Glue?
A: Yes, there are differences between Mod Podge and Glue. While both adhesive substances can be used for decoupaging, Mod Podge is specifically designed for this purpose. It has a special formula that dries clear, doesn’t yellow over time, and provides a durable, waterproof finish. Glue, on the other hand, may not have these same qualities and may not be suitable for decoupage projects.
Conclusion
Decoupaging furniture is an accessible and enjoyable way to breathe new life into old or plain pieces. With a few basic materials and some creativity, you can transform any item into a unique statement piece that reflects your personal style. Whether you are a beginner or an experienced crafter, the process of decoupage allows endless possibilities for experimentation with different papers, patterns, and techniques.
Remember, patience is key to achieving a flawless finish, so take your time and let each layer dry completely. Most importantly, have fun and enjoy the process of creating something beautiful and custom-made. Thanks for reading this article on how to decoupage furniture.