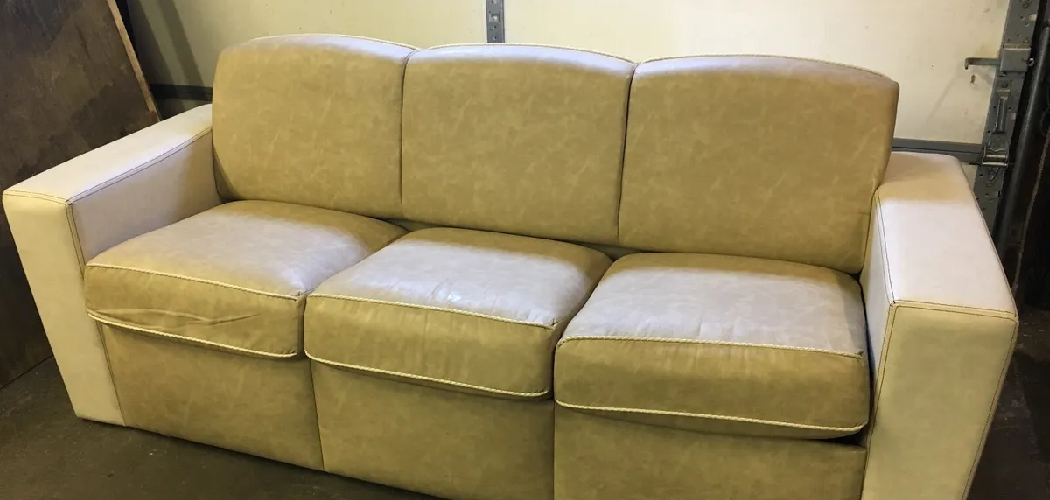
Are you tired of looking at your old and worn-out jack knife sofa? Maybe it’s time for a makeover. Learning how to cover a jack knife sofa is not as difficult as you may think.
Covering a jack knife sofa can be a rewarding and practical project, whether you’re looking to update the look of your motorhome or extend the life of your furniture. Jackknife sofas, often found in RVs and small apartments, feature a unique mechanism that allows them to convert from seating to sleeping space, making them highly versatile. This guide will walk you through the essential steps and considerations for selecting the right materials, measuring your sofa, and fitting the new cover properly.
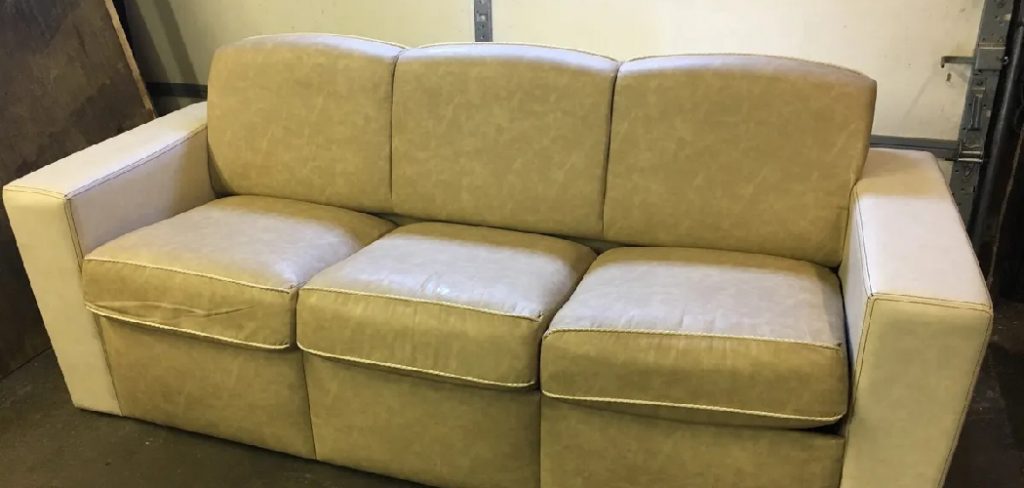
By the end of this tutorial, you’ll have the skills and confidence needed to give your jack knife sofa a fresh, updated appearance.
What Will You Need?
Before you begin, gather the necessary tools and materials for your project. Here’s a basic list of items that will come in handy:
- Fabric of your choice (make sure it is durable and easy to clean)
- Tape measure
- Scissors
- Sewing machine (optional)
- Needles and thread or fabric glue
- Pins or clips
- Iron and ironing board
- Upholstery foam (optional)
Having some extra fabric on hand for any mistakes or miscalculations is always a good idea.
10 Easy Steps on How to Cover a Jack Knife Sofa
Step 1: Remove the Old Cover
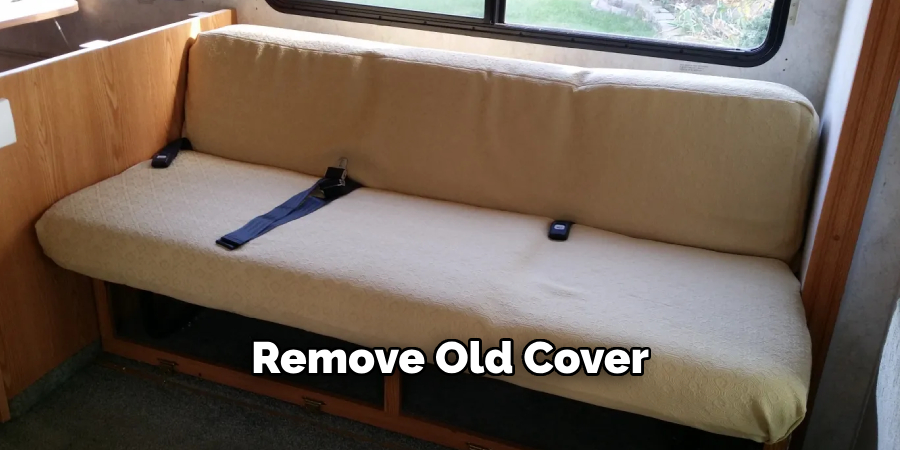
To start, carefully remove the existing cover from your jack knife sofa. Depending on the design, this may involve unzipping sections, undoing Velcro, or removing staples. Take your time with this step to avoid damaging the underlying foam or frame. Once you’ve removed the old cover, set it aside; it can serve as a useful template for cutting your new fabric.
Step 2: Measure Your Sofa
Accurate measurements are key to achieving a professional-looking result. Start by measuring the different sections of your jack knife sofa, including the seat, backrest, and any armrests or additional cushions. Be sure to measure both the length and width of each section. It’s helpful to write down these measurements and create a rough sketch of your sofa to keep track of them. Including seam allowances of about half an inch on all sides will ensure that your new cover fits snugly without being too tight.
Step 3: Cut the Fabric
With your measurements in hand and the old cover as a reference, begin cutting the new fabric. Lay the fabric out on a flat surface and use your measurements or the old cover to mark the dimensions. Note any unique shapes or features that need to be accommodated. Using sharp scissors, carefully cut out each piece. It’s advisable to cut all your fabric pieces at once to ensure consistency. Remember to account for seam allowances as you cut each section.
Step 4: Sew the Pieces Together
If you have a sewing machine, now is the time to use it. Begin by pinning the fabric pieces together and aligning the edges to match your measurements. If you don’t have a sewing machine, needles and thread will work, although it will take more time. Start sewing along the edges, making sure to keep your seams straight and even. Reinforce seams by going over them twice for extra durability. Pay special attention to any corners or curved areas, as these can be tricky and may require additional care. Iron the seams flat once all the pieces are sewn together to create a polished look.
Step 5: Add Fasteners
Consider adding fasteners such as zippers, Velcro, or buttons to ensure your new cover stays securely in place. Start by determining where the fasteners are most needed based on the sofa’s design and how the old cover was attached. If you’re using a zipper, sew it along the back or bottom seams, as these areas often require access but remain out of sight.
For Velcro, attach one side to the cover and the corresponding side to the sofa frame, ensuring they align perfectly. Buttons can be both functional and decorative; sew them into areas that will not be subjected to heavy stress. Adding fasteners will make it easier to remove and wash the cover, helping to maintain its appearance over time.
Step 6: Fit the Cover onto the Sofa
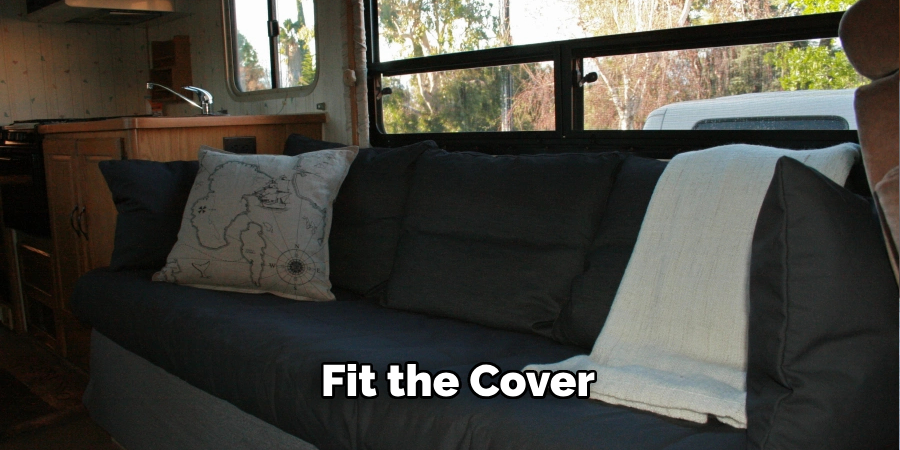
With your new cover complete, it’s time to fit it onto your jack knife sofa. Start by turning the cover inside out, and then gradually pull it over the sofa, starting from the backrest and working your way down to the seat. Smoothen out any wrinkles or folds as you go to ensure a snug fit. Work carefully around corners and edges, making sure the cover fits tightly without tearing the fabric. If you added zippers, Velcro, or buttons, ensure they are properly aligned and fasten them securely. Once the cover is completely in place, sit and move the sofa to check for any adjustments needed.
Step 7: Secure the Cover with Upholstery Foam (Optional)
For added comfort and a tailored look, consider using upholstery foam to pad specific areas of your sofa. Based on your earlier measurements, cut pieces of foam to fit the seat, backrest, and armrests as needed. Place the foam on the respective sections before fitting the cover. The extra padding can help smooth out any imperfections in the underlying structure and provide a cushier seating experience. Ensure the foam is evenly distributed and doesn’t bunch up, which can cause the cover to fit improperly. After positioning the foam, proceed to secure the cover in place as described in the previous steps.
Step 8: Smooth and Adjust
Once the cover is on, take a few minutes to smooth out any remaining wrinkles or folds by gently pulling and adjusting the fabric. Use your hands to press down the fabric against the foam and frame, ensuring an even appearance. Pay close attention to the seams and corners, making adjustments as needed to maintain a snug fit. Tuck in any excess fabric and make sure the fasteners are properly secured.
Step 9: Final Touches
Now that the cover is secured and fitted take a moment to inspect your work. Look for any loose threads, misaligned seams, or areas where the cover might need further adjustment. If you find any issues, address them by re-sewing or repositioning as necessary. Iron out any last wrinkles and ensure the cover sits perfectly on the sofa. This final touch will enhance the overall appearance and ensure your sofa looks as good as new.
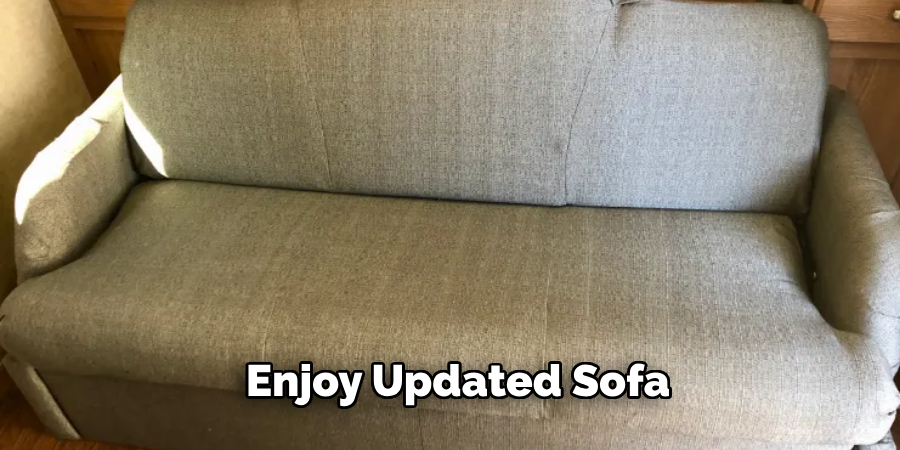
Step 10: Enjoy Your Updated Sofa
Congratulations! You’ve successfully covered your jack knife sofa. Step back and admire your handiwork. Not only does your sofa have a fresh, updated look, but you’ve also extended its lifespan and functionality. Enjoy your rejuvenated furniture’s comfort and new aesthetic, knowing you completed the project with your own hands.
By following these simple steps, you can easily update and personalize your jack knife sofa with a new cover.
5 Things You Should Avoid
- Using Improper Measurements: Always measure your jack knife sofa accurately before purchasing any covers. Incorrect measurements can lead to ill-fitting covers that either slip off easily or don’t provide adequate coverage.
- Choosing Non-Stretch Fabric: Avoid using non-stretch fabrics, as they can be hard to fit over the sofa’s contours, especially when converting it from seating to a bed. Opt for materials with some elasticity like spandex-blended fabrics for a snug fit.
- Ignoring the Sofa’s Functionality: Do not overlook the functionality of your jack knife sofa. Ensure that the cover allows for easy folding and unfolding without having to remove it every time you convert the sofa to a bed or vice versa.
- Neglecting Maintenance and Washability: Avoid covers that are hard to clean or maintain. Jackknife sofas are often used in RVs or small living spaces, where easy-clean options are crucial. Look for covers that are machine washable for convenience.
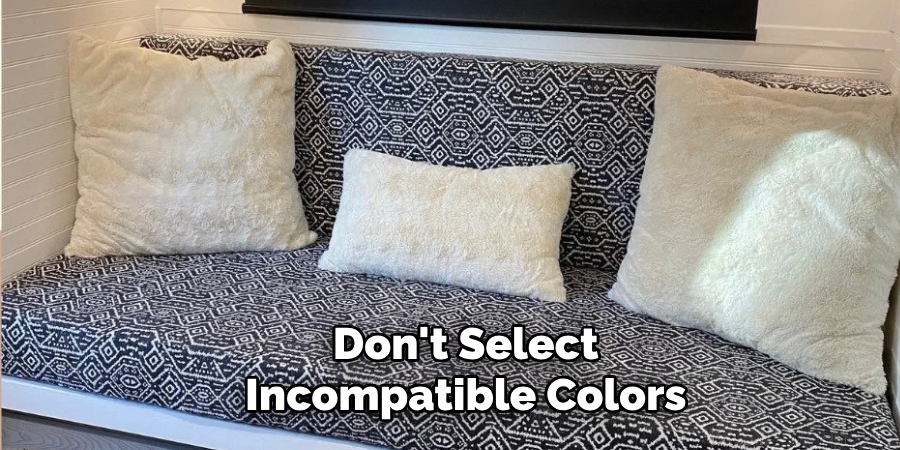
- Selecting Incompatible Colors or Patterns: Do not ignore the aesthetics of your space. A cover with clashing colors or patterns can disrupt the overall design of your room. Opt for neutral tones or patterns that complement your existing decor.
By avoiding these common mistakes, you can ensure that your jack knife sofa cover not only fits well but also serves its purpose effectively. Additionally, it is essential to regularly check and replace old or worn-out covers to maintain the look and functionality of your sofa.
Conclusion
How to cover a jack knife sofa may seem daunting at first, but with careful consideration and the right approach, it can be an easy and rewarding task. The key to success lies in selecting the appropriate materials and ensuring accurate measurements.
Choosing a stretchable, durable fabric that can withstand frequent use and is easy to maintain will enhance both the functionality and aesthetics of your sofa. By avoiding common pitfalls such as improper measurements, non-stretch fabrics, and incompatible colors, you can achieve a snug fit that remains in place and looks great in your space.
With these tips in mind, your jack knife sofa will not only be protected but will also seamlessly blend into your decor, providing comfort and style.
