
Are you noticing black or green spots on your washing machine’s door seal, detergent drawer and rubber gasket? This is likely a result of mold build-up, which can harm your health and make your washing machine less efficient.
Cleaning mold from your washing machine rubber can be a hassle, but it’s important to take the time and make sure you properly remove all traces of this dangerous fungus.
Not only does mold spread quickly, reproducing with airborne spores that are easily dispersed throughout the home and maliciously clinging to any moist source they can find, but if left untreated, mold growth can cause serious allergic reactions, illnesses, and other health issues in humans.
Learning how to clean mold from washing machine rubber thoroughly will help safeguard your family’s health and keep their clothes free of contaminants.
What Will You Need
To clean mold from your washing machine rubber, you will need the following items:
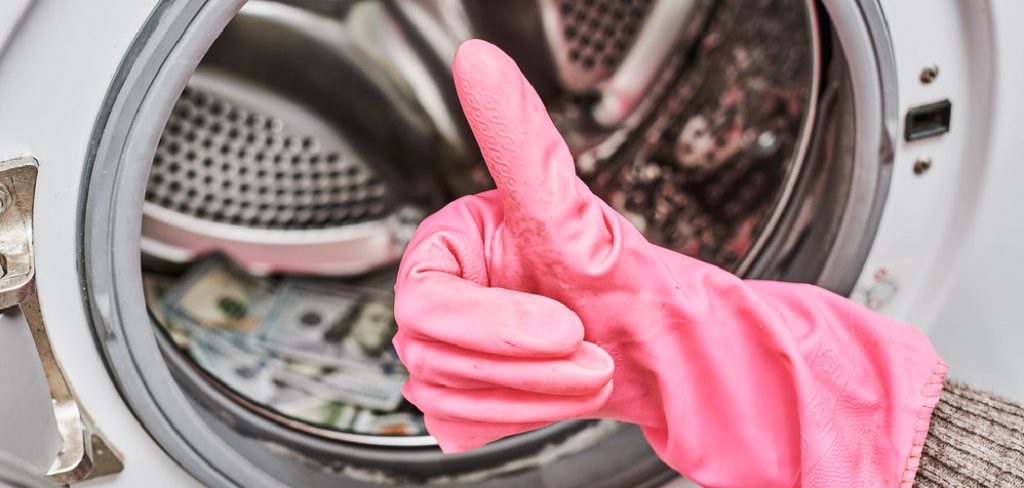
- Rubber gloves: As a precaution, it’s important to wear rubber gloves while cleaning mold. This will protect your hands from coming in direct contact with the fungus.
- White vinegar: Vinegar is a natural disinfectant that can kill mold and remove any lingering odors. Look for distilled white vinegar, which is more acidic and thus more effective in killing mold.
- Baking soda: This common household ingredient is a natural abrasive that can help remove mold stains. It’s also effective in deodorizing the washing machine.
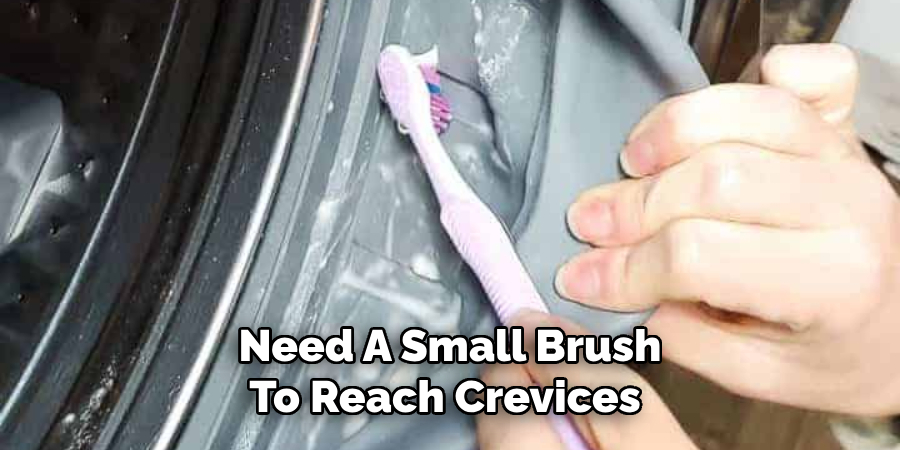
- A toothbrush or small brush: You will need a small brush to reach crevices and tight spots where mold may be hiding.
- Clean cloth or sponge: This will be used to remove mold and cleaning solution from the rubber gasket.
Now that you have all your supplies let’s start removing that pesky mold!
10 Easy Steps on How to Clean Mold From Washing Machine Rubber
Step 1: Prep Your Washing Machine
Before you begin cleaning, make sure your washing machine is empty. Remove any clothes, towels, or other items from the washer and give it a good rinse to remove any loose mold spores. If you have a front-loading machine, leave the door open for at least an hour before starting your cleaning process.
Step 2: Put on Your Rubber Gloves
As mentioned earlier, protecting yourself from direct contact with mold is important. Make sure to put on your rubber gloves before proceeding with the cleaning process. These gloves will act as a barrier, preventing direct contact with the mold and keeping your skin safe from any potential irritants or allergens.
Step 3: Prepare Your Cleaning Solution
In a bowl, mix equal parts of white vinegar and warm water. This solution effectively eliminates mold due to vinegar’s antimicrobial properties. Be sure to stir the solution well until it is thoroughly mixed. This cleaning solution will not only kill the mold but also help remove the musty smell often associated with mold growth.
Step 4: Apply the Cleaning Solution
Dip a clean cloth or sponge into your vinegar and water mixture. Wipe down the rubber gasket thoroughly, making sure to get into all nooks and crannies. Pay special attention to the areas that have visible mold growth. It’s important not to rush this step, as a thorough clean is necessary to eliminate all mold spores.
Step 5: Scrub with Baking Soda
After wiping down with the vinegar solution, sprinkle baking soda onto an old toothbrush or small brush. Use this to thoroughly scrub the areas of the rubber gasket that are still showing signs of mold. The abrasive nature of baking soda will help to remove stubborn mold stains. Remember to be gentle and avoid damaging the rubber.
Step 6: Wipe Away the Residue
After scrubbing with the baking soda, use a clean, damp cloth to wipe away the residue. Clean all the areas thoroughly, leaving no trace of baking soda or mold behind. This step aims to remove all remnants of the mold and the cleaning solution, ensuring that the rubber gasket is completely clean.
Step 7: Rinse with Warm Water
Once you’ve removed the baking soda residue and mold, it’s time to rinse the rubber gasket thoroughly. Use warm water to rinse off any remaining cleaning solution. Ensure you rinse all nooks and crannies where the solution may have seeped into. This step ensures that your washing machine is free from any residue, preventing any potential irritation to your skin or damage to your clothes.
Step 8: Let it Dry
After rinsing thoroughly, it’s crucial to let the rubber seal dry completely. Wipe the rubber gasket with a clean, dry cloth or towel to remove as much moisture as possible. Then, leave the washing machine door open to allow air to circulate and dry any remaining dampness. Remember that mold thrives in moist conditions, so ensuring the seal is thoroughly dry will help prevent future mold growth.
Step 9: Repeat Regularly
Making this cleaning process a routine part of your washing machine maintenance is paramount. Depending on how often you use your machine, aim to repeat these steps once every one to two months.
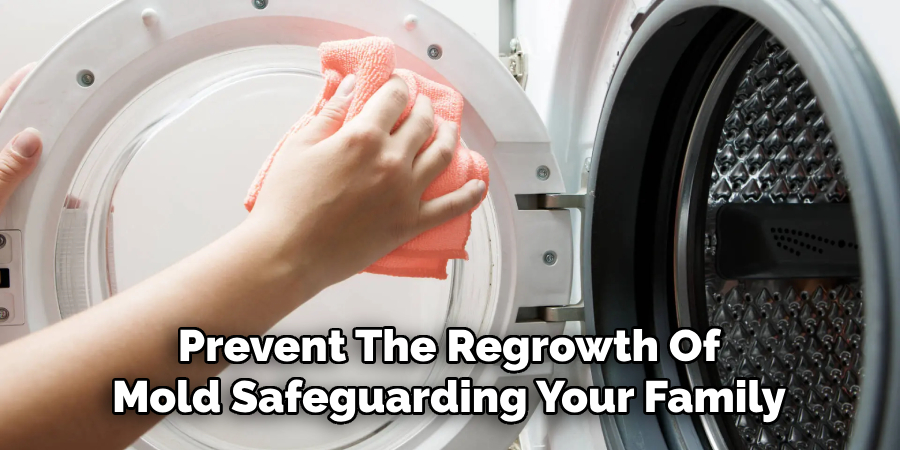
Regular cleaning will not only ensure your machine operates efficiently but also help prevent the regrowth of mold, safeguarding your family’s health and the longevity of your washing machine.
Step 10: Prevention
Finally, take some proactive steps to prevent mold growth in the first place. After each wash, open the machine door to allow the interior and rubber gasket to dry out. Remove detergent drawers to air-dry as well.
Ensuring your washing machine dries thoroughly after each use minimizes the damp environment in which molds need to grow. Maintaining these practices can save you time and effort and keep your machine in good working order.
Following these ten steps, you can effectively clean mold from your washing machine rubber. Remember to regularly maintain your machine and take preventative measures to keep mold at bay. With a little effort, you can ensure a clean and efficient washing machine that will serve you well for years.
5 Additional Tips and Tricks
- Wipe Down the Rubber Gasket: After each wash, take a paper towel and wipe down the rubber gasket around the door of your washing machine. This will remove any moisture that may have accumulated during the wash cycle and prevent mold from growing.
- Regular Cleaning: Make it a habit to clean the washing machine and its rubber gasket every month. You can use a solution of vinegar and water or a commercial washing machine cleaner.
- Use Hot Water Cycle: Run a hot water cycle empty or with bleach at least once a month. This helps kill any spores and prevent the growth of mold.
- Check and Clean Hidden Areas: Attention hidden areas like the detergent drawer or any other compartments. Mold can grow there too.
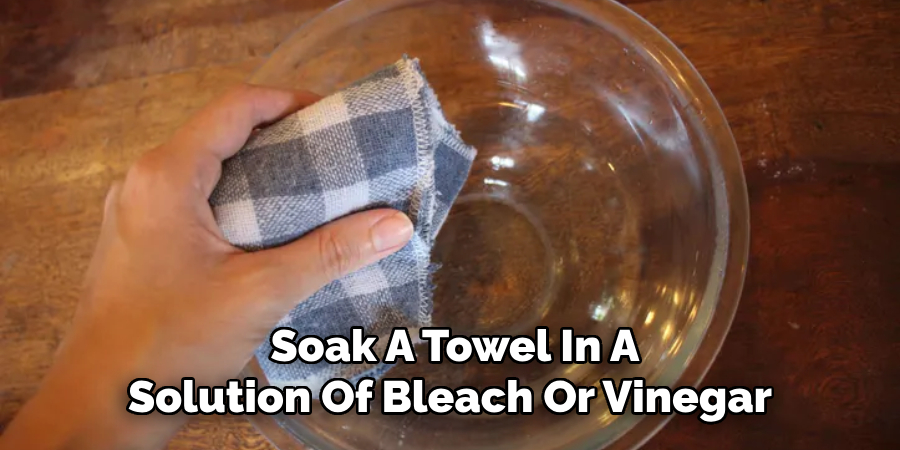
- Use Bleach or Vinegar Soaks: If you find mold on your washing machine rubber seal, you can soak a towel in a solution of bleach or vinegar, place it on the affected area and leave it for a few hours. Afterward, scrub it off gently using a toothbrush. Remember to wear gloves and rinse thoroughly afterward.
With these additional tips and tricks, you can ensure your washing machine rubber stays clean and mold-free for longer.
5 Things You Should Avoid
- Avoid Leaving Wet Clothes: Don’t leave wet clothes in the washing machine for extended periods. This creates a moist environment in which mold thrives.
- Avoid Overloading The Machine: Overloading the machine affects the washing efficiency and leaves less room for air circulation, increasing the chances of mold growth.
- Don’t Neglect The Detergent Drawer: Often, people clean their machine but need to remember about the detergent drawer. Mold can grow here, too, if it’s left unchecked.
- Avoid Excessive Detergent: Using more detergent than recommended can result in residue build-up, which can attract and harbor mold.
- Don’t Skip Maintenance: Regular maintenance is key in preventing mold growth. Skipping this can lead to mold accumulation and compromise your washing machine’s longevity.
Avoiding these common mistakes can keep your washing machine rubber clean and mold-free. Remember, prevention is always better than dealing with mold removal later on.
What are Signs of Mold Growth
Apart from the obvious visual signs of mold growth on the rubber seal, there may be other indications that your washing machine has a mold problem.
- Unpleasant Smell: If your washing machine emits a musty or sour smell, it could be a sign of mold growth.
- Allergies: Exposure to mold spores can cause allergic reactions such as sneezing, coughing, or itching.
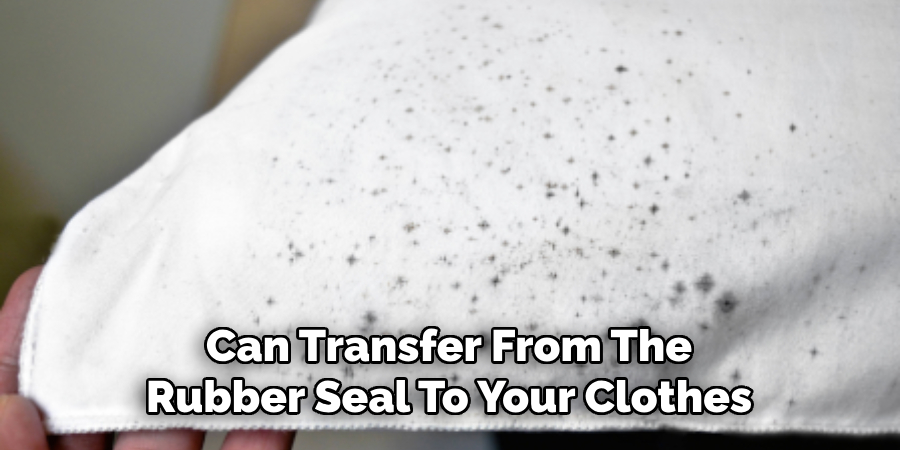
- Stains on Clothes: Mold can transfer from the rubber seal to your clothes during the wash cycle, leaving behind stains or discoloration.
If you notice any of these signs, it’s important to take action and clean your washing machine thoroughly. Ignoring the problem will only make it worse and
Conclusion
How to clean mold from washing machine rubber can seem like an intimidating task, but with the right safety precautions and knowledge of the process, it can be done easily and without too much hassle. It is important to take proper steps to clean your washing machine regularly to prevent mold buildup and keep it running smoothly.
Washing machines are essential household appliances that we rely on, so we should put effort into caring for them and giving them the love they need. Remember to perform a quick clean once every few months, use only detergents approved for use in washing machines, and replace rubber parts or gaskets as soon as they show signs of wear.
Taking these precautions can help keep your machine up-to-date and free from mold build-up, making it last for years.