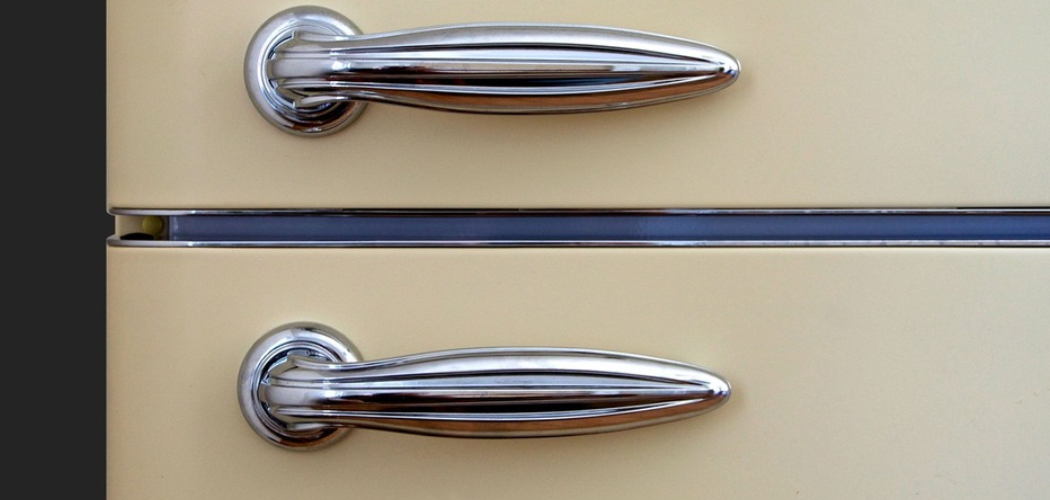
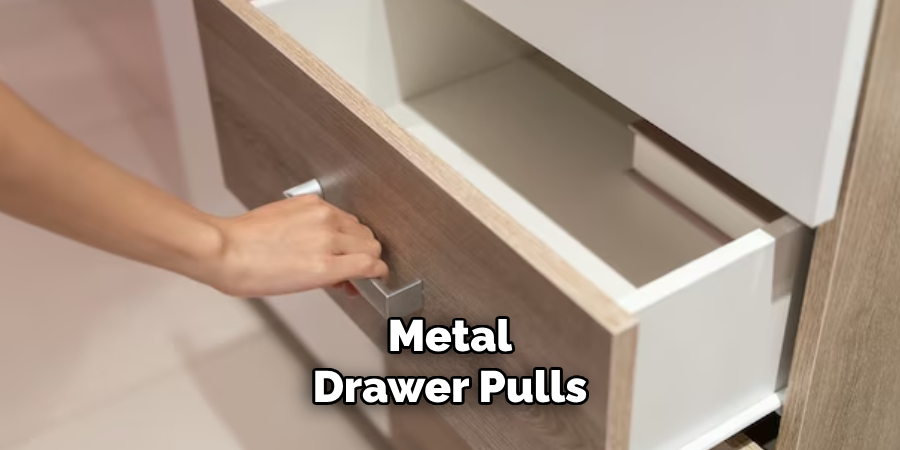
Metal drawer pulls can add a touch of elegance and sophistication to your furniture. However, over time, they can accumulate dirt, grime, and tarnish, detracting from their shine and appeal. Cleaning metal drawer pulls not only restores their original luster but also prolongs their life and functionality.
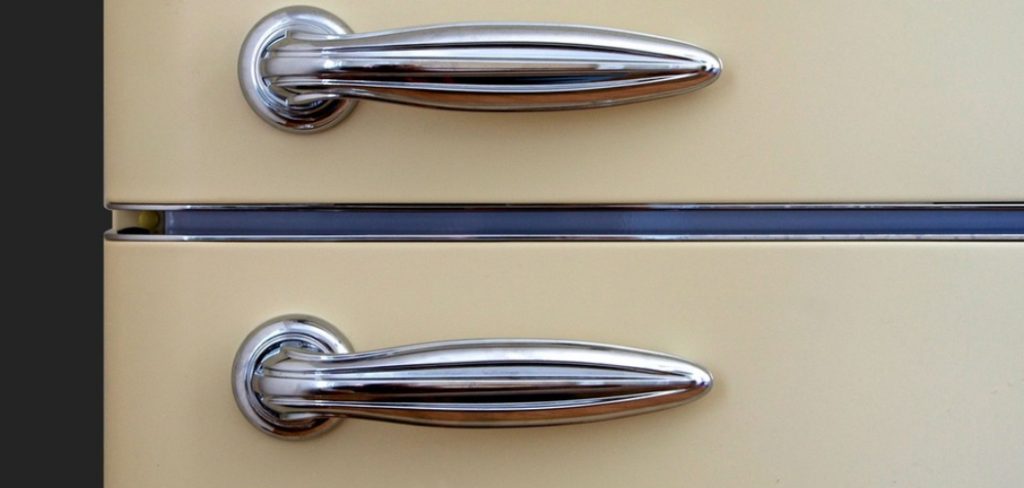
In this guide on how to clean metal drawer pulls, we will walk you through the step-by-step process of effectively cleaning and maintaining your metal drawer pulls, ensuring they continue to enhance the beauty of your furniture for years to come.
Why Clean Metal Drawer Pulls?
Metal drawer pulls are constantly exposed to various elements such as oils from our hands, dust, and moisture, which can cause them to lose their shine and become dull over time. Furthermore, if not properly cleaned, these elements can also corrode the metal and damage the surface of your drawer pulls.
Regularly cleaning your metal drawer pulls is essential to prevent this build-up of grime and protect them from potential damage. Additionally, maintaining clean metal drawer pulls can also improve the overall hygiene and appearance of your furniture.
Materials You Will Need
Before we dive into the cleaning process, make sure you have all these materials on hand:
Mild Dish Soap or Metal Cleaner:
A gentle dish soap or a specialized metal cleaner can be used to effectively clean and remove any dirt, grease, or grime from your metal drawer pulls.
Soft Cloths:
Avoid using rough materials such as steel wool or abrasive sponges that can scratch the surface of your metal drawer pulls. Instead, use soft cloths such as microfiber or cotton to avoid any damage.
Warm Water:
Warm water is essential for loosening up any stubborn residue on your metal drawer pulls.
Toothbrush:
An old toothbrush with soft bristles can be helpful in cleaning hard-to-reach areas and intricate designs on your metal drawer pulls.
9 Step-by-step Guidelines on How to Clean Metal Drawer Pulls
Step 1: Remove the Drawer Pulls From Your Furniture
The first step in cleaning your metal drawer pulls is to carefully remove them from your furniture. This ensures you can thoroughly clean all surfaces without damaging the surrounding areas. Use a screwdriver to gently unscrew the drawer pulls from the drawers.
Be sure to place the screws and any additional hardware in a safe place, such as a small container, so you don’t lose any important pieces during the cleaning process. If your furniture has multiple types of drawer pulls, consider labeling them to ensure they are reattached in the correct locations after cleaning.
Step 2: Prepare Your Cleaning Solution
Once you have removed the drawer pulls, the next step is to prepare a suitable cleaning solution. Fill a bowl or small basin with warm water and add a few drops of mild dish soap or a small amount of a specialized metal cleaner. Mix the solution gently until it forms a soapy mixture.
This cleaning solution will help to break down and lift away any dirt, grease, or grime that has accumulated on the metal surfaces. Make sure the solution is not too concentrated, as strong chemicals can damage the finish of your metal drawer pulls.
Step 3: Soak the Drawer Pulls
Place the metal drawer pulls into the bowl of prepared cleaning solution. Ensure that all the parts are fully submerged in the water. Allow them to soak for about 15-20 minutes. This soaking time will help to loosen any stubborn grime, grease, or dirt that has built up on the surface of the metal drawer pulls. If the drawer pulls are heavily tarnished or have intricate designs, you may need to let them soak for a bit longer to ensure all the debris breaks away easily.
While soaking, avoid agitating or scrubbing the pulls as the soaking process itself will do most of the hard work in breaking down residues.
Step 4: Scrub Away Any Remaining Dirt or Grime
After the soaking time is complete, use a soft cloth or an old toothbrush to gently scrub away any remaining dirt, grime, or tarnish from your metal drawer pulls. Use gentle circular motions and be careful not to apply too much pressure as it can scratch the surface of your metal pulls.
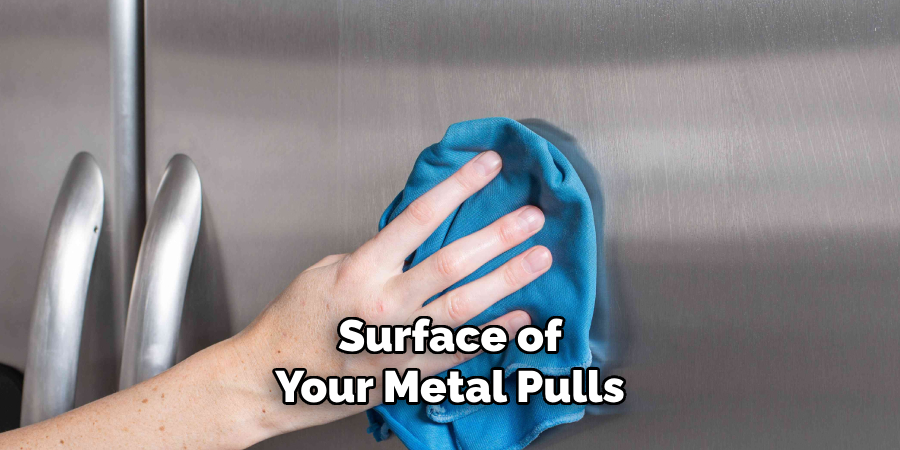
If you encounter stubborn stains or residue, dip the toothbrush into the cleaning solution and continue scrubbing until they are completely removed.
Step 5: Rinse Thoroughly With Warm Water
Once you have finished scrubbing all surfaces of your metal drawer pulls, rinse them thoroughly with warm water. This will help to remove any soapy residue that may be left behind and give your pulls a clean, fresh finish. Ensure that all the nooks and crevices of your drawer pulls are rinsed properly to avoid any build-up of soap residue.
You can also gently wipe the drawer pulls with a soft cloth to dry them before proceeding to the next step.
Step 6: Dry Your Drawer Pulls
After rinsing, place your metal drawer, pull on a clean, dry towel and pat them dry with another soft cloth. Avoid air-drying as it may cause water spots or stains on your shiny metal surfaces. Make sure they are completely dry before moving on to the next step.
You can also use a hairdryer on the cool setting to speed up the drying process, but be sure to keep it at least 6 inches away from the pulls to avoid any heat damage.
Step 7: Apply Metal Polish (Optional)
If you want to give your metal drawer pulls an extra shine, you can use a specialized metal polish. Apply a small amount of polish onto a soft cloth and gently buff in circular motions over the surface of the drawer pulls. This will help to remove any remaining tarnish or dullness and leave your metal pulls looking shiny and new.
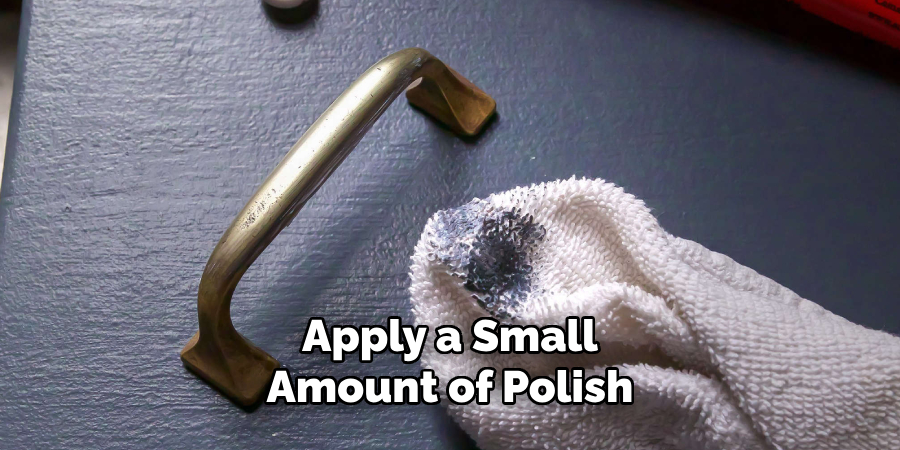
But be cautious, as overuse of metal polish can cause a build-up on your drawer pulls and eventually damage the finish.
Step 8: Reattach Your Drawer Pulls
Once your metal drawer pulls are completely dry, it is time to reattach them to your furniture. Use the screws and hardware you have set aside earlier, and carefully screw the pulls back into their original positions. Make sure they are securely tightened to avoid any loosening in the future.
But be gentle while screwing them back to avoid any scratches or damage on the surface of your pulls.
Step 9: Maintain Regular Cleaning
To keep your metal drawer pulls looking shiny and new, it is important to maintain regular cleaning. Wipe them with a soft cloth or use a gentle cleaner at least once a month to prevent any build-up of dirt, grease, or grime. This will also help to protect the finish of your metal pulls and extend their lifespan.
With these easy step-by-step guidelines on how to clean metal drawer pulls, you can now keep your metal drawer pulls looking clean and shiny without any hassle. Remember to always use gentle cleaning methods and avoid harsh chemicals or abrasive materials to ensure the longevity of your furniture hardware. Happy cleaning!
Additional Tips
Use Vinegar for Extra Cleaning Power:
If your metal drawer pulls are still looking dull after using the soapy solution, try using a mixture of equal parts white vinegar and water. Soak a soft cloth in the mixture and gently rub the pulls to remove any remaining tarnish or grime.
Try a Baking Soda Paste for Stubborn Stains:
For exceptionally stubborn stains, make a paste using baking soda and water. Apply the paste to the affected areas and let it sit for a few minutes before gently scrubbing with a soft toothbrush or cloth. Rinse thoroughly afterward.
Wear Gloves:
To protect your hands from any harsh cleaning agents and to keep your fingerprints off the freshly cleaned drawer pulls, consider wearing rubber gloves during the cleaning process.

Test Cleaners on a Hidden Area First:
Before using any cleaning solution or polish on your metal drawer pulls, test it on a small, less visible area to ensure it does not damage or discolor the finish.
Regular Dusting:
To minimize the need for intensive cleaning, dust your metal drawer pulls regularly with a soft, dry cloth. This simple step can significantly reduce the accumulation of grime and dirt over time.
Avoid Harsh Abrasives:
Steer clear of using steel wool, scouring pads, or any abrasive materials as they can scratch and damage the surface of your metal drawer pulls.
Consider the Environment:
Always ensure you are working in a well-ventilated area, especially when using cleaners that emit strong odors or fumes. Open windows or use a fan to keep the air circulating.
Proper Storage:
If you need to store unused drawer pulls, wrap them in a soft cloth or bubble wrap to prevent any scratching or damage. Store them in a dry, cool place to avoid any moisture exposure that may lead to rusting.
Frequently Asked Questions
Q: Can I Use the Same Cleaning Method for All Types of Metal Drawer Pulls?
A: Yes, you can use this method for the most common types of metal, including brass, copper, stainless steel, and chrome. However, if your metal pulls have a special finish or coating, it is best to refer to the manufacturer’s instructions for specific cleaning recommendations.
Q: Can I Use Metal Polish on All Types of Metal Drawer Pulls?
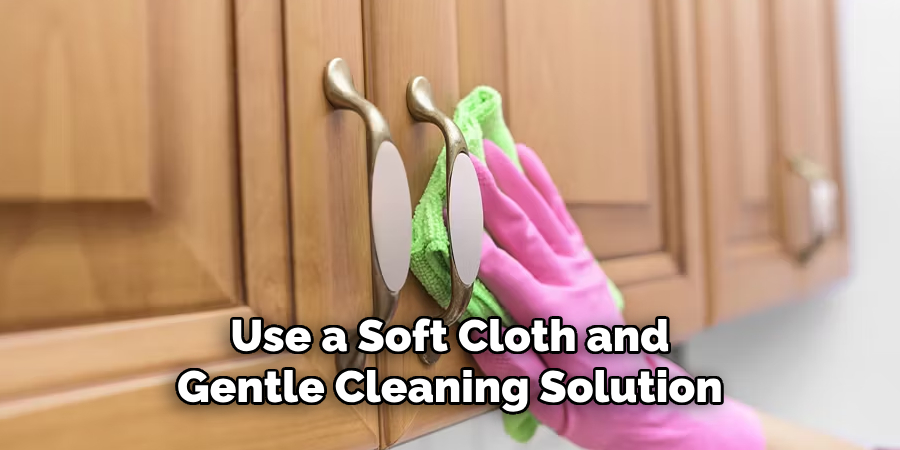
A: Metal polish is not recommended for all types of metal drawer pulls as it can cause build-up and damage the finish. It is best to use a soft cloth and gentle cleaning solution instead.
Q: How Often Should I Clean My Metal Drawer Pulls?
A: It is recommended to clean your metal drawer pulls at least once a month to prevent any build-up of dirt and maintain their shiny appearance. However, if you notice any visible grime or stains, it is best to clean them immediately. Always remember to use gentle cleaning methods and avoid harsh chemicals or abrasive materials for regular maintenance.
Conclusion
By following the outlined steps and additional tips on how to clean metal drawer pulls, you can maintain the cleanliness and shine of your metal drawer pulls with ease. Regular care and gentle cleaning methods will ensure that your furniture hardware remains in top condition for years to come.
Remember that a little bit of attention to detail can go a long way in preserving the luster and functionality of your drawer pulls. So, take the time to clean and maintain them regularly, and you’ll be rewarded with a polished and pristine look that complements your furniture beautifully. Happy cleaning!
