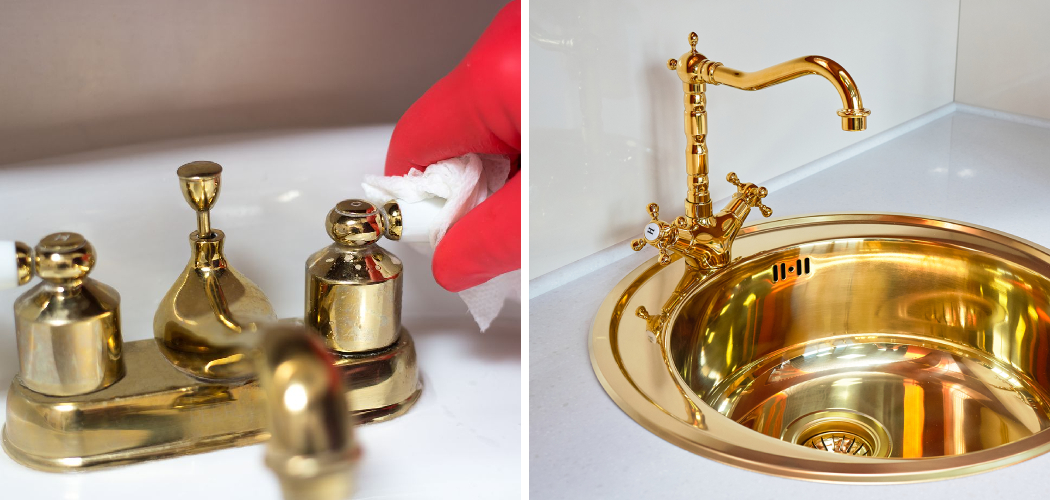
Maintaining brass faucets is crucial for preserving their aesthetic appeal and ensuring their functionality over time. Brass, with its warm, golden hue, adds an element of elegance and sophistication to any bathroom or kitchen space.

However, these fixtures can quickly lose their luster without regular care, succumbing to tarnish, grime, and mineral deposits. These imperfections detract from the faucet’s visual charm and can also negatively affect its performance, leading to issues like corrosion or reduced water flow.
The cleaning process for brass faucets is straightforward yet thorough, involving several steps to ensure optimal care. By understanding how to clean brass faucet properly, homeowners can extend the life of their fixtures and keep them looking as good as new.
The benefits of maintaining clean brass faucets are manifold – from boosting the room’s overall appearance to preventing wear and tear that could necessitate costly repairs or replacements. This guide will walk you through each step of the cleaning process, offering valuable tips and techniques to help you achieve a sparkling, like-new finish for your brass faucets.
Understanding Brass
Brass is an alloy composed primarily of copper and zinc, known for its durability, corrosion resistance, and distinctive warm appearance. This unique combination of properties makes brass ideal for faucets, offering functionality and aesthetic appeal.
The high copper content in brass contributes to its antimicrobial properties, which help reduce the growth of harmful bacteria on the faucet’s surface. Also, brass is highly malleable, allowing for intricate designs and finishes catering to various tastes and styles.
Several types of brass finishes are available, each with its own characteristics. Polished brass is bright and shiny, providing a classic, timeless look, while satin or brushed brass offers a more subdued, matte finish that can add a touch of modern sophistication.
Antique or aged brass finishes are intentionally tarnished to create a vintage appearance, adding character and charm to any space.
Despite its many advantages, brass is susceptible to tarnishing and discoloration over time. Tarnish forms due to oxidation when brass is exposed to air and moisture, leading to a dull and darkened surface.
Other factors, such as exposure to harsh chemicals, high humidity, and poor maintenance, can accelerate the tarnishing process and contribute to the buildup of grime and mineral deposits.
Understanding these factors is essential to implementing effective cleaning and maintenance practices, ensuring that your brass faucets remain pristine.
Preparing the Workspace
To effectively clean your brass faucet and ensure an efficient workflow, it’s essential to prepare the workspace adequately. Start by clearing the area around the faucet and removing any personal items, toiletries, or decorations that might obstruct access. This provides ample working space and prevents these items from coming into contact with cleaning solutions.
Next, gather all necessary cleaning supplies and tools. These usually include a soft cloth, a non-abrasive brush, mild detergent, vinegar, lemon juice, and brass polish. Also, be handy with a bucket of warm water and a lint-free drying cloth. Organizing these items within easy reach will streamline the process and minimize interruptions.
Ensuring proper ventilation is also crucial, especially when using chemical cleaning agents. Open windows or use an exhaust fan to maintain good airflow. Finally, protect the surrounding surfaces like countertops and sinks with old towels or plastic sheets to prevent accidental spills and stains.
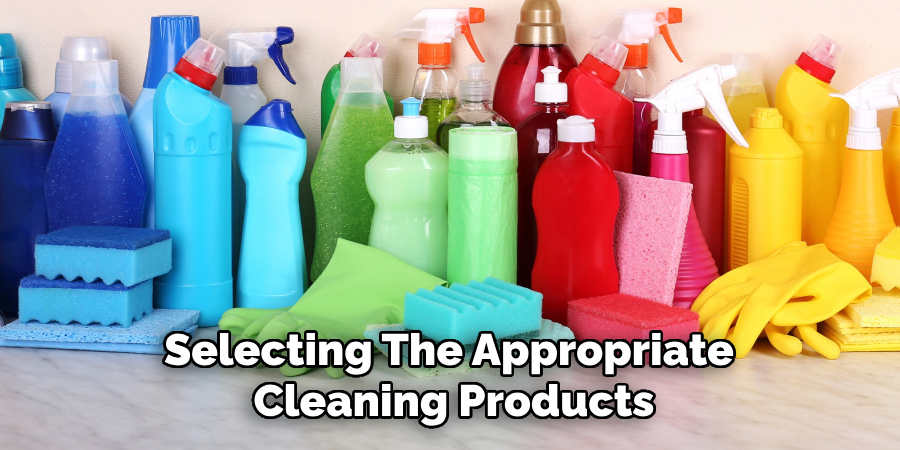
Choosing the Right Cleaning Products
Selecting the appropriate cleaning products is essential to ensuring the safety and effectiveness of your brass faucet maintenance routine. While durable, brass can be susceptible to damage from harsh chemicals and abrasive materials, so it’s important to use products specifically designed for this metal.
There are both homemade and commercial options available for safe and effective cleaning solutions. Homemade cleaners are often preferred for their natural ingredients and cost-effectiveness.
A mixture of equal parts vinegar and water or a paste made from lemon juice and baking soda are excellent choices for gently removing tarnish and grime without causing damage.
These solutions work well to break down mineral deposits and restore the natural shine of brass.
Commercial brass cleaners are also readily available and formulated to safely clean and polish brass surfaces. Look for non-abrasive products free from harsh chemicals like ammonia or bleach, as these can corrode the brass and strip away protective coatings. Always read the labels to ensure the product is suitable for brass and follow the application instructions closely.
When using any cleaning product, avoid abrasive pads or brushes that can scratch the surface of the faucet. Opt for soft, lint-free cloths or non-abrasive brushes to gently scrub away dirt and tarnish.
Additionally, always test the cleaner on a small, inconspicuous area of the faucet before proceeding with the entire surface to ensure there are no adverse reactions.
By carefully choosing the right cleaning products, you can effectively maintain the beauty and functionality of your brass faucets while extending their lifespan.
Pre-Cleaning Inspection
A thorough pre-cleaning inspection is a crucial step in the brass faucet maintenance routine. Start by closely examining the faucet to assess its overall condition. Look for signs of tarnish, grime, or mineral deposits that may have accumulated over time.
Tarnish often appears as a dull, darkened layer that obscures the metal’s natural shine. At the same time, mineral deposits can manifest as white or greenish crusty spots, usually around the base or water outlets. Conversely, grime is typically a build-up of everyday dirt and oils from frequent use.
Identifying any stubborn stains or spots that may require special attention is the next step in the inspection process. These can often be found in hard-to-reach areas such as around the handles, spouts, or intricate designs. Paying close attention to these details will help you determine whether additional cleaning techniques or products are necessary for those areas.
Before proceeding with the actual cleaning, it’s essential to test your chosen cleaning products on a small, inconspicuous area of the faucet to ensure compatibility. This precautionary measure will help prevent any potential damage or discoloration that could occur from using unsuitable products.
Apply a small amount of the cleaning solution to an area like the underside of the spout or a hidden corner of the faucet, then wait for a few minutes before gently wiping it away.
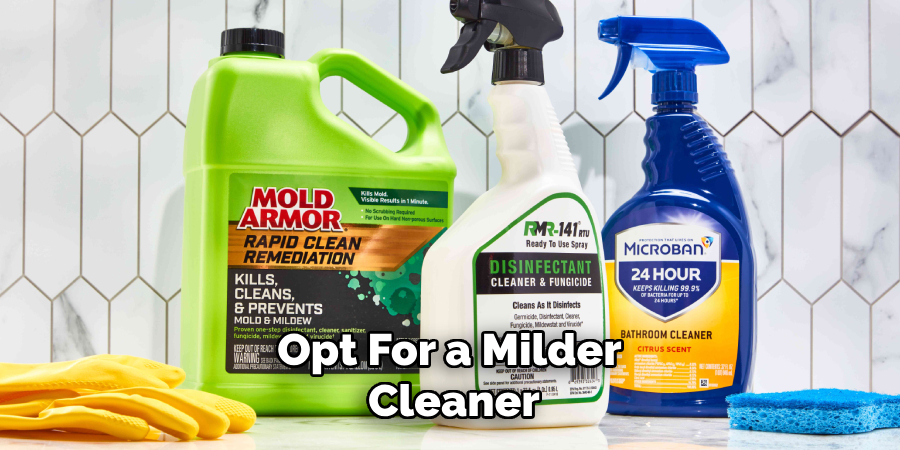
Observing the test patch will indicate whether the cleaner is safe to use on the entire faucet. If any adverse reactions occur, such as discoloration or surface damage, discontinue use immediately and opt for a milder cleaner.
Conducting this pre-cleaning inspection ensures that you address all potential problem areas effectively, safeguarding both the appearance and longevity of your brass faucets.
How to Clean Brass Faucet: Cleaning Techniques
Maintaining the lustrous appearance of your brass faucets requires employing gentle cleaning techniques. These techniques ensure that dirt and grime are removed without damaging the delicate brass finish.
Start by using a mild detergent solution mixed with warm water for everyday cleaning. Dip a soft cloth into the soapy mixture and gently wipe down the entire surface of the faucet to remove light dust and oils.
Using a mixture of lemon juice and baking soda can be effective for areas with more stubborn buildup. Apply the solution with a soft, non-abrasive brush, such as a toothbrush, to gently scrub away tarnish and grime without scratching the brass. It’s important to work in circular motions and avoid using excessive force, which can wear away the finish.
Particular attention should be given to difficult areas such as crevices, around handles, and at the base of the spout where buildup is often more pronounced. Address these areas with precision by using a small brush or a cotton swab dipped in the cleaning solution. This allows you to reach tight spaces and remove hidden dirt and deposits effectively.
Once the dirt has been removed, rinse the faucet thoroughly with clean water to wash away all cleaning residues. Immediately dry the faucet with a lint-free cloth to prevent water spots and streaks.
By employing these gentle cleaning techniques, you can efficiently maintain your brass faucets, preserving their beauty and functionality for years to come.
How to Clean Brass Faucet: Tackling Tarnish and Discoloration
Strategies for removing tarnish and restoring the natural luster of brass faucets are essential for maintaining their aesthetic appeal. Tarnish, a result of oxidation, can give brass a dull, dark appearance. To tackle this, start using mild chemical solutions like vinegar or lemon juice, which effectively dissolve tarnish.
Simply soak a soft cloth in a mixture of equal parts vinegar and water or lemon juice and water, then gently rub the affected areas. For more persistent tarnish, create a paste by combining lemon juice with baking soda and apply it to the faucet using a soft, non-abrasive brush.
Polishing techniques are also crucial in restoring the brass’s natural shine. Once the tarnish has been removed, use a high-quality brass polish or a specialized brass-cleaning product to enhance the surface’s luster.

Follow the product instructions closely, applying a small amount of polish to a soft cloth and working it into the metal with circular motions. Allow the polish to dry to a haze, then buff the faucet with a clean, lint-free cloth to achieve a brilliant shine.
Employing these strategies ensures that your brass faucets remain free from tarnish and retain their polished, elegant appearance, significantly extending their lifespan and adding a touch of timeless beauty to your fixtures.
Rinse and Dry
Thoroughly rinsing the faucet with clean water is crucial to remove any cleaning residue that may have remained after scrubbing and polishing. Begin by using a gentle stream of water to wash away any leftover cleaning solutions and dirt.
This step ensures that no soap, vinegar, or polishing agents linger on the brass surface, which could potentially lead to discoloration or damage over time.
Once rinsed, it’s important to immediately dry the brass surface using a soft, lint-free cloth. Carefully wipe down the entire faucet, reaching all nooks and crannies to prevent any water spots or streaks from forming.
Ensuring complete drying is essential for maintaining the faucet’s aesthetic appeal and preventing water stains and potential corrosion. By completing this final rinse and dry step, you effectively protect the longevity and shine of your brass faucets, keeping them in pristine condition.
Finishing Touches
After completing the cleaning and drying process, it’s time to add the finishing touches to ensure your brass faucets gleam and remain protected from future tarnishing. Begin by buffing the brass surface with a dry, soft cloth to enhance its shine.
This step not only brings out the golden luster of the brass but also removes any remaining moisture or smudges. Use gentle, circular motions to achieve a uniform, polished appearance.
Next, consider applying a protective coating or sealant to provide an additional layer of defense against tarnish and oxidation. Choose a high-quality brass sealant or a clear lacquer designed specifically for metal surfaces.
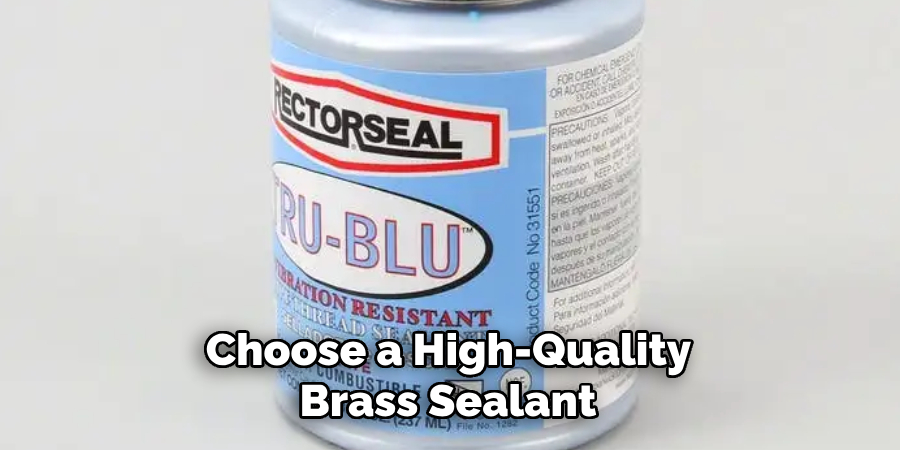
Apply a thin, even layer according to the manufacturer’s instructions, ensuring all faucet parts are adequately covered. Allow the sealant to dry completely, which typically takes a few hours, forming a durable barrier that helps maintain the faucet’s brilliance over time.
Finally, reassemble any parts of the faucet that were disassembled during the cleaning process. Ensure each component is securely in place and test the faucet’s functionality to confirm everything is working correctly.
This step is crucial to maintain not only the appearance but also the performance of your brass fixtures. By taking these finishing touches, you ensure your brass faucets continue to be a standout feature in your home, combining both beauty and functionality.
Routine Maintenance Tips
Establishing a Regular Cleaning Schedule
Establish a regular cleaning schedule to prevent buildup and maintain the shine of your brass faucets. Consider wiping down the faucets at least once a week with a damp, soft cloth to remove any light dust and residue that may accumulate over time.
Monthly, thoroughly clean using mild cleaning solutions like a mixture of mild dish soap and water. This consistency in upkeep will help prevent tarnish and grime formation, preserving the faucet’s lustrous appearance.
Quick Cleaning Techniques
Keep some specialized brass cleaning wipes or a small spray bottle of diluted vinegar solution handy for spot cleaning or touch-ups. These quick cleaning techniques are ideal for tackling fingerprints, water spots, or light stains as they occur.
Simply wipe down the affected area with the cleaning wipe or a cloth dampened with the vinegar solution and immediately dry the surface with a lint-free cloth. This proactive approach ensures your brass faucets stay looking immaculate with minimal effort.
Avoiding Common Mistakes
When caring for brass finishes, it is important to avoid common mistakes that can cause damage. Refrain from using abrasive cleaners or scouring pads, which can scratch the brass surface and dull its shine.
Additionally, avoid ammonia-based or bleach-based cleaning products, which can cause discoloration and degradation of the brass over time. Another common mistake is forgetting to dry the faucet completely after cleaning, leading to water spots and potential corrosion.
By adhering to these routine maintenance tips, you can effectively preserve the beauty and functionality of your brass faucets, ensuring they remain a striking feature in your home for years to come.
Frequently Asked Questions
1. How Often Should I Clean My Brass Faucets to Prevent Tarnish?

To prevent tarnish and maintain shine, brass faucets should be cleaned weekly with a damp, soft cloth for light dust and residue removal.
Additionally, a thorough cleaning should be performed monthly using a mild dish soap and water solution. Consistent maintenance helps prevent buildup and keep brass faucets looking their best.
2. Can I Use Household Cleaners on Brass Faucets?
While some household cleaners can be effective, avoiding abrasive cleaners, scouring pads, and products containing ammonia or bleach is crucial, as these can damage and discolor the brass surface.
Instead, use mild cleaning solutions like a mixture of mild dish soap and water or a diluted vinegar solution for safe and effective cleaning.
3. What Is the Best Way to Restore the Shine of Tarnished Brass Faucets?
To restore the shine of tarnished brass faucets, apply a paste made of vinegar and baking soda with a soft, non-abrasive brush.

After removing the tarnish, use a high-quality brass polish or a specialized brass-cleaning product to enhance the surface’s luster. Finally, buff the faucet with a clean, lint-free cloth to achieve a brilliant shine, and consider applying a protective sealant to maintain the shine.
Conclusion
Maintaining the elegance of your brass faucets requires a methodical approach to cleaning and care, ensuring they retain their brilliance and functionality over time.
Recapping the steps on how to clean brass faucet: Start by gathering the necessary supplies, including mild cleaning agents and soft, non-abrasive tools. Proceed with scrubbing to eliminate surface dirt, and then tackle tarnish removal to restore the natural shine of the brass.
Polishing techniques come next, enhancing the surface’s luster, followed by a thorough rinse and drying to prevent water spots or potential corrosion.
Applying finishing touches, such as a protective sealant, adds an extra layer of defense against future tarnish and oxidation. Consistent routine maintenance, including regular and quick cleaning, ensures lasting beauty and performance.
Taking pride in your cleaning efforts keeps your brass faucets looking immaculate and extends their lifespan, making them a timeless feature in your home. By diligently following these steps and routine maintenance tips, you ensure that your fixtures gleam with a golden luster and retain their appeal for years to come.
Embrace this journey of care and ownership, knowing that your attention to detail is key to preserving your brass faucets’ enduring beauty and functionality.