
Have you ever considered what kind of bacteria and dirt lingers inside your blow dryer? It might be difficult to imagine, but this small appliance is home to germs and debris. While using the blow dryer regularly won’t necessarily make you sick, it’s still important to make sure that it’s kept clean since it can get clogged with hair strands or fragments from styling products like hairspray and gel.
No worries, though! how to clean blow dryer is surprisingly easy – all you need are a few supplies and some knowledge on how it should be done properly. In this blog post, we’ll give you an in-depth run-down on the best way to keep your beloved apparatus germ-free daily!
What Will You Need?
To clean your blow dryer, you will need some basic supplies that can easily be found at home or at a local store. These include:
- A small brush (a toothbrush works well)
- Mild soap or shampoo
- Towel
- Cotton swabs
- Rubbing alcohol
- A screwdriver (if necessary)
Now that you have everything ready let’s begin the cleaning process!
10 Easy Steps on How to Clean Blow Dryer
Step 1: Unplug the Blow Dryer
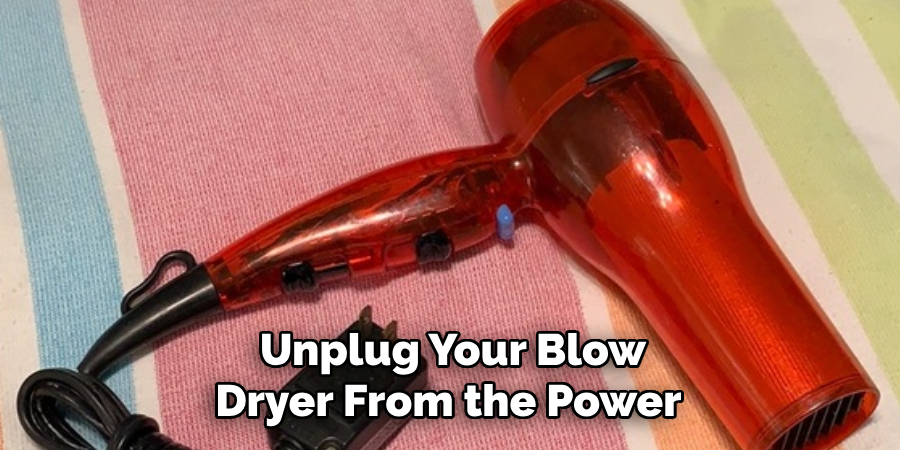
The first and foremost step in the cleaning process is to ensure your safety. Unplug your blow dryer from the power outlet. Never attempt to clean an appliance while it is still plugged in to avoid the risk of electric shock.
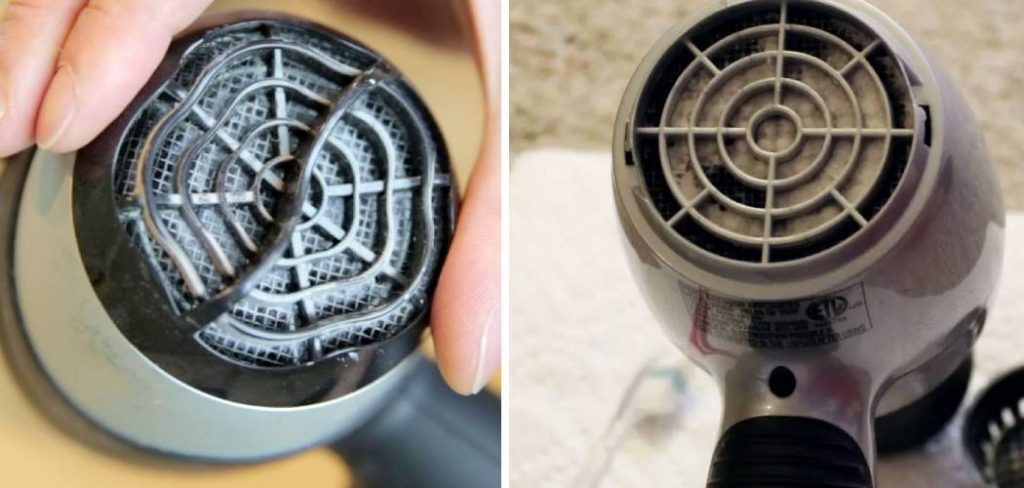
Step 2: Remove the Lint Filter
Most blow dryers have a removable lint filter at the unit’s back or side. To access it, simply twist or slide it off. Some models may require a screwdriver to loosen a few screws. Refer to the user’s manual of your blow dryer model if you’re unsure how to remove the filter. This filter tends to accumulate dust, lint, and hair over time, which can affect the performance of your blow dryer, so it’s essential to clean it regularly.
Step 3: Clean the Lint Filter
Once you’ve removed the lint filter, use a small brush to scrub off the accumulated dust, lint, and hair. If the debris is too stubborn, rinse the filter with warm water and a mild soap or shampoo. Thoroughly rinse and dry the filter before reattaching it to the blow dryer. Never run the blow dryer without the filter, as it protects the motor from debris.
Step 4: Clean the Blow Dryer’s Exterior
With the lint filter removed, it’s time to clean the exterior of your blow dryer. Wet a towel with warm water and mild soap or shampoo, then gently wipe the entire outside surface of the blow dryer. Use cotton swabs dipped in rubbing alcohol to clean around the buttons and any hard-to-reach areas. Be sure to avoid any areas where water could enter the blow dryer, such as the ventilation holes. After cleaning, dry the blow dryer thoroughly with a clean towel.
Step 5: Clean the Interior Vent
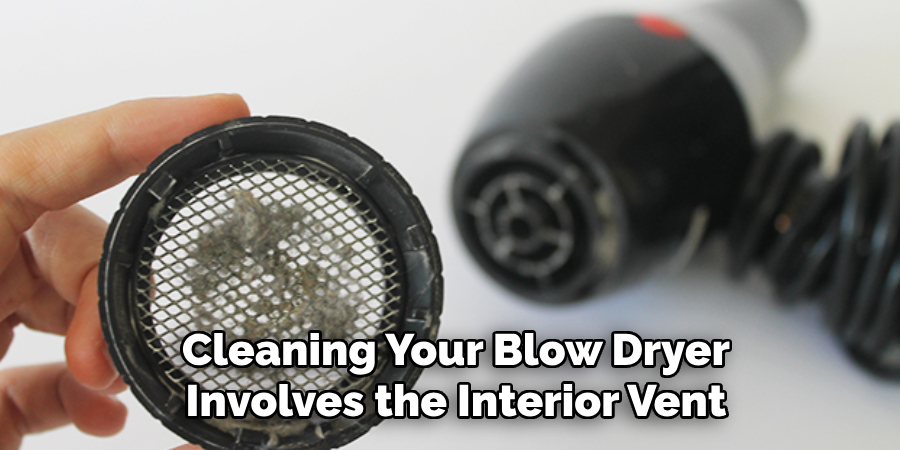
The next step in cleaning your blow dryer involves the interior vent. This vent is where the air passes through and accumulates dirt and lint. Use a cotton swab soaked in rubbing alcohol and gently clean the interior vent, being careful not to push the dirt further into the blow dryer. If available, it’s also advisable to use a can of compressed air to blow out any remaining dirt from the vent. Make sure to thoroughly dry the area before moving to the next step.
Step 6: Reassemble the Blow Dryer
After thoroughly drying all the components, it’s time to reassemble your blow dryer. Start by placing the lint filter back into its slot. If screws were removed, now is the time to put them back in place. Ensure that everything is securely fastened. Remember, improper reassembly can cause damage or affect the functionality of your blow dryer.
Step 7: Test the Blow Dryer
Once you have reassembled the blow dryer, testing it to ensure everything is functioning correctly is crucial. Plug the blow dryer into a power outlet and turn it on. Check the airflow and the heat settings to confirm they are working as expected. If you notice any odd noises, unusual smells, or the blow dryer isn’t working, you may need to double-check the reassembly or consult a professional. Always remember, safety first!
Step 8: Regular Maintenance
To extend the lifespan of your blow dryer and ensure it works efficiently, it’s important to maintain it regularly. Depending on your usage, . Remember that a well-maintained appliance not only lasts longer but it also performs better. By implementing this simple cleaning routine, you can keep your blow dryer in tip-top shape, ensuring its durability and efficiency.
Step 9: Store It Properly
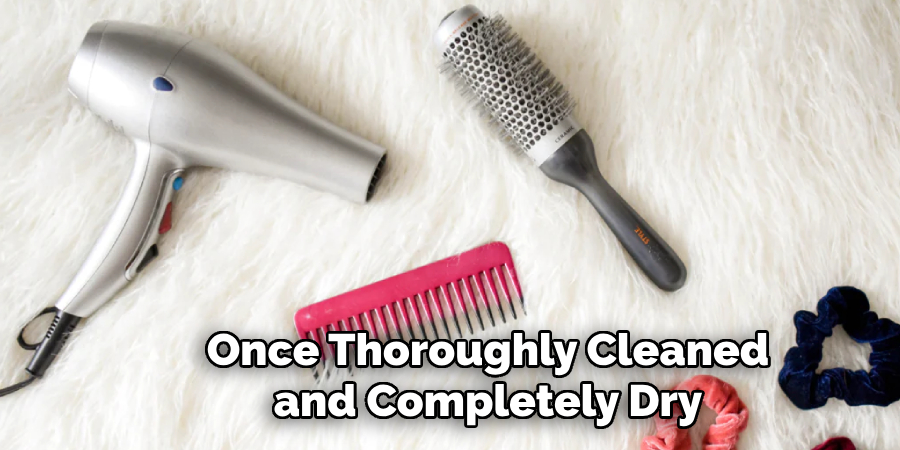
Proper blow dryer storage is a key factor in maintaining its optimal condition. Once thoroughly cleaned and completely dry, coil the cord in a loop and secure it with a twist tie so it doesn’t tangle. It’s best to store your blow dryer in a dry place at room temperature, away from water or heat sources.
Storing it in a drawer or cabinet protects it from dust and dirt. Always make sure the vent areas are not blocked to avoid overheating. Proper storage not only prolongs the life of your blow dryer but also ensures it is ready and safe to use for your next styling session.
Step 10: Update Your Cleaning Schedule
To ensure that your blow dryer performs at its best, it’s crucial to establish and stick to a regular cleaning schedule. Depending on how often you use your blow dryer, conducting this cleaning process every 2-3 months is highly recommended.
Keeping track of your cleaning efforts can be as simple as marking dates on a calendar or setting reminders on your phone. By doing so, you’ll not only extend the lifespan of your blow dryer but also ensure that it remains efficient and safe to use.
By following these 10 easy steps on how to clean your blow dryer, you can maintain its durability and functionality, ensuring it remains a reliable tool in your daily hair care routine.
5 Additional Tips and Tricks
- Regular Cleaning: Make it a habit to clean your blow dryer at least once a month to ensure optimal performance and prolong its lifespan.
- Cool it Down: Always ensure that the hairdryer has completely cooled down before you start cleaning to avoid any potential damage or personal injury.
- Use Soft Tools: Use a soft-bristled toothbrush or a can of compressed air to remove any dust or hair from the filter carefully.
- Prevent Blockage: Avoid using the blow dryer in a dusty environment to prevent excessive dust and hair from blocking the filter.
- Professional Help: If the blow dryer is heavily clogged or showing signs of malfunction, consider seeking professional help to avoid causing any further damage.
With these additional tips and tricks, you can keep your blow dryer clean and functioning at its best for years. Regular maintenance is key to getting the most out of your hair styling tools.
5 Things You Should Avoid
- Ignoring the Signs: If your blow dryer is overheating or making strange noises, don’t ignore these signs. They can indicate that the dryer is clogged and needs cleaning.
- Using Metal Tools: Never use sharp or metal tools to clean your blow dryer as they can scratch the inside and cause damage.
- Removing Parts Unnecessarily: Unless you are a professional, avoid disassembling dryer parts that don’t need to be. This could lead to additional problems.
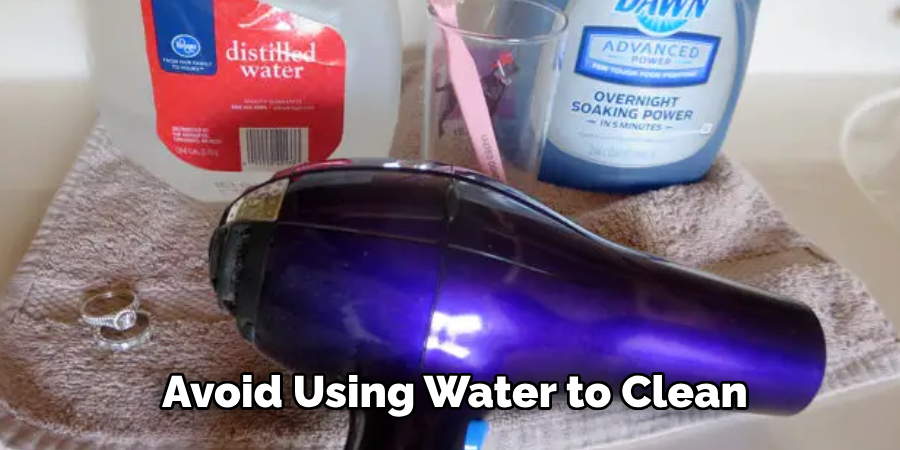
- Using Water: Avoid using water to clean the interior parts of the blow dryer. Water can damage the motor and other electrical components.
- Forgetting to Unplug: Remember to unplug the blow dryer before you start cleaning. This can prevent accidental shocks.
By avoiding these common mistakes, you can ensure that your blow dryer is well-maintained and safe to use. Regular cleaning and proper care can significantly improve the life of your appliance.
Is It OK to Use Blow Dryer Everyday?
As with any heat styling tool, frequent use of a blow dryer can cause damage to your hair. It’s essential to take breaks from using it and allow your hair to air dry. However, if you must use the blow dryer every day, follow the proper cleaning and maintenance routine mentioned above. This will help reduce potential damage caused by excessive heat and ensure that your blow dryer remains in good condition for longer.
Remember to always use a heat protectant product before using any heat styling tools on your hair.
Conclusion
With proper care and maintenance of your blow-drying device, you can continue to enjoy its stress-free, quick, and convenient results. From ensuring the filters remain clean to drying out the focusing nozzle regularly, these tips will help you keep your blow dryer running at its best performance.
Hopefully, this guide on how to clean blow dryer has provided you with all the necessary information to clean your blow dryer and avoid any potential issues properly. Remember, following these simple steps can help extend the life of your hair styling tool and save you money in the long run.
So the next time you think of taking some time off from using a regular hair dryer, consider getting yourself a good quality blow dryer for more satisfying results. After all, it’s all about maintaining your device – so take good care of it! And most importantly – have fun with your styling process!
You Can Check It Out to Clean Natural Stone Floor Tiles