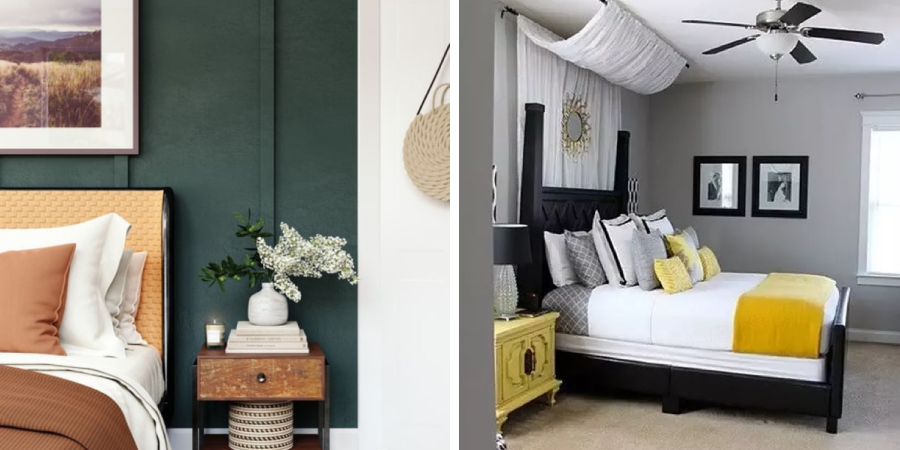
Looking to make a big change in your bedroom, but don’t want to replace the furniture? You may be surprised that some simple DIY tricks can completely transform the color of your existing furniture! In this article on how to change the color of my bedroom furniture, we’ll talk about inexpensive ways to repaint and upcycle your furniture for an entirely new look.

From choosing fabric dye and paint colors carefully to prepping the piece with sandpaper, we’ll cover all the steps involved so you get a professional-looking finish every time. So if you are ready for a style transformation of your bedroom decor without spending too much money or effort – keep reading!
Why Do You Need to Change the Color of Bedroom Furniture?
There are plenty of reasons to repaint and upcycle bedroom furniture. If you have an old piece that has seen better days, it can be a great way to give it new life without spending a lot of money.
You might also want to change the color of your room’s furniture as part of a bigger refresh or just because you’re bored of the same look. Whatever the reason, it’s not as difficult as you might think to get great results and completely transform your bedroom decor.
Step-by-step Guidelines on How to Change the Color of My Bedroom Furniture
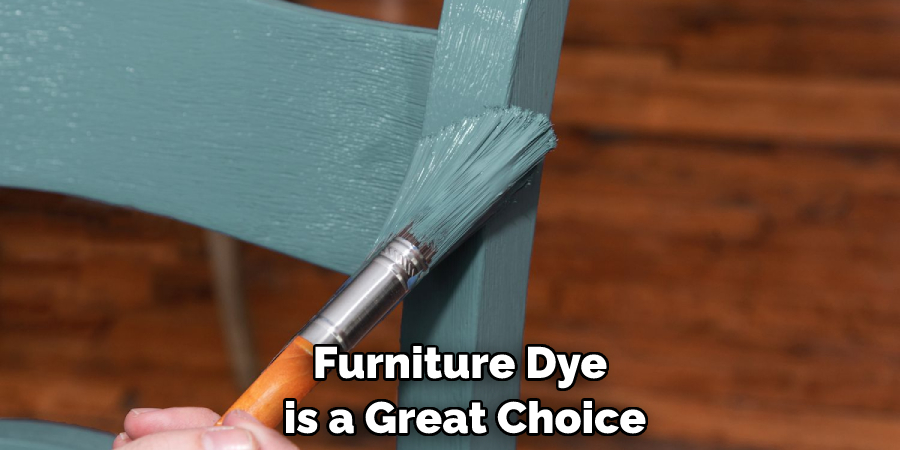
Step 1: Choose the Right Paint or Dye
Before you start repainting your furniture, you need to pick the right paint or dye for the job. For furniture that needs a deep color, furniture dye is a great choice. It’s available in a variety of colors and is designed to penetrate into wood or fabric fibers for a more vibrant look. But if you’re looking for an easier option, there are plenty of high-quality paints that are designed specifically for furniture and can be used on almost any surface.
Step 2: Prep the Piece
Using sandpaper, remove any old finish from the piece you’re repainting. Start with coarse-grit sandpaper followed by medium and fine grits for a smooth finish. Also, make sure to get rid of any dust or debris before painting or dyeing your furniture. Otherwise, the color won’t stick properly and you won’t get the results you want. Just be sure to use a clean rag and vacuum when you’re done.
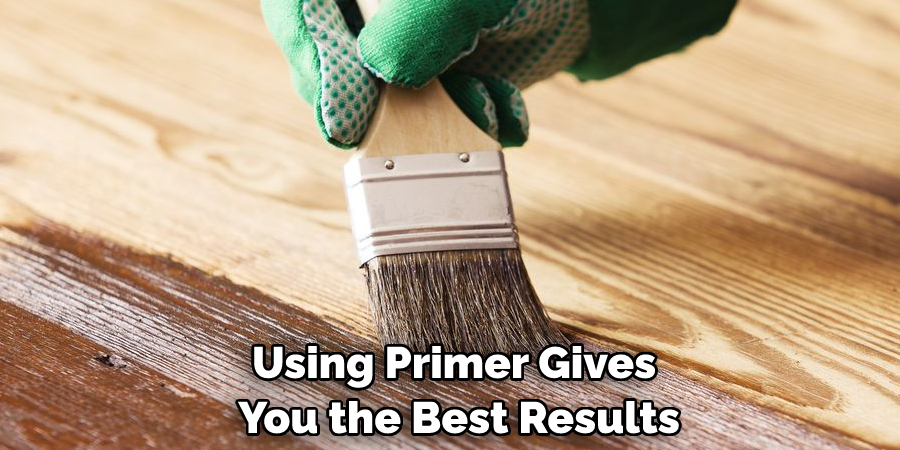
Step 3: Apply Primer
Using primer gives you the best results when it comes to paint adhesion and vibrancy of color. Make sure you cover all surfaces evenly and give them enough time to dry before applying the paint. If you’re using fabric dye, you may need to pre-treat the fabric with a fixative before applying the dye. But make sure to read the instructions on the dye label carefully so you get the best results.
Step 4: Paint or Dye the Piece
Now it’s time to really transform your piece. Whether you’re using furniture dye or paint, make sure to apply several thin coats for a nice finish. For best results use a brush and smooth strokes for painting and soft cloths for dyeing. This will help you get an even, professional-looking finish. It’s also a good idea to finish with a protective top coat so the color stays vibrant and lasts longer.
Step 5: Seal the Surface
Once the paint or dye is dry, seal it with a clear coat of sealant if needed. This will protect your new color from wear and tear over time and make it last longer. If you are using fabric dye, make sure to re-apply a fixative finish before applying the sealant. However, if your furniture is made of a different material such as plastic or metal, you can skip the sealant step and re-apply when needed.
Step 6: Add Finishing Touches
Now you can add some finishing touches to your piece. You can change handles, add decorations, or choose different fabrics for cushions and pillows. It’s all up to you and your own personal style. If It’s a great way to give your furniture an extra special touch and really make it stand out in your bedroom. Otherwise, you’re finished and you can enjoy your newly repainted or dyed furniture for years to come!
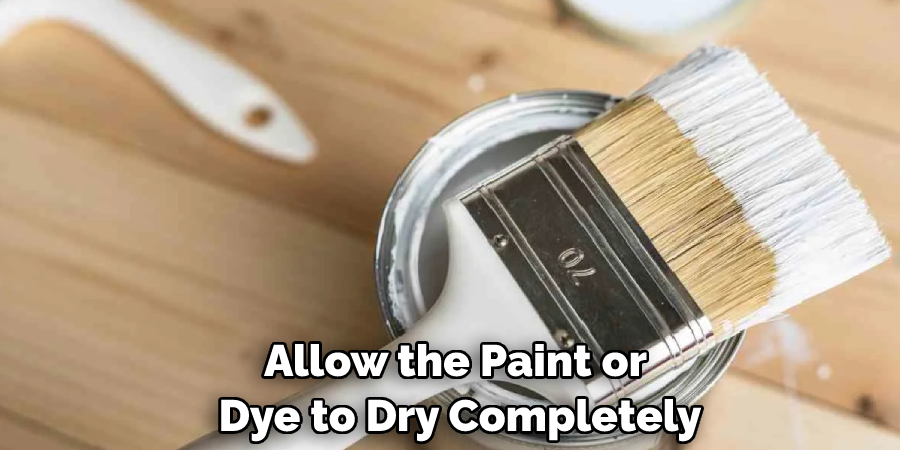
Step 7: Let it Dry
Allow the paint or dye to dry completely before using the furniture. This will help prevent any smudging of the color and give you a better-looking finish. Always make sure to follow the instructions on the paint or dye label for the best results. Otherwise, you’re done and your bedroom can now have a completely new look. It’s a great way to express your personal style and give your bedroom the makeover it deserves.
Step 8: Clean the Piece Thoroughly
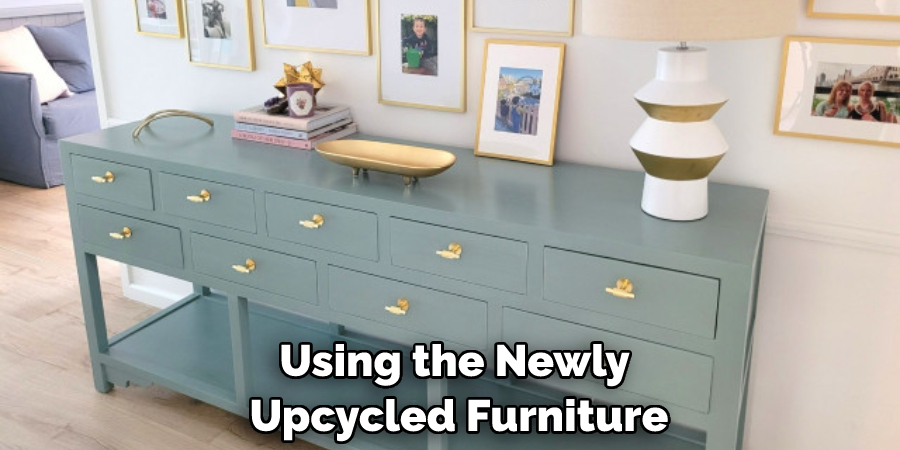
Before using the newly upcycled furniture in your bedroom, make sure to clean it thoroughly with a damp cloth or brush. This will ensure that all residues from sanding and painting are removed so that you can enjoy your new look! Before you know it, you’ll be admiring your new piece and the new color of your bedroom furniture.
You can even show off your handiwork to your friends and family. If done right, you can even turn it into a business and make some extra money. However you choose to use your newly repainted or dyed furniture, you’ll be sure to love it!
Step 9: Put It All Together
Once everything is dry and clean, it’s time to put your piece back together. Reassemble the furniture and make sure all parts are secured tightly before using it. If you added any extra decorations or changed any handles, make sure these are all in place before putting the furniture back into your bedroom. It should look as good as new and now you can enjoy your newly refurbished bedroom furniture.
Step 10: Enjoy Your New Look!
Now that you have successfully upcycled your bedroom furniture, it’s time to enjoy your new look! You can start styling your furniture with accessories such as vases, lamps, and other decorations or keep it simple with just a few plants to add some greenery. It’s up to you and your personal taste.
Whatever you choose, your bedroom should now have a fresh new look that is all your own. Always remember to be creative and have fun with it! That’s the best part about upcycling furniture. You can make it into something unique and truly one of a kind.
Following these step-by-step guidelines on how to change the color of my bedroom furniture will help you to easily change the color of your bedroom furniture and give it a whole new look. Doing this yourself is not only economical but also an enjoyable way to refresh your room’s decor. With a bit of patience, effort, and creativity – you can create a unique piece that reflects your style!
Frequently Asked Questions
Q: What Type of Paint or Dye Should I Use to Repaint My Furniture?
A: If you want a deep color, furniture dye is a great choice. It’s available in a variety of colors and is designed to penetrate into wood or fabric fibers for a more vibrant look. However, if you prefer a lighter color, then paint is the way to go.
Q: Do I Need to Apply Primer Before Painting My Furniture?
A: Yes, using primer gives you the best results when it comes to paint adhesion and vibrancy of color. Make sure you cover all surfaces evenly and give them enough time to dry before applying the paint.
Q: How Can I Seal My Newly Painted Furniture?
A: Once the paint or dye is dry, seal it with a clear coat of sealant if needed. This will protect your new color from wear and tear over time and make it last longer.
Q: How Long Should I Wait Before Using My Newly Upcycled Furniture?
A: Allow the paint or dye to dry completely before using the furniture. This will help prevent any smudging of the color and give you a better-looking finish.
Also, make sure to clean your furniture thoroughly with a damp cloth or brush before using it in your bedroom. This will ensure that all residues from sanding and painting are removed so that you can enjoy your new look!
Conclusion
Overall, giving your furniture a new color can be an easy and fun way to brighten up a room. Whether you choose to paint, stain, or use chalk-colored paint to give your furniture a completely new look, there are plenty of options depending on your budget and the time commitment you’re willing to put in. With just a few simple supplies and some hard work, you’ll be surprised how much better your bedroom looks with just this one change.
Not only does it save you money compared to buying entirely new pieces of furniture, but it can also create unique and eye-catching designs that weren’t possible before! So go ahead and do something daring – pick out the colors that will make you happiest in your home and get started on how to change the color of my bedroom furniture today!