Have you ever encountered the challenge of changing a light bulb in a high ceiling that’s out of reach? Do you want to learn how to change a burnt-out bulb safely, without risking injury or damaging your home in the process?

Then look no further! In this blog post, we’ll provide several ways how to change light bulb in high ceiling.
8 Best Ways on How to Change Light Bulb In High Ceiling
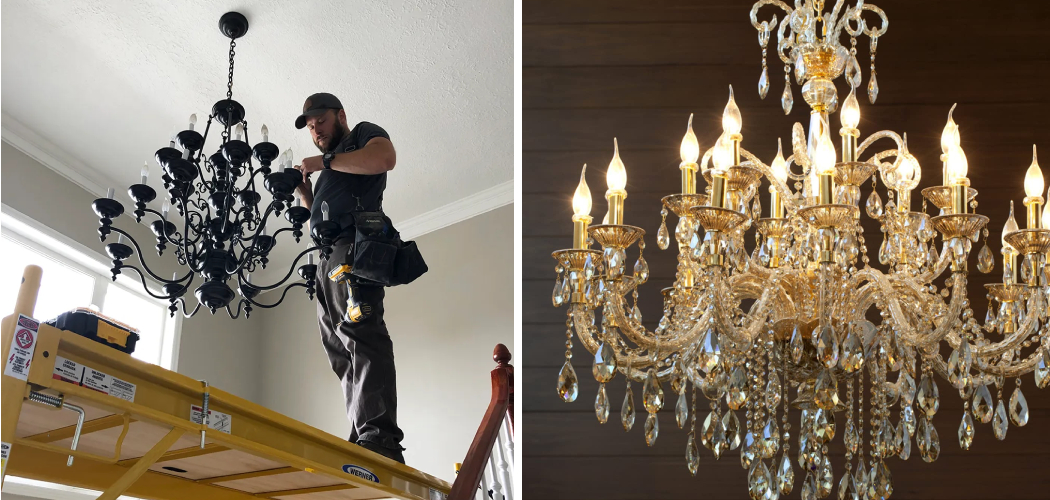
1. Ladder Your Way Up:
The most common way to change a light bulb on a high ceiling is by using a ladder. Make sure that the ladder is stable and secure before climbing it, and pay attention to the manufacturer’s maximum weight limit when standing on the ladder. To avoid accidents, you should always have someone hold the ladder steady while you’re changing the bulb.
2. Use a Light Bulb Changer Tool:
Light bulb changer tools are specially designed to help you change light bulbs on high ceilings without having to use a ladder. These tools typically come with an extendable pole and a suction cup attachment, allowing you to attach the tool to the ceiling and then twist off the old bulb and replace it with the new one.
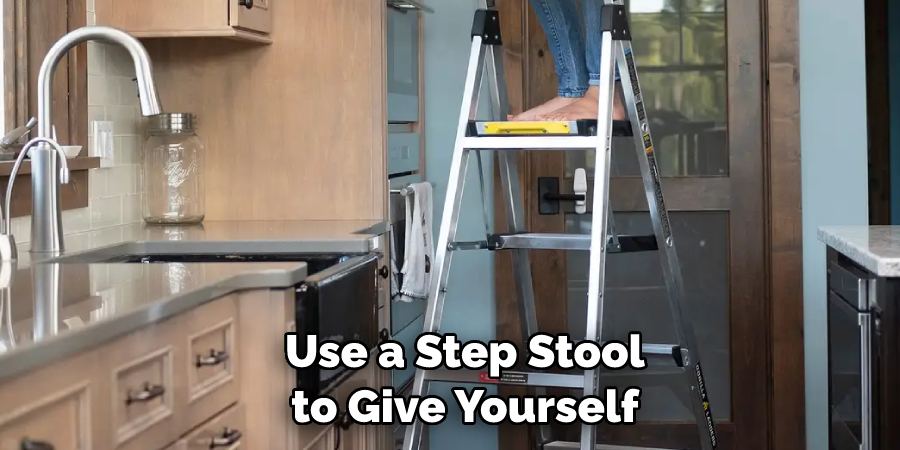
3. Use a Step Stool:
If you don’t have access to a ladder or light bulb changer tool, then you can also use a step stool to give yourself enough height to reach the light bulb. When using a step stool, make sure it is stable and secure, and be careful not to tip it over while you’re reaching for the bulb. Using this method, you can also ask someone to hold the step stool steady while you’re changing the bulb.
4. Use a Slider Pole:
Slider poles are telescoping rods that can extend up to fourteen feet in length, and they can be used to change light bulbs on high ceilings without using a ladder or step stool. To use the slider pole, simply attach the light bulb to the end of the pole and then push it up against the ceiling until it clicks into place. You can then unscrew the old bulb and replace it with a new one.
5. Use a Light Bulb Extension Pole:
Light bulb extension poles are designed to help you reach those hard-to-reach light bulbs on high ceilings. These poles are typically made of lightweight aluminum and can be extended up to sixteen feet in length. To use the extension pole, simply attach it to the existing light bulb fixture and then twist off the old bulb and replace it with a new one.
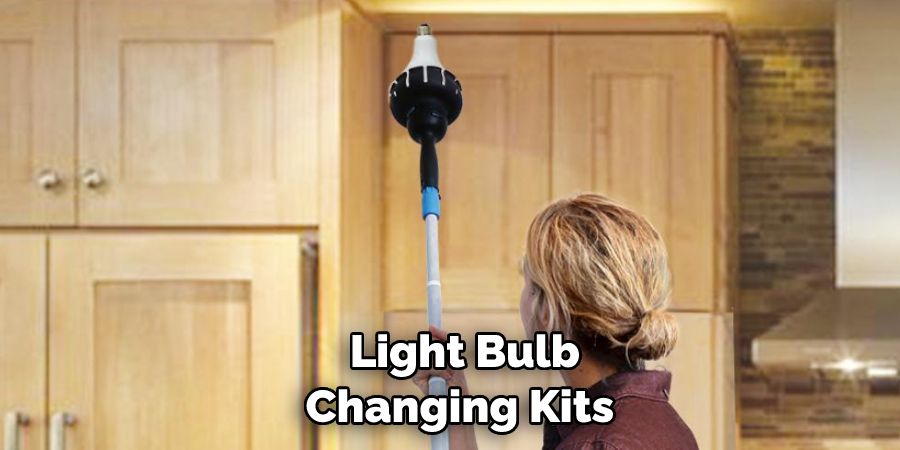
6. Use a Light Bulb Changing Kit:
Light bulb changing kits are designed to help make light bulb changing easier and safer. These kits typically include an extendable pole with several different attachments for changing various types of bulbs, as well as safety goggles and gloves that you should always wear when handling light bulbs.
7. Use a Remote-Controlled Extension Pole:
If you want to make light bulb changing even easier, then you may want to try a remote-controlled extension pole. These poles are designed with an attached camera that allows you to view the area above the ceiling from your smartphone or laptop. This will enable you to accurately unscrew and replace the old bulb without having to climb onto a ladder or step stool.
8. Use a Long-Reaching Light Bulb Remover:
A long-reaching light bulb remover is designed to help you reach those hard-to-reach, high ceilings with minimal effort. The tool works by suctioning the base of the light bulb with its long arm, allowing you to safely remove and replace the bulb without having to climb onto a ladder or step stool.
With the following ways, you can easily change a light bulb in high ceilings without having to worry about any potential accidents or injuries. Always make sure to follow safety protocols when changing a light bulb and use the appropriate tools for the job. Doing so will help ensure that your home’s lighting stays safe and efficient.
Additional Tips and Tricks to Change Light Bulb In High Ceiling
- Consider using a pole to hold the bulb and socket while changing. This will provide extra stability and help make sure the bulb is level, evenly spaced, and properly connected before turning on the power.
- If there is not enough space to fit your hands around the light socket or the ladder is too far away from it, you may need to use a pair of needle-nose pliers.
- If you are using an extension ladder, make sure it is secured on the ground before climbing up.
- When climbing the ladder, always maintain three points of contact with the ladder at all times (two hands and one foot or two feet and one hand).
- . If the light bulb is too difficult to reach, consider using a long-handled brush or dustpan to help you reach it.
- When replacing the bulb, make sure to wear protective gloves and safety goggles in case of any glass shards from a broken bulb.
- Once the new light bulb is installed, turn the power off before descending the ladder.
- Lastly, discard any old light bulbs properly and in accordance with local regulations.

With these tips and tricks, changing a light bulb in difficult-to-reach places should be easier than ever before! Always make sure to take the necessary safety precautions before any DIY projects. Good luck!
Things You Should Consider to Change Light Bulb In High Ceiling
1. Safety First:
Make sure you have all the safety equipment needed such as a sturdy ladder, non-slip shoes/boots, and a hard hat to protect your head in case of falling objects. If you’re not comfortable doing this job on your own, seek help from an electrician or other qualified professional.
2. Types of Light Bulb:
Before attempting to change a light bulb in the high ceiling, you need to determine which type of bulb is installed in the fixture. You will need an appropriate replacement bulb that fits into the socket and matches the wattage requirements. You will also need to make sure that the bulb is compatible with the dimmer switch, if applicable.
3. Extension Ladder:
A sturdy ladder should be used when attempting to change a light bulb in a high ceiling. Make sure you have an extension ladder tall enough to reach the light fixture and that it is securely placed on even ground before climbing. Ladder accessories such as a stabilizer or platform will help make the job easier and safer.
4. Removal of Old Light Bulbs:
Once you have located the light fixture on your ladder, you can remove the old bulb by unscrewing it from the socket. Make sure to keep track of where it was placed so that you don’t lose it or drop it. Some bulbs may require tools such as a screwdriver to remove. While you have the fixture open, check for any signs of damage that may need to be repaired.
5. Installation of New Light Bulbs:
Once the old light bulb has been removed, you can install the new one by screwing it into the socket with your hands or a screwdriver. Make sure to check that the wattage and voltage requirements are met before turning on the power. If installing a dimmable bulb, make sure it is compatible with the dimmer switch. Finally, turn on the power and test out your new light bulb to ensure it works properly.

These are some of the important things to consider when changing a light bulb on a high ceiling. Safety should always be your first priority, as well as making sure you have all the necessary supplies and tools before attempting this task. With the right preparation and knowledge, you can safely change your light bulb on a high ceiling with ease.
Precautions Need to Follow for Changing Light Bulb in High Ceiling
- Make sure the power is off before starting to change the light bulb. This should be done by switching off the circuit breaker or unplugging the fixture from the wall outlet.
- It’s always best to use a sturdy ladder when changing out a light bulb in a high ceiling, as it provides a safe platform while working.
- Always wear gloves when changing out a light bulb in a high ceiling as this will reduce the chances of accidental shocks due to contact with the bulb’s hot surface.
- Avoid overreaching while on the ladder, and use extra caution when standing on higher rungs closer to the ceiling fan or other fixtures. It is also important to be aware of your balance and not lean too far in any direction.
- If the light bulb is extremely high, it may be best to hire a professional to do the job for you as this will reduce the risk of injury or damage to property.
- When changing out a light bulb with a high ceiling, make sure you use the correct wattage of the bulb and replace it in the same manner as the old one.
- Finally, always dispose of used light bulbs responsibly and never leave them lying around where they may be a fire hazard.
These precautions should be followed when changing out a light bulb in a high ceiling to ensure safety and minimize any potential risks. With the right equipment and knowledge, changing a light bulb in a high ceiling can be done safely and efficiently.
Frequently Asked Questions
What Type of Lightbulb Should I Use With a High Ceiling?
It is best to use a long-life bulb such as an LED or CFL in a high ceiling fixture. These bulbs provide more energy efficiency and last longer than traditional incandescent bulbs, reducing the need for frequent replacements.
Additionally, many of these bulbs can be dimmed, so you can adjust the light level depending on your needs. If you are uncomfortable with using a ladder to replace higher-hanging bulbs, you may wish to invest in a remote-controlled bulb that can be changed without the need for manual labor.

Is It Dangerous to Change a Light Bulb in a High Ceiling?
It can be dangerous if you do not take the proper safety precautions. Always make sure you use sturdy ladders and have someone helping you to ensure your balance and safety as you reach for the bulb. Additionally, always wear protective gear such as gloves, goggles, and a face mask to protect yourself from airborne particles or potential electrical shock. Lastly, be sure to turn off the power before attempting to change the bulb.
How Long Does It Take to Change a Light Bulb in a High Ceiling?
It depends on several factors such as your skill level, how easy it is for you to reach the bulb, and what type of bulb is being replaced. Generally speaking, replacing a light bulb in a high ceiling can take anywhere from 10 minutes to an hour or more depending on your situation. Be sure to plan accordingly so that you have enough time for the task at hand. Additionally, be sure to have all the necessary safety equipment and tools you need to complete the job safely.
Conclusion
With the above outlined you can easily learn how to change light bulb in high ceiling. Always ensure that you practice safety precautions such as using ladders and protective gear to protect yourself from potential electrical shock. Additionally, select a long-life bulb-like LED or CFL to avoid having to replace the bulb frequently. Lastly, plan accordingly as it may take anywhere from 10 minutes to an hour or more depending on your situation.