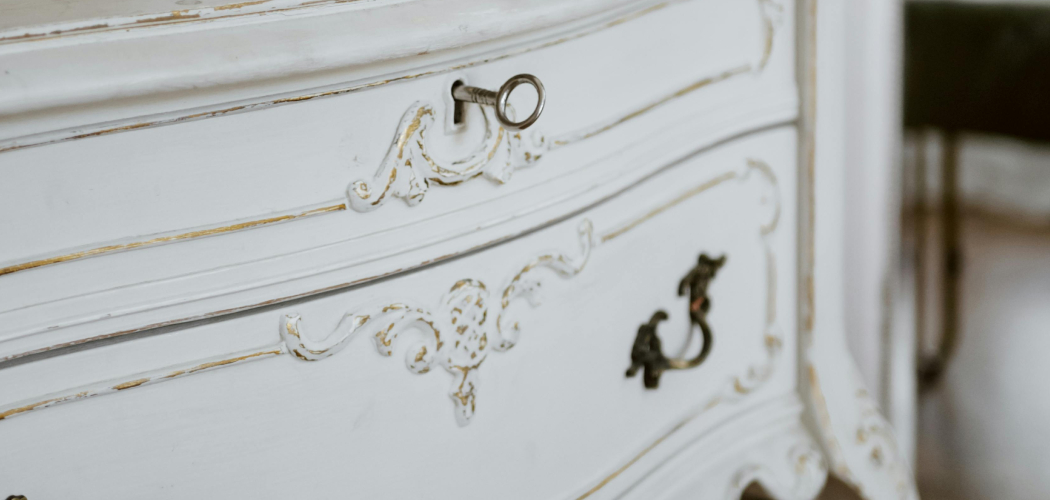
Chalk painting a dresser is a popular and versatile technique that can breathe new life into old furniture, transforming it into a stylish and unique piece for any room in your home. Unlike traditional paint, chalk paint requires minimal preparation and can adhere to various surfaces without the need for priming or sanding.
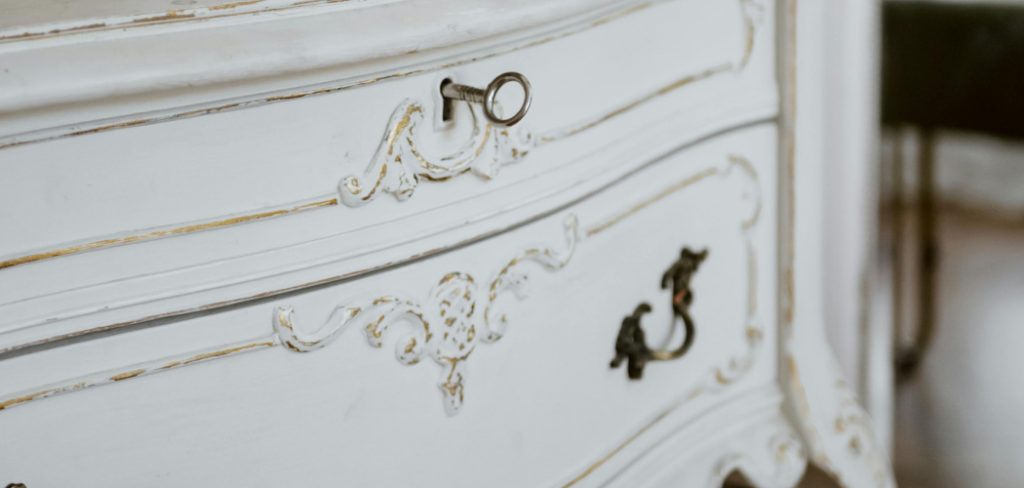
This makes it an ideal choice for DIY enthusiasts looking to achieve a shabby chic or distressed look with ease. In this comprehensive guide, we will walk you through the step-by-step process of how to chalk paint a dresser, from preparing the surface and selecting the right chalk paint to applying the paint and adding finishing touches.
Whether you’re a seasoned crafter or a novice looking to embark on your first furniture makeover project, chalk painting offers endless possibilities for creativity and personal expression. Get ready to unleash your artistic flair and revitalize your dresser with this simple yet impactful technique.
The Popularity and Versatility of Chalk Painting
Chalk painting has gained immense popularity in recent years, becoming a favorite among DIY enthusiasts and professional decorators alike. One of the key reasons for its widespread appeal is its incredible versatility. Chalk paint can be used on a wide variety of surfaces, including wood, metal, glass, and even fabric, making it possible to rejuvenate not just furniture but also home décor items such as picture frames, lamps, and cushions.
This flexibility allows for a virtually limitless range of creative projects. Moreover, chalk paint’s matte finish provides a timeless aesthetic that complements a variety of design styles, from vintage and rustic to modern and minimalist. The ability to easily distress the paint also adds to its charm, allowing users to achieve that sought-after shabby chic look effortlessly. With an array of colors available, chalk painting fosters creativity, enabling individuals to personalize their spaces with unique, handmade pieces.
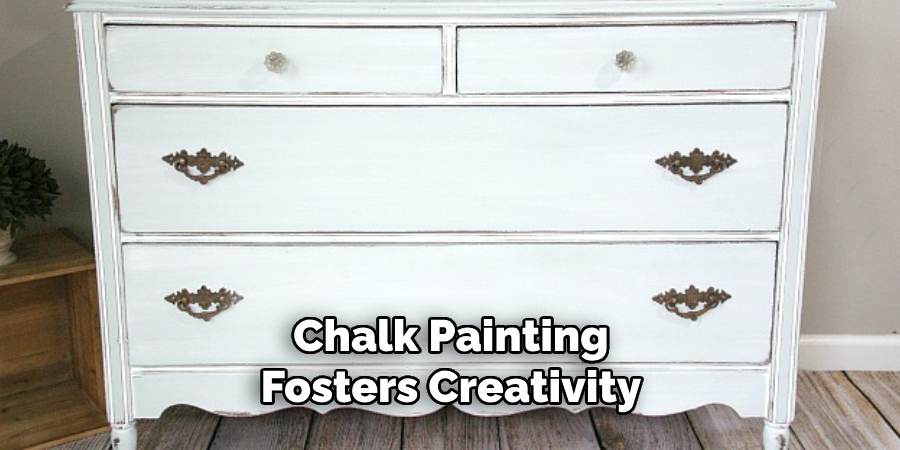
Benefits of Chalk Painting
Chalk painting offers numerous benefits that contribute to its growing popularity. One of the primary advantages is its ease of use. Unlike traditional paints that often require extensive preparation, chalk paint requires minimal surface preparation, as it can adhere well to almost any surface without the need for priming or sanding. This feature makes it an excellent option for quick and straightforward DIY projects. Additionally, chalk paint dries relatively fast, allowing for quicker project completion.
Another significant benefit is the aesthetic versatility it provides. Chalk paint’s matte, velvety finish adds a touch of elegance and sophistication to any piece. It also lends itself well to a variety of techniques, from distressing to create an antique look, to layering colors for added depth and texture. This versatility ensures that you can adapt the look to fit virtually any design style. Furthermore, chalk paint is typically low in volatile organic compounds (VOCs), making it a more environmentally friendly choice.
Its non-toxic nature also makes it safer to use, particularly in homes with children or pets. Finally, the wide range of available colors allows you to personalize pieces to match your unique style and decor. These benefits collectively make chalk painting an appealing and accessible approach to refurbishing and customizing furniture and home décor items.
10 Methods How to Chalk Paint a Dresser
Method 1: Gather Your Materials
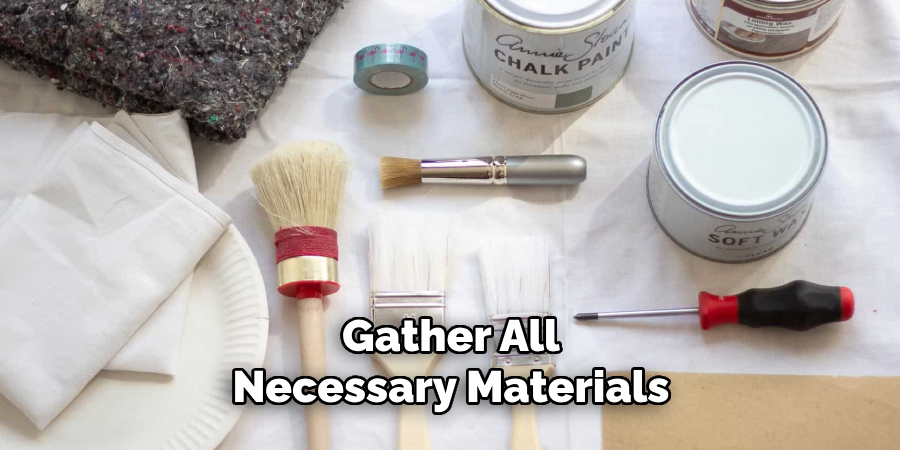
Before starting your chalk painting project, it’s essential to gather all necessary materials. You will need chalk paint, a quality paintbrush (preferably with natural bristles), sandpaper (medium and fine grit), a soft cloth or tack cloth, painter’s tape, a protective top coat (like wax or polyurethane), and drop cloths to protect your workspace. Having all materials on hand before you begin will streamline the process and help you avoid interruptions.
Method 2: Prepare the Dresser
Although chalk paint is known for requiring minimal preparation, a clean surface is crucial for a smooth finish. Start by removing any hardware from the dresser, such as handles or knobs. Clean the dresser thoroughly with a mild detergent and water to remove dirt, grease, and grime. Once dry, lightly sand the surface with medium-grit sandpaper to remove any glossy finish and to help the paint adhere better. Wipe away sanding dust with a tack cloth or a damp cloth.
Method 3: Apply the First Coat of Chalk Paint
Begin by stirring the chalk paint thoroughly to ensure consistency. Dip your brush lightly into the paint, tapping off any excess to avoid drips. Apply the paint in long, even strokes, following the grain of the wood if applicable. Chalk paint dries quickly, so work in manageable sections. The first coat will likely appear streaky, but this is normal. Allow the paint to dry completely, which typically takes about 30 minutes to an hour, depending on the brand and environmental conditions.
Method 4: Sand Between Coats
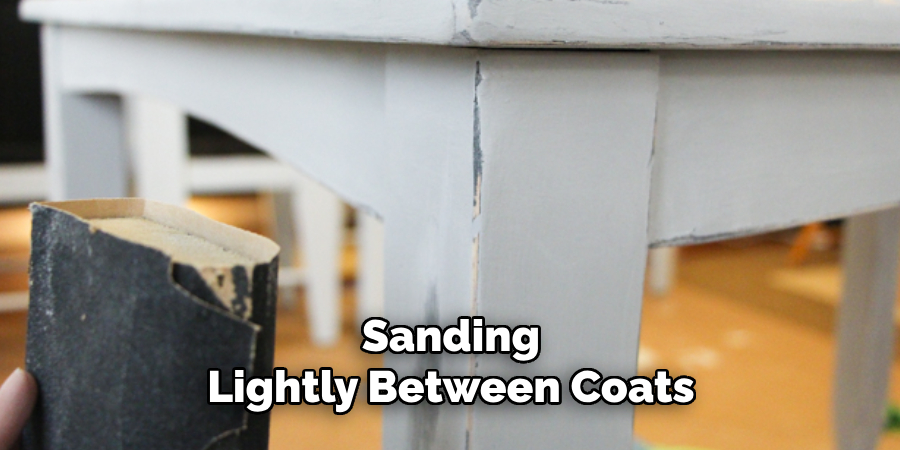
For a smooth and professional finish, lightly sand the dresser between coats of paint. Use fine-grit sandpaper (around 220 grit) to gently sand the surface, focusing on any rough spots or brush strokes. This step helps to create a smoother base for the subsequent coats and ensures an even finish. After sanding, wipe away any dust with a tack cloth or a damp cloth before applying the next coat of paint.
Method 5: Apply Additional Coats of Chalk Paint
Most projects will require at least two to three coats of chalk paint to achieve full coverage. Repeat the process of applying thin, even coats of paint, allowing each coat to dry completely before adding the next. Sand lightly between each coat to maintain a smooth surface. The number of coats needed will depend on the original color of the dresser and the desired final look. Be patient and take your time to ensure thorough and even coverage.
Method 6: Distress the Finish (Optional)
One of the appealing aspects of chalk paint is its suitability for creating a distressed, vintage look. If you prefer a distressed finish, lightly sand the edges, corners, and any raised details of the dresser after the final coat of paint has dried. Use medium to fine-grit sandpaper to gently remove some of the paint, revealing the underlying wood or previous finish. Distress selectively to create a natural, worn appearance. Wipe away dust with a tack cloth once you achieve the desired level of distressing.
Method 7: Apply a Protective Top Coat
To protect your chalk-painted dresser and enhance its durability, apply a protective top coat. Wax and polyurethane are popular options for sealing chalk paint. If using wax, apply it with a soft cloth or a wax brush, working in small sections and buffing to a soft sheen. Allow the wax to cure for several days before heavy use. For polyurethane, choose a water-based version to avoid yellowing over time. Apply it with a clean brush in thin, even coats, allowing each coat to dry thoroughly and sanding lightly between coats.
Method 8: Reattach Hardware or Add New Hardware
Once the top coat has dried and cured, it’s time to reattach the hardware. If you prefer a new look, consider replacing the old hardware with new knobs or handles that complement your freshly painted dresser. Make sure the new hardware fits the existing holes or use wood filler and a drill to adjust as needed. New hardware can significantly enhance the overall appearance and add a personal touch to your project.
Method 9: Final Touches and Cleaning
Inspect your dresser for any missed spots or imperfections. Touch up any areas with additional paint or wax as needed. Clean any remaining dust or debris from the project area. If you notice any unwanted brush strokes or rough patches, lightly sand and reapply a thin coat of paint or top coat to smooth out the surface. Ensuring a clean and polished final look is essential for a professional finish.
Method 10: Enjoy and Maintain Your Chalk-Painted Dresser
With your dresser beautifully chalk-painted and sealed, it’s time to enjoy your refreshed piece of furniture. Place it in your desired location and decorate it with your favorite items. To maintain the finish, dust the dresser regularly with a soft cloth and avoid using harsh chemicals or abrasive cleaners. If the waxed surface begins to look dull over time, reapply a thin layer of wax and buff to restore its sheen. Regular maintenance will keep your dresser looking stunning for years to come.

Conclusion
Chalk painting a dresser is a rewarding DIY project that can transform an old, tired piece of furniture into a stylish and unique statement piece. By carefully preparing the surface, applying multiple coats of chalk paint, distressing (if desired), and protecting the finish, you can achieve a beautiful, professional result.
Gathering the right materials, following meticulous steps, and adding personal touches through hardware and distressing will ensure your dresser not only looks fantastic but also stands the test of time. Thanks for reading, and we hope this has given you some inspiration on how to chalk paint a dresser!
