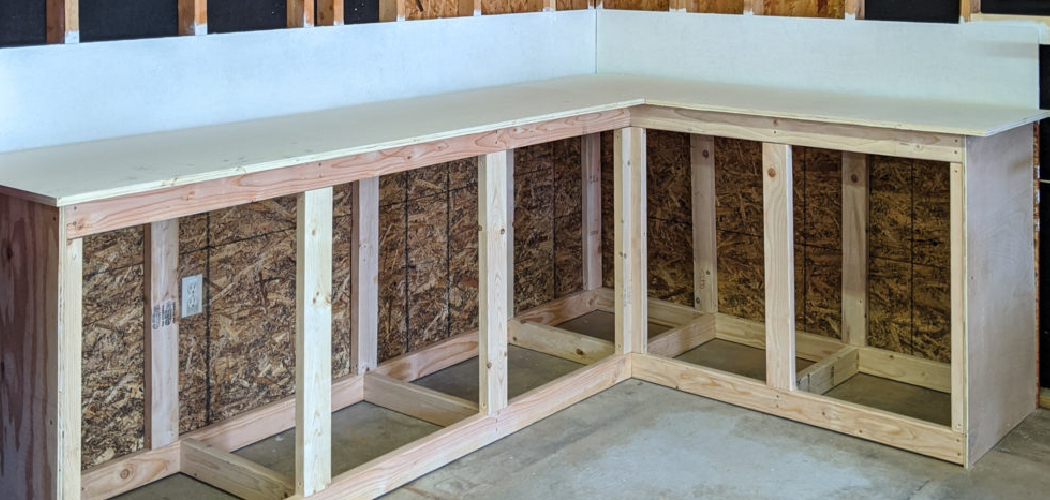
Building plywood garage cabinets is an excellent way to maximize storage space and enhance the organization of your garage. This project, while approachable for DIY enthusiasts, offers a satisfying blend of utility and craftsmanship. Whether you are a seasoned woodworker or a novice eager to embark on your first major woodworking project, constructing these cabinets provides a practical and customizable solution tailored to your specific storage needs. Plywood is a versatile and cost-effective material, known for its durability and ease of use, making it an ideal choice for garage cabinetry.
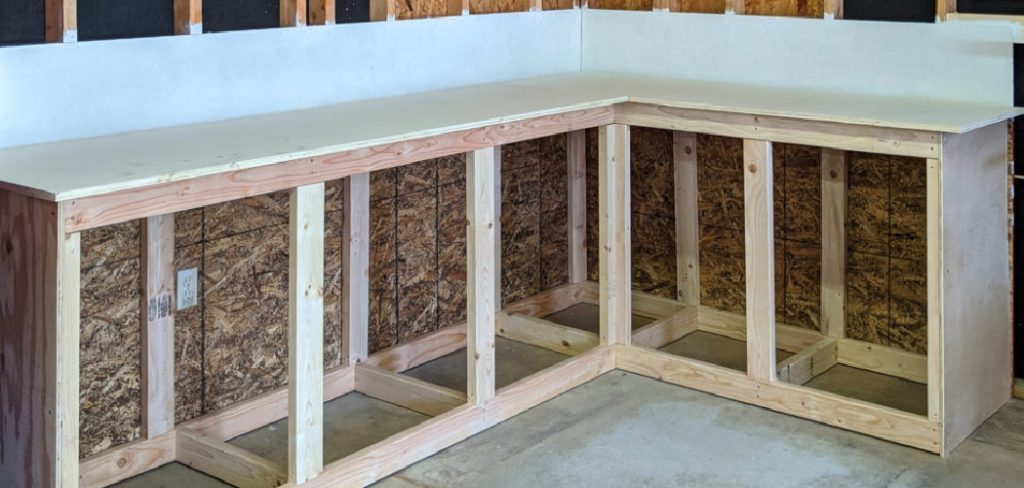
In this guide, we will walk you through how to build plywood garage cabinets, from planning and measuring your space to selecting the right plywood, cutting and assembling the pieces, and adding finishing touches for both functionality and aesthetic appeal. By the end, you’ll not only have a set of sturdy, custom-made cabinets but also the satisfaction of a job well done, transforming your garage into a well-organized haven.
Benefits of Building Plywood Garage Cabinets
Constructing your own plywood garage cabinets comes with a multitude of benefits. Firstly, it allows for complete customization to suit your unique storage requirements. Instead of making do with pre-fabricated options, you can design cabinets that perfectly fit your space and accommodate all your tools and supplies. Building your own cabinets also proves to be cost-effective, as plywood is a reasonably priced material that offers great value for its durability and strength.
Additionally, the process of crafting these cabinets fosters a sense of accomplishment and pride in your workmanship. It also improves the overall organization of your garage, turning a cluttered, chaotic space into a well-ordered, efficient area. Enhanced organization not only makes it easier to find items but also increases the safety of your workspace, reducing the risk of accidents caused by misplaced tools or equipment. Finally, well-built plywood cabinets add to the aesthetic appeal of your garage, giving it a polished, professional look that matches your dedication to maintaining a tidy and functional environment.
10 Methods How to Build Plywood Garage Cabinets
Method 1: Planning and Designing Your Cabinets
Before you begin building, it’s crucial to plan and design your cabinets. Start by assessing your garage space to determine the dimensions and layout of your cabinets. Consider the types of items you will store and how much weight they will need to support. Sketch a detailed design, including measurements, shelving, and door placements. Use graph paper or design software for precision. Planning ensures that you purchase the correct amount of plywood and hardware, and it helps prevent costly mistakes during construction.
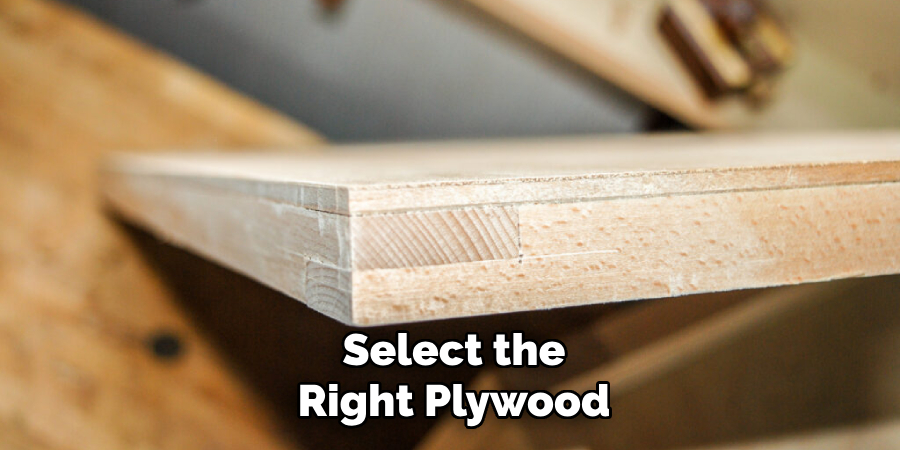
Method 2: Selecting the Right Plywood
Choosing the right plywood is essential for the durability and appearance of your cabinets. Opt for high-quality plywood, such as Baltic birch or marine-grade plywood, which offers strength and a smooth surface. Thickness is also important; 3/4-inch plywood is generally recommended for the cabinet structure to provide adequate support. Ensure that the plywood sheets are flat and free from defects like warping or large knots. Quality materials will contribute to the longevity and sturdiness of your cabinets.
Method 3: Cutting Plywood Sheets
Accurate cutting of plywood sheets is a foundational step in cabinet construction. Use a table saw or circular saw with a guide to make precise cuts according to your design specifications. Measure twice and cut once to avoid wasting materials. Label each piece after cutting to keep track of which part of the cabinet it corresponds to. Investing in a quality saw blade designed for plywood will result in cleaner cuts and reduce splintering, giving your cabinets a professional finish.
Method 4: Building the Cabinet Frame
Constructing the cabinet frame is the next step. Start by assembling the sides, top, bottom, and back panels using wood glue and screws. Pre-drill holes to prevent splitting, especially near the edges. Use corner clamps to ensure that the pieces are square and properly aligned. Reinforce the joints with additional screws or dowels for added strength. The frame should be sturdy and square, as this forms the foundation of your cabinet.
Method 5: Installing Shelves and Dividers
Shelves and dividers enhance the functionality of your cabinets by providing organized storage space. Cut the shelves and dividers to fit snugly within the cabinet frame. Use adjustable shelf supports or cleats to allow for flexibility in shelf placement. Secure the shelves with screws or brackets, ensuring they are level. If you plan to store heavy items, consider reinforcing the shelves with additional supports or using thicker plywood.
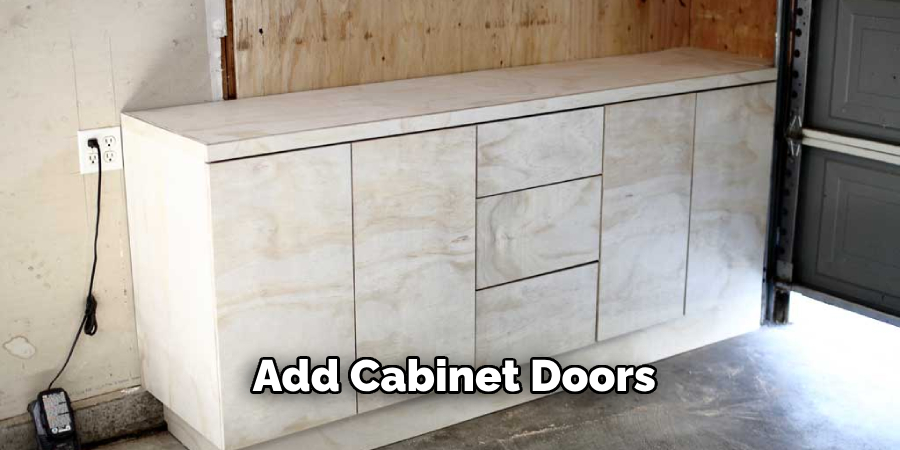
Method 6: Adding Cabinet Doors
Cabinet doors protect your stored items from dust and provide a neat appearance. Measure the door openings accurately and cut the doors from plywood, ensuring they are slightly smaller than the openings to allow for hinges and clearance. Sand the edges smooth. Install hinges on the doors and attach them to the cabinet frame, making sure they are aligned and open smoothly. Use magnetic catches or a similar mechanism to keep the doors closed.
Method 7: Finishing and Sanding
Finishing your cabinets not only improves their appearance but also protects the wood. Begin by sanding all surfaces with progressively finer grit sandpaper until they are smooth. Fill any gaps or holes with wood filler and sand again once it’s dry. Apply a primer if you plan to paint, or a wood conditioner if you will stain the cabinets. Follow up with a high-quality paint, stain, or clear finish, applying multiple coats as necessary. Sand lightly between coats for a smooth, professional finish.
Method 8: Installing Hardware
Hardware, such as handles, knobs, and latches, adds functionality and style to your cabinets. Choose hardware that complements the overall look and is durable enough for frequent use. Measure and mark the placement for each piece, ensuring consistency across all doors and drawers. Use a template if available to ensure uniformity. Secure the hardware firmly, but avoid over-tightening screws which could damage the plywood.
Method 9: Mounting the Cabinets
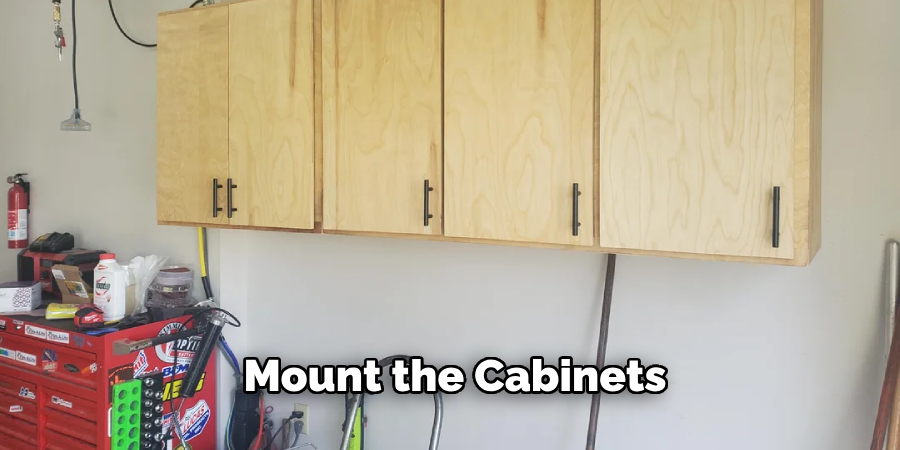
Mounting the cabinets securely to the wall is crucial, especially in a garage environment where they may hold heavy items. Locate the wall studs using a stud finder and mark their positions. Pre-drill holes through the cabinet back and into the studs. Use heavy-duty screws or lag bolts to attach the cabinets to the wall, ensuring they are level. For added stability, consider installing a French cleat system, which distributes the weight more evenly and simplifies the installation process.
Method 10: Organizing Your Garage
With your new cabinets installed, it’s time to organize your garage. Categorize items and assign them to specific cabinets or shelves based on their size and frequency of use. Use clear storage bins or labels to keep items visible and easily accessible. Maintain a clean and organized space by regularly decluttering and rearranging as needed. Proper organization maximizes the utility of your new cabinets and keeps your garage tidy.
Things to Consider When Building Custom Garage Cabinets
When embarking on the journey of building custom garage cabinets, there are several important factors to keep in mind to ensure a successful project. Here are key considerations:
- Budget and Costs: Determine a realistic budget for your project, including materials, tools, and any additional hardware. High-quality plywood and finishing materials might be more expensive upfront but will enhance the longevity and durability of your cabinets. Be mindful of potential extra costs, such as paint or stain, sanding equipment, and safety gear.
- Tool Availability: Ensure you have all the necessary tools before starting the project. Essential tools include a table saw or circular saw, drill, tape measure, clamps, sandpaper, and safety gear like goggles and gloves. Borrow or rent any tools you don’t own to avoid project delays.
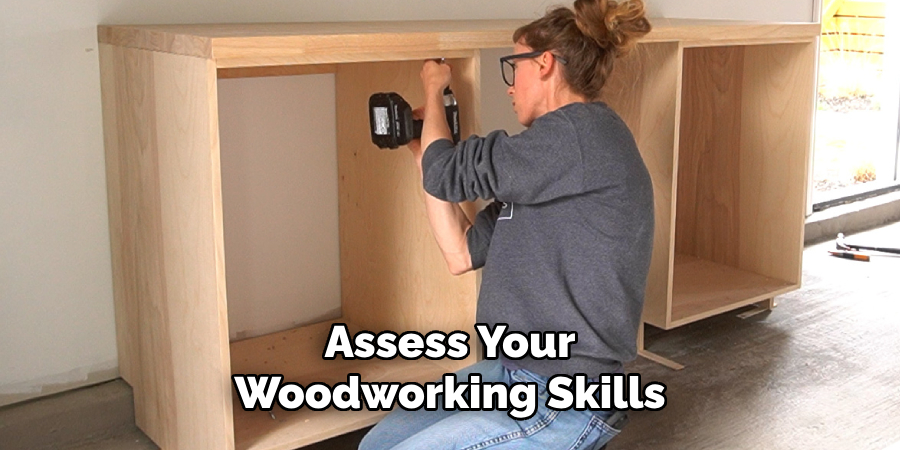
- Skill Level: Assess your woodworking skills. Building custom cabinets requires precision and a good understanding of construction techniques. If you are a beginner, consider taking a woodworking class or practicing on smaller projects first. Alternatively, seek help from a skilled friend or professional if needed.
- Workspace: Set up a well-organized and spacious work area. Building cabinets involves cutting large plywood sheets and assembling sizable structures, so ample space is crucial for maneuverability and safety. Ensure your workspace is clean, well-lit, and ventilated, especially when working with wood finishes.
- Safety Measures: Prioritize safety throughout the project. Always wear protective gear such as safety glasses, ear protection, and gloves. Follow safety guidelines for operating power tools and handle materials with care to prevent injuries. Keep a first-aid kit nearby for emergencies.
Conclusion
Building plywood garage cabinets is a rewarding project that enhances the functionality and appearance of your garage. By carefully planning, selecting quality materials, and following precise construction methods, you can create durable and attractive storage solutions tailored to your needs. These ten methods provide a comprehensive guide to constructing and installing your cabinets, ensuring your project is a success. With the right tools, techniques, and a bit of patience, you can transform your garage into a well-organized and efficient space. Thanks for reading, and we hope this has given you some inspiration on how to build plywood garage cabinets!
