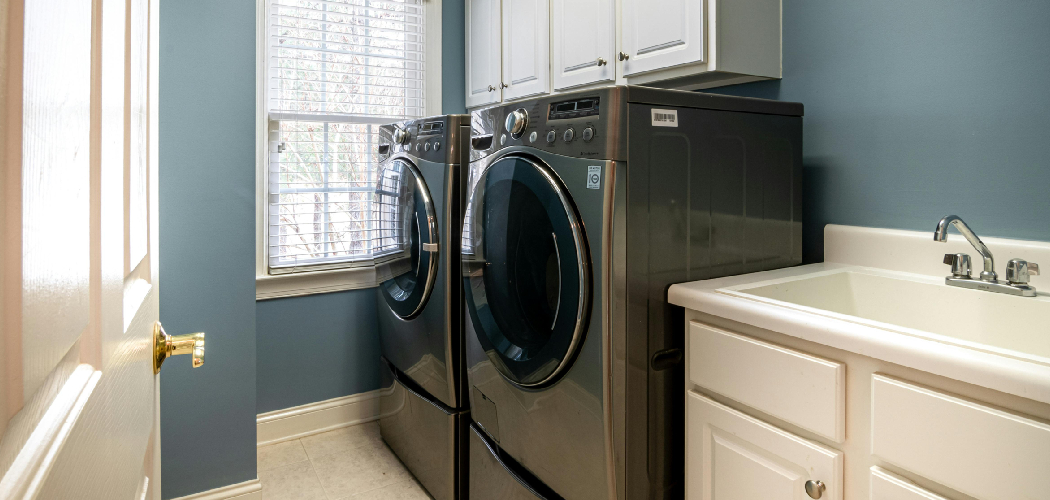
Are you tired of your laundry room being cluttered and disorganized? Laundry room shelves are the perfect solution to help you keep your space tidy and functional.
How to build laundry room shelves is an excellent way to maximize storage space and organization in a frequently used area of your home. By creating custom shelves, you can tailor the design to fit your needs, accommodating detergents, fabric softeners, and clean laundry. Not only does this project enhance the functionality of your laundry room, but it also adds a personal touch to your home’s interior. With a few essential materials and tools, anyone from a seasoned DIY enthusiast to a beginner can complete this project.
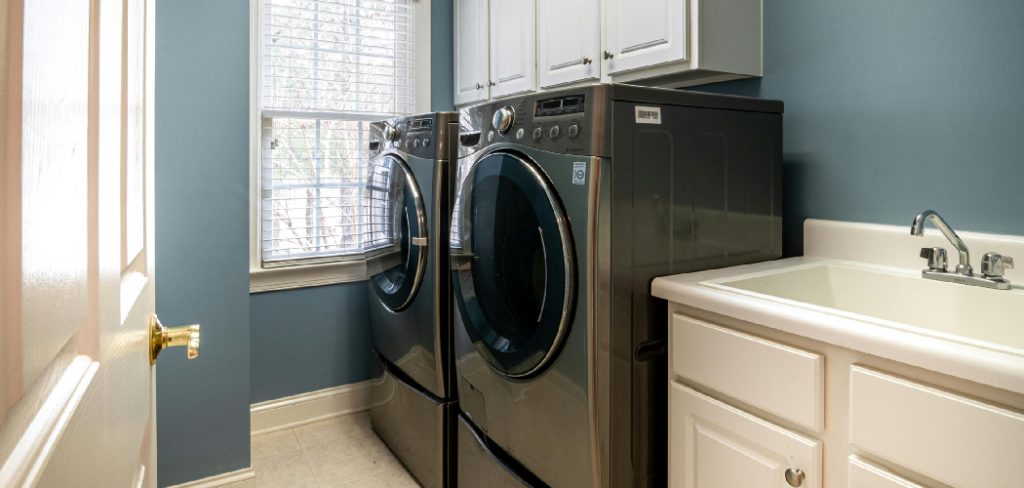
In this guide, we will walk you through the step-by-step process of planning, constructing, and installing laundry room shelves to create a more efficient and aesthetically pleasing space.
What Will You Need?
Before starting any DIY project, gathering all the necessary materials and tools is essential to avoid interruptions during the construction process. For this project, you will need:
- Measuring tape
- Pencil
- Level
- Drill
- Screws
- Wood or metal brackets
- Shelf boards (wood or metal)
- Saw (if cutting your own shelf boards)
Once you have all the materials, it’s time to start planning your laundry room shelves.
10 Easy Steps on How to Build Laundry Room Shelves
Step 1: Measure and Plan
Start by measuring the space where you want to install the shelves. Use measuring tape to determine the height, width, and depth of the area. Note any obstacles, like pipes or vents, that might affect the placement of your shelves. With these measurements, sketch a rough plan of your layout, considering the number of shelves you want and their spacing to accommodate your storage needs.
Step 2: Gather and Cut Materials
With a clear plan, your next step is to gather all the necessary materials and tools for your DIY project. Begin by acquiring the shelf boards and brackets that match your design. If you’re customizing the size of your shelves, use a saw to cut the shelf boards to the desired lengths, ensuring precision and accuracy. A level can be handy here to help mark even cuts. Remember to prioritize safety by wearing protective gear like goggles and gloves when using power tools.
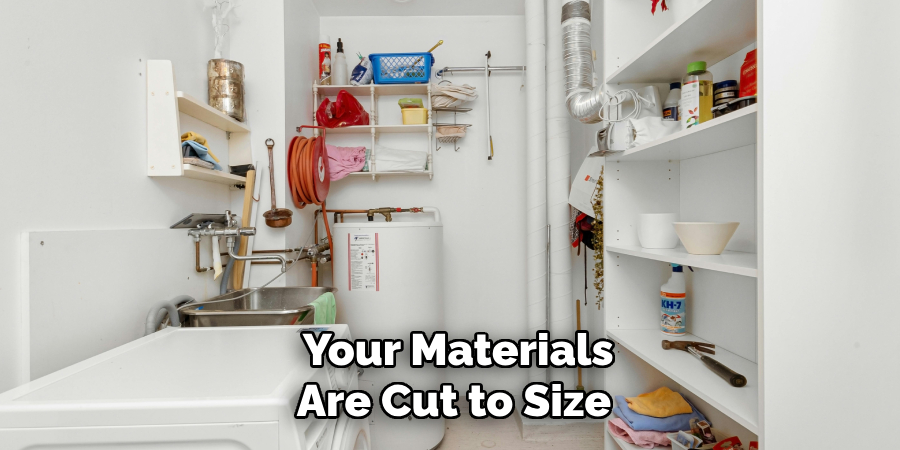
Once your materials are cut to size, organize them to streamline the assembly process. Preparing all elements in advance will make the construction phase smoother and more enjoyable, enabling you to focus on assembling your new laundry room shelves efficiently.
Step 3: Install the Brackets
With your materials prepared, it’s time to install the brackets on the wall. Begin by marking the positions where each bracket will be mounted, ensuring they are level and evenly spaced. Use a pencil and the level to draw straight, horizontal lines as guides. Next, drill pilot holes into the marked spots, being mindful of the wall type to ensure a secure fit. Align the brackets with the pilot holes, then secure them in place using screws and a drill. Double-check that each bracket is level and sturdy; this will provide a solid foundation for your shelves. Properly installed brackets are crucial for the stability and durability of your finished shelves.
Step 4: Position and Secure the Shelves
Once the brackets are securely mounted, you can position the shelf boards onto them. Carefully place each board on the brackets, ensuring that the boards are flush against the wall and centered over the brackets for an even and balanced appearance. Using a level, check for horizontal alignment across the length of the shelf board; adjust as necessary until it is perfectly level. When the board is correctly positioned, use screws to secure the shelf to the brackets.
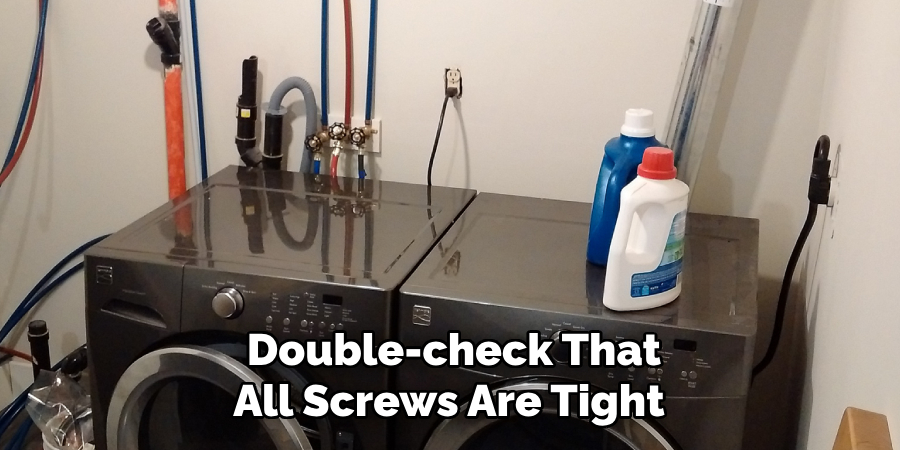
This adds stability and ensures that the boards remain firmly in place, even under the weight of stored items. Double-check that all screws are tight and the setup is sturdy, as this will prevent any wobbling or potential accidents, resulting in shelves that not only look great but are practical for daily use.
Step 5: Sand and Finish the Shelves
After securing the shelf boards in place, it’s time to sand and finish them for a polished look. Use sandpaper or an electric sander to smooth any rough edges or surfaces, ensuring a fine and even texture. Sanding not only enhances the shelves’ appearance but also helps prevent splinters. Once the boards are sanded, apply your chosen finish, such as paint, stain, or varnish, to protect the wood and match your laundry room’s decor. Allow the finish to dry completely before placing any items on the shelves.
Step 6: Organize and Load the Shelves
With your laundry room shelves built and finished, it’s time to organize and load them efficiently. Start by grouping similar items together, such as laundry detergents, fabric softeners, or cleaning supplies, and assign each category a designated space on the shelves. Use storage bins or baskets to compartmentalize smaller items and prevent clutter. Labeling these containers can further enhance organization and make it easier to find what you need quickly. Ensure that frequently used items are placed at accessible heights to minimize effort when retrieving them.
Step 7: Maintain the Shelves
To ensure your laundry room shelves remain durable and functional, regular maintenance is key. Periodically check the stability of the shelves and the tightness of screws, especially if you notice any wobbling or instability. Clean the surfaces regularly to prevent dust and grime accumulation, which can detract from appearance and hygiene. Use a mild detergent or gentle cleaning spray suitable for the shelf material, avoiding harsh chemicals that might damage the finish. If you notice any scratches or wear over time, consider refreshing the finish with an additional coat of paint, stain, or varnish. By routinely maintaining your shelves, you extend their lifespan and keep your laundry room looking fresh and organized.
Step 8: Enjoy Your New Laundry Room Shelves
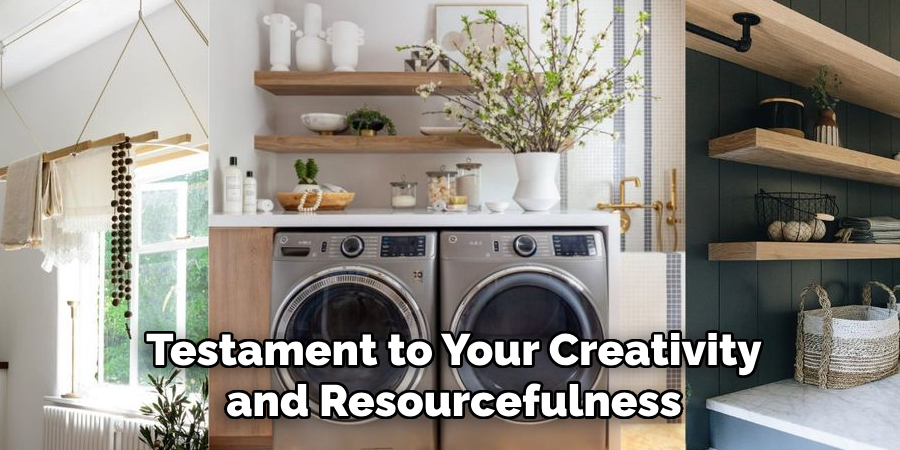
With all the steps completed, it’s time to enjoy the enhanced functionality and aesthetic appeal that your new laundry room shelves bring. Take a moment to appreciate the effort and craftsmanship that have transformed your space into a more organized and efficient environment. This improvement streamlines your laundry tasks and adds a personal touch to your home. Share your success with friends and family, and inspire others to embark on similar DIY projects. Ultimately, your new shelves are a testament to your creativity and resourcefulness, providing lasting benefits and satisfaction.
Step 9: Evaluate and Reflect
After you’ve spent some time using your new laundry room shelves, take a moment to evaluate their functionality and the organization of your space. Consider whether the layout meets your daily needs and if there are any adjustments you could make to improve accessibility or storage. Reflect on the process you followed for this DIY project, noting what went well and what could be done differently next time. Taking these steps ensures you get the most out of your new shelves and prepares you for future projects by building on your experiences and successes.
Step 10: Share Your Experience
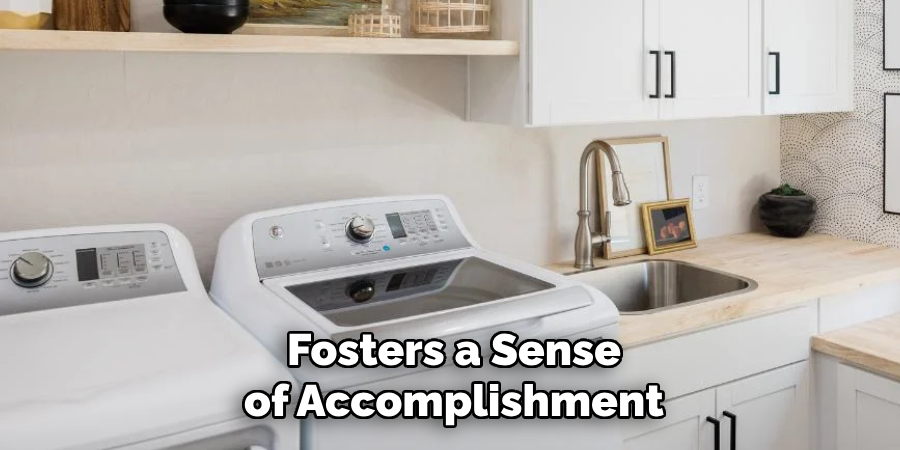
After completing and enjoying your new laundry room shelves, consider sharing your journey and experiences with others interested in tackling similar projects. Document the steps you took, the challenges you faced, and the solutions you found. You might choose to create a blog post, share photos on social media, or even host a small gathering to showcase your craftsmanship. Sharing your project inspires others and fosters a sense of accomplishment and community.
By following these steps, you can build practical, visually appealing laundry room shelves that elevate your home’s organization and aesthetics.
5 Things You Should Avoid
- Using Inadequate Materials: Always select sturdy and moisture-resistant materials, as laundry rooms can be humid environments. Avoid using weak or untreated wood, which can warp or degrade over time.
- Ignoring Weight Capacity: It’s crucial to consider the weight the shelves need to support. Overloading shelves can lead to structural failure, damaging both the shelving and the items stored on them.
- Poorly Planned Measurements: Inaccurate measurements can result in ill-fitting shelves that waste space or create an imbalance. Always double-check measurements to ensure a proper fit for the intended space.
- Neglecting Proper Anchoring: To prevent shelves from collapsing, they need to be securely anchored to the wall. Avoid using inappropriate fixtures or failing to anchor into wall studs wherever possible.
- Overlooking Aesthetic Cohesion: Don’t ignore your laundry room’s overall design and look. Mismatched or clunky shelves can detract from the room’s aesthetic appeal. Choose designs and colors that harmonize with the existing décor.
Conclusion
How to build laundry room shelves is a rewarding DIY project that enhances both the functionality and aesthetics of your space.
By carefully planning each step, from choosing suitable materials to organizing and maintaining the finished product, you can create efficient and visually appealing storage solutions tailored to your needs. Paying attention to details, such as securing the shelves properly and considering the room’s overall aesthetic, ensures a durable and harmonious outcome. With thoughtful execution and regular maintenance, your shelves will serve your household well, adding a personal touch to an essential part of your home.
These shelves not only testify to your skills and creativity but also provide ongoing benefits as you enjoy a more organized and pleasant laundry experience.
