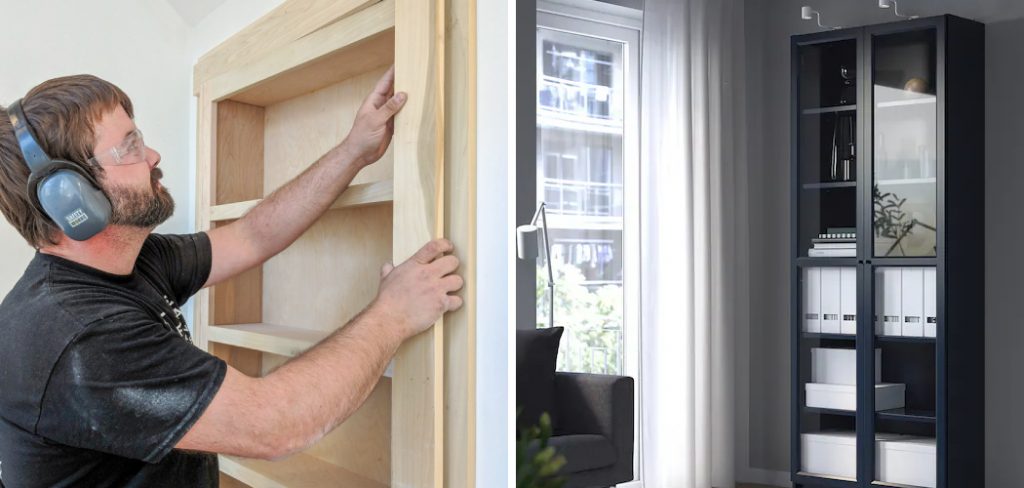
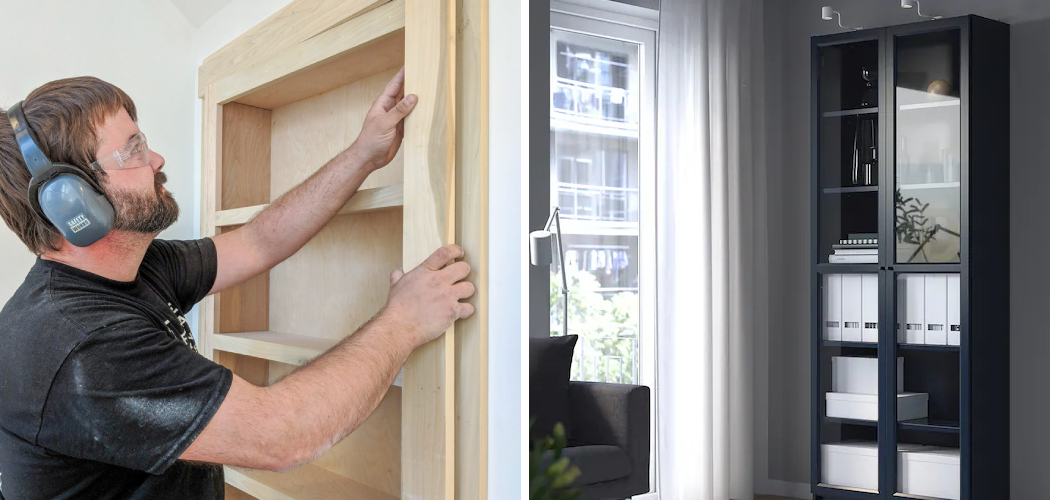
Building bookshelves with doors is a practical and stylish way to add storage space to your home. Whether you’re an avid reader looking to organize a vast collection of books or you need a place to discreetly stow away other items, creating a bookshelf with doors can be a rewarding DIY project.

This guide on how to build bookshelves with doors will walk you through the essential steps, from selecting the right materials and tools to assembling and finishing your bookshelf. By following these instructions, you’ll be able to build a sturdy and attractive piece of furniture that enhances the functionality and aesthetic of any room.
What is a Bookshelf with Doors?
A bookshelf with doors is essentially a cabinet that combines open shelves for books and other objects with closed storage space behind doors. This type of bookshelf offers the best of both worlds – you can showcase your favorite books or decorative items on the open shelves while keeping clutter hidden and protected from dust and damage inside the cabinet.
The doors also add a touch of elegance and sophistication to the bookshelf, making it a versatile piece that can fit in various styles of home decor. Additionally, having doors on your bookshelf allows for customization options such as choosing the color or design of the doors, which can further enhance the overall look of your bookshelf.

Why Build Your Own Bookshelf with Doors?
While you can easily find ready-made bookshelves with doors in furniture stores, building your own has several advantages:
Cost:
Building your own bookshelf can be a more affordable option compared to buying one from a store.
Customization:
As mentioned earlier, building your own allows for customization, giving you the freedom to choose the design and materials that best fit your personal style and needs.
Quality:
When you build furniture yourself, you have more control over the materials used and the construction process, ensuring a higher quality product that will last for years to come.
Personal Satisfaction:
Building something with your own hands can be incredibly fulfilling and rewarding. You’ll have a sense of pride in creating a functional and beautiful piece of furniture for your home.
Now that we’ve covered why building your own bookshelf with doors is a great idea let’s dive into the steps involved in making one.
Materials You’ll Need
To build a bookshelf with doors, you’ll need some basic materials and tools. These include:
Wood Boards:
Choose sturdy and durable wood such as pine, oak, or plywood for the frame and shelves.
Planks for the doors can be made of the same type of wood or a different one to add contrast.

Screws and Nails:
For assembly, you’ll need screws and nails in various sizes. Make sure they are appropriate for the thickness of your wood boards.
Hinges:
Select hinges that match the style and size of your bookshelf doors. These will attach the doors to the frame.
Door Knobs or Handles:
Choose knobs or handles that complement the overall look of your bookshelf and make it easy to open and close the doors.
Sandpaper and Wood Stain/Paint:
To finish your bookshelf, you’ll need sandpaper to smooth out any rough edges and wood stain or paint to add color and protection.
7 Step-by-step Guidelines on How to Build Bookshelves With Doors
Step 1: Measure and Plan
Before you start building, it is crucial to measure the space where you intend to place the bookshelf and plan accordingly. Begin by determining the dimensions of your bookshelf, including the height, width, and depth. Consider what you will be storing on the shelves to ensure they are the appropriate size.
Sketch a detailed plan that includes the layout of the shelves and the placement of the doors. This will serve as your blueprint throughout the building process. Be sure to account for any additional features you want to include, such as adjustable shelves or decorative molding.
Take accurate measurements of all the wooden boards you’ll need for the frame, shelves, and doors. Double-check your measurements to ensure that everything fits together properly. Planning thoroughly at this stage will save you time and prevent errors once you start cutting and assembling the pieces.
Step 2: Cut the Wood
Once you have your measurements and plan in place, the next step is to cut the wood to the necessary sizes for your bookshelf. Begin by marking the dimensions on the wood boards using a measuring tape and a pencil. Ensure that all measurements are accurate and that you double-check them before making any cuts.
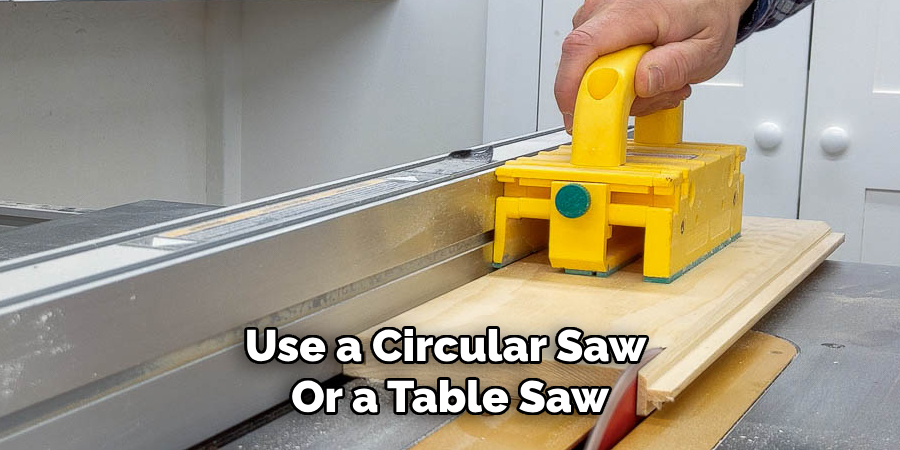
Use a circular saw or a table saw to make precise cuts along the marked lines. If you’re not experienced with power tools, consider using clamps to hold the wood securely in place and guide your cuts evenly. It’s important to cut all the pieces for the frame, shelves, and doors at this stage.

Label each piece as you cut it to avoid confusion during assembly. After cutting, use sandpaper to smooth out any rough edges. This step will not only make the pieces easier to work with but will also give them a cleaner, more professional finish. With all your wooden components cut and prepared, you’re ready to move on to assembling the bookshelf frame.
Step 3: Assemble the Frame
Using your plan as a guide, begin assembling the frame of your bookshelf. Start by attaching the sides to the back panel using screws or nails. Make sure they are aligned correctly and use a level to ensure that everything is straight.
Next, attach the shelves to the frame, making sure they are evenly spaced and flush with the sides. You may need to adjust shelf height depending on what you plan to store on them. Use clamps to hold everything securely in place while you work. Once all shelves are attached, add additional support by securing a board across the back of the frame.
Step 4: Add the Doors
Once you have finished building and securing the frame, it’s time to add the doors. Begin by attaching hinges to both sides of each door, following the manufacturer’s instructions. Then, attach the doors to the frame using screws.
Ensure that they are evenly spaced and aligned with each other and the frame. Install knobs or handles on each door according to your preference.
Step 5: Finishing Touches
\With all components in place, it’s time to give your bookshelf a professional finish. Use sandpaper to smooth out any rough edges or imperfections. If you plan to paint your bookshelf, prime the wood first before applying your chosen color. Alternatively, if you want a natural wood finish, use wood stain or sealant to protect and enhance the appearance of the wood.
The finishing touches may also include adding decorative molding or trim, as well as installing adjustable shelf brackets if desired.
Step 6: Secure the Bookshelf
Once your bookshelf is fully assembled and finished, it’s crucial to secure it in place. Use L-brackets to attach the top of the bookshelf to a wall stud for added stability. This will prevent any accidents or injuries from an unsecured piece of furniture.

The bottom of the bookshelf can also be secured to the floor using screws or anchors, especially if you have children or pets in your home.
Step 7: Organize and Enjoy
With your new bookshelf with doors securely in place, it’s time to organize and enjoy your newly built furniture piece. Arrange your books, decorative items, and other belongings on the shelves to create a functional and aesthetically pleasing display.
Not only will a custom-built bookshelf add character and storage space to your home, but it will also serve as a source of pride, knowing that you created it yourself. As you continue building more bookshelves and other furniture pieces, you’ll gain confidence and skills in woodworking, making it a fulfilling and rewarding hobby.
Following these step-by-step guidelines on how to build bookshelves with doors will ensure that your bookshelf with doors is built to perfection and meets all your storage needs. Enjoy the process of creating something unique and useful for your home, and don’t be afraid to add your own personal touches along the way.
Additional Tips
- Use a level throughout the building process to ensure your bookshelf is straight and level.
- Measure twice and cut once to avoid wasted materials and time.
- Pre-drill holes before attaching screws to prevent splitting the wood.
- Use wood glue in addition to screws for added durability.
- Consider adding backing or decorative wallpaper to the back of the bookshelf for a pop of color or texture.
- Use adjustable shelf brackets to accommodate different-sized items on your shelves.
- Experiment with different stains, paints, or hardware to create a unique look for your bookshelf.
- Utilize scrap pieces of wood for smaller projects such as door handles or decorative accents on the bookshelf.
- Don’t be afraid to make mistakes and learn from them. Woodworking is a skill that takes practice and patience.
Conclusion
Building a custom bookshelf with doors is a rewarding and practical project that can significantly enhance the functionality and aesthetics of your home. By following the detailed steps on how to build bookshelves with doors and incorporating additional tips provided, you’ll be able to create a durable and stylish piece of furniture tailored to your specific needs. Remember, the key to a successful project lies in meticulous planning, precise measurements, and careful assembly.
As you continue to develop your woodworking skills, each project will become an opportunity for learning and creativity. Whether you’re an experienced woodworker or a beginner, constructing your own bookshelf will not only provide valuable storage space but also serve as a testament to your craftsmanship and dedication. Enjoy the journey of bringing your vision to life and the pride that comes with completing a project with your own hands.
