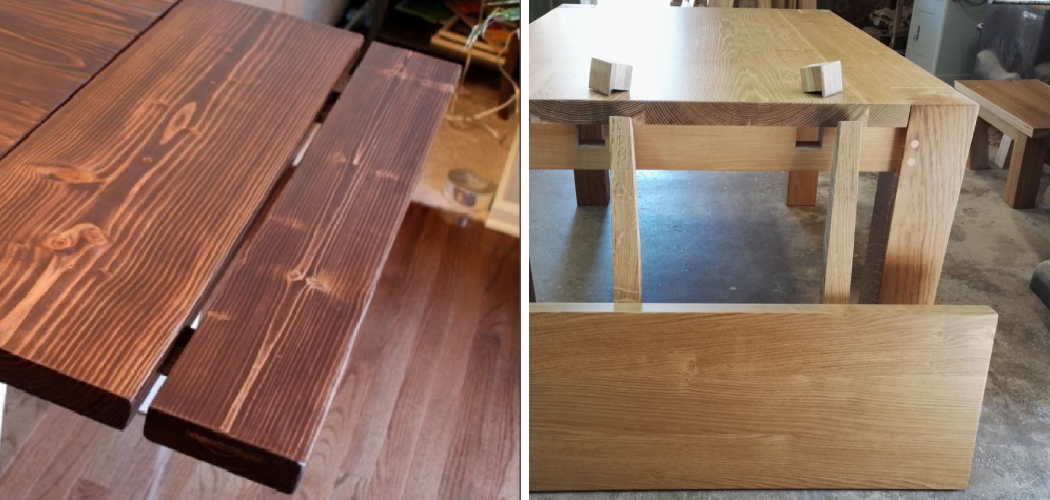
Building a table with a leaf is a practical and versatile woodworking project that allows you to accommodate varying numbers of guests and space constraints. A table with a leaf features a removable section (the leaf) that can be added to extend the table’s length for larger gatherings or removed to save space when not needed.
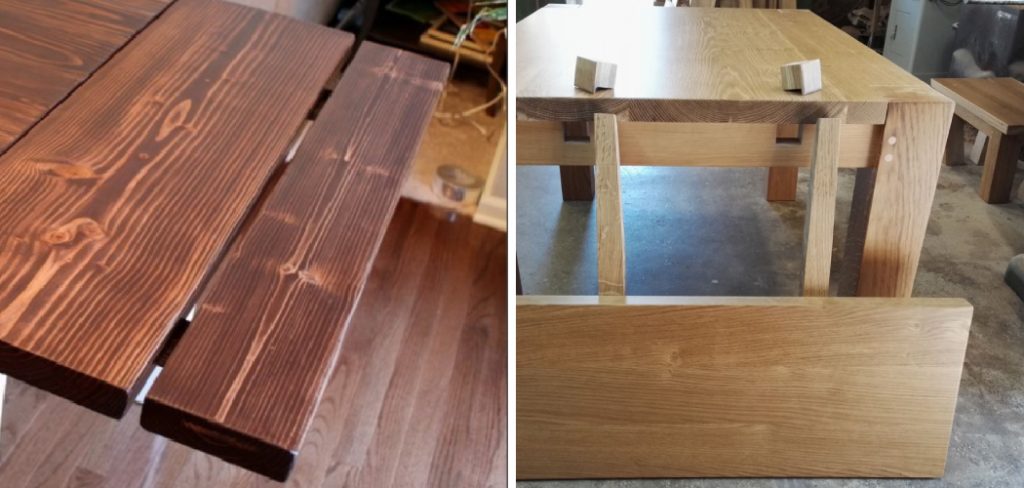
In this comprehensive guide, we’ll explore the step-by-step process of how to build a table with a leaf, from selecting materials and designing the table to constructing the frame and adding the leaf mechanism. Whether you’re a seasoned woodworker or a DIY enthusiast looking to expand your skills, building a table with a leaf offers a rewarding project that combines functionality and craftsmanship. Join us as we delve into the details of creating a customizable and practical table that’s perfect for dining, entertaining, and everyday use.
Importance of a Table with a Leaf
A table with a leaf provides exceptional versatility, making it an ideal choice for households that host gatherings or dinner parties occasionally. The extendable feature allows you to maximize the functionality of your space without permanently sacrificing room with a larger table.
This adaptability is particularly useful in dining areas with limited space but a need to accommodate more guests on special occasions. Moreover, tables with leaves tend to be an elegant solution for growing families or evolving living spaces, offering flexibility as furniture needs change over time. By having the option to adjust its size, a table with a leaf balances everyday practicality with the ability to transform for various social and familial occasions, thereby enhancing the usability and value of your home furnishings.
Planning and Designing Your Table
Before diving into the construction of your table with a leaf, thoughtful planning and design are crucial steps that will ensure a successful outcome. Begin by considering the dimensions of both your dining area and the table itself. Measure the space where the table will be placed, factoring in enough room for chairs and movement around the table, both when it is extended and when it is in its standard form.
Next, decide on the style and materials that will best complement your existing décor. Popular choices for table materials include hardwoods like oak, maple, and walnut for their durability and natural beauty. Also, consider the shape of your table—whether round, rectangular, or oval—each has its own aesthetic and functional benefits.
Sketch your design, including the main table and the leaf or leaves. Clearly outline how the leaf mechanism will function—whether it involves drop-leaf supports, butterfly leaves, or removable extensions. This step is also where you can address any additional features you might want, such as decorative edges, a specific finish, or built-in storage for the leaves.
Finally, gather the tools and materials needed for the project. This includes selecting quality wood, sturdy hardware for the leaf mechanism, and finishing supplies to protect and enhance the wood’s appearance. By meticulously planning and designing your table, you lay the foundation for a piece of furniture that will be both functional and beautiful for years to come.
10 Methods How to Build a Table with a Leaf
Method 1: Design Planning and Material Selection
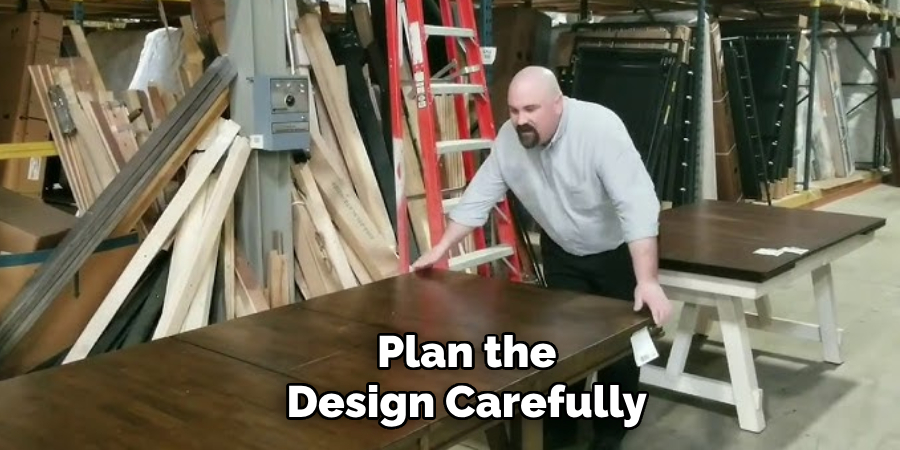
Before diving into the construction process, it’s essential to plan the design of your table with a leaf carefully. Consider factors such as the table’s dimensions, style, and the number of leaves you want to incorporate. Sketch out your design on paper or use woodworking software to visualize the final product. Once you have a clear idea of the design, select high-quality materials for the tabletop, legs, and leaf extensions. Choose hardwoods such as oak, maple, or cherry for durability and aesthetics.
Method 2: Constructing the Tabletop
Begin by cutting the tabletop pieces to size, ensuring they are flat and free of defects. Join the tabletop pieces together using dowels, biscuits, or tongue-and-groove joinery for a seamless appearance. Clamp the pieces securely and allow the glue to dry completely. Once the tabletop is assembled, sand it smooth and round the edges for a finished look. Apply a protective finish such as polyurethane or oil to enhance the wood’s natural beauty and durability.
Method 3: Adding Leaf Extension Mechanism
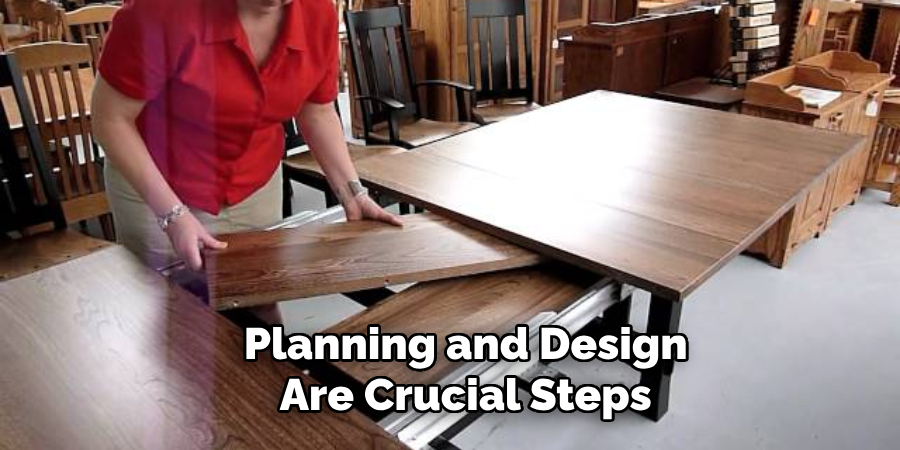
To incorporate a leaf extension into your table design, you’ll need to install a mechanism that allows the leaf to be inserted and removed easily. One common method is to use table slides or extension rails that are attached to the underside of the tabletop. These slides allow the leaf to be pulled out from beneath the tabletop and secured in place with locking mechanisms. Alternatively, you can design a drop-leaf mechanism where the leaf folds down when not in use.
Method 4: Building the Leaf
Constructing the leaf involves replicating the same process used for the tabletop but on a smaller scale. Cut the leaf pieces to size and join them together using the same joinery method used for the tabletop. Ensure that the leaf aligns perfectly with the tabletop when inserted. Sand the leaf smooth and apply the same finish as the tabletop for a uniform appearance.
Method 5: Crafting the Table Legs
The table legs provide stability and support for the tabletop and leaf extensions. Cut the leg pieces to the desired length, ensuring they are uniform and free of defects. Consider adding decorative details such as turned or tapered legs to enhance the table’s appearance. Attach the legs to the tabletop using mortise-and-tenon joinery or metal brackets for added strength.
Method 6: Assembling the Table Base
Once the legs are attached to the tabletop, assemble the rest of the table base. This may include aprons, stretchers, or additional supports to ensure the table is sturdy and stable. Use glue and screws to secure the base components together, taking care to align everything properly. Test the stability of the table base before proceeding to the next step.
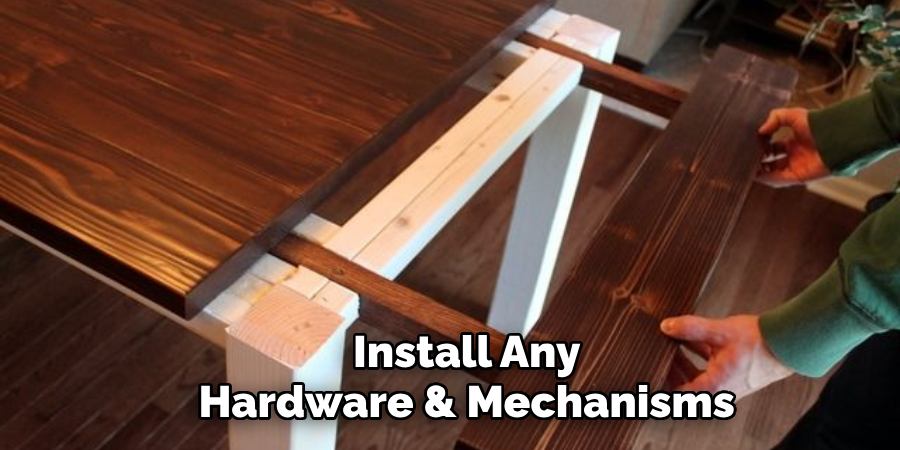
Method 7: Installing Hardware and Mechanisms
With the table base assembled, it’s time to install any hardware and mechanisms needed for the leaf extension. Attach the table slides or extension rails to the underside of the tabletop according to the manufacturer’s instructions. Ensure that the slides are aligned correctly to allow the leaf to slide in and out smoothly. Test the mechanism to ensure it functions properly before proceeding.
Method 8: Finishing Touches
Once the table is fully assembled, take the time to add any finishing touches that will enhance its appearance and durability. This may include sanding any rough edges, filling any gaps or imperfections with wood filler, and applying additional coats of finish for added protection. Consider adding decorative elements such as inlays, carvings, or stain to customize the table to your liking.
Method 9: Testing and Adjustments
Before putting the table into regular use, it’s essential to test the functionality of the leaf extension mechanism and ensure everything is working correctly. Test the leaf extension by inserting and removing the leaf several times to ensure smooth operation. Make any necessary adjustments to the hardware or mechanisms to ensure a proper fit and alignment. Once satisfied, apply a final coat of finish to the tabletop and leaf for added protection.
Method 10: Enjoying Your Handcrafted Table
With the construction process complete, it’s time to enjoy your handcrafted table with a leaf extension. Gather friends and family around to admire your craftsmanship and celebrate the versatility of your new furniture piece. Whether it’s for everyday meals, special occasions, or impromptu gatherings, your table with a leaf will serve as a centerpiece for years to come, providing lasting memories and countless moments of shared joy.
Things to Consider When Designing and Building a Table with a Leaf Extension
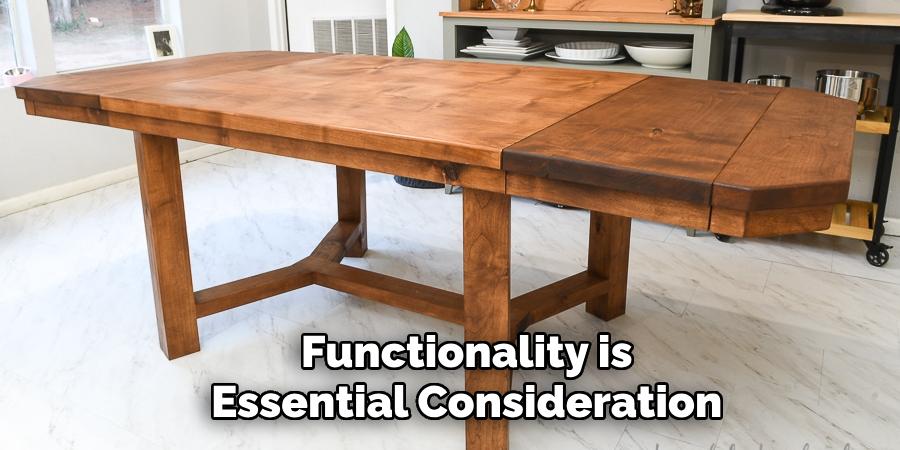
When embarking on the journey of creating a table with a leaf extension, there are several critical factors to bear in mind to ensure success and satisfaction with the final product. Firstly, space requirements are crucial. Measure the area where the table will be placed, ensuring there is ample room for both the table and its extended leaves. Functionality is another essential consideration; think about how frequently you will need to use the leaf extension and how easy it should be to insert and remove the leaf.
Material selection can’t be overstated. Opt for sturdy hardwoods that offer both durability and aesthetic appeal, and make sure the hardware you choose is robust enough to support the leaf mechanism. Joinery techniques should be chosen based on your skill level and the tools you have available; simpler techniques like dowels may be easier for beginners, while more advanced methods like mortise-and-tenon provide superior strength.
Conclusion
Constructing a table with a leaf extension requires careful planning, precise woodworking skills, and attention to detail. By following these ten detailed methods and incorporating your own creative touches, you can create a beautiful and functional piece of furniture that enhances your home’s aesthetic and functionality. Embrace the woodworking process and take pride in the craftsmanship of your handcrafted table, knowing that it will be cherished for generations to come.
