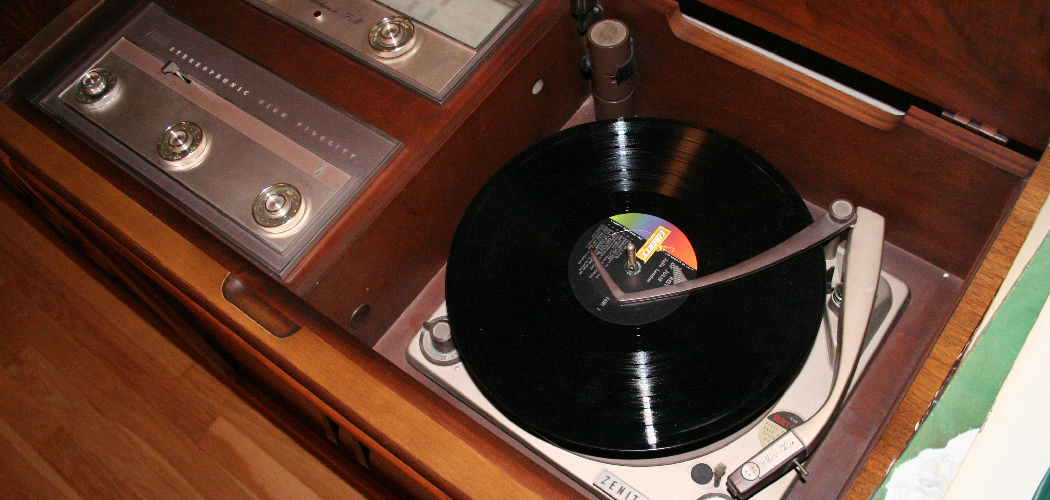
Building your own record cabinet can be a rewarding project that combines both craftsmanship and a love for music. A custom-made cabinet not only provides a safe and stylish storage solution for your vinyl collection but also adds a personal touch to your living space.
Whether you’re a seasoned DIY enthusiast or a beginner looking to take on a new challenge, this guide on how to build a record cabinet will walk you through the essential steps and materials needed to create a durable and attractive record cabinet.
What is a Record Cabinet?
A record cabinet is a piece of furniture specifically designed for storing vinyl records. Traditionally, these cabinets are built to accommodate the unique size and weight of vinyl records, often featuring compartments, shelves, and drawers that hold the records upright, preventing warping and damage.
Record cabinets can range from simple, functional designs to elaborate, decorative pieces that serve as a centerpiece in a room. Their primary purpose is to provide organized, easily accessible storage for a music collection, ensuring that each record is kept in optimal condition for listening enjoyment.
Materials Needed
Before delving into the construction process, gather all the necessary materials and tools to ensure a smooth building experience. Here’s a list of basic materials needed for building a record cabinet:
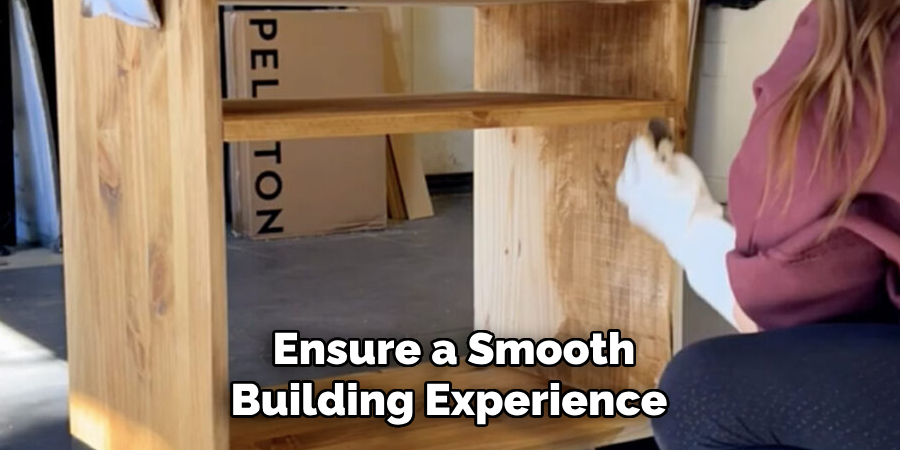
1.Wood:
Choose a durable hardwood like oak or maple that can withstand the weight of vinyl records. The amount of wood needed will depend on the size and design of your cabinet.
2.Screws and Nails:
Use screws instead of nails for a stronger hold. Make sure to have different sizes on hand for various parts of the cabinet.
3.Wood Glue:
Wood glue helps to reinforce joints and add extra strength and stability to the cabinet.
4.Sandpaper:
Smooth out any rough edges or imperfections with sandpaper before assembling the cabinet.
5.Stain or Paint:
Choose a stain or paint that complements your existing decor, if desired. Alternatively, you can leave the wood natural for a more rustic look.
9 Simple Step-by-step Guidelines on How to Build a Record Cabinet
Step 1: Prepare the Design and Measurements
Before you begin cutting any wood, it’s crucial to prepare a detailed design and accurate measurements for your record cabinet. Start by determining the dimensions based on the size of your vinyl collection and the space where you plan to place the cabinet. Sketch out a plan that includes the height, width, depth, and layout of shelves or compartments.
Make sure to account for the thickness of the wood in your measurements. It’s helpful to create a cutting list detailing the specific lengths and widths of each piece of wood required. Taking these steps will ensure that you have a clear blueprint to follow, minimizing errors and wasted materials during construction.
Step 2: Cut the Wood
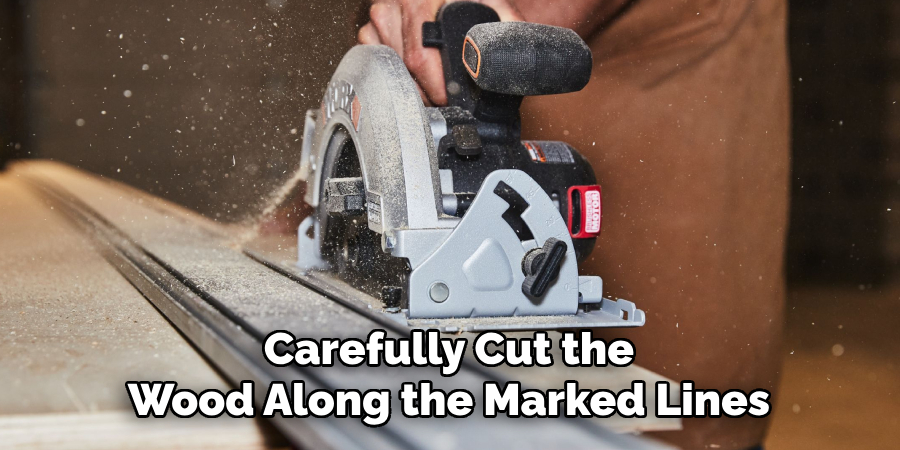
Once you have your design and measurements in place, it’s time to start cutting the wood according to your plans. Begin by marking the precise measurements on each piece of wood using a pencil and a measuring tape to ensure accuracy. A carpenter’s square can also be helpful for marking straight, clean lines.
Using a saw, carefully cut the wood along the marked lines. For best results, a table saw or a circular saw is recommended, as these tools provide straight and consistent cuts. If you have chosen a more intricate design with curves or custom shapes, a jigsaw might be necessary for those particular cuts.
Step 3: Sand the Wood
After cutting all the pieces of wood for your record cabinet, the next step is to sand them thoroughly. Sanding is essential as it smooths out any rough edges or surface imperfections, preparing the wood for assembly and finishing. Begin with coarse-grit sandpaper (around 80 grit) to remove any large splinters or rough spots.
Once the initial sanding is completed, switch to medium-grit sandpaper (120 to 150-grit) to achieve a smoother surface. Finally, finish off with fine-grit sandpaper (220-grit) to ensure the wood is perfectly smooth and ready for staining or painting.
Ensure you sand all edges and surfaces evenly, paying particular attention to the ends of the wood pieces, where roughness can sometimes be more pronounced. Proper sanding not only enhances the appearance of the wood but also allows for better adherence to wood glue and a more professional-looking finish.
Step 4: Assemble the Base
The base of your record cabinet is the foundation that holds everything together, providing stability and support for the weight of the records. Use screws and wood glue to join the pieces of wood according to your design plan. A carpenter’s square will come in handy here to ensure all corners are at perfect right angles.
You can also add support beams or brackets to strengthen the base further, especially if you plan on storing a large number of records. Remember to leave enough space for the shelves or compartments that will be added later.
Step 5: Attach Shelves or Compartments
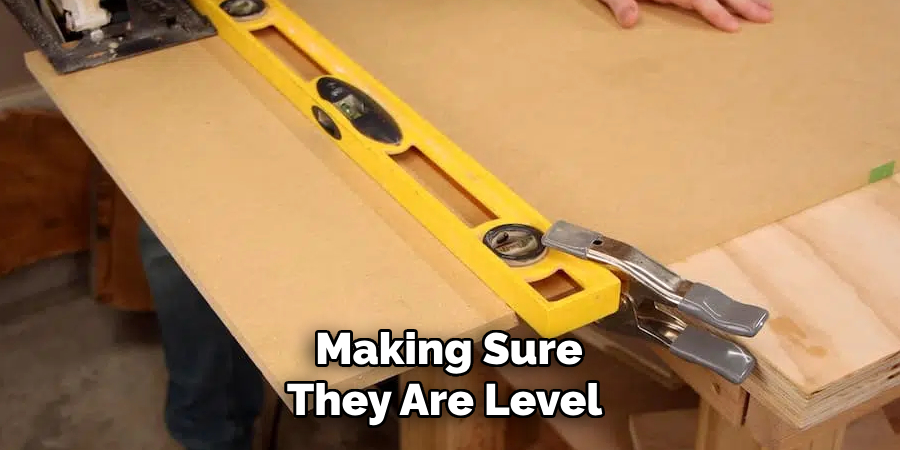
Once you have a sturdy base, it’s time to attach shelves or compartments for storing your records. Using a combination of screws and wood glue, carefully fix each shelf or compartment onto the base, making sure they are level and evenly spaced.
For added strength, you can reinforce each joint with corner braces on both sides of the cabinet. This will also help prevent any wobbling or sagging over time.
Step 6: Add Doors (Optional)
If you prefer a more traditional look for your record cabinet, you can add doors to the front using hinges and knobs. Measure and cut the doors to fit perfectly over the shelves or compartments, then attach them using screws and hinges.
Adding doors not only gives a finished appearance to your cabinet but also provides protection for your records from dust and sunlight.
Step 7: Stain or Paint
Once all parts of the cabinet are assembled, it’s time to choose whether you want to stain or paint the wood. If staining, ensure that you have properly sanded and cleaned the wood to allow for better penetration of the stain.
Apply the stain evenly using a brush or cloth and let it dry according to the manufacturer’s instructions. If painting, choose a high-quality wood paint and apply several coats for best coverage. Allow each coat to dry thoroughly before adding another.
Step 8: Add Finishing Touches
To give your record cabinet a more polished look, consider adding finishing touches such as decorative molding or trim around the edges. This step is optional but can add an extra level of detail and elegance to your finished piece.
You can also add hardware like knobs or drawer pulls to the doors, adding a personal touch and making it easier to open and close the cabinet.
Step 9: Place Your Records in the Cabinet
Finally, once your record cabinet is complete and dry, it’s time to fill it with your vinyl collection! Arrange them by genre, artist, or personal preference. You can also add dividers or organize them alphabetically for easy access.
Enjoy your newly built record cabinet and take pride in knowing that you created a functional piece of furniture to store and showcase your beloved records. With proper care and maintenance, this cabinet will provide years of use and enjoyment for you and your music collection.
Following these steps on how to build a record cabinet, you now have a beautiful and functional record cabinet that not only adds character to your space but also keeps your records safe and organized. So put on your favorite vinyl and bask in the satisfaction of creating something with your own hands. Happy building!
Frequently Asked Questions
Q: Is It Necessary to Sand the Wood Before Assembly?
A: Yes, sanding is an essential step in the construction process as it prepares the wood for staining or painting and ensures a smooth surface for better adherence and a professional finish. The level of sanding required depends on the type and condition of the wood you are using.
Q: Can I Customize the Design of My Record Cabinet?
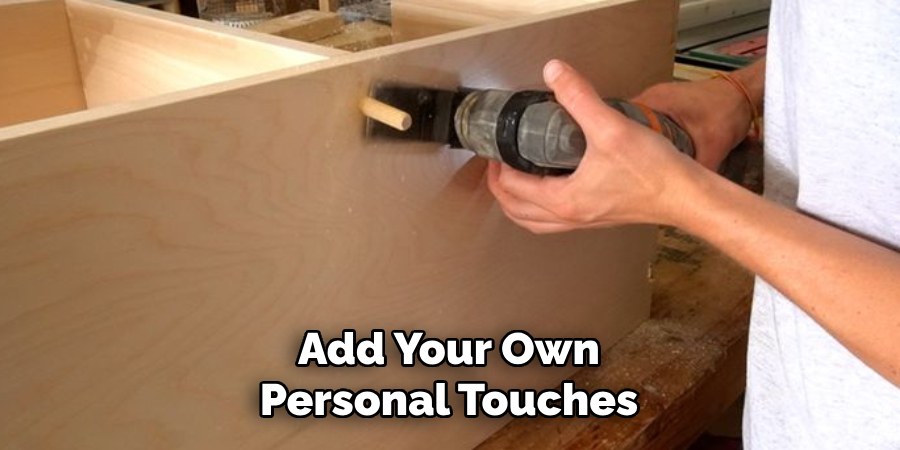
A: Absolutely! You can follow our steps as a general guide, but feel free to add your own personal touches or modifications to make it unique to your style and needs. You can also search for inspiration online or consult with a carpenter for more intricate designs.
Q: How Much Weight Can a DIY Record Cabinet Hold?
A: This varies depending on the design, materials used, and construction techniques. However, with proper reinforcement and support beams, a DIY record cabinet can hold anywhere between 100-200 pounds or more.
Conclusion
Building your own record cabinet is a rewarding project that combines craftsmanship with a practical outcome. By following the detailed steps on how to build a record cabinet from planning and cutting the wood to assembling, finishing, and finally organizing your records, you have created a piece of furniture that is both functional and aesthetically pleasing.
Not only does this cabinet provide a dedicated space for your vinyl collection, but it also serves as a testament to your skills and creativity. With careful attention to detail and proper maintenance, your handmade record cabinet will stand the test of time, offering both utility and beauty for years to come. Whether you are an avid record collector or simply enjoy the nostalgia of vinyl, this custom-built cabinet will enhance your listening experience and proudly showcase your passion for music.
